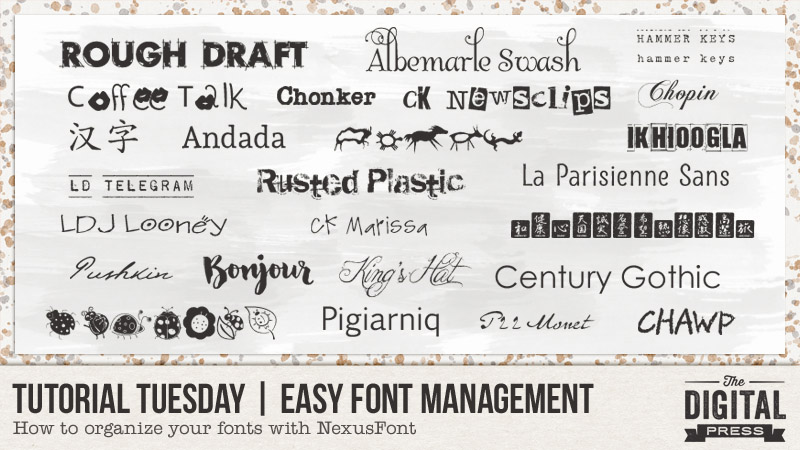
I have to admit it – I am a font addict!
Until just recently, my fonts were a mess on my computer… and believe it or not, all 1600 were installed in the Windows font folder. This slowed down my machine when using text in any program. Oops! In the past, I had used “The Font Thing” to organize my fonts — but when it stopped operating with this newer computer, I was lost. Good news — I have found a fantastic little freeware program called NexusFont, which has proved to be a perfect replacement for me.
This program catalogs all of the fonts on your computer and then allows you to sort fonts into categories that you, yourself, can set up. For me, the best thing is that I can access any of my fonts… no matter where they are stored on my computer (and from any program, even though they are not actually installed). Fantastic!
To start out, you can download the NexusFont program HERE*.
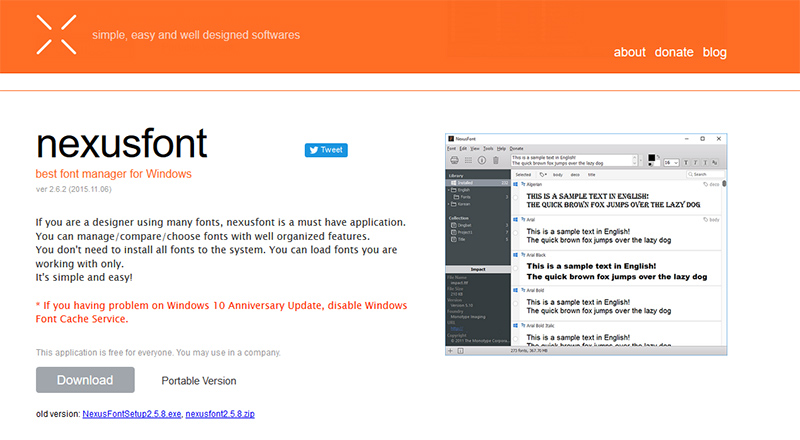
*NOTE: this is a program that is only available for those who are using Windows as their operating system
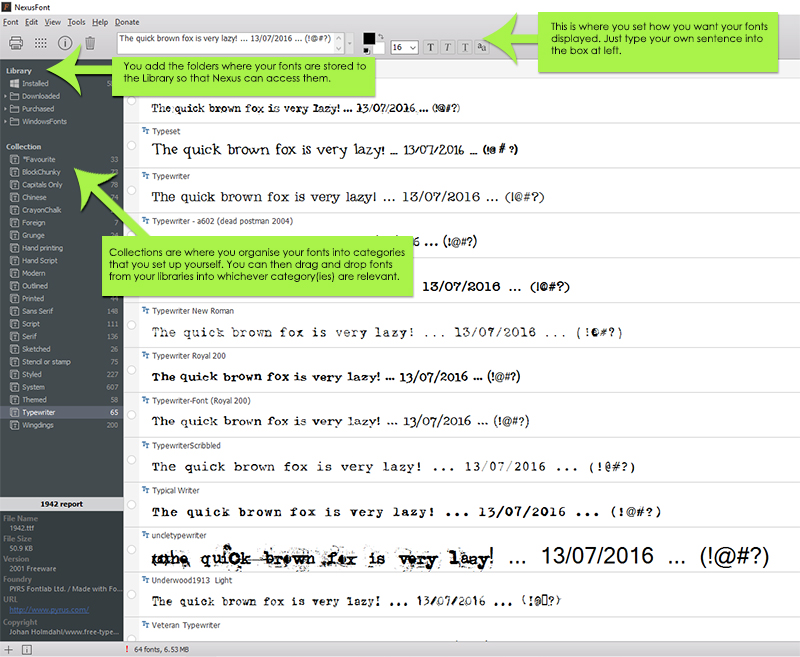
Once you install the program, you will see under Library (left panel) that there is a folder called Installed. This folder contains all the fonts currently installed on your computer and located in the windows/font folder. Under this there will be a heading Collection but until you set up collections (ie categories for your fonts) this will be empty.
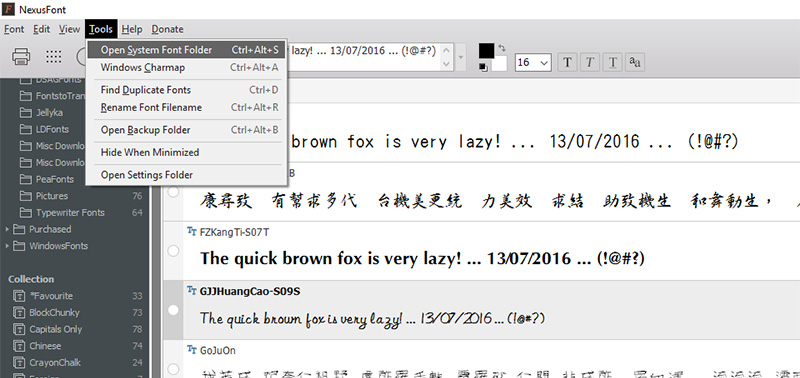
After organizing all my fonts, this is what my main screen looks like when I have one of my Collections (Typewriter fonts) highlighted.
So what do you do after you have installed the program?
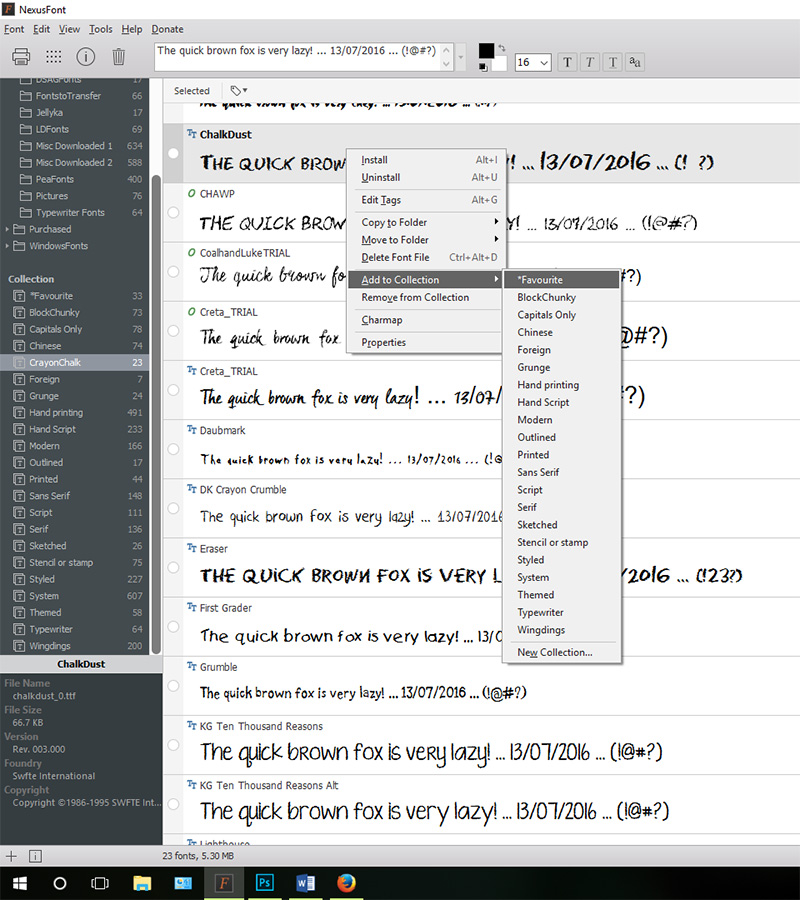
- First, add any font folders you have (of fonts not installed and located in your windows font folder) to the Library by right clicking on Library and selecting New Folder Group. I have created 2 folder groups – one for purchased fonts and one for free downloaded fonts. You can then right click on this new folder group and select Add Folder. This will allow you to navigate to the relevant font storage folder on your computer so that you can add this to your Library.
- Set up your Collections by right clicking on Collection and selecting New Collection. My collections include Serif, Sans Serif, Hand Printing, Hand Script, Typewriter, Wingdings, Grunge, Stencil or Stamp etc.
- Type in a sentence into the display panel so that you can preview the fonts.
- You can add fonts to Collections either using drag and drop to drag fonts from any folder in your Library to one or more of the collections or right clicking on a font and selecting the category (see following screenshot). And one of the best things is that you can put a font into more than one Collection! Note that if you have a large number of fonts as I did, this will take you a few days to complete.
Once everything is set up, it is much easier to search for types of fonts just by clicking on one of your Collections. It certainly saves time. On a recent page I was looking for a particular chalk font, so clicked on the CrayonChalk collection above and only had to search through 23 fonts rather than 1600. And best of all it so easy to compare fonts.
One of the other features of this program which I love are that it is easy to find duplicate fonts even though they may be named differently. Just go to Tools and select Find Duplicate Fonts. Easy! The program found over 50 in my folders which I then just deleted.
And a handy fact — remember earlier that I said that you do not have to install the fonts to be able to use them. All you have to do is open NexusFont before using the text tool in Photoshop and all fonts within the NexusFont Library will be available to you. This is so handy! You can install and uninstall fonts straight from the NexusFont program itself.
NexusFont would have to be one of the best programs for those of us who love fonts and who use Windows as our operating system. Why not download it and start rediscovering some of your lost fonts? 🙂
Postscript: In the latest Windows update, there were changes to font management and this slowed down the loading of fonts in NexusFont. The workaround, if this occurs for you, is to disable Windows Font Cache Service. I did this and NexusFont is now running as quickly as it was before the update.
![]() About the author Carolyn lives with her partner, eldest daughter, and 3 rescue dogs on 5 acres of paradise in the hinterland of the Sunshine Coast, Australia. Her camera, along with an assortment of lenses, is never out of sight. When not taking photos, she loves cooking and gardening and, of course, scrapbooking.
About the author Carolyn lives with her partner, eldest daughter, and 3 rescue dogs on 5 acres of paradise in the hinterland of the Sunshine Coast, Australia. Her camera, along with an assortment of lenses, is never out of sight. When not taking photos, she loves cooking and gardening and, of course, scrapbooking.
Thank you! This is awesome Information!
Carolyn … OMG!!! from one complete font addict to another, THANK YOU a GAZILLION times!!! I’ve long been organizing my fonts into folders by category but i absolutely LOVE how this looks … i will be trying it out ASAP. when you have thousands of fonts and are looking for just the right one, this looks like a godsend! thank you thank you thank you! kind regards, Lisa
I just downloaded NexusFont and catalogued my fonts. Can I remove some from the installed folder now? When using with PSE, I couldn’t see how to access NexusFont directly from the program. I could go to NexusFont, install a font I wanted to use, use it, then uninstall. Is that what you were saying by using them together, or is there an easier way? I do like the manager, especially having categories. I wish there weren’t so dang many system fonts that won’t allow me to uninstall. How many sans serif fonts do we need? Sheesh.
Hi Peggy! I am not sure about PSE but in Photoshop CC, I open NexusFont before opening CC. I then click on the category in NexusFont of the font that I plan to use which basically loads the fonts in NexusFont. You will see a small popup window as the program scrolls through all fonts. This takes about 20 secs even for my largest categories. Then when you go to change a font in Photoshop this category of fonts is available. (You can actually do this for category or library folder). This way you don’t actually install the font. Let me know if this works for you too.
Regarding moving fonts, yes this is what i did. I found the program won’t actually let you unistall most system fonts which was a great safety measure. Otherwise I used this list : https://en.wikipedia.org/wiki/List_of_typefaces_included_with_Microsoft_Windows
If you right click on a font you will be able to move it out of the system folder if you have another folder(s) setup. Once I moved fonts to another folder, I just selected them all and uninstalled all together. Quicker this way 🙂
Just let me know if you have any other questions?
Thank you so much for recommending this! It will be incredibly useful.
Thanks for your comments everyone. 🙂 If you have any further questions, just ask in the forum and I’ll try to help. 🙂