I recently found out that breaking up is easy to do! Oh it’s okay, really… I’m only talking about breaking up the journaling on my digital scrapbook pages. 😉 I’m here today to share some tips for this process.
One of the reasons I am so passionate about digital scrapbooking is because the pages I am creating today will be a legacy for future generations to enjoy years from now! I am in the process of creating books for our two beautiful grandbabies, and I try to include as much information as possible on each page.
While I’m comfortable with journaling on the pages, I have recently felt that I am in a rut with regards to the actual placement of the journaling. Simply put, I realized that my process was only to “find a spot I like and start typing and stop when the story ends.” The journaling I do is usually along one edge or the other – or smack dab in the center of the page. I have been known to ramble… and ramble… so I started thinking more about the placement and how it affected the visual composition of the page.
When I created the page shown below, I concentrated on breaking up the journaling. I wanted the words to become part of the overall design of the page, and I wanted them to flow together with the photos and the other elements of the layout.
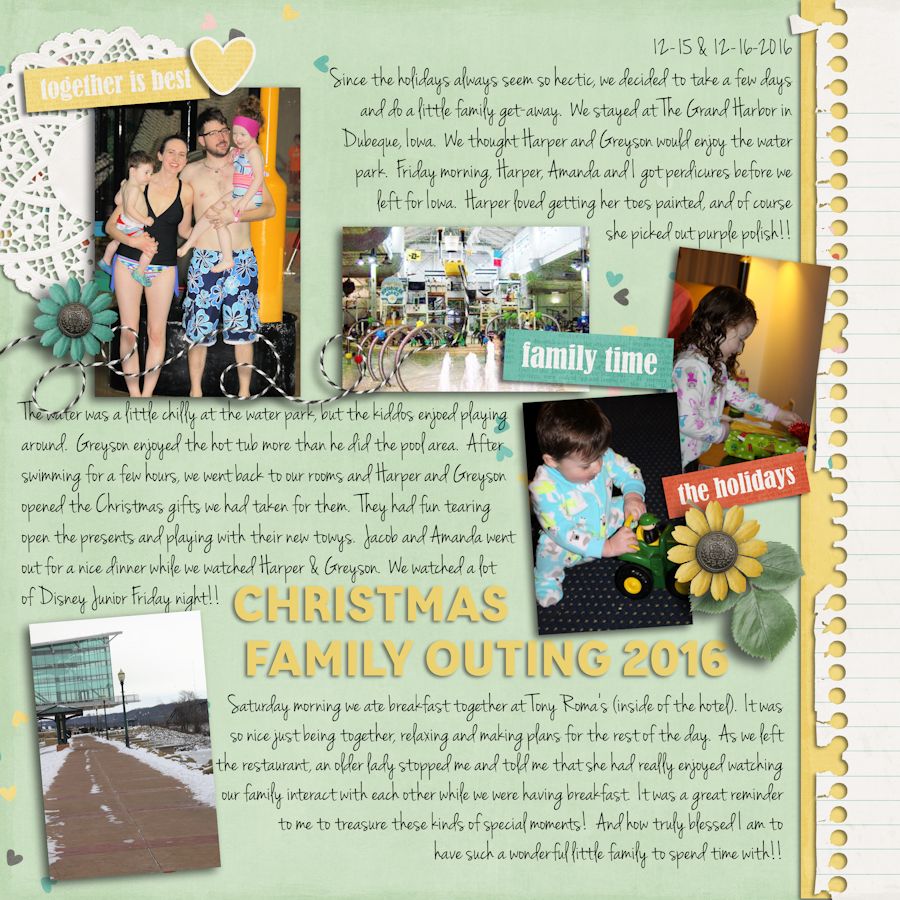
I realized that by breaking up the journaling on the page, it gave the reader a little visual break. Perhaps even a chance to contemplate what they just read before moving on… or a breaking point to examine the photos after reading part of the story… or simply to admire the other aspects of the page. It also allows the eye to flow around the page rather than concentrating on one big block of text.
Here are a few tips you can employ in order to break up your journaling while scrapping your memories…
- Use your title work to break up the sentences/paragraphs (this technique is shown above)
- Similarly, you can break up your story by placing word art and/or elements right in with the journaling itself
- Align the text differently throughout your page (right / left / center… you’ll note, above, that I changed the alignment depending on which side of the page the journaling appeared)
- Use “bullet” type journaling — placing the bullet points randomly around your page
- Place the photos and elements on the page first, then fit the journaling to align with the photos (something I did when I created the page shown above)
There are many more ways to achieve this, but I hope the tips I’ve shared here have at least given you a bit of journaling inspiration today! Thanks for stopping by the blog for another edition of our Tutorial Tuesday series… and until next time, “Happy Scrapping!”
____________________________________________________________________________________________________________________________________
 About the Author Jill has been digiscrapping since 2006 when she came across it (quite by accident) while Googling “computer crafts.” Since that time, her love for the hobby has only increased! Her love of photography melds perfectly with digital scrapping, and she is thrilled that she has the opportunity to be part of The Digital Press creative team!