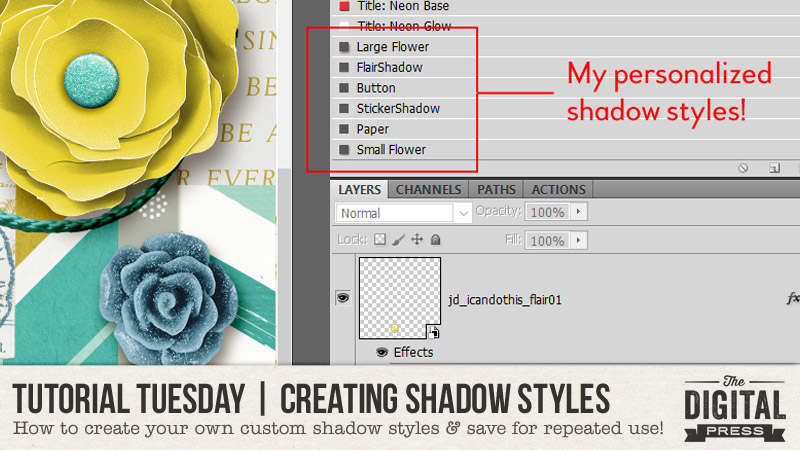
Today I’m here to help teach you how to create your own shadow styles, save them to your computer, and use them again in the future. Such a time saver!
As we develop our scrapbooking craft, the tips and techniques we learn along the way help us to work faster — and processes get easier. That’s the goal, right? When we’re itching to create, we don’t want anything standing in our way — not laundry, cooking, grocery shopping, work, or a commute. Nothing. We want to scrap. Period. 🙂 Anything we can do to speed up the process of creating, especially when the mojo is flowing, is welcomed!
With that in mind, I wanted to show you a quick and easy way to add shadows to your layouts — and also save those shadow styles for repeated use in the future. It’s easier than you might think!
When I was first exploring digital scrapbooking, shadows (and the process of shadowing things in Photoshop/etc.) used to scare me. Let’s be honest… it’s a little intimidating for a beginner! Some designers here at The Digital Press offer shadow styles for sale in the shop… with the idea being that you can install the styles on your computer, and then with a few simple clicks of the mouse, voila! Instant shadows! Super time-saver.
For myself, now that I am almost 15 years down the digital road… I find that I’ve developed my own “shadowing style” over time — it is personal to me, based on my own preferences about how things should look. The trouble is… it often takes a lot of time to customize shadows over and over. For instance — I might find myself applying a particular shadow depth for some items, a specific shade of brown (instead of the default black), a certain blending mode, and even specific changes to the opacity of the shadows. On a good week, I can scrap five pages or more… but that’s a lot of added shadow work! So the idea of being able to quickly click-and-apply my own shadow styles was very appealing.
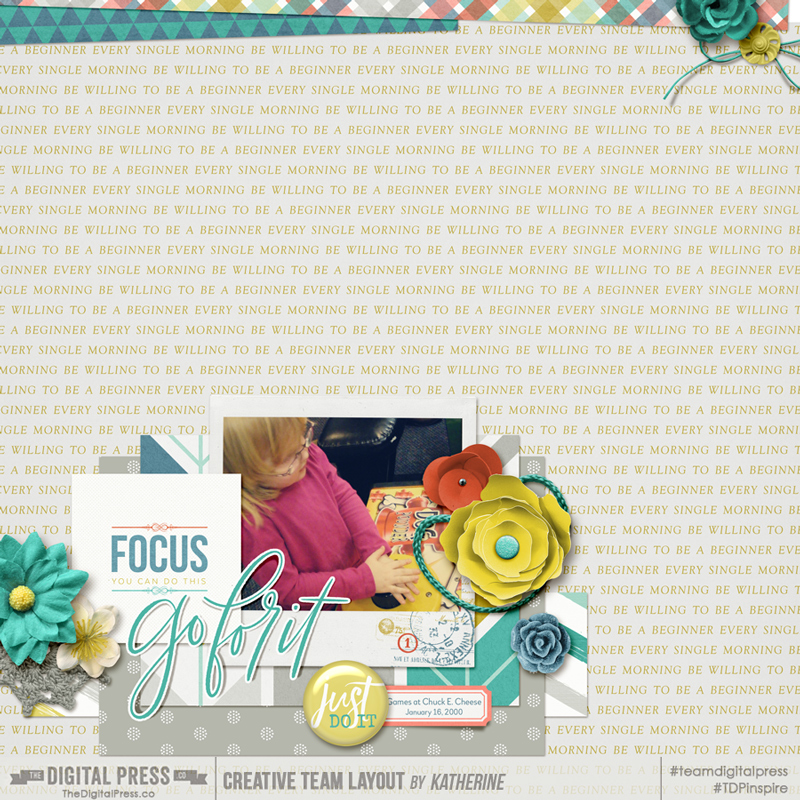
To take a look at how this works… let’s start with an unshadowed version of a page I created for this month’s scraplift challenge (I’ve deliberately left my shadowing off this copy of the page so I can walk you through the quick steps for creating — and using — your own, personalized shadow styles)…
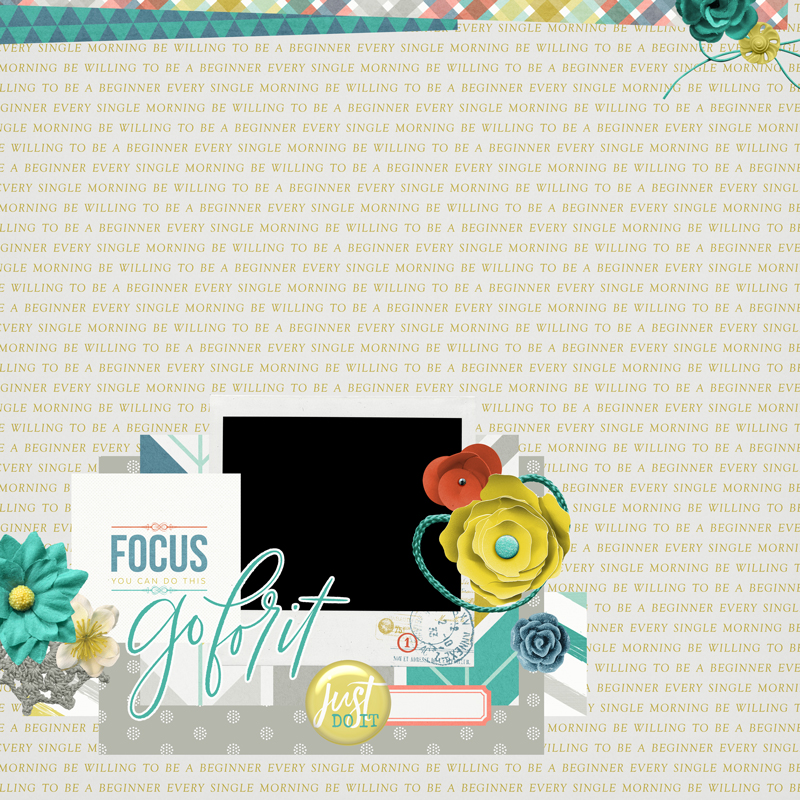
As you can see, with regard to what needs to be shadowed — I’ve got some large flowers and some small flowers, a piece of flair, some papers, some thick and thin string elements, and even a small crotchet piece. Each item needs its own shadow, and based on my preferences… each of these items would be treated a little differently.
Let’s take a look at the large yellow flower and start there.
Click on the “fx” button at the bottom of your Layers Palette and select Drop Shadow …or use the menus and go to Layer > Layer Style > Drop Shadow. Either one will give you a pop-up menu in which to create your shadow. As you can see, I like a large, feathered shadow for my larger flowers (or similarly-sized elements). Oh, and in case you’d like to know, my “brown” color is #30200E.
See the difference on the yellow flower (lower-right corner) now?
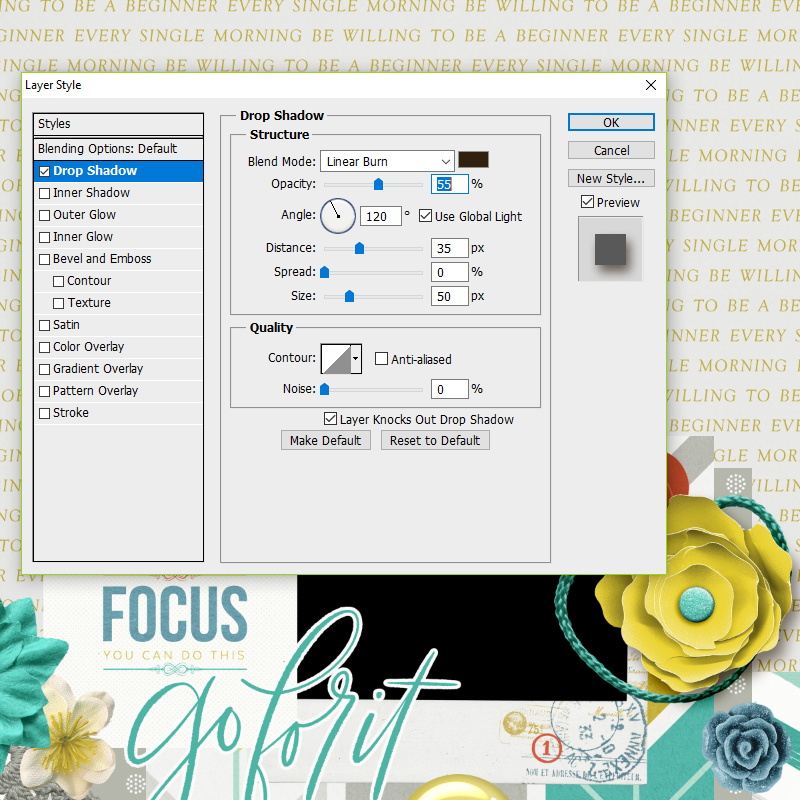
Once you have the foundation of your shadow set, instead of hitting that “OK” button… click “New Style” instead. Give the style a name you’ll easily remember, and now click “OK.” How easy was that?! You’ve just created your own, personalized shadow style! Repeat this step for each of the different design elements.
But how do you actually use these styles once you’ve created them?
If you don’t see the Styles palette in your workspace, go to Windows > Styles. When this panel first opens, you might see something like this – but don’t panic! (and please don’t judge, haha! …I have a lot of styles in Photoshop!)…

You’re probably wondering how on earth are you supposed to find the styles that you just created for yourself? I’ll give you two tips that will help:
- You can change the “view” for the palette to something that’s much more manageable. In the upper right-hand corner of the Style box, there’s a drop-down menu button — click on that. I like “Small List” or “Large List” as my preferred viewing format as it gives me both the display icon and the text label, like Large Flower.
- As you create or add styles, they will be at the bottom of your list; they append each time. Scroll down.
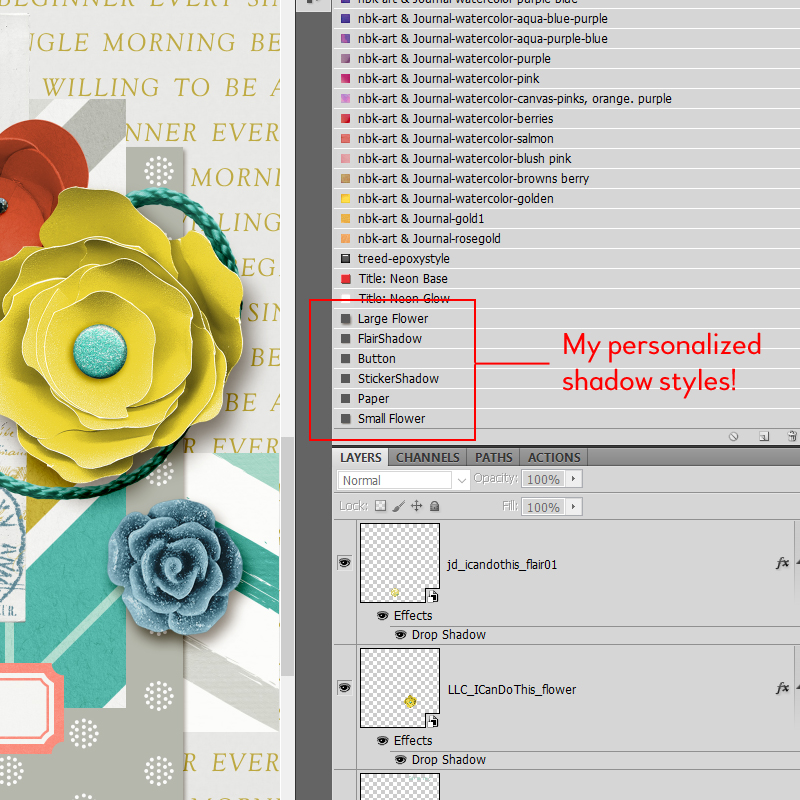
To apply your new styles, click on the element layer to make it active, and then click on the appropriate style. See? Two clicks of the mouse and you are done! You can even select multiple layers by holding down the Shift key and then apply a single style to them all at once (which is very handy when you’ve got a lot of paper layers, or if your scrapbooking style includes a lot of clustering).
Remember the non-shadowed page that I started with (see above)? By using my own custom styles, I was able to shadow the entire layout in a matter of just minutes — seriously, minutes! (even with further customizing a shadow or two)…
[ Credits: I Can Do This | March 2017 Collaboration kit from the designers at The Digital Press ]
If you’re in a time-crunch, or you just find yourself repeating the same steps over and over again while shadowing your scrapbook pages… creating your own personalize styles might just be the short-cut you are looking for! Easy to create. Easy to use. What more could you ask for? 🙂
![]() About the Author Kat Hansen is a creative team member here at The Digital Press. A Director of Human Resources by day, she loves the opportunity to spend a few hours each evening being creative. Vacation memories feature pretty heavily in Kat’s scrapbooking pages, as do her son and “daughter” (of the four-legged furry kind). Kat has quite the sense of humor (she “blames” her father for this), which she incorporates into her journaling and memory-keeping.
About the Author Kat Hansen is a creative team member here at The Digital Press. A Director of Human Resources by day, she loves the opportunity to spend a few hours each evening being creative. Vacation memories feature pretty heavily in Kat’s scrapbooking pages, as do her son and “daughter” (of the four-legged furry kind). Kat has quite the sense of humor (she “blames” her father for this), which she incorporates into her journaling and memory-keeping.
Which Photoshop version are you using? I’m guessing that it isn’t elements? I have PSE9 and only some of those options are available.
I just encountered this post and loved the tip of the changing look of the display of styles!!!
Is there any possibility you think to make groups of them like you can in actions?
Wow!
I consider myself still a newbie in didgi scrapbook, but I already use same style in shadowing as you. Well, I like 45 degrees more than 120, but my finished layouts look almost the same as yours.
So, thanks for great tutorial how save my styles, I never got to learn THAT before.