Welcome to another edition of our Tutorial Tuesday series here on The Digital Press blog! Today, I’m going to share a really simple trick for saving space on your computer’s hard drive… converting PSD files to TIFF format!
If you have templates or layouts saved on your computer in PSD format, you know that those PSD files can take up a lot of space on your hard drive. Did you know that TIFF files take up less space if saved correctly — and they are just as high-quality, and work just as well? Today, I’m going to show you how you can easily and quickly convert all of your PSD files into TIFFs simultaneously! That’s right! With Photoshop, you can batch-convert all of them in one fell swoop. I kid you not! It’s easy if you follow these step-by-step instructions… so let’s begin…
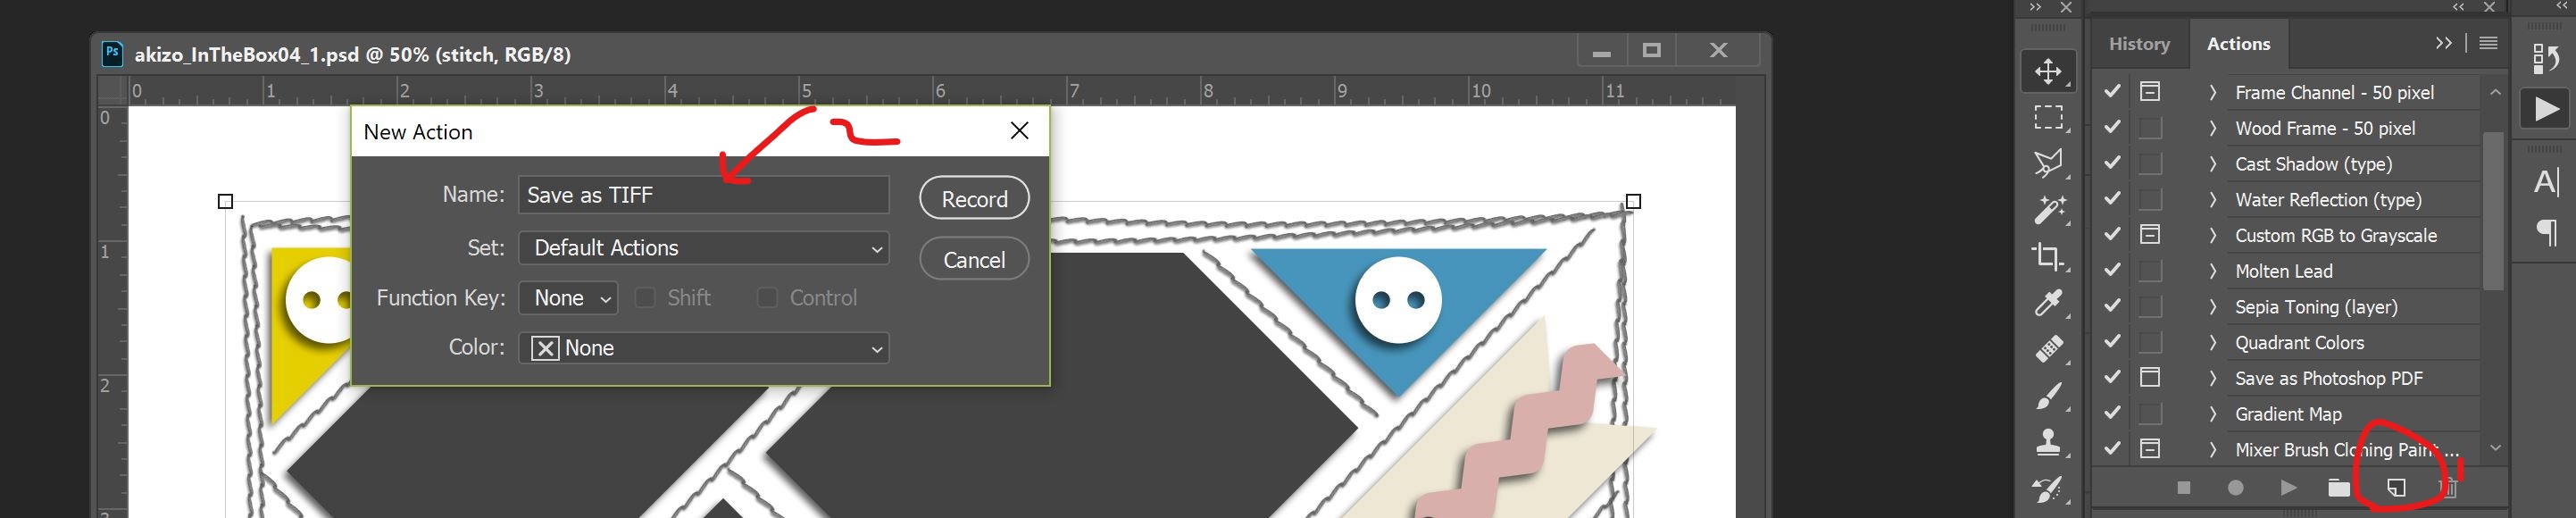
1. You need to create an action that saves files in TIFF format correctly. To do that, open one of your layered PSD image files.
2. With that file open, go to your actions panel and click on the ‘Create New Action’ button, name it something like ‘Save As TIFF,’ and hit the Record button.
3. Next go to File > Save As > Select Format ‘TIFF’ …select both ‘LZW’ (for Image Compression) and ‘ZIP (slower saves, smaller files)’ for Layer Compression (the other settings can be left at their defaults — Interleaved for Pixel Order, and IBM PC or Macintosh for Byte Order)… and then click ‘OK.’ Save your new TIFF template.

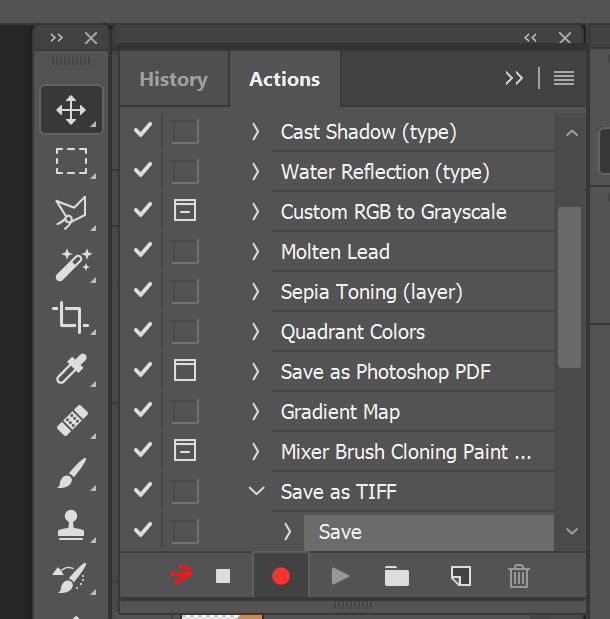
4. Next, you want to finish the action you were recording… by clicking on the square ‘Stop Action’ button. You have just created your action.
5. Now, to use that action to help with the batch process… go to File > Automate > Batch.
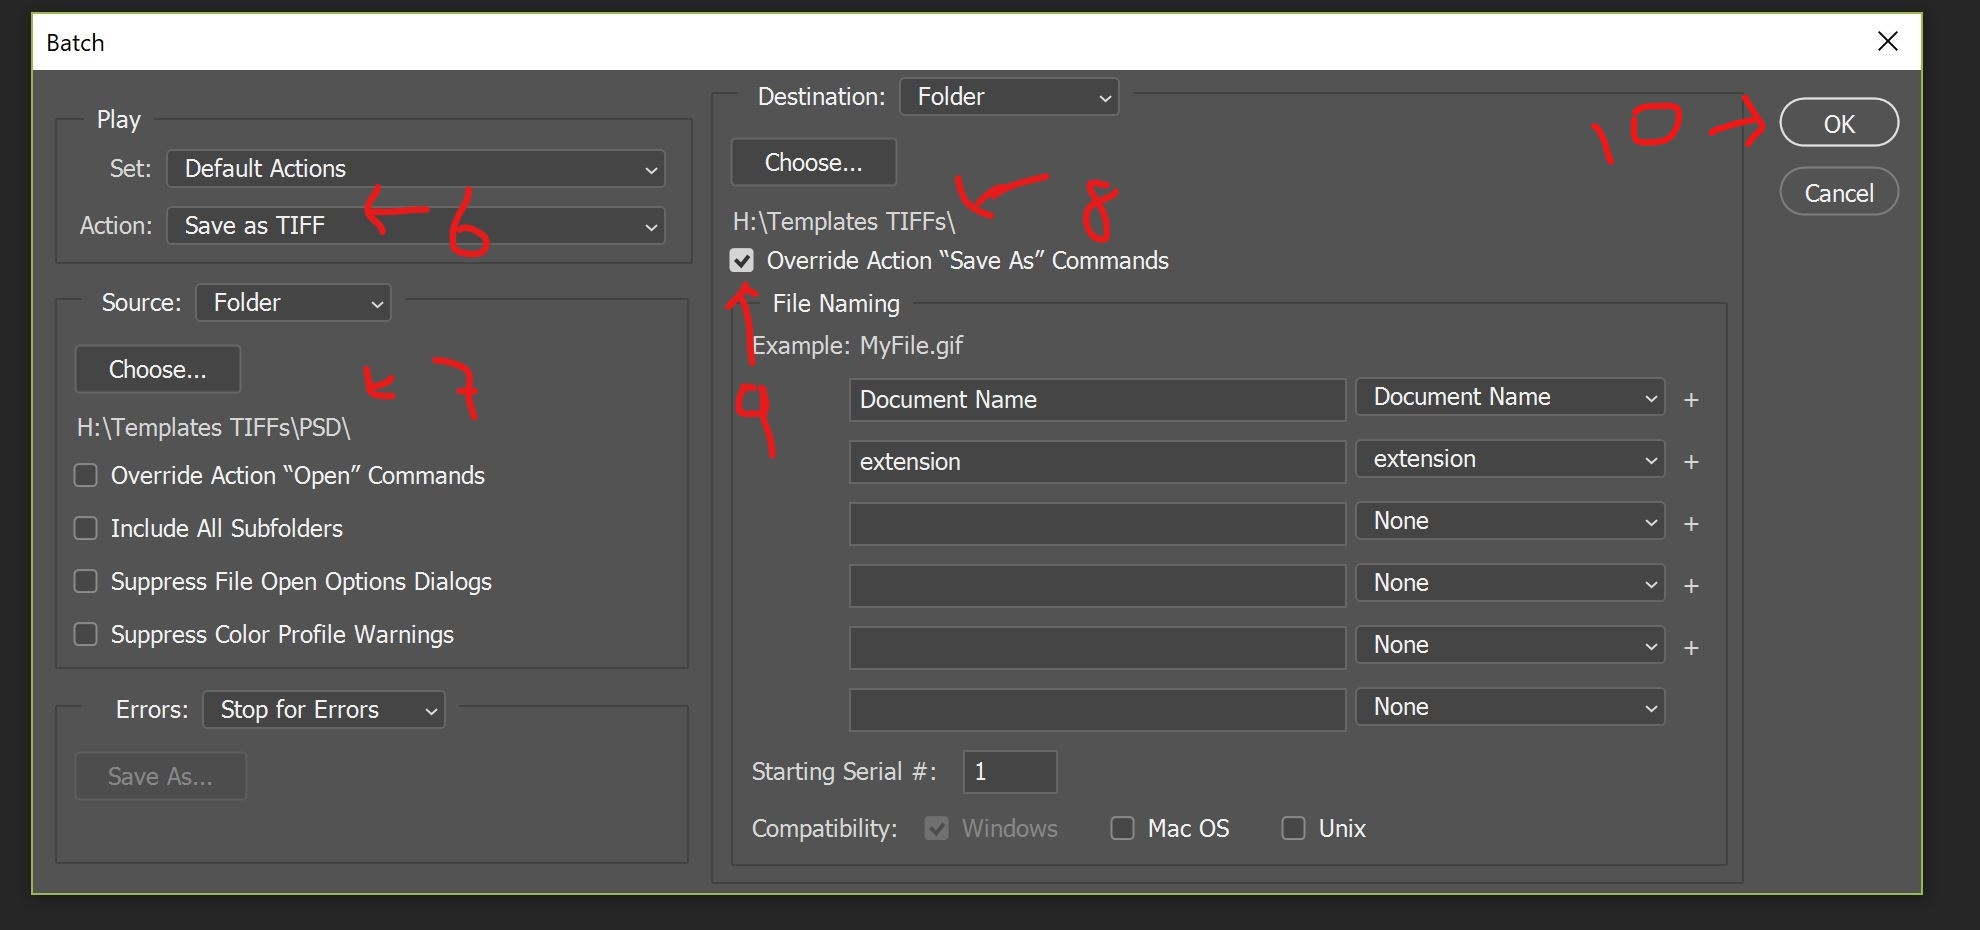
6. Select the action you just created in the ‘Action’ drop-down list.
7. I put all of the PSD templates I wanted to convert in one folder on my hard drive; this made it much easier to do all of them at one time. Once you know where your templates are, go to ‘Source’ and select the folder that contains the layered PSD files you want to convert. If you have subfolders with files in them, you could also check ‘Include All Subfolders’ (see image example, below).
8. Select where you want the new TIFF files to go, once converted. I put them in a separate folder, but you don’t have to.
9. Please make sure you check ‘Override Action “Save As” Commands’ — to ensure that it ignores the filename and destination folder used to create the action.
10. Click OK to start the batch process. If you have a lot of files to convert (like me!), this could take quite a bit of time to complete.
Once the action finishes running and all of your files have been converted — that’s it! You are done! For this tutorial, I have converted templates from TDP Designer Akizo Designs… but you can obviously convert any PSD files. I even converted all my layouts from PSD to TIFF, and it worked beautifully (such a great space-saver!)!
You can see in my screenshot, below, that my PSD files were a total of 676 MB… but after converting, my TIFF files were only 272 MB. I saved a ton of space on my hard drive by doing this! Also, I have the added benefit of being able to see my templates and layouts as thumbnails (without the generic PS icon). That in itself was a great reason for me to convert these files!

If you’re storing a bunch of templates and/or digital layouts in layered format… you will definitely want to give this a try! 🙂

About the author Robin is a member of the creative team here at The Digital Press. A wife of 26 years and a mom of 4 crazy children (3 in college and 1 still at home), she says that her life occurs mostly in the car as she transports said crazy kids to their many, many homeschool activities. When not driving, Robin loves to make her family cringe by pulling out her camera again (and again, and again…).