I love the look of black and white photos on a scrapbook page. They have the aura of looking “artistic” and work particularly well when mixed with colored photos.
If you are wondering how can you improve your black and white photography to make your photos pop… today’s Tutorial Tuesday is for you! 😉
Here are a few simple tips:
1. Take your photos in color.
Don’t use your camera’s black and white conversion option. Your favorite photo editing program (whether it be Lightroom, Photoshop, or some other similar program) provides a lot of flexibility to convert a color image into a black and white image. These options are much more limited, however, if the original photo is taken in black and white.
2. Look for contrast.
The best black and white images are taken by those who know how to look in black and white. Look for contrast in light and shadows. Look for a large range of lightness or darkness. Look for lines.
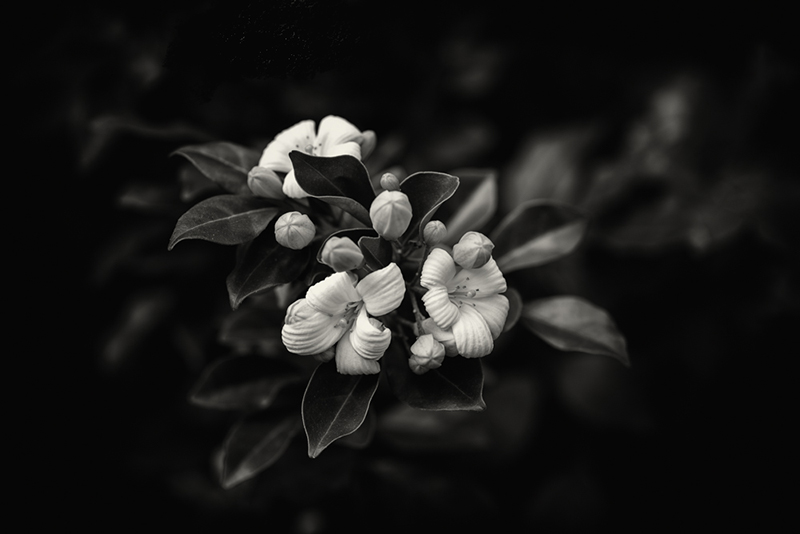
Black and white images are often more effective if they contain a true black, true white or both. What does this mean? It means that you need a part of the image to be “white” or “black” to ground the image. If this is not possible, you will definitely still need a wide range of grey; otherwise, the image will appear flat.
If you look at the following two image examples… the first contains black to ground the image, while the second contains white…
3. Look for patterns and texture.
Textures and patterns often look far better in black and white, because color does not compete for attention.
In the following photo, you can see the wonderful texture in the foreground sand and the shape of the old tree threatened by the rising ocean…

Likewise, the texture of the sand and geometric pattern of the wheel actually look more clear without color in this next image…

4. Try not to over or underexpose.
You can use your photo editing software to recover areas that are underexposed or overexposed, but it often creates noise in the photo which has the appearance of splotches or grains of discoloration. Noise will also appear in photos taken at high ISO settings. These defects are more visible in black and white than in color. It really does help to get the correct exposure in camera before taking the photo (and if necessary, using a tripod to steady your camera in low light).
For the following image, I used a tripod and long exposure (6 seconds) to soften waves at the beach…
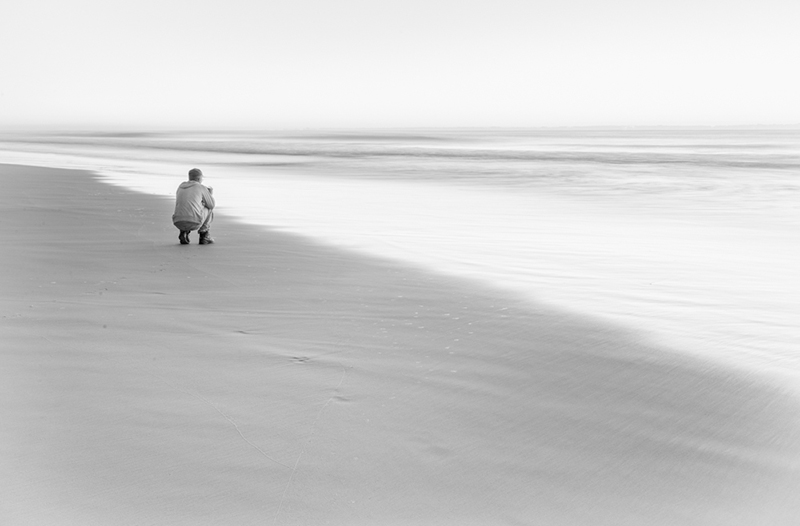
It helped that my partner had no idea I was taking the photo. 😉
I hope that these tips can help you to take some better black and white photos. Please have fun experimenting with black and white! I’d love to see what you can do, so definitely feel free to link me up to any of your photos in the comments below. Next month, I’ll follow-up today’s post with another that will give some tips on using your photo editing program to convert color photos to black and white (and how to make these images really pop!).
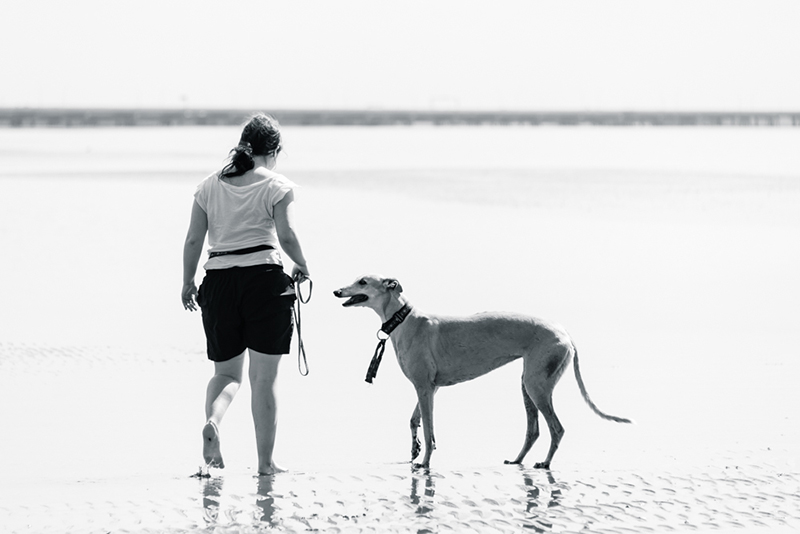
I have one last photo of mine to share today… and this is one of my favorites. It shows our darling 12-year-old rescue greyhound, Zsazsa. She is good in any color.

![]() About the author Carolyn lives with her partner, eldest daughter and 3 rescue dogs on 5 acres of paradise in the hinterland of the Sunshine Coast, Australia. Her camera, along with an assortment of lenses, is never out of sight. When not taking photos, she loves cooking and gardening. Her new organic vegetable garden has been well photographed.
About the author Carolyn lives with her partner, eldest daughter and 3 rescue dogs on 5 acres of paradise in the hinterland of the Sunshine Coast, Australia. Her camera, along with an assortment of lenses, is never out of sight. When not taking photos, she loves cooking and gardening. Her new organic vegetable garden has been well photographed.
Thank you for your post, Carolyn. I must say in the past I have struggled to produce a good black and white image but the details you provided in this post had lightbulbs going off in my head, especially the tip about texture. The DP creative team has the most helpful blog posts of any digiscrapping site by far. Cheers!
Carolyn, those photos – and tips – are great. Zsazsa looks every bit the Queen there, resting … but I have to say, I totally love the one of the white flowers on the dark background!
I have learned so much, thank you very much.
Great tips! thank you for sharing
This tutorial is great. I really enjoyed learning the important tips regarding to make a photo better in black and white version. Thanks for the post.
I love your photos….they are amazing. I’m not great at photography and I learn something new everyday in PSE. I can’t wait till your post on using the editing programs. THANKS for all the helpful info. I’m going to be referring to it later when I get better at taking photos.
Thanks so much everyone for your wonderful comments. Please share any photos in the gallery. I’d love to see what you come up with.