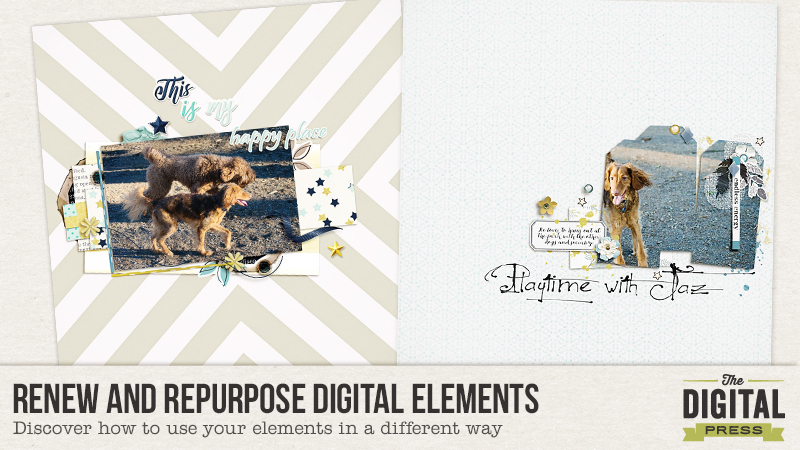
One of the most fun things about digital scrapbooking is that we are able to re-use digital products over and over, making our hobby even more economical and more fun when we renew and repurpose our favorite papers and elements.
I love to discover new ways to use elements from kits, providing more versatility for the products. I admit I have a love of Christmas/winter-themed kits, and love to find new ways to use the elements… not just for my Christmas season pages, but all year round for a variety of occasions. Do you have some older kits that you have used so many times they no longer pique your interest? Today I hope to give you some ideas on how to use some of the elements in new ways, to see your elements in a new light, and to find different ways of using them in future projects. I’m excited to share a few ideas that I’ve used in the sample pages that appear below. I used Photoshop to create my pages.
The first page I’ll share — “This Is My Happy Place” — was created with a kit by River~Rose called “This Is Your Day.” If you are creating a birthday page, this is a fabulous kit to use. I wanted, however, to use this kit for an everyday life page about my dog, Taz. The papers fit the color/design I wanted to use, but I wanted to change some of the elements to better suit my page design and my topic. Here’s a look at the page…
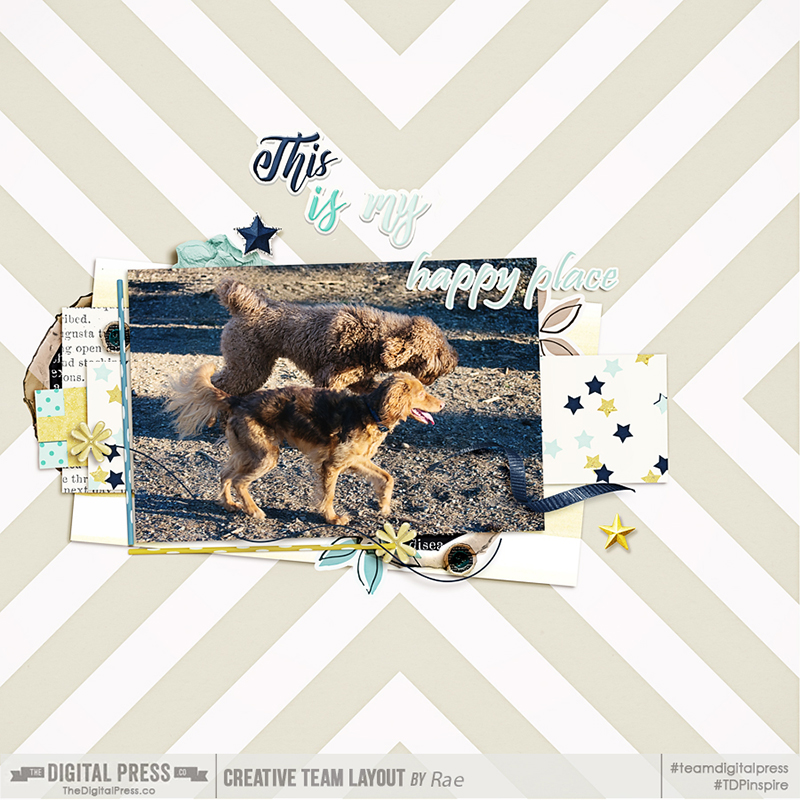
To create the page shown above, I repurposed a bunch of different elements from the kit, as follows:
- I chose two candles from the kit… rasterized these layers after adding them to the page (you can also create a smart layer)… and then with my marquee tool, I selected and deleted the ends of the candles. I then selected edit > transform (Ctrl + T) to shape them into long thin bars, placing them at the left and along the bottom of my photo.
- I also chose a layered flower and chose the blend mode “subtract” to give it a flat look with a beige edge color/dark center. I placed these flowers on the left and at the bottom of my layers, which I duplicated to also place at the bottom right, under my photo.
- I chose the ribbon and with the lasso tool I selected and deleted part of it to shorten it up. String from the balloon was selected and extracted to place along the bottom of my photo.
- The yellow heart made a fun little flower, by duplicating and turning the points in toward each other. I duplicated the flower so I could place one at the bottom of my photo and the other off to the left of the photo.
- I used the marquee tool to select the inner square of the giftbox element and tucked it under the paper layer to the left of my image.
- The last repurposing was with the word art “this is my day” …I erased the last word and created “happy place” with a font, adding a white stroke around it.
This second page I’ll share today — “Playtime” — was created with a kit by Anita Designs & Sahin Designs called “Dear Santa“. It’s a beautiful Christmas kit that contains some gorgeous papers and elements that I wanted to use to create another everyday page about Taz at the park. Here’s a look…

Here’s a rundown of the repurposing I did while creating this second page:
- First, I chose a tag and duplicated it twice. I merged all three together, created a clipping mask and clipped my image to it.
- Next, I chose the Santa element and with the magic wand, I selected one of the stars. I zoomed in as I was selecting with the wand to make sure I was only getting the star. I extracted the star, duplicated it twice, and placed the three stars at three points around the image.
- I used the magic wand again to select and extract a diamond shape out of the blue bulb (I liked that it looked like vellum). I duplicated the layer and placed both of them on the upper part of my image.
- The leaf from the kit was a darker color than I wanted so instead of recoloring it, I changed the blend mode to luminosity which took in the colors below it which was the blue/grey tones of my image.
- Out of the star matte I cut out a circle with the elliptical marquee tool and duplicated it, placing both at the top right of my image.
- The last repurposing was with the word art “it’s christmas time”, replacing it with “endless energy”. So by repurposing some of the elements, this Christmas kit worked well with my non-holiday page design.
I hope that I have given you some creative ideas on renewing your stash and repurposing elements to use with new/different kits. Now you can experiment and try extracting, recoloring, re-sizing, blending, etc. It’s a lot of fun!
Come to the forum to check out today’s challenge that goes along with this post! You can earn challenge points that can turn into awesome discounts from TDP’s shop if you participate in the challenge system throughout the month!
 About the Author Rae Clavett is part of The Digital Press creative team. She is a Canadian, living on the west coast of BC with her husband and labradoodle, Taz. She loves photo walks, coffee, chocolate, and her newest addiction — jelly beans.
These tips are VERY useful; I’ve already been doing some re-purposing (as I have kits going back ten years), but you taught me a few new tricks – thank you. And may I say the artists & products at Digital Press are simply great!
I love your thinking! Very creative techniques in this article – thanks for sharing!