.
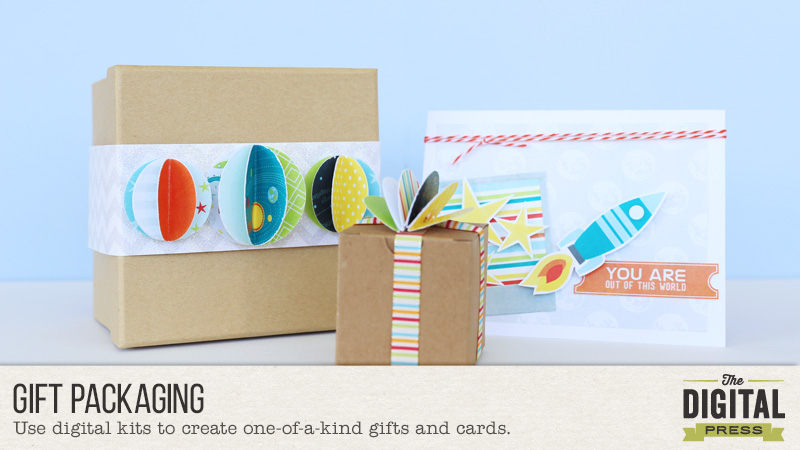
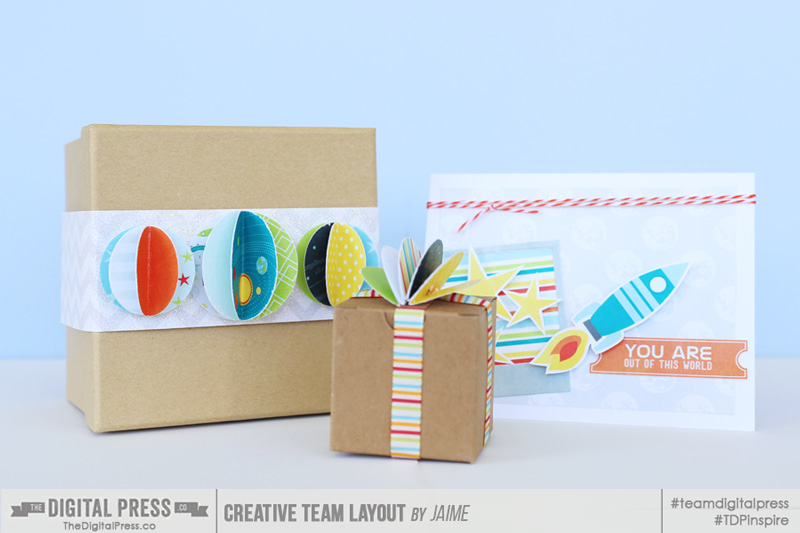
I love creative gift packaging. I truly believe presentation of a gift makes a big difference. One of my favorite things to add as gift toppers are these little paper poms. Aren’t they cute? Plus, I love making them with digital supplies, because then I can just print out the paper I need. For these projects, I used papers and elements from the new One Kit Two Ways: Out Of This World | Kit by Laura Passage.
.

.
Here’s a tutorial on how to make these cute gift toppers. They’re really simple!
.
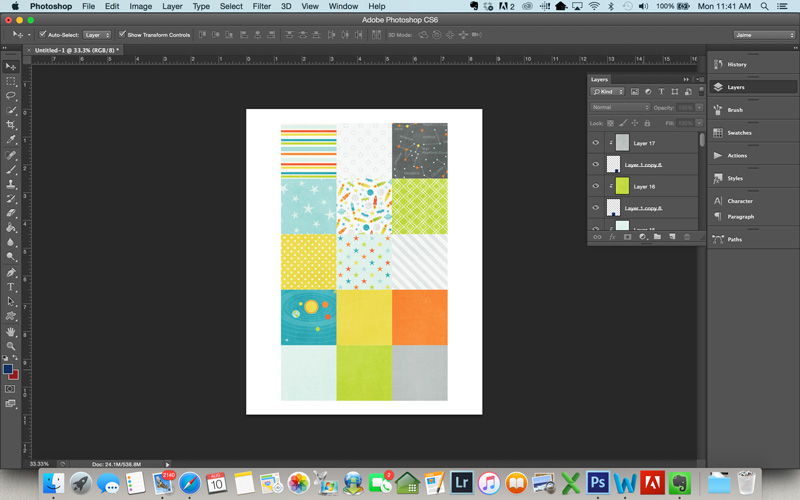
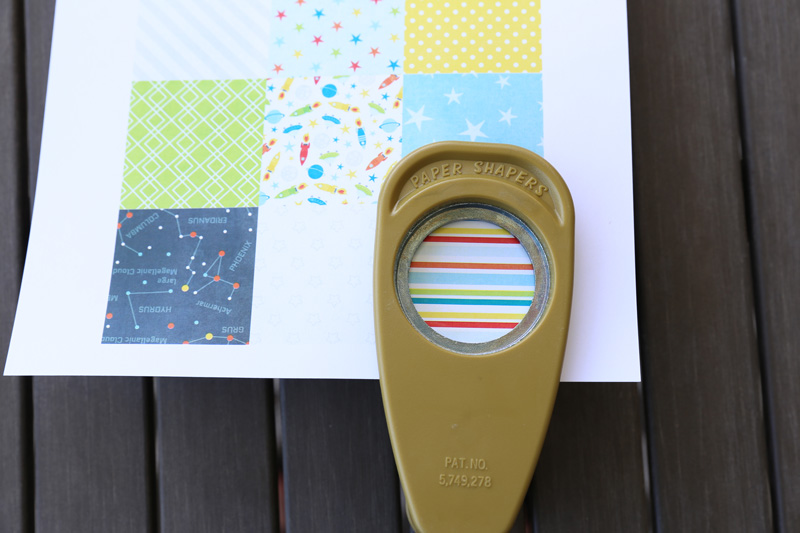
First, create a blank 8.5″ x 11″ document in Photoshop (or you can do 12″ x 12″ if you have a wide-format printer). Create squares that are about the size you want your poms to be. I used 2″ x 2″ squares because I was using a 2″ circle punch to make my poms. Clip your patterned paper to the squares to create a page of patterned paper squares as shown above.
.
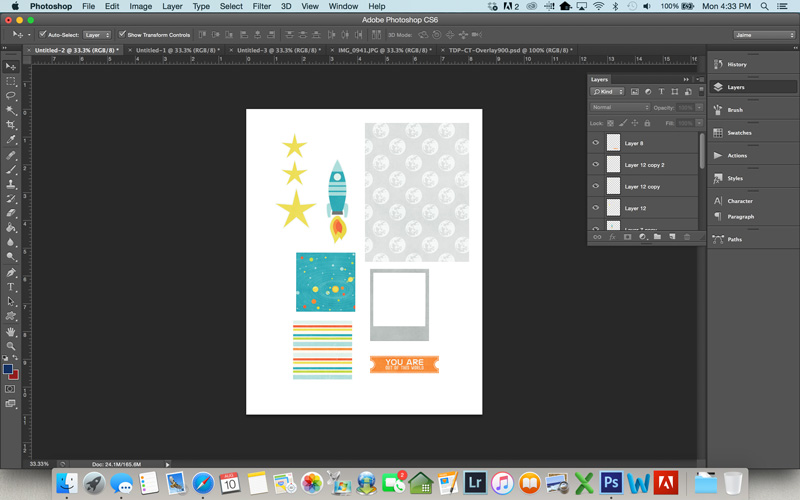
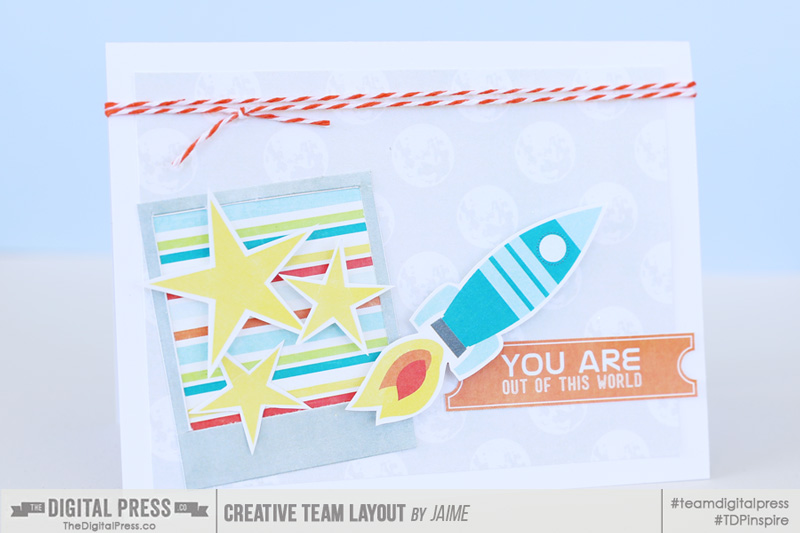
I figured while I was crafting, I’d make a coordinating card to go with my gift. To do that, I just pulled the pieces I wanted to use onto an 8.5″ x 11″ document in Photoshop and sized them to what I wanted for the card and printed the whole sheet. If you have a Silhouette cutting machine, you can print and have the machine cut out the pieces. My Silhouette was not handy, and these weren’t super intricate cuts, so I just cut them out by hand.
.
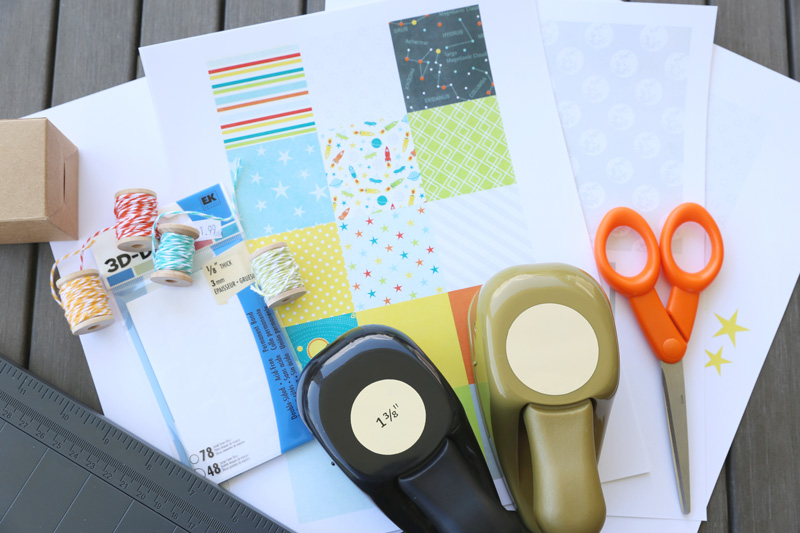
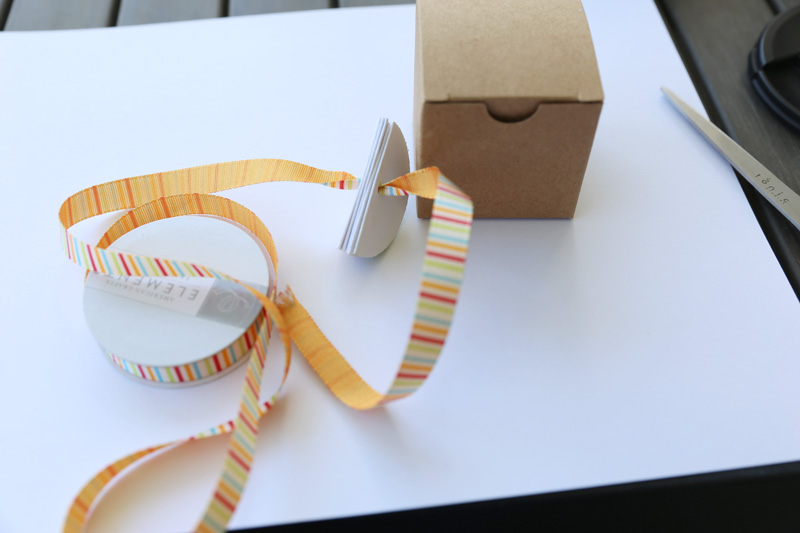
Gather your supplies. For the paper poms, you’ll need a circle punch and some adhesive, and that’s it!
.
To punch your circles, it is easiest if you hold the paper punch upside down, then you can see how the pattern lines up. Go ahead and punch your circles. You’ll need 5 circles for each paper pom. It’s really fun to mix colors and patterns on these, but you can also do them all in the same pattern/color.
.
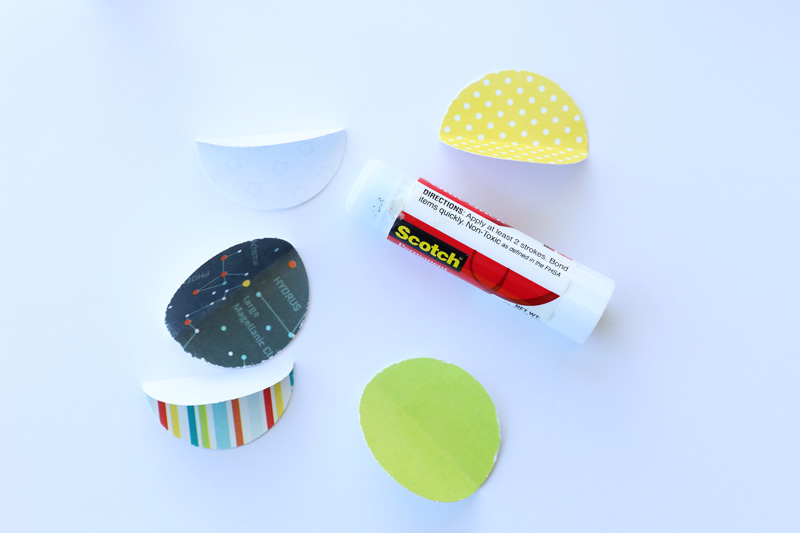
Once your circles are punched, fold each of them in half, and use your adhesive to glue the circles together (I just use a standard glue stick for these… works great). I put glue on half of a circle and glue it to the half of a different circle … just make sure you’re gluing the back sides together, not the patterned sides. 🙂
.
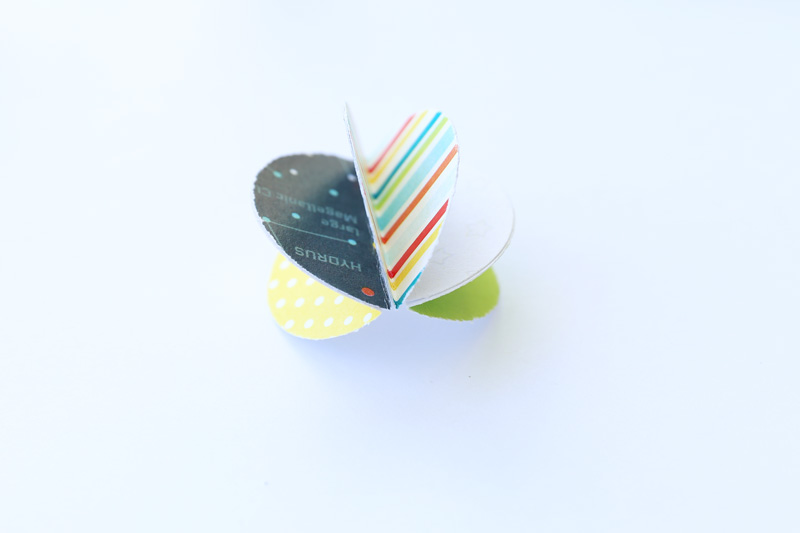
You should have something like this (above) when you’re done gluing. At this point, you can just glue the pom onto a package (or card or tag), or you can go one step further and punch a hole in the pom to thread ribbon through.
.
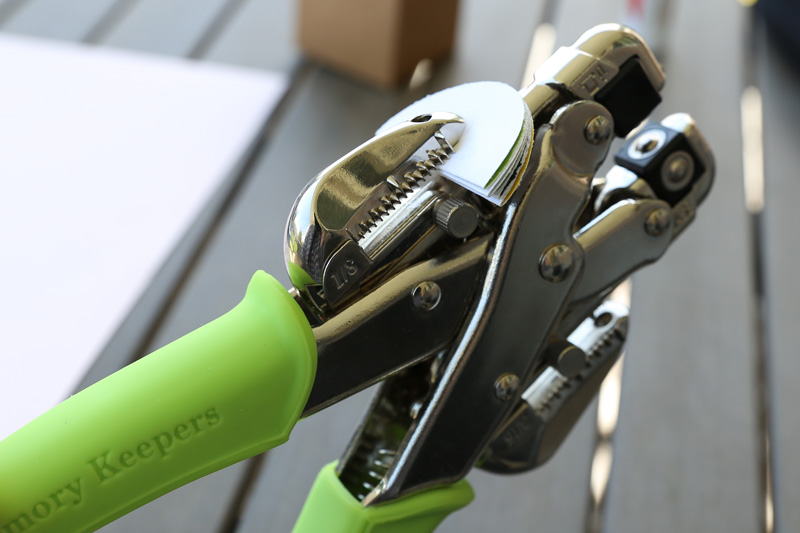
To punch a hole, fold all the circles together to create one thick half circle. I use the hole punch on my Crop-a-Dile because it will punch through that many layers. If you don’t have one of these, you may just have to punch one layer at a time.
.
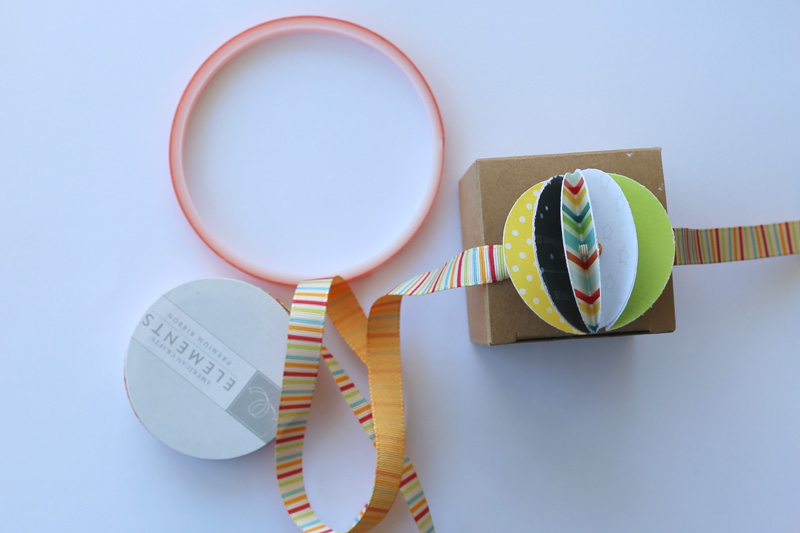
Thread your ribbon or string through the pom.
.
Place the pom on top of your package and wrap the ribbon around it, puffing out the pom at the same time. Adhere the ends of your ribbon together on the bottom of the box. I use that red adhesive in the picture (called Terrifically Tacky Tape) to adhere my ribbon ends together because it is really sticky and does a good job of holding the ribbon together.
.
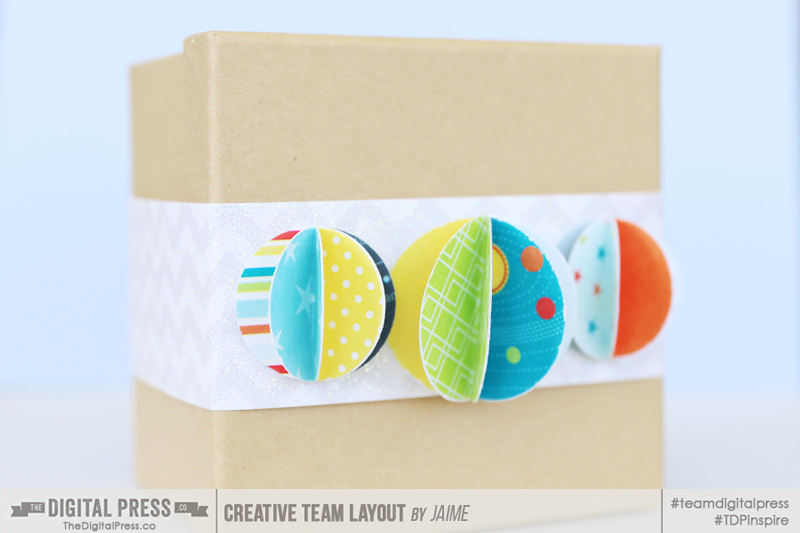
See how cute it is? It just adds a little something extra.
.
Here’s another one where instead of punching holes in the poms, I just glued them on. I also used two different sizes of circle punches to get the different sized poms.
.
Here’s the card I made using the pieces of I printed out. I love it when my cards coordinate with the gift I’m giving.
.
Wouldn’t that be a fun little gift to receive?
 About the Author: Jaime is a member of the creative team here at The Digital Press. She is a stay-at-home mom to 4 boys and 1 girl. When she’s not chauffeuring, volunteering at school, or helping with play costumes, she likes to digitally record her family’s memories, improve her photography skills, and read (there’s always a stack of books on her nightstand).