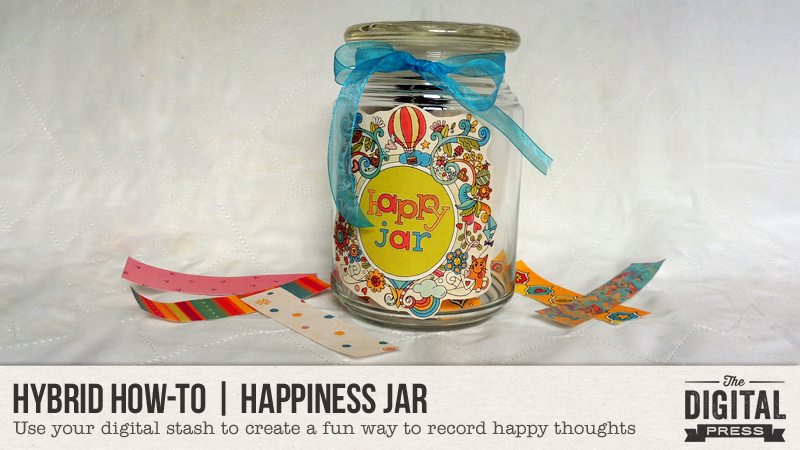
Hello everyone! It’s Donna here, and I’m excited to share another edition of our Hybrid How-To series with you here on The Digital Press blog! Today, I have a fun project for you that will allow you to capture and document your happy moments throughout the year… a Happiness Jar!
The idea behind the Happiness Jar is quite simple: on a daily, weekly, or monthly basis (your choice!), every family member writes down what they are happy about or thankful for… and places their written thoughts into the Happiness Jar. At the end of the year, it’s really fun and meaningful to empty out the jar together as a family and have fun reading/reminiscing about all those moments that brought you joy.
It’s a really easy project, too… so let’s get started!
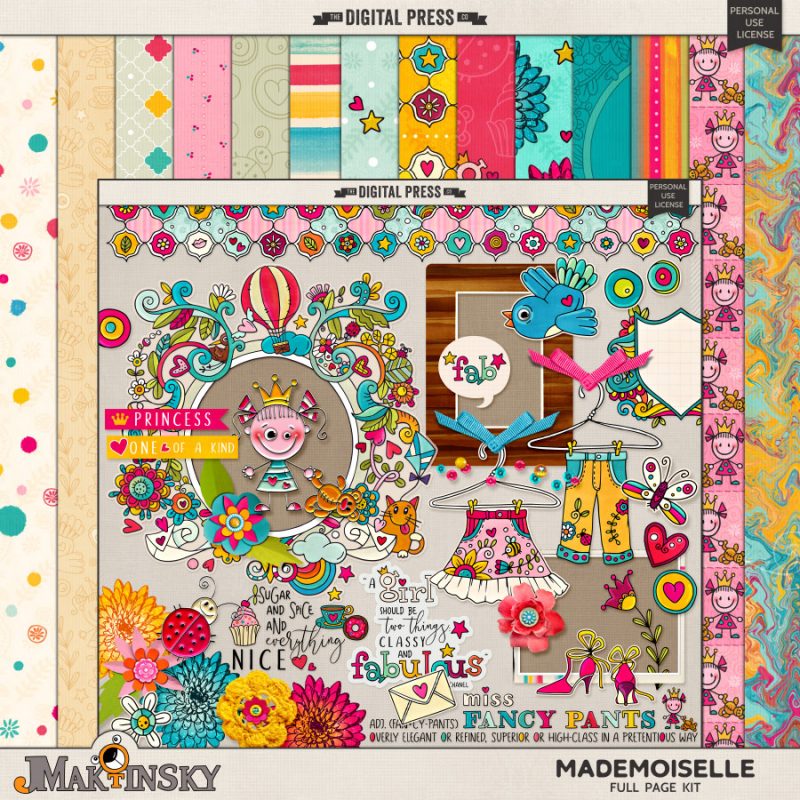
For my example, I will be using the digital kit Mademoiselle by Julia Makotinsky, shown here…
I love the fun, whimsical feel and the bright colors of this kit (and doesn’t that little bluebird element just scream “Bluebird of Happiness” to you?!).
SUPPLIES NEEDED:
- digital scrapbooking kit(s) of your choice
- photo editing software (I am using Photoshop Elements)
- empty jar
- printer/copy paper
- label paper (could use Printer/copy paper & double-sided tape instead)
- scissors or paper cutter
- binder clip
- ribbon (optional)
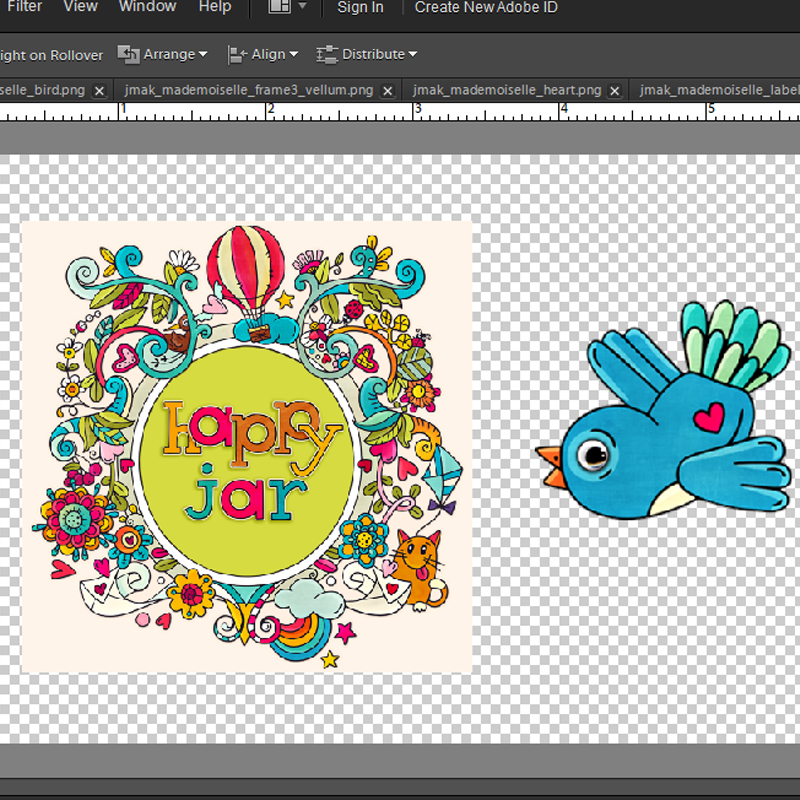
The first step is design the jar labels. I used an empty candle jar, but any style of jar will do. In my photo editing software, I designed labels for the front of the jar, as well as for the lid…
The next step is to create the strips of paper that you’ll use to write down your happy thoughts. You’ll need to do a little calculating here to determine how many strips of paper you’ll need. Since it’s just hubby and I, and we will do this weekly… I’ll need 104 strips of paper (52 weeks X 2 people = 104). The size of my paper strips are 1″ x 4.25″, meaning I can get 22 strips from one piece of 8.5″ x 11″ printer paper. This means I will need 5 sheets of printer paper (22 strips x 5 = 110)… so I chose 5 papers from the kit I am using and printed those papers out to add a decorative touch to the back side of each strip.
The image below shows where the strips should be cut on an 8.5″ x 11″ piece of paper…
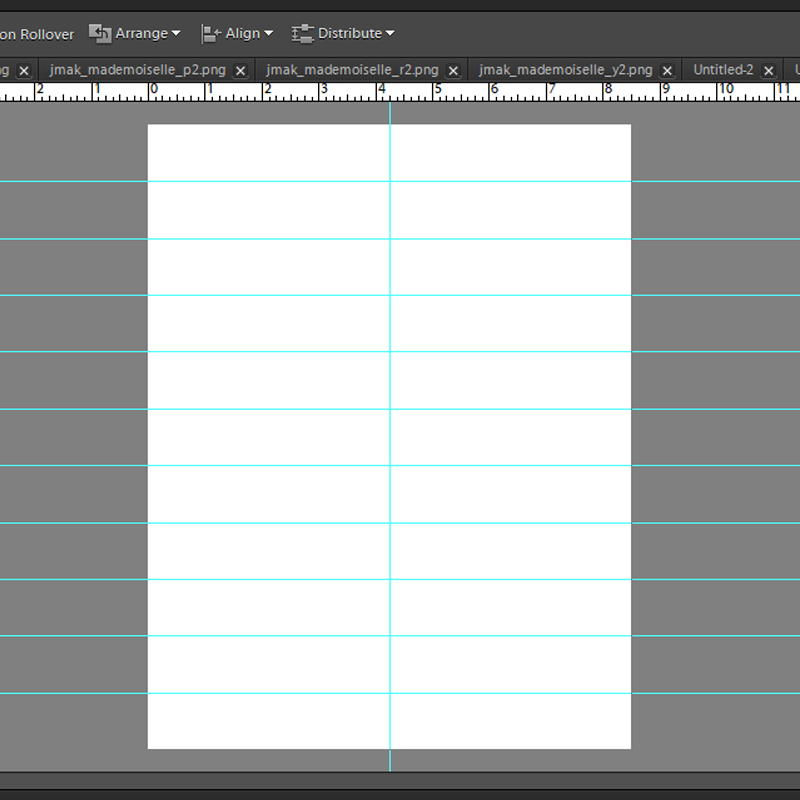
If you are cutting with a scissors, you may want to include the lines on your papers before you print them out so you will have a cutting guide (optional). If you are using a paper cutter or cutting machine, having the printed cut lines isn’t necessary.
Here’s a look at my labels and papers printed out…
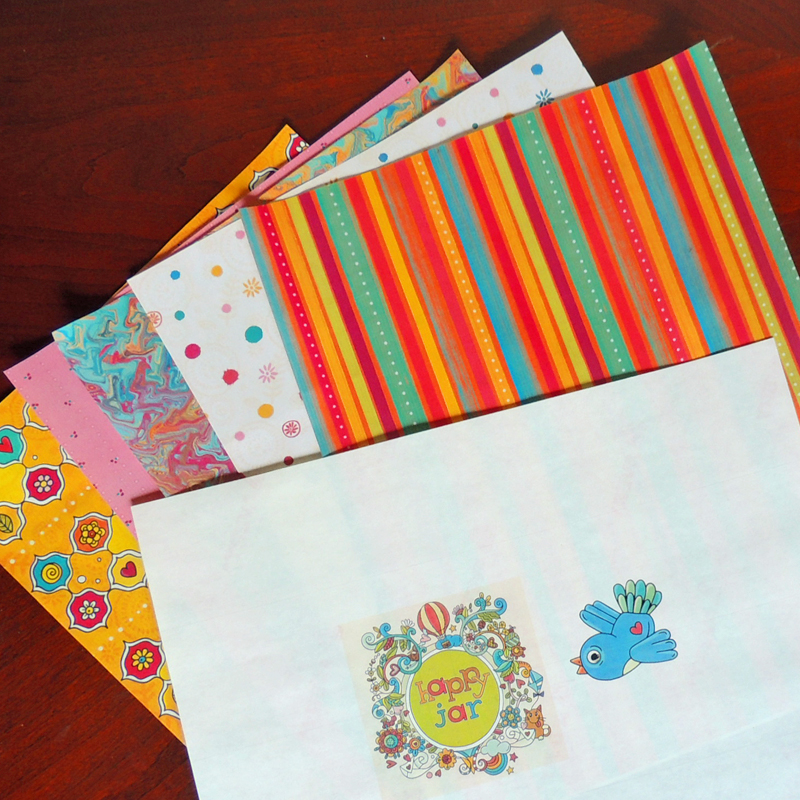
The final step is to assemble everything, as follows…
- Cut out the jar labels and adhere them to the jar (if you used printer/copy paper, you can use double sided tape to adhere them)
- Cut out the small paper strips (I used a paper cutter)
- This last step is optional… but for myself, I didn’t want the little paper strips to get lost (which they certainly would, laying loose on my countertop all year!), so I used a binder clip and tied them to the neck of the jar with a ribbon. You could also keep your strips in a drawer or a little box, etc. and skip this last step… it’s up to you!
And that’s it! Your Happiness Jar is now ready to collect all your joyful moments. The entire project, from start to finish, took less than 2 hours.
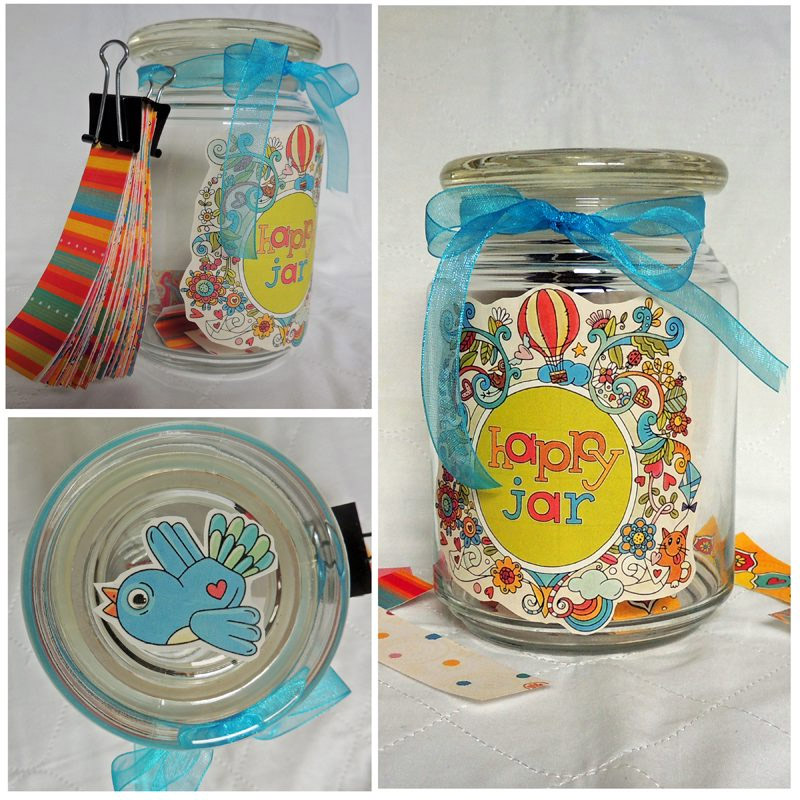
I wanted to also share with you a few variations of this idea that could easily be adapted from this tutorial…
- A “Mom, I’m Bored” Jar — start out with the jar full of fun ideas, and when the kiddos are bored let them pick from the jar to find inspiring ways to combat their boredom
- A “Date Night” Jar — start out with the jar full of fun date ideas, and let date night be determined by the luck of the draw (this would also work for the “What do you want for dinner?” dilemma that occurs frequently at our house)
- A “Journal Prompt” Jar — start out with the jar full of journaling prompts, so when the urge to write surfaces you’ll have something to write about
- A “Scripture or Positive Thoughts” Jar — start out with the jar full of scriptures or positive thoughts, and pull one out when you need a little uplifting
I hope these ideas will inspire you to create your own jar! If you decide to make a happiness jar (or any variation, like those listed above), please let us see it! You can load your project into the gallery at TDP and leave a comment below with a link to your project… etc. I would love to see what you come up with!
 About the Author Donna is a member of the hybrid team here at The Digital Press. She has been a digital scrapper and hybrid crafter for over 10 years, and loves the flexibility digital products provide. When she’s not scrapping you’ll find her in front of the TV, at the computer, or in the kitchen cooking up something scrumptious. She has been married for 40 years to her husband, Sonny, and they live in South Florida with their sweet little dog, Roxy, and kitty siblings Cashmere and Velcro. She also enjoys swimming, gardening, traveling, and chocolate (of course!).

