Hello everyone! It’s Tanya here, and I’m excited to share another edition of our Hybrid How-To series with you here on The Digital Press blog!
I don’t know about you, but I love fall. I love the crisp cool air, the colors, the smells, and the events to come… October Fest, Old Settlers Day, and most of all HALLOWEEN (the cutesy, not scary)! Today I am going to show you how to create some fun Halloween party supplies using your favorite Halloween digital kits!
I have several fun things to show you…. so let’s get started.
SUPPLIES NEEDED:
- Your favorite digital Halloween kit(s)
- White cardstock
- Pop dots
- Double sided tape
- Wooden picks for cupcake toppers
- Party Straws
- Ribbon
- Plastic silverware
- Scissors
For this project, I used the following digital products…
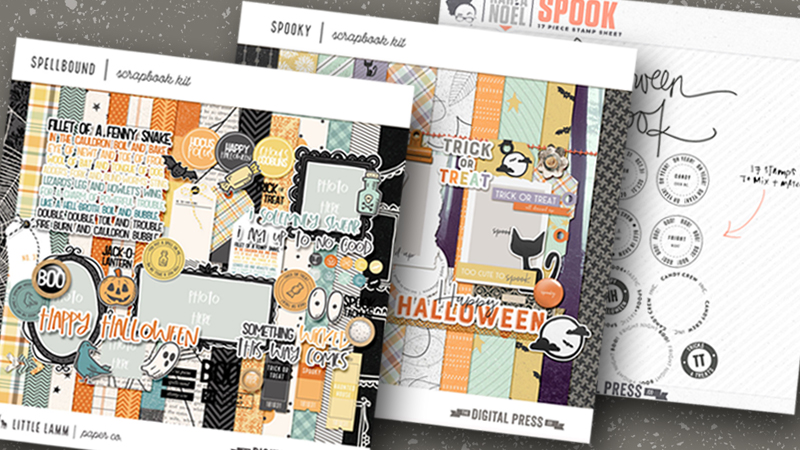
[ the brand new kit Spellbound by Little Lamm Paper Co, — Spooky by Little Lamm Paper Co. — and Spook by Karla Noel ]
*NOTE* I have recently upgraded from Silhouette Studio Edition software to the Silhouette Business Edition. There are a few features that I have really liked so far… the biggest being that with the Business Edition is that you can use more than one computer at a time. I haven’t tried it yet, but I will soon!
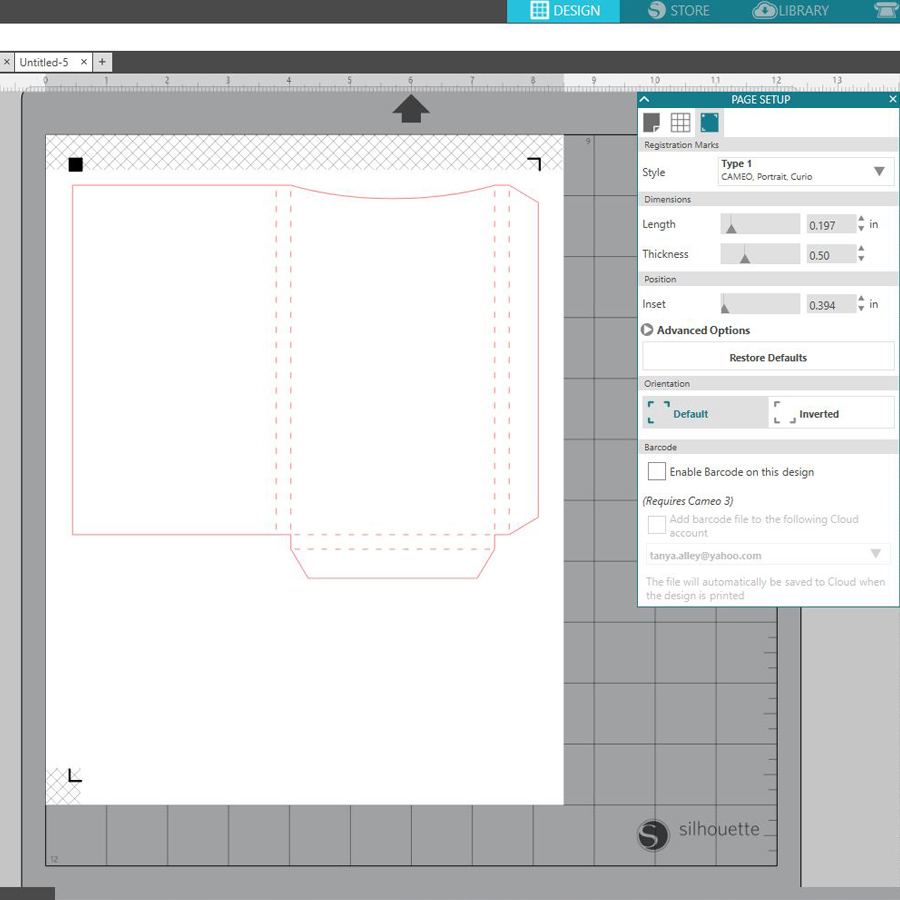
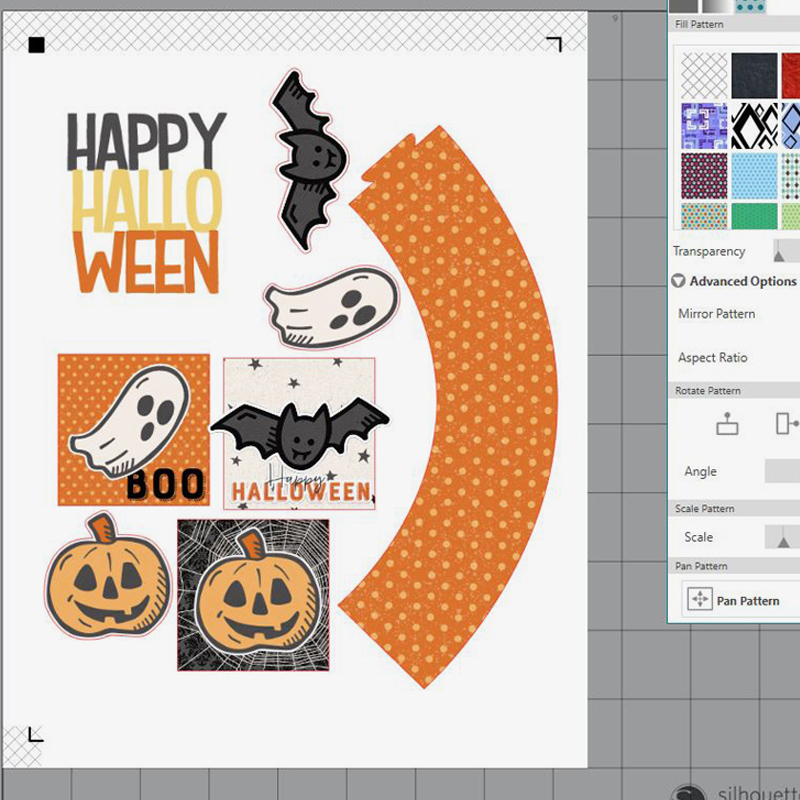
For my first step, I opened the following silverware box cut file that I already had in my stash of hybrid files. I did reduce the file size by just a little (and after cutting it out, I’ve decided that you can go even a tad smaller if you want to; It’s just one of those things you have to play around with)…
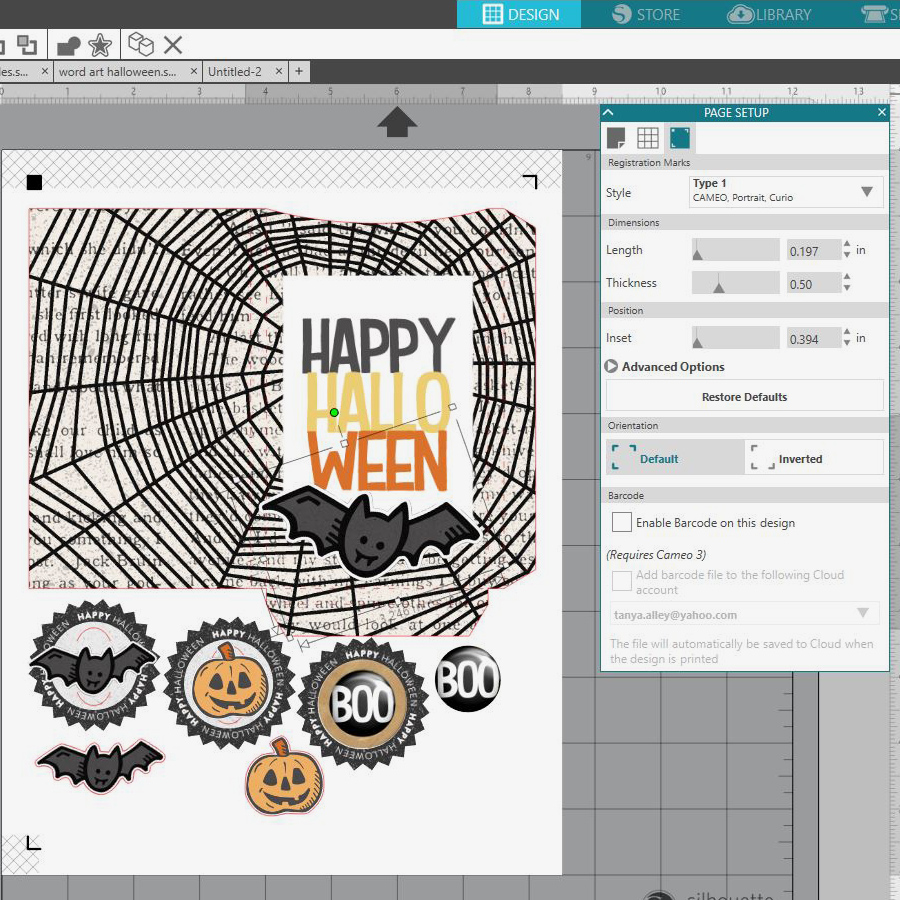
 My next step was to choose digital paper for my project. For this, I opened the file where my paper was saved on my computer and drug it straight to the box file within my Silhouette software. You can see here how simple it is (and note that you can go into FILL PANEL and adjust the size and orientation of the paper)…

Next, I continued opening the elements and journal cards that I wanted to use for this project. I moved them around until I was happy with the placement. I love to have dimension on my projects, so I usually cut out extra pieces that I want to be raised up. This isn’t necessary, but I think it gives a neat finish to the project. However, if I were having a really large party, I don’t think that I would waste the time or money doing this.
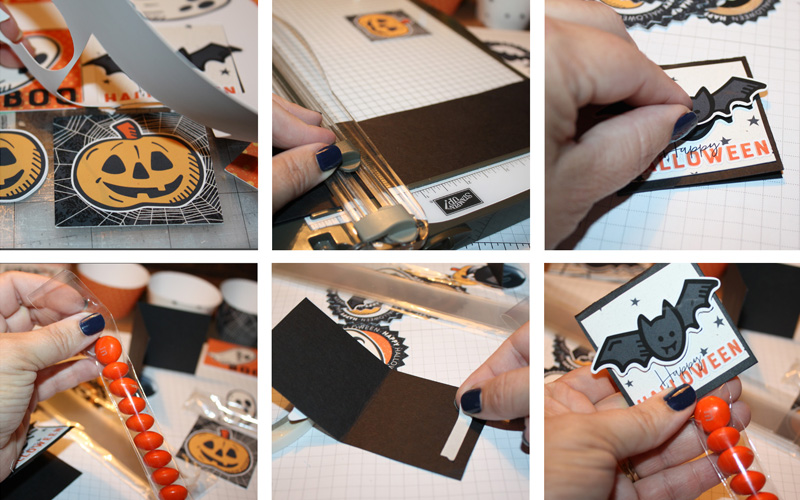
After I finished creating the party supplies I printed each sheet out, ran it through my cutting machine, and assembled as shown below. Here are a couple of tutorials from TDP’s blog if you need more info on print and cuts… HERE & HERE. I used double sided tape to assemble, and then I used pop dots to attach the embellishments I’d cut out in order to add dimension.
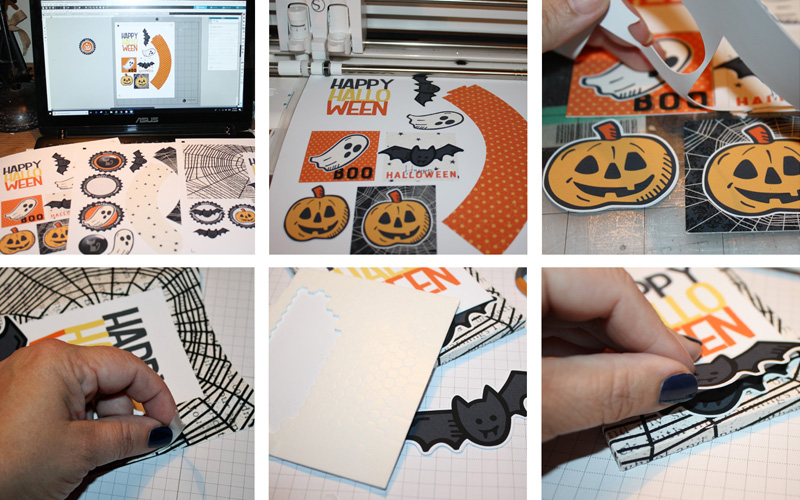
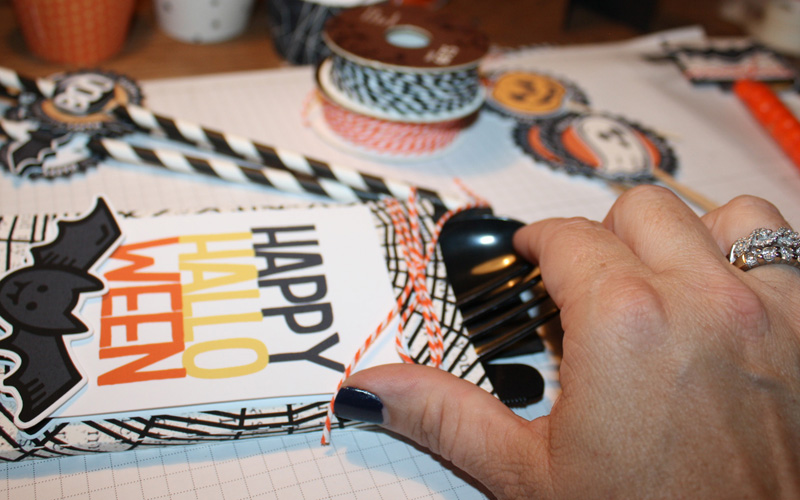
Once I had the silverware holders assembled, I filled them with plastic cutlery…
Next came the cupcake holder… and for this, I opened a cupcake cut file that I created a while back. It’s simple and no scallops, and so I thought for Halloween it would be a good choice. I created toppers, as well, with extra pieces for dimension.

After creating the pieces you see above… I simply print, cut, and assembled…
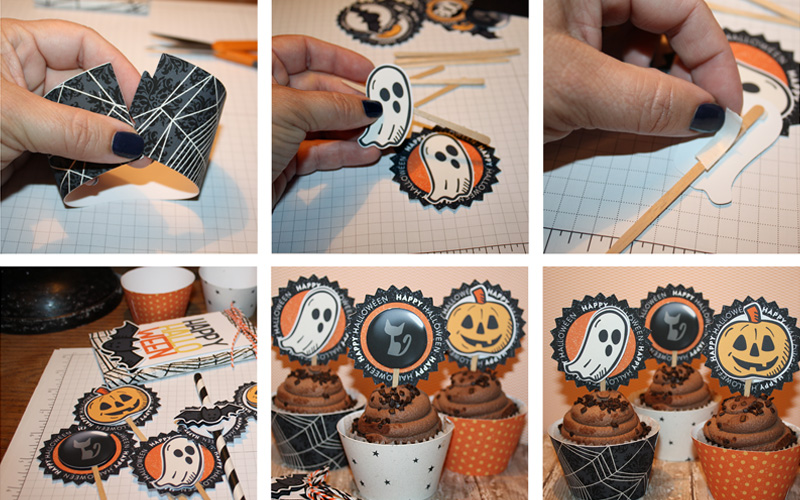
*NOTE* For the toppers, I used little flat wooden sticks that I purchased from Hobby Lobby (they can be found in the raw wood section; I have also seen them at JoAnns Fabrics). I prefer using these over toothpicks because they are flat and your toppers lay flat without ugly ridges in your toppers. I used double sided tear tape to assemble. You can use glue, but the tear tape is awesome.
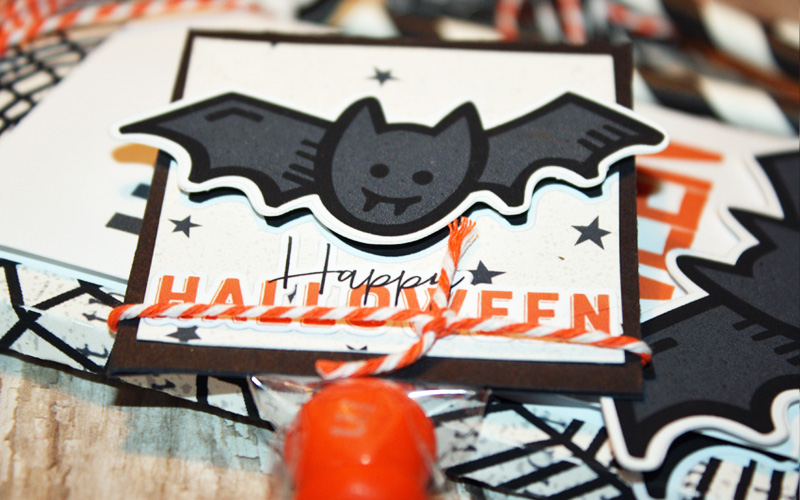
Finally I created some candy treat toppers, as well. For these, I created 2″x 2″ squares, filled them each with digital papers, and then added some elements. Again, I also added extra elements with pop dots for dimension.
To assemble the toppers, I used 1″ treat bags and filled them with Halloween-colored M&M’s. For the topper, I cut strips of black card stock just a little bigger than the printed square… and then I used double-sided tape and pop dots to assemble…
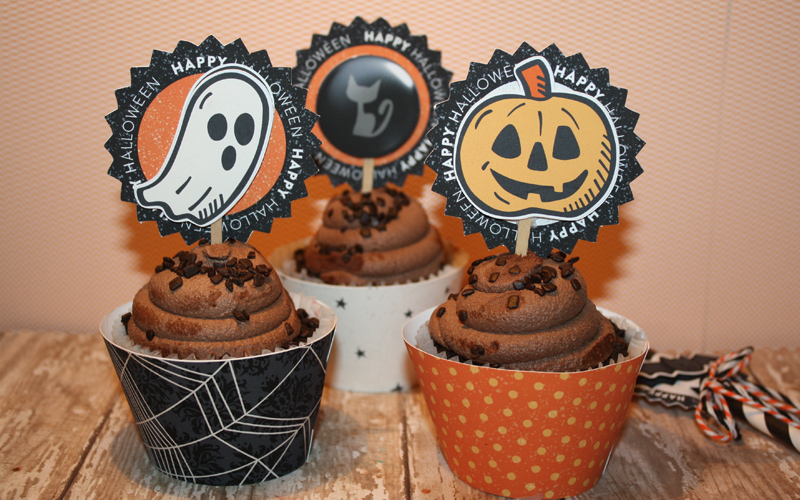
Below are some of the close ups of all of the projects shown above. Aren’t these the cutest thing you’ve ever seen?!
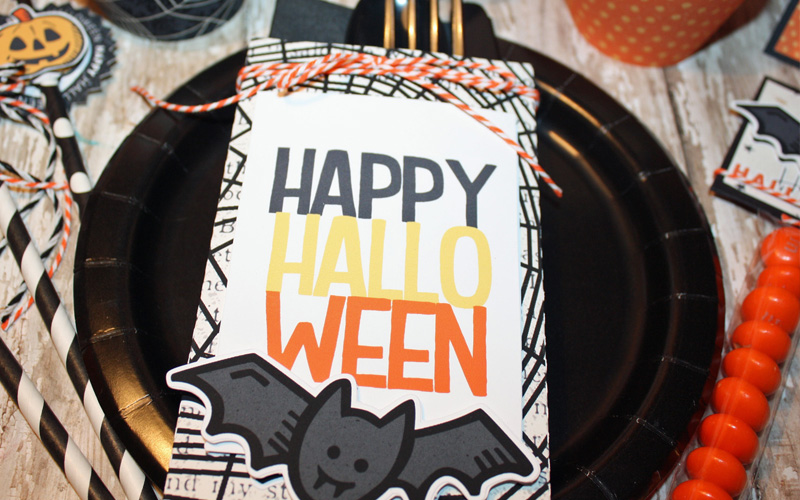
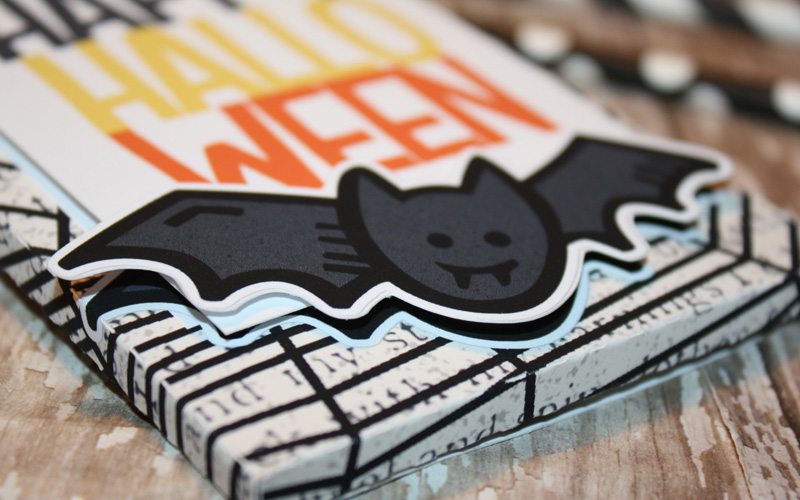
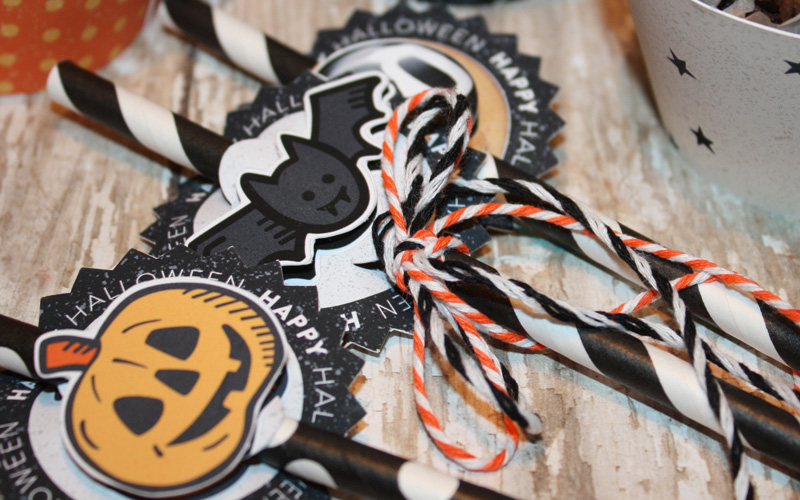
I also created straw toppers for this Spooky party. I really adore these cute elements. I like the fun part of Halloween, not the really scary part!
I hope that you have enjoyed this edition of Hybrid How-To. Don’t forget to visit the CROSSWORD SECTION in The Digital Press forum, and jump into this month’s Hybrid Challenge if you are thinking of trying this project. You can earn points toward discounts & FREEBIES! I hope that you will join in!

About the Author Tanya is a part of the hybrid team here at The Digital Press. She has been hybrid crafting for at least 16 years now, and loves creating and sharing those creations with others. Her all-time favorite tool is her Silhouette Cameo. She has been married for 29 years to her high school sweetheart, Richard and has two sons: Chris, 26 and Chance, 22. She also enjoys crocheting, photography and woodworking.