
Hello everyone! It’s Tanya here, and I’m excited to bring another edition of our Hybrid How-To series to you here on The Digital Press blog! Today I’m going to show you how to use your digital supplies to make a really cute graduation centerpiece.
My niece is graduating from high school in May, so I thought it would be a great time do this project. I can’t wait to package it, up along with some gift money (of course… LOL), and send it to her. I’m so proud of myself… first, because I actually made a gift… and also because I’m getting it mailed off early! All of my family knows that I’m often super late on cards and birthday gifts; I have great intentions, but it never fails — I usually send things off 3 months later (or maybe 5 or 6 months? …that’s probably more accurate!).
This project idea can be used for any type of party… graduations, birthdays, showers… just to name a few. I used my Silhouette Cameo to do all of the designing and cutting, but it can also all be done with any photo editing program and a pair of scissors and/or punches.
SUPPLIES NEEDED:
- digital kits that go with the theme of your party (I chose graduation & party kits for my project)
- cardstock in different colors (I used white, black, and gold)
- double-sided tape
- paper cutter
- scissors
- wooden skewers (I found mine in the housewares section at Wal-Mart)
- tissue
- shredded tissue paper
- vase, bucket, or other container (I recycled a vase that came with flowers I received for my birthday; I saw the same vase at the Dollar Tree this weekend)
Here’s a look at the digital products I chose to use for my project…
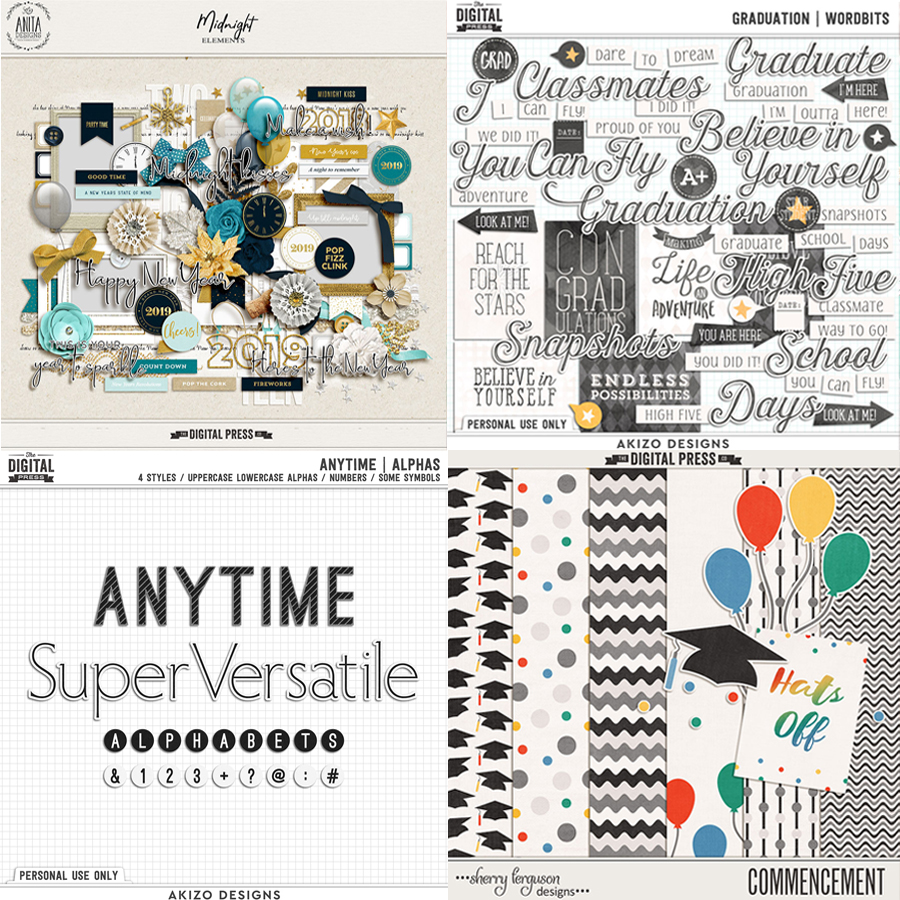
[ Midnight Elements by Anita Designs, Graduation Bits and Anytime Alphas by Akizo Designs, and Commencement by Sherry Ferguson Designs (item retired since the time I created this project) ]
First, I opened the folder where my images were saved and dragged them to my work area. I continued to do this for all the images I wanted to use in this project…
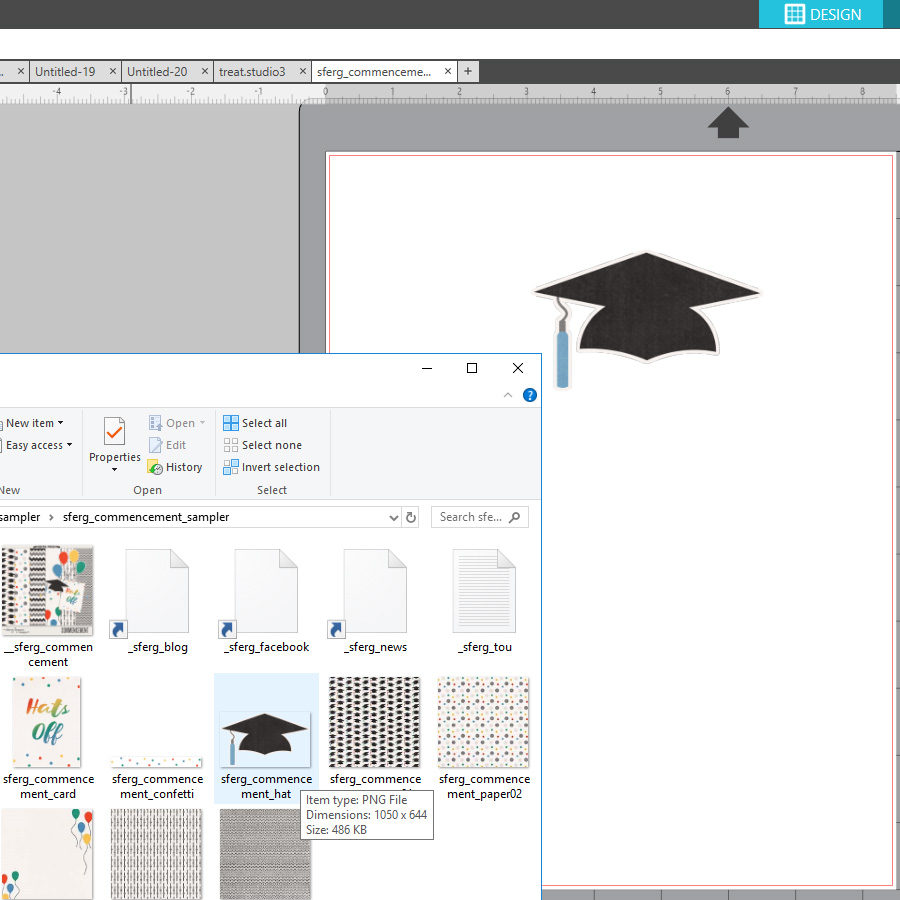
After opening the images in my work area, I chose one (the graduation cap, shown below) and traced the image so that it would have cut marks.
Additionally, the tassel was blue and I wanted it to be one of my niece’s school colors, instead… so I did a trace-by-color and pulled it off to the side. I recolored it (green), and then moved it back to the original spot. This sort of thing can also be achieved in Photoshop and other photo editing programs; I like to do it right in my Silhouette software to simplify things…
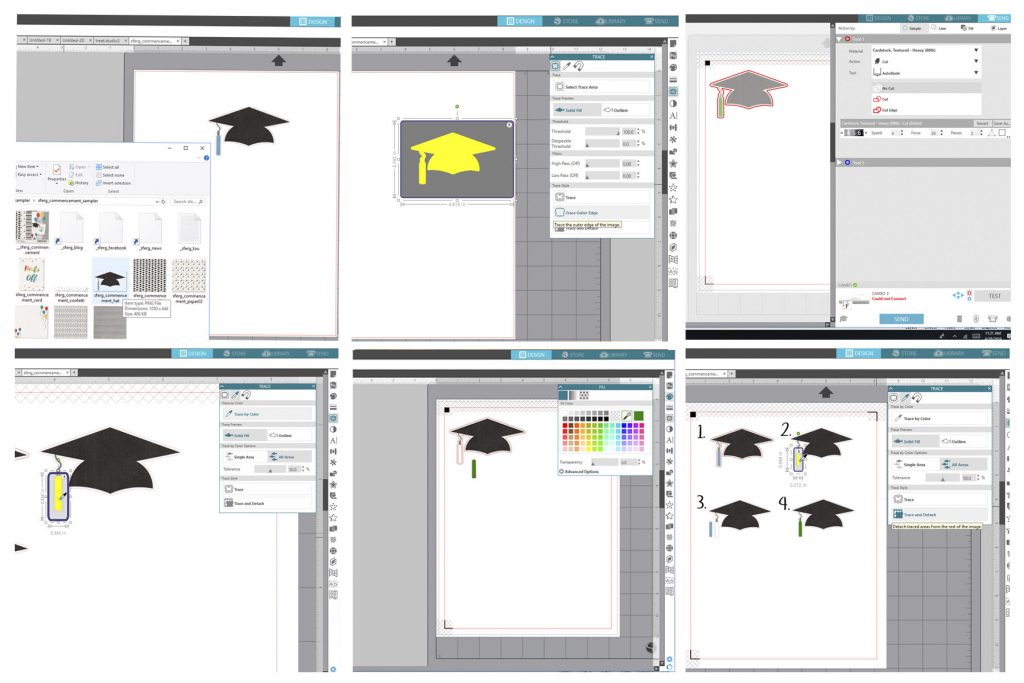
Continue to open and trace all of the images you want to use for your project, to create cut-marks.
Here is what my page looked like before sending to my Cameo…
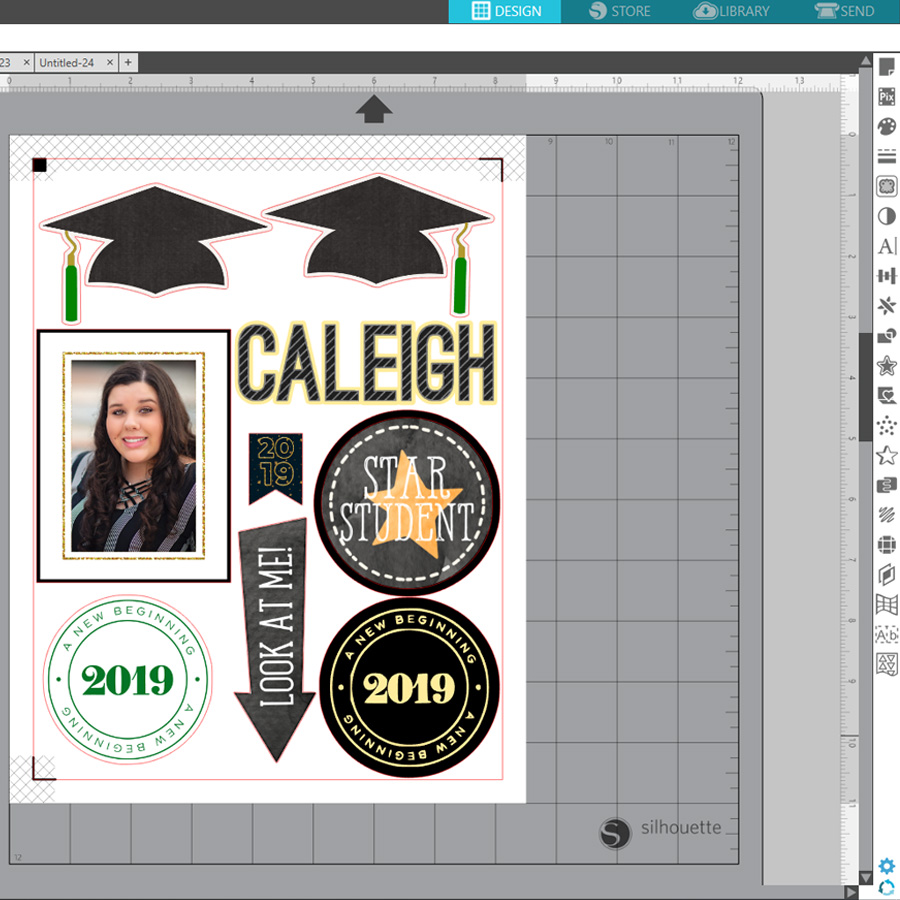
Later, I also created another page with stars and her school logo (the logo brought back many high school memories; I graduated at the same high school over 30 years ago… I’m telling my age here! LOL).
After arranging all of the images to maximize print and cut space, and making sure that I had the registration marks on (you can see the little black box and black lines in the image just above this)… the next step is to print and cut. To do this, send the file to your printer and then add your cutting mat and send through the Silhouette…
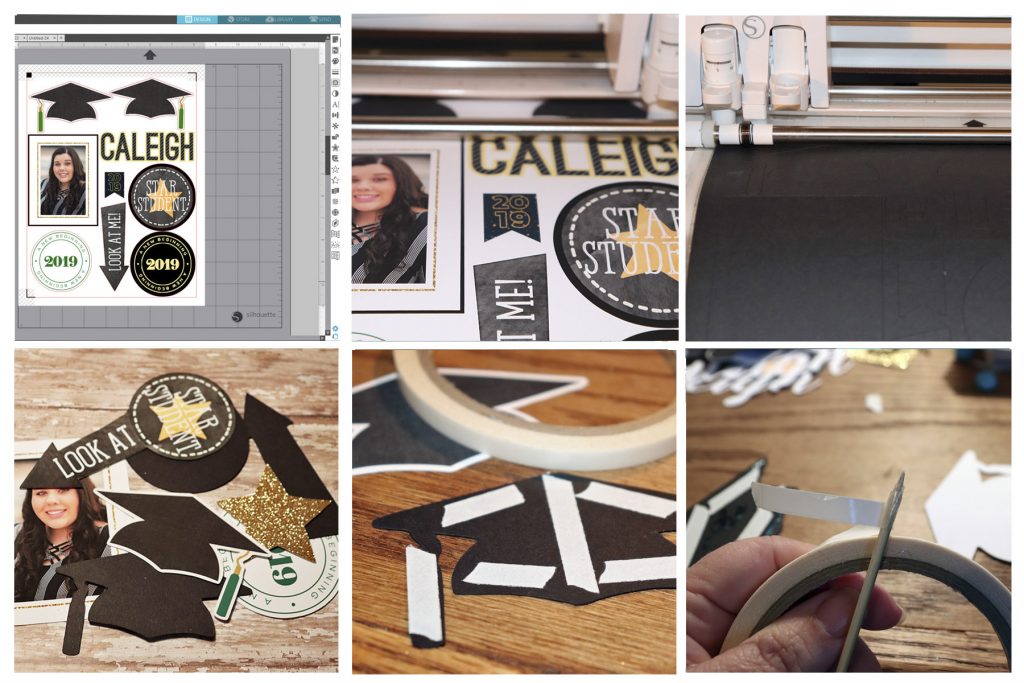
I did a second cut with just black cardstock (see above) in order to have a second layer to back each image that I cut out (if you do this, though, be sure to turn off registration marks for this particular cut). I find this extra step gives it all a more finished look.
After all of the elements were cut out, I added double-sided tape to the back piece. To ensure that my skewer would stick between the two pieces, I twisted double-sided tape around the skewer tip (see lower-right corner image, above); then, I sandwiched the skewer between the top and bottom pieces. TIP: be sure to press it firmly all the way around so that it looks finished.
And finally… it’s time to put it all together! 🙂 This was definitely the fun part!
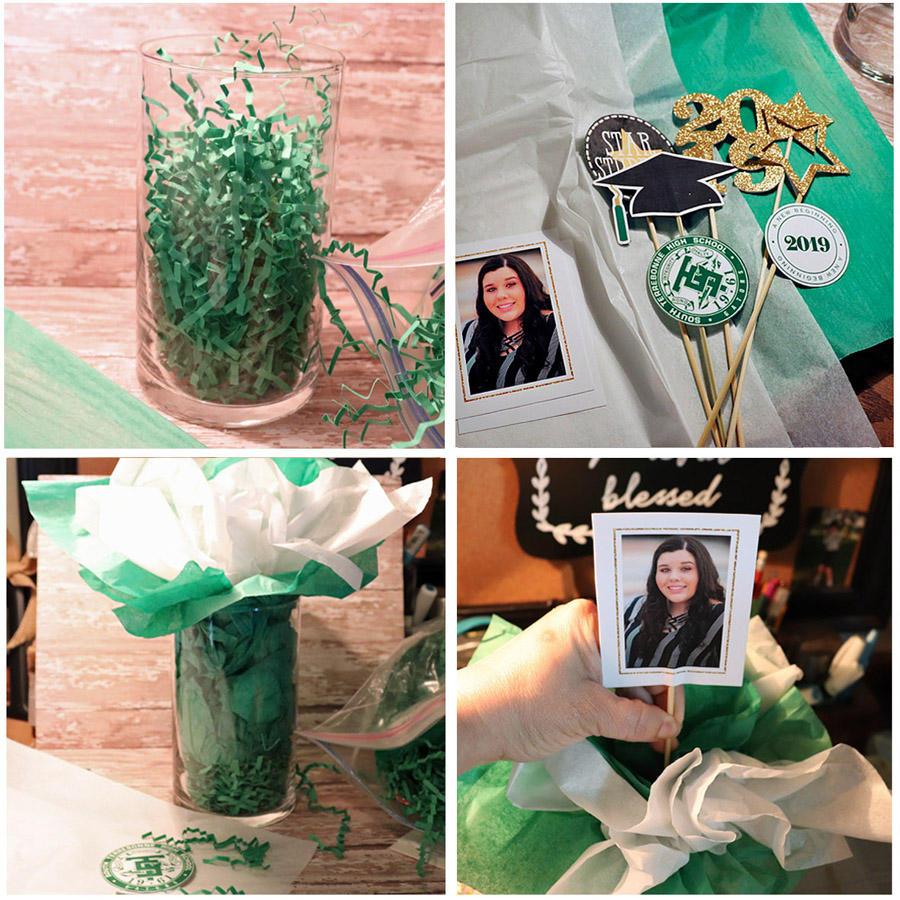
As you can see, above, I put shredded paper in the bottom of the vase and then put some in the middle of the tissue paper, as well. This gave it some substance to ensure the skewers stayed in place. After finishing the project, however, I noticed that it probably wasn’t necessary to put the shredded paper in the bottom (it is a decision that probably just comes down to personal preference).
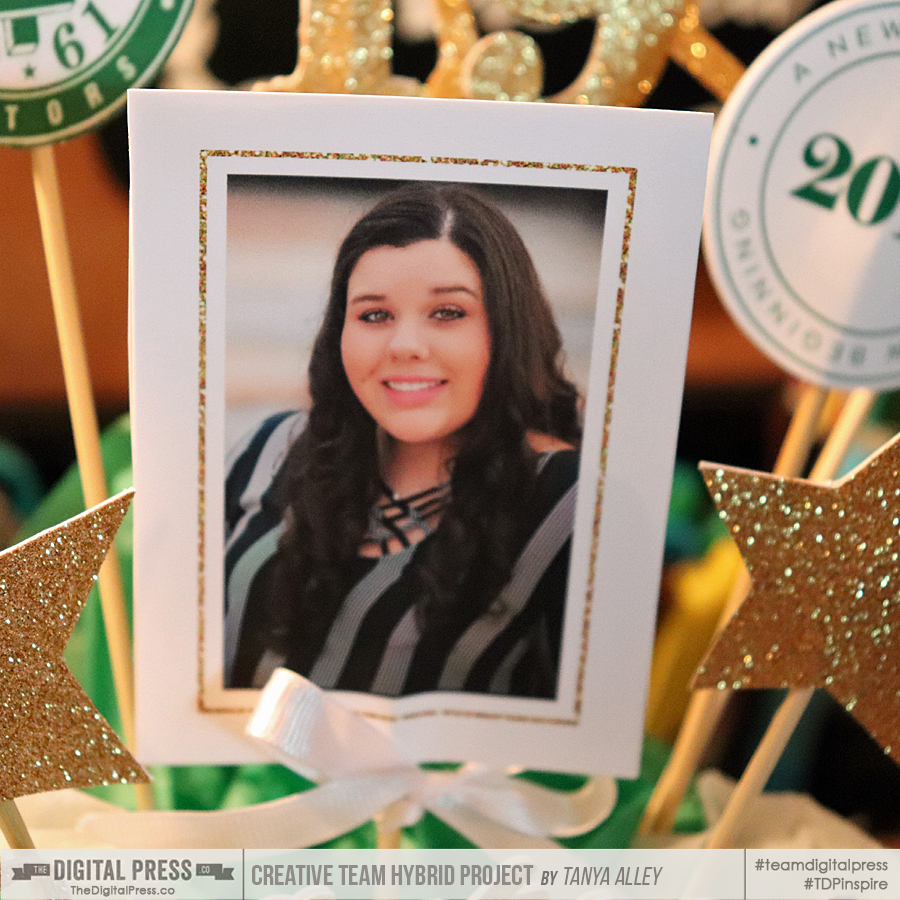
Next… just add the pieces. I started with the photo, front and center, and then arranged the other pieces around it. I also figured out that the point part of the skewer is best to go towards the bottom; it’s easier to stab it into the tissue that way.
Here’s a look at the final result…
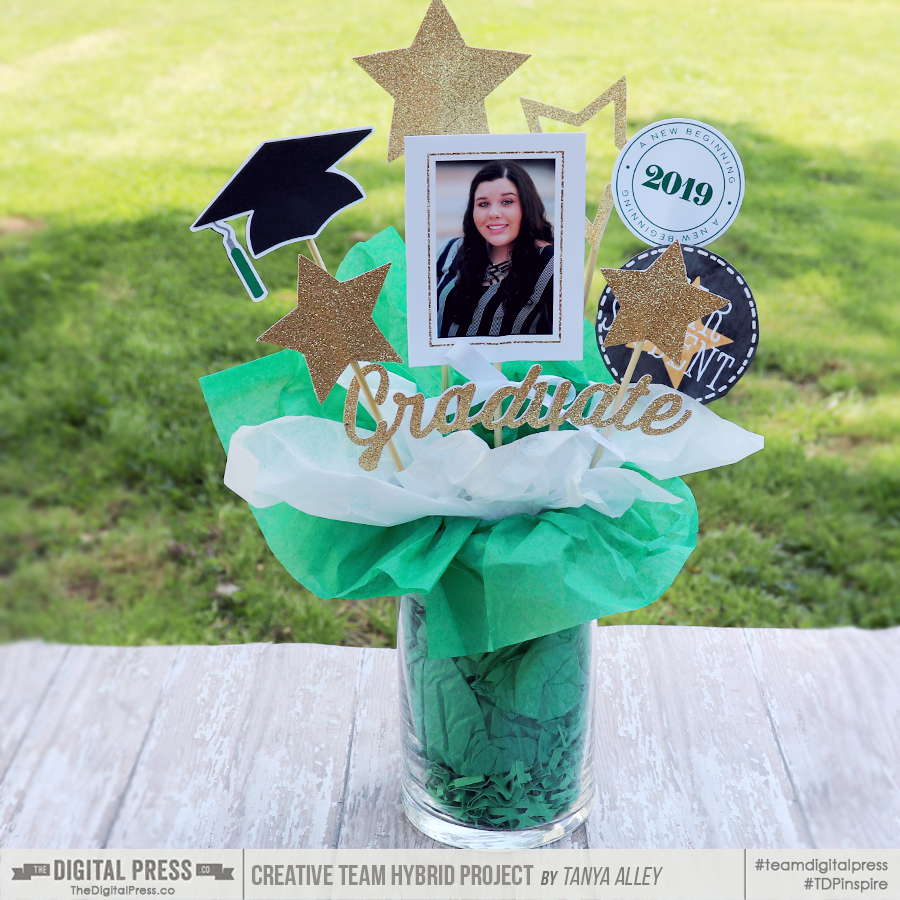
I loooove how it came out! I can’t wait until she sees it, and I hope she loves it as much as I do and will use it at her graduation party (I know that she will; she is such a beautiful, sweet, caring, loving, smart girl!). She got a full scholarship for college. I’m so proud of her!
I have so many ideas running around in my head for more of these cute centerpieces. There are kits in the store at TDP for every occasion… and I’m off to do some ‘window shopping!’ 🙂
I hope that you have enjoyed this tutorial and that I have inspired you to create some of your own centerpieces. If you do, we would love to see them posted in the hybrid gallery here at TDP!

About the Author Tanya is a member of the hybrid creative team here at The Digital Press. She has been paper and hybrid crafting for at least 18 years now, and loves creating and sharing those creations with others. Her all-time favorite tool is her Silhouette Cameo. She has been married for 30 years to her high school sweetheart, Richard, and has two sons: Chris, 27 and Chance, 23. She also enjoys crocheting, photography, and woodworking.
What a fabulous idea! Great tutorial too. I love all the pictures since I’m a visual learner. Thanks!!
Thanks Heidi!! It was a lot of fun, especially since I knew she would love it!