Hi everyone, and welcome to another edition of our Hybrid How-To series here on The Digital Press blog! I have a fun project to share with you today that will get your home ready for the summer season. It’s a fun, simple way to decorate for any new season using your digital scrapbooking supplies.
Let’s get started…
For this tutorial, I will be using the latest TDP Designer Collaboration, called Popsicle. It just launched in the shop last week, and it’s perfect for this project!
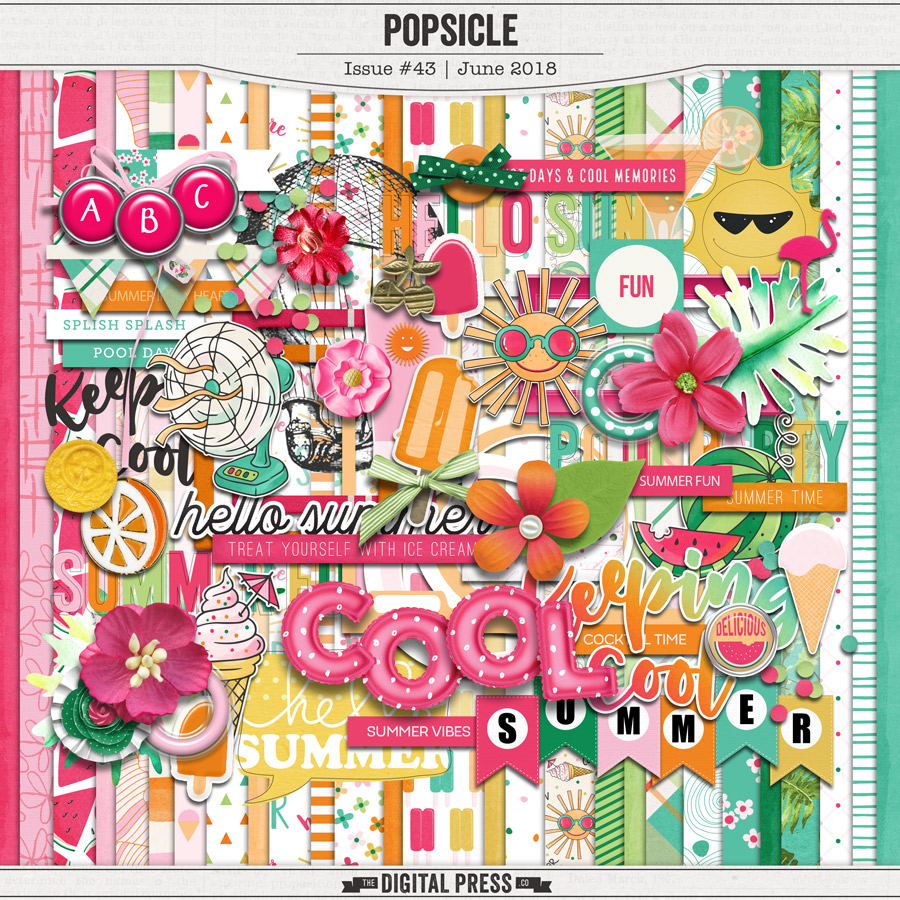
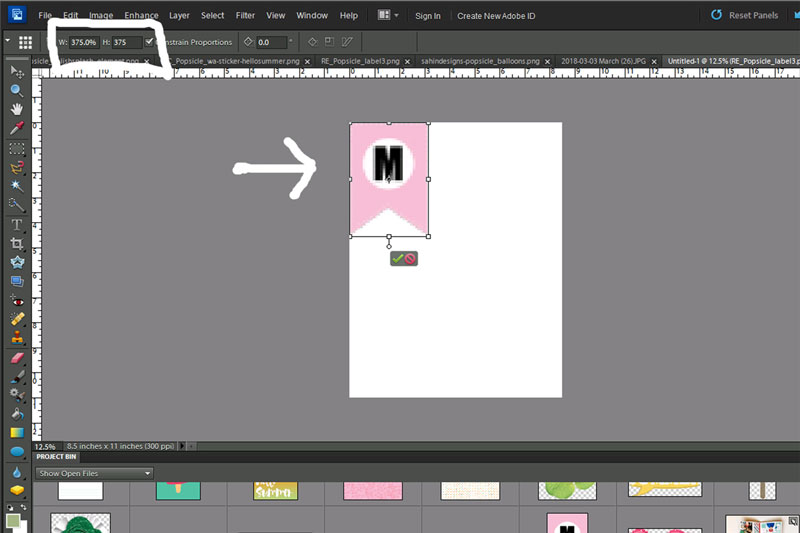
To begin, I opened up the kit and decided to use one of the banner shapes (see bottom right of the preview, above) as a “template” for my own banner. I pulled it into Photoshop and enlarged it* to 375% so the banner shape was around the same size as a 3×4 pocket card. Enlarging the banner allowed me to use it as template/clipping mask.
*please note that while you wouldn’t normally ever want to enlarge a digital scrapbooking element (because doing so results in a noticeable loss of quality/resolution)… for my purposes, it is OK because I am actually using it as a clipping mask. This means that the end result won’t show the banner image itself; specifically, if you look at the next screenshot, below… you’ll see that the “M” becomes really blurry when I enlarged it. That will be covered up, though, so it will be OK.
The following screenshot shows how big the banner is at 375% (as compared to an 8.5″ x 11″ page)…
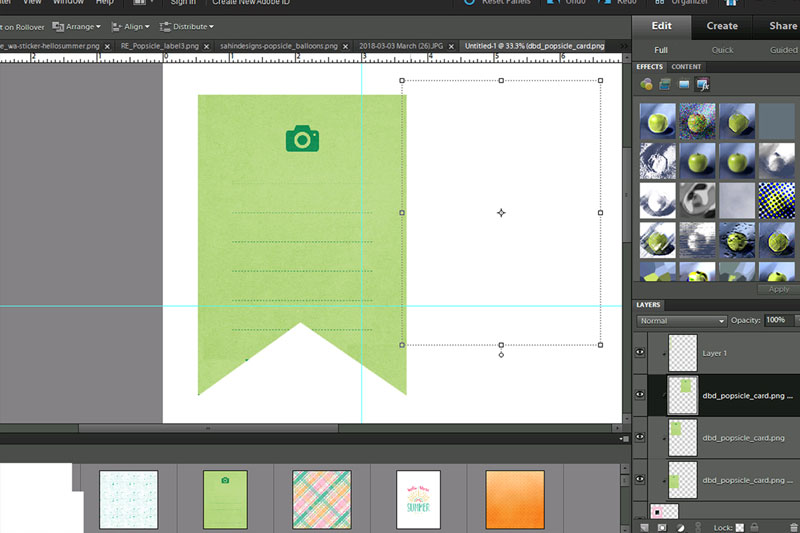
Next, you can see how I used the enlarged banner shape as a clipping mask. I chose various papers and journaling cards, and then placed them directly above the banner shape layer in Photoshop. Once the desired paper/card was above the banner layer — I used the “clipping mask” function (CTRL-ALT-G in Photoshop; CTRL-G in PSE) to clip the items to the banner shape. This is what allows the paper/card to take the shape of the banner…
After that, I simply repeated the banner shape until I had enough different patterned shapes to be able to hang up a string of banners on my wall. Here is a look at a couple of the print sheets that I wound up with…
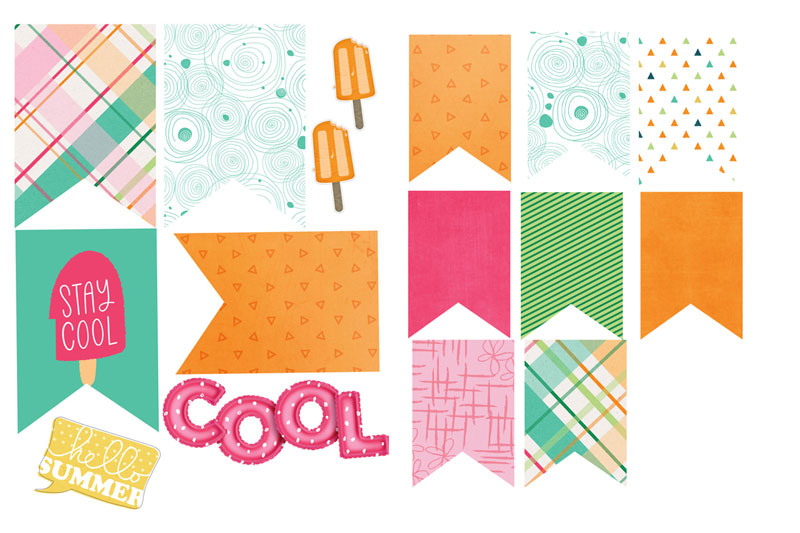
You’ll see that my print sheets included banner shapes in 2 different sizes (I wanted variation for my final product)… and also a few embellishments, which I eventually cut out and added as pop-ups on the banner itself, to add dimension/decoration.
Once I had cut everything out, I used twine (you can also use string, yarn, etc.) to string the pieces together. Here is a close up of my finished banner…
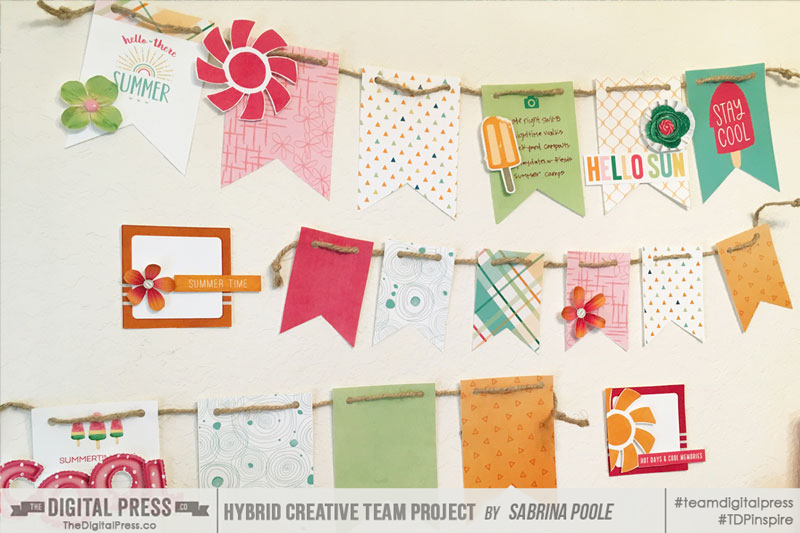
Just a side note — the 2 suns you see, above, are part of a free font (called “Sun and Stars”), and I used the sun shape as a clipping mask with papers from the kit. I clipped an orange paper and pink paper to them, in order to match the rest of the items I printed/cut.
Here’s a view of my final banner, hanging on the wall, along with some other summertime decorations in my house…
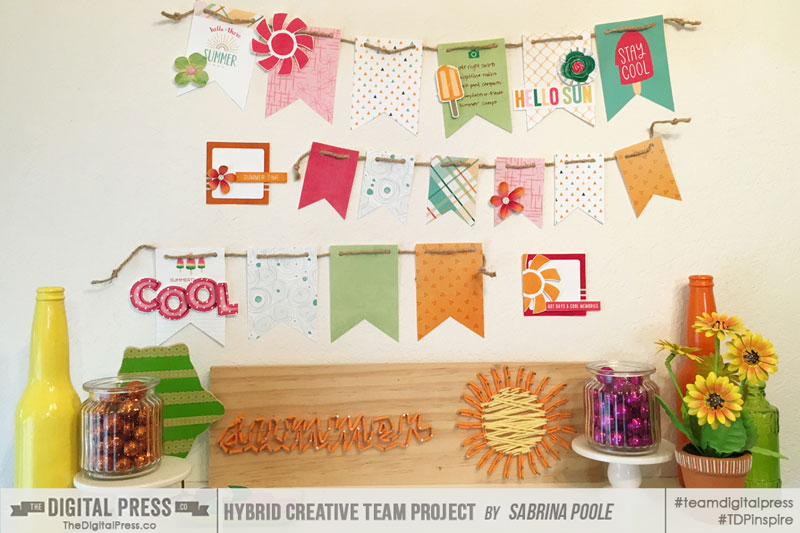
Isn’t that fun? I hope this simple banner inspires you to decorate for the season and to try using your digital supplies in a new way!
If you’re feeling inspired and you’d like to give this a try, too, don’t forget that you can earn challenge points at TDP! Come visit the CROSSWORD SECTION in The Digital Press forum, and you’ll find this month’s Hybrid Challenge thread (for each month’s Hybrid Challenge at TDP, you get to choose one of the month’s “Hybrid How-To” tutorial posts from here on the blog and make your own version). You’ll see how fun it is! Give it a shot, and share your final results with us! We can’t wait to see what you come up with.

About the Author Sabrina is an avid documenter of life — herself, her children, her hubby, and her everyday life. There is beauty in the ordinarymoments, and they are what she loves to scrap. She is also always on the hunt for a quiet, peaceful moment… and she usually spends it reading or playing at her crafty desk.