
Hello everyone!! Today I’m here to show you how to create this cute sign with your digital word art stash. I love crafting and especially hybrid crafting. I made this one for my craft room. I’ve also decided it’s the perfect time to get started on those Christmas gifts. I don’t know about you, but I love getting and giving homemade gifts. This year I’ve decide I’m going to make everyone a sign for their home. The Digital Press has tons of word art kits. There is something for everyone!!!
SUPPLIES:
- Cutting Machine
- Digital word art (From The Digital Press…of course)
- Wood (I used scrap pieces I had laying around in the garage)
- Paint – make sure to get matte
- Paint Brushes (The cheap sponge ones are fine)
- Vinyl
- Transfer Tape
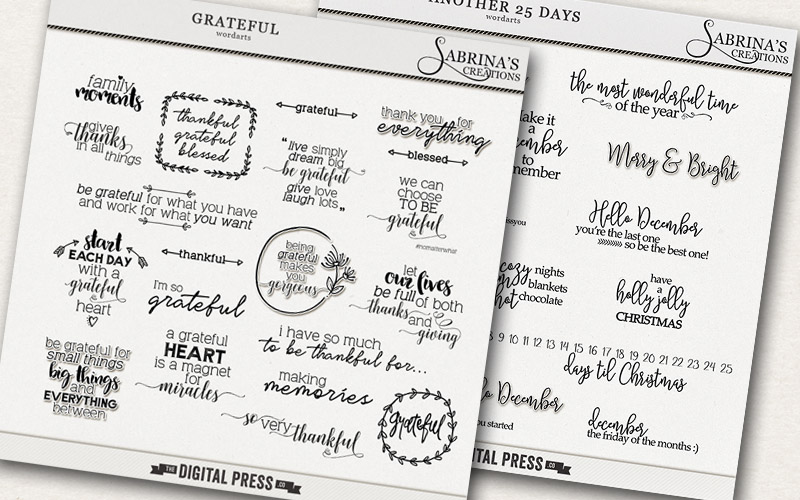
I used the new release, GRATEFUL, and ANOTHER 25 DAYS by Sabrina’s Creations. GRATEFUL word art is perfect for home décor.

There are different ways to achieve the same look. Today we are going to do the PVPP method….Paint Vinyl Paint Peel
Prepare the wood. To start off you will base coat the wood with the color that you want your word art to show. On this project I base coated my board white because I wanted the writing to show up white. While the wood is drying you will start getting your vinyl ready.

Open your cutting software. Shown here is Silhouette Studio Designer Edition. Simply open the file you have your word art saved it and drag the one you want to work with first to the mat.
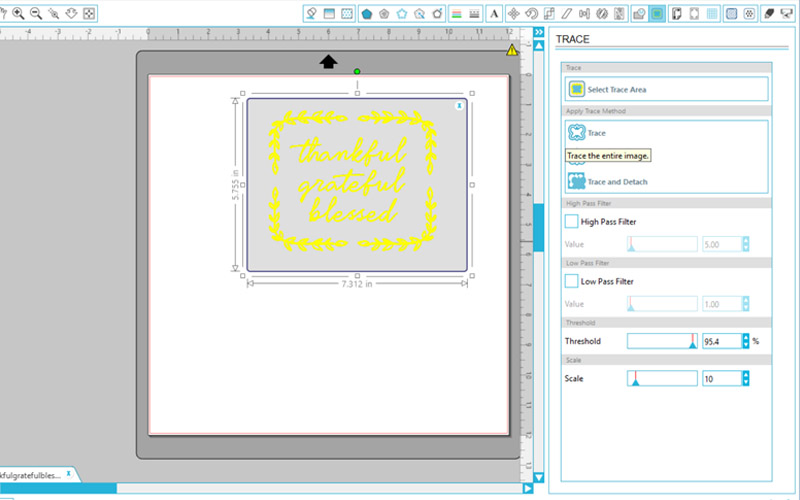
You are going to have to give the image cut lines. If you were to go to cut now, it would cut a square box around the image, because it’s not a svg file. I will show you how to TRACE the image so that you will have those cut lines. Highlight the entire image and uncheck the High Pass Filer and move the Threshold over until the image is completely yellow.
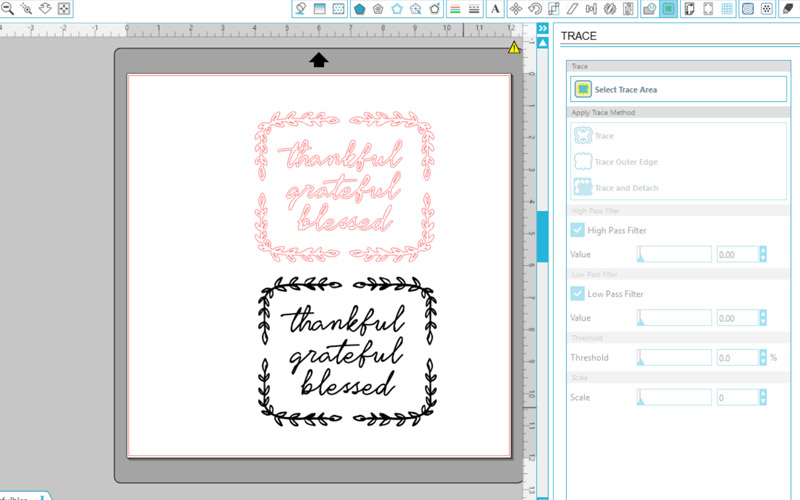
Now select Trace. Move the image over and you can see the red lines. These are the cut lines. You can delete the black image now.

Cut your vinyl to size, apply to your mat, load and cut. Make sure that you have chose the right material type and have changed your blade settings. I don’t think you have to change your blade on the newer machines.
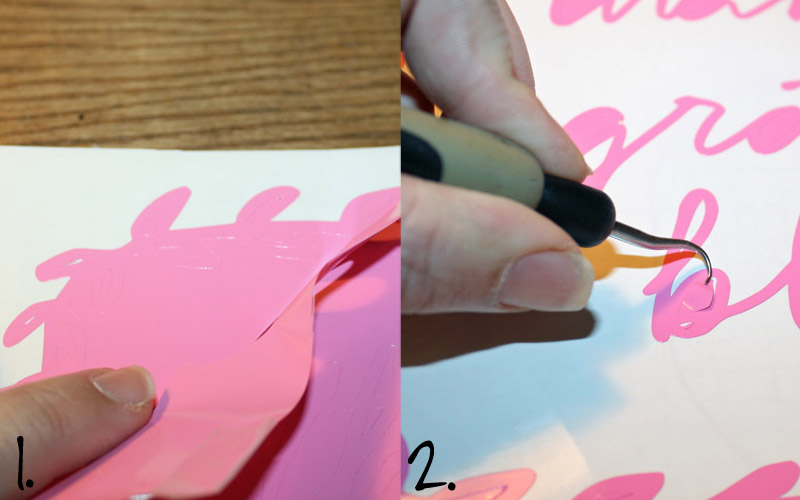
Now it’s time to weed your image. To start off you will remove the bigger pieces around your image (1). Next, you will use a weeding tool or a safety pin to remove all the smaller pieces (2).
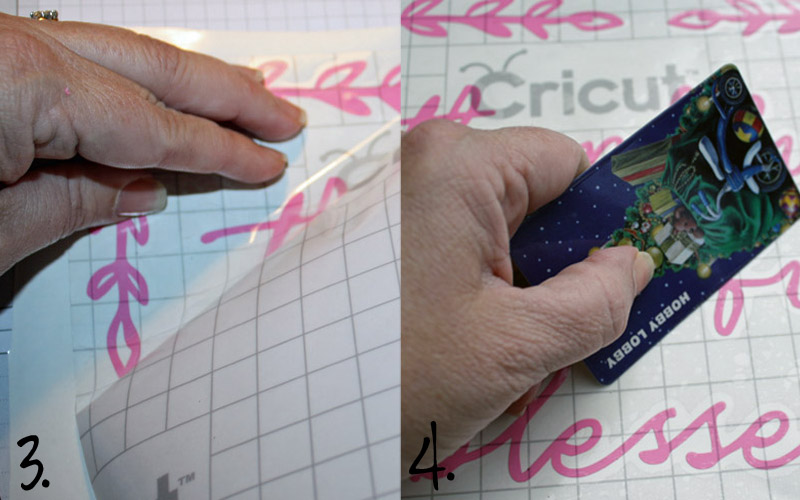
The next step is to apply your transfer tape over the entire image (3). Now apply it to the prepared wood. Use a flat card to burnish it to the wood (4). This keeps the paint from going under the vinyl.
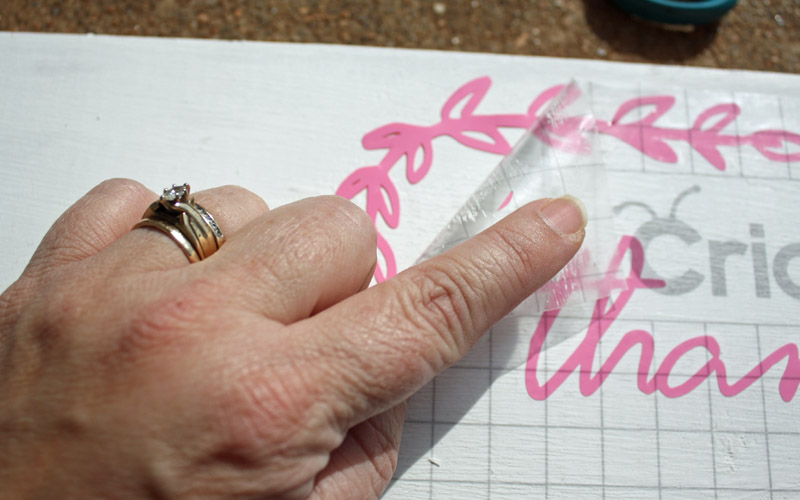
Carefully remove the transfer tape. Use your finger and go over the vinyl to make sure that it is adhered to the wood good.
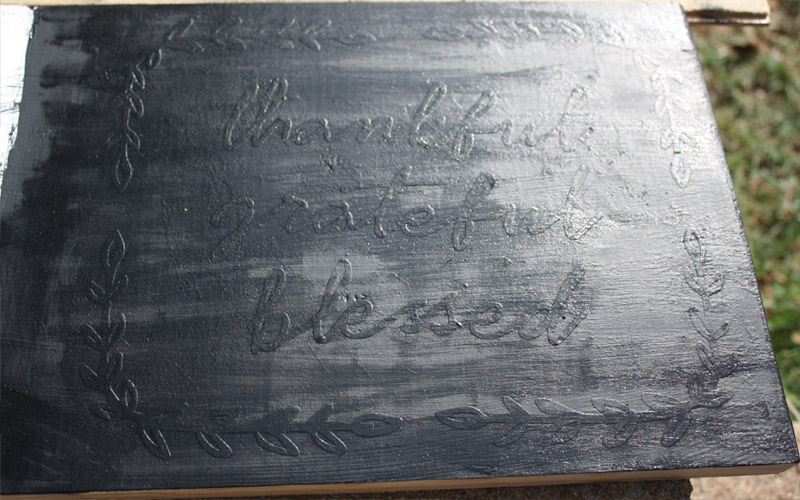
Using the color you want on top, paint over the entire image….vinyl and all. Make sure there is not a lot of paint on your brush. A couple of lighter coats is better than one thick coat. If you do it too thick, the paint will get under the vinyl.
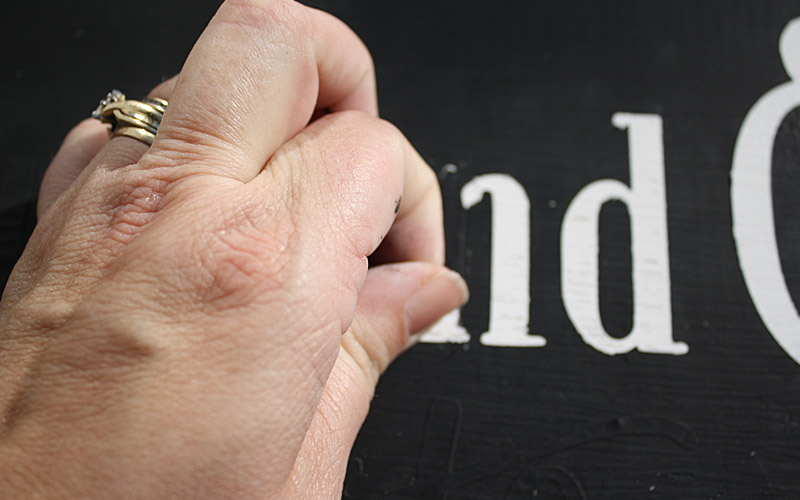
This is the step that you will hear different opinions on. Some say to wait to remove the vinyl until it’s completely dry and others say to remove the vinyl while it is still a little wet. I prefer doing it while it is still a little wet. You can work on a scrap piece of wood and see what works best for you.
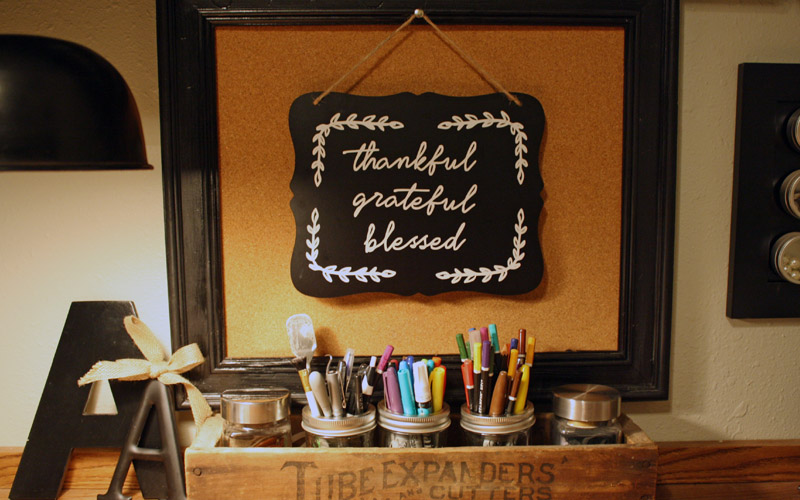
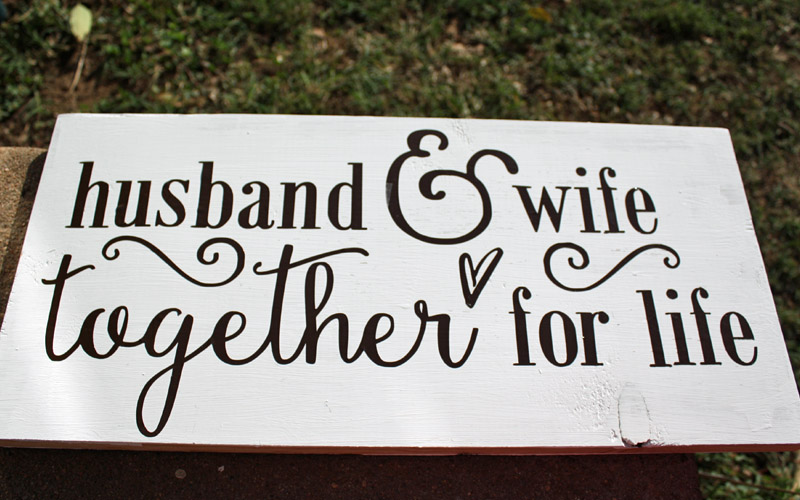
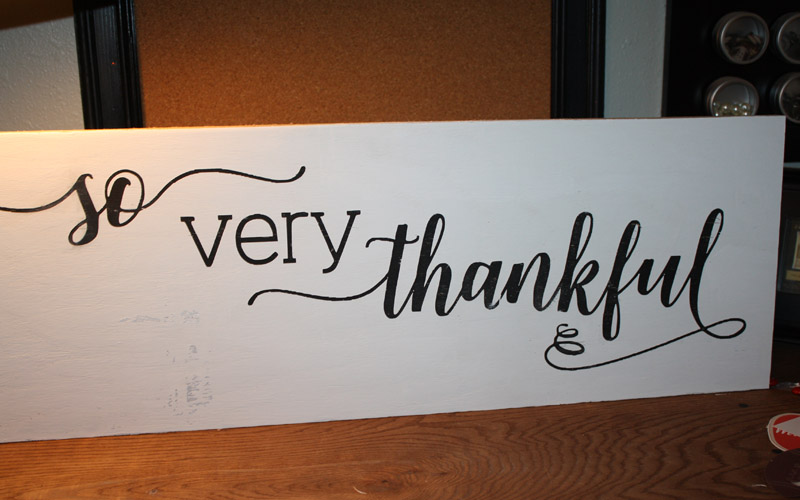
Here are the final results. I’m really happy with the way it turned out. Below are photos of some more signs I am still working on.
This one I’m going to sand the edges to give it a more rustic look.
For this one I’m going to add a frame to the bottom left. I thought it needed a little something more. It’s a little wood frame that I purchased at Hobby Lobby, I’m going to paint it black. That way you can add a photo of something or someone that you are Thankful for.
Another suggestion to try if you don’t want to paint is to simply add vinyl to an already painted plaque or piece of wood. The possibilities are endless. I hope that this tutorial was helpful and that you will give it a try….. ENJOY!!
 About the Author Tanya is a part of the hybrid team here at The Digital Press. She has been hybrid crafting for at least 14 years now, and loves creating and sharing those creations with others. Her all-time favorite tool is her Silhouette Cameo. She has been married for 28 years to her high school sweetheart, Richard and has two sons: Chris, 25 and Chance, 20. She also enjoys crocheting, photography and woodworking.
I love this idea so much, Tanya! Your examples are super adorable. Now I need to go find some free time and make something for my upstairs hallway. I took a photo frame down a year ago, and there’s still just a empty nail hanging there. LOL — oops!
Thanks Laura!! I love doing them! I hope that you can find some free time to make one. Find you a piece of wood to fit that spot and then size your word art. I could send you one if you let me know what you want!!
Tanya, love these ideas! you are so good at what you do! Cant wait to see what you come up with next!!
OMG This is so amazingly beautiful! Love love it…I might just have to copy you! Thank you so much for the great idea and easy how to.
Thanks Kayla you are so sweet!
Thanks Mari!!! Copy away….so glad I’ve inspired you. 🙂