The holidays are over, our schedules are a little less strenuous, and for many of us, it’s cold outside. It’s also a new year with new goals and new projects. That means it’s time to drag out that DSLR and work on our photography skills. Yep, even professionals strive to learn new things and brush up on basic skills, or even push new limits to our creativity. The subject of focus could take up the whole month of tutorials and challenges, but I’m going to keep it simple and add some links for more in-depth study.
Nail your focus
One of the first rules of photography is that the subject should be sharp. Most modern digital cameras offer a number of ways of achieving sharp images. Portrait photography often means using a wide aperture and longer focal lengths to create a shallow depth of field, throwing the background out of focus. This makes focusing more challenging than usual, as sharpness is captured across a very narrow plane, often of just an inch or two. Some basic tips include using a narrow aperture, using a faster shutter speed, and image stabilization with a tripod and a timer or shutter release to avoid camera shake.
Some more advanced tips are below:
- Focal points
Some photographers like to focus using the center focus point and then recompose, while others will set an off-center focus point. The important part is to choose just one focal point at a time. Most DSLRs are set to use all focal points at once and choose what to focus on. The camera is likely going to choose to focus on an area of highest contrast. Setting the AF point yourself gives you the maximum level of control over where your camera focuses, and it’s a good option for landscape, still life and portrait photography when you don’t have moving subjects. This way, you’ll prevent your camera from hunting around for what to focus on, or focusing where you don’t want it to.
For more information about focal points, check out these links:
Getting to know your camera’s focal points
- Where to focus
The eyes are the most vital element of a portrait, so it’s essential to record them sharply, particularly if you’re using a wide aperture. As I mentioned earlier, cameras like to focus on areas of high contrast. The best place to point your camera is at the edge between the iris and sclera of the subject’s eye. This is the area of highest contrast. Aiming at the corner of the eye is also used.
- Back button focus
Most DSLRs are set up so that half-pressing the shutter triggers the autofocus. Why entrust both focusing and shutter release to the same button, when a button for each can potentially give you greater control? Many photographers prefer a custom function that triggers autofocus with a rear button positioned where your thumb usually rests (see your camera manual to see how to set it up). It takes a little time to get used to it, but can give you greater control when focusing and composing your shot.
In addition to your camera’s manual, here are some links for more information about BBF:
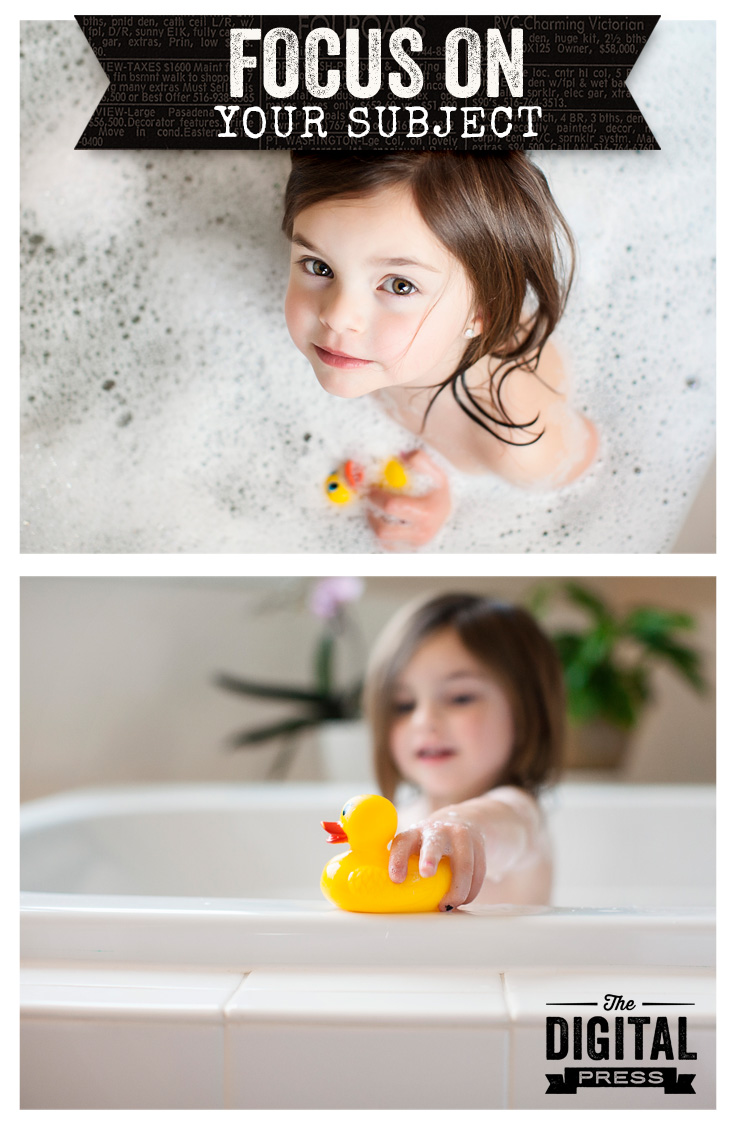
Here is my example for a photo in which I nailed the focus on the eyes. My daughter loves to take baths and play in the bubbles with her rubber ducky.

Selective focus
One of the first steps toward taking more creative photos is learning how to control how much of your picture is in focus.
- What is Selective Focus?
Selective focus is when you focus on the specific part of a subject you want to highlight or emphasize, and let the rest fall into the blur of the background (or the foreground — you can be as creative as you like with selective focus). Selective focus is often used to draw attention to a subject or part of a subject to make it stand out in a busy settion. Other times, it’s used to evoke an emotion when viewing the subject in context of its blurred but recognizable surroundings.
- Bokeh
Bokeh is a word used a lot by photographers, but what the heck is it? In photography, bokeh is “the aesthetic quality of the blur produced in the out-of-focus parts of an image produced by a lens” or to put it bluntly, it’s the blur of the background
- Achieving selective focus
Larger apertures, f-stops like f/1.2 – f/2.8, let in more light, while smaller apertures like f/16 – f/22 let in less light.
The choice of aperture has much more impact on the look and feel of an image than brightness alone. Although small apertures let in less light, they offer a wider depth of field. Landscape and macro photographers routinely use small apertures to get more of the picture to appear as sharp, where as, portrait photographers tend to shoot at much wider apertures. Large apertures produce a narrower depth of field, producing a sharp subject between a blurred foreground and background. The closer you are to the foreground, and the more distance there is between the subject and the background, the more pronounced the effect.
In selective focus photography, the parts in focus and out of focus are equally important, but nothing about the technique is particularly difficult.
Here are some tips to remember:
- Use a Large Aperture- Depending on your lens, your largest aperture may be 2.8 or even 3.5.
- Choose a Longer Focal Length – If your lens won’t open wider than 3.5, use your longest lens or a zoom lens extended to the far end of its range. Longer focal lengths create a compression effect that throws the background out of focus.
- Identify Useful Out of Focus Areas – The out of focus areas of your photo should be recognizable, not just blurry blobs in the frame, so think about your goal.
- Pay attention to the Angle – The goal is to use an angle that causes the surrounding defocused elements to be farther away from the main subject, especially when you are limited by space.
- Keep Composition in Mind – Put the subject in such a place that allows the viewer’s eye to wander off and still be able to enjoy the rest of the image.
Find more information and helpful tools about Depth of Field here:
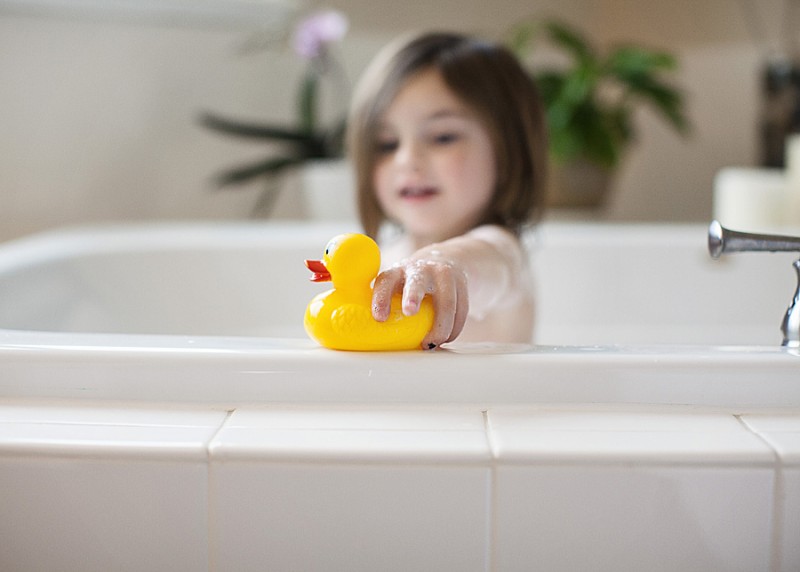
Here is my example photo where the rubber ducky is in focus, but my daughter is not. Notice that you can still identify her in the background, but the focus is on her playing with the rubber ducky.
January 14 challenge
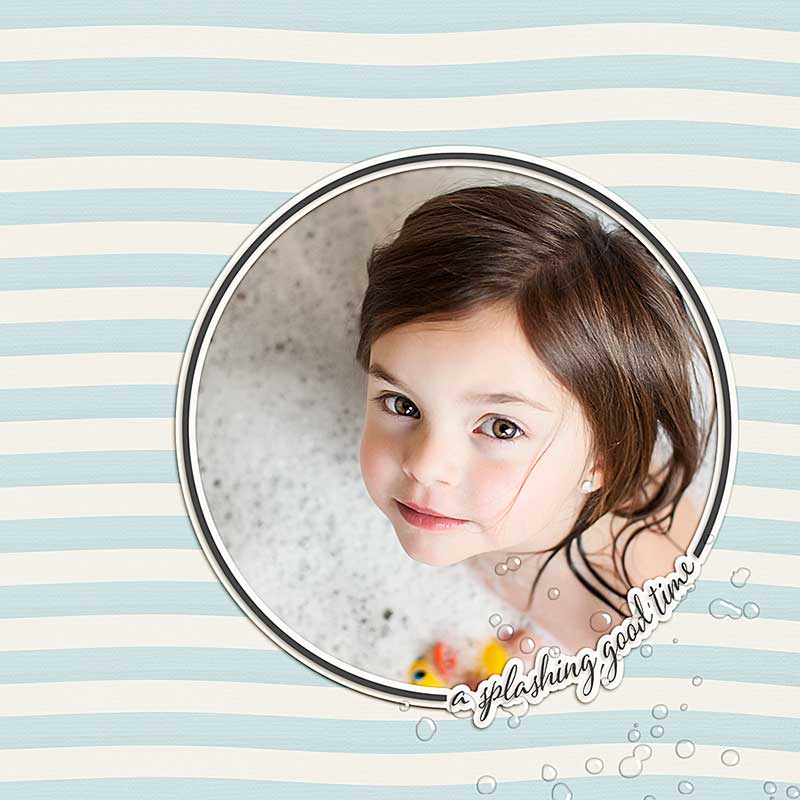
The challenge is to make a LO that highlights a photo (making the photo take up 50% or more of the page) with either SHARP focus or selective focus/great bokeh. To complete this challenge, please complete a page and post it in a reply to this post.
Now, for the rules…
- Pages must be created using 100% TDP Products and loaded in the gallery no later than midnight EST on January 31, 2015.
- Please link your gallery listing in this thread: The Drawing Board: Challenges– JAN 14
- Link your comment in this thread in the monthly challenge tracker thread. You can find it here: January’s Tracking Thread
- Have fun!!!
 About the Author: Farrah Jobling is a member of the Creative Team here at The Digital Press. She lives in Denver with her amazing family, Mike, Nicholas (8), Claire (5) and Hope (7 mo puppy). She works from home as a photographer and enjoys scrapping her personal photos.
Best tutorial and challenge I’ve seen in a long time! Thank you!
Such an awesome tutorial, Farrah!