
Being organized in life generally means we are more efficient, and the same goes for digital scrapbooking. I love to create “mash up” layouts where many different elements and papers from many different kits are used. For instance (click for credits):
Layouts like this take a lot longer to complete without having an organized stash. Enter: Adobe Bridge. If you are a Creative Cloud subscriber or own a copy of Photoshop, it’s likely you also own Adobe Bridge. If you do, here is a tutorial on how to get your digiscrapping supplies organized in that software!
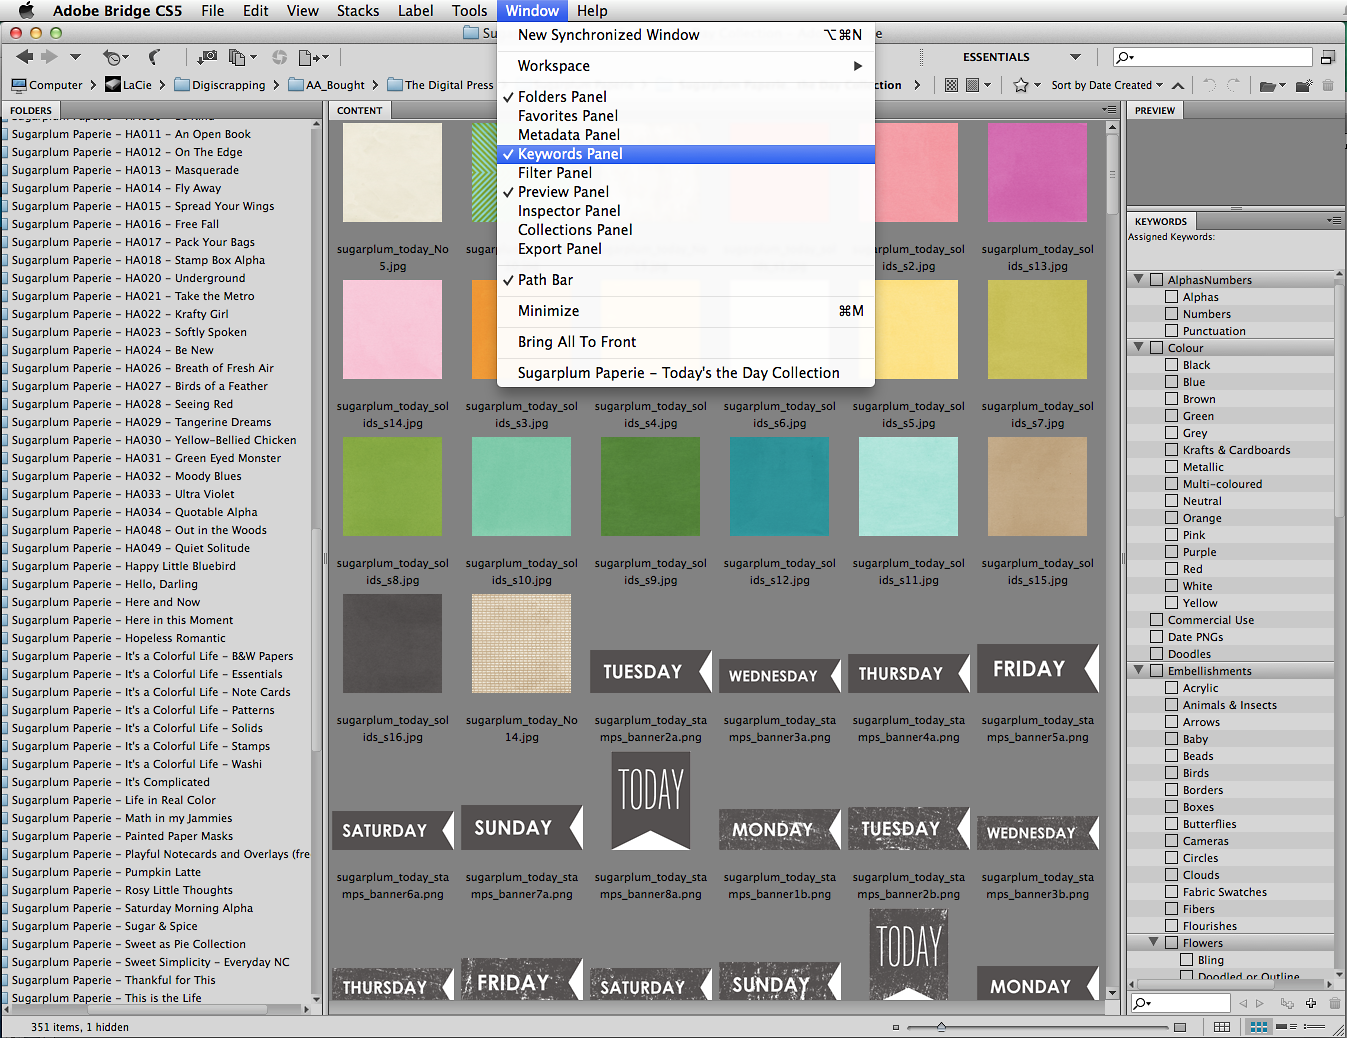
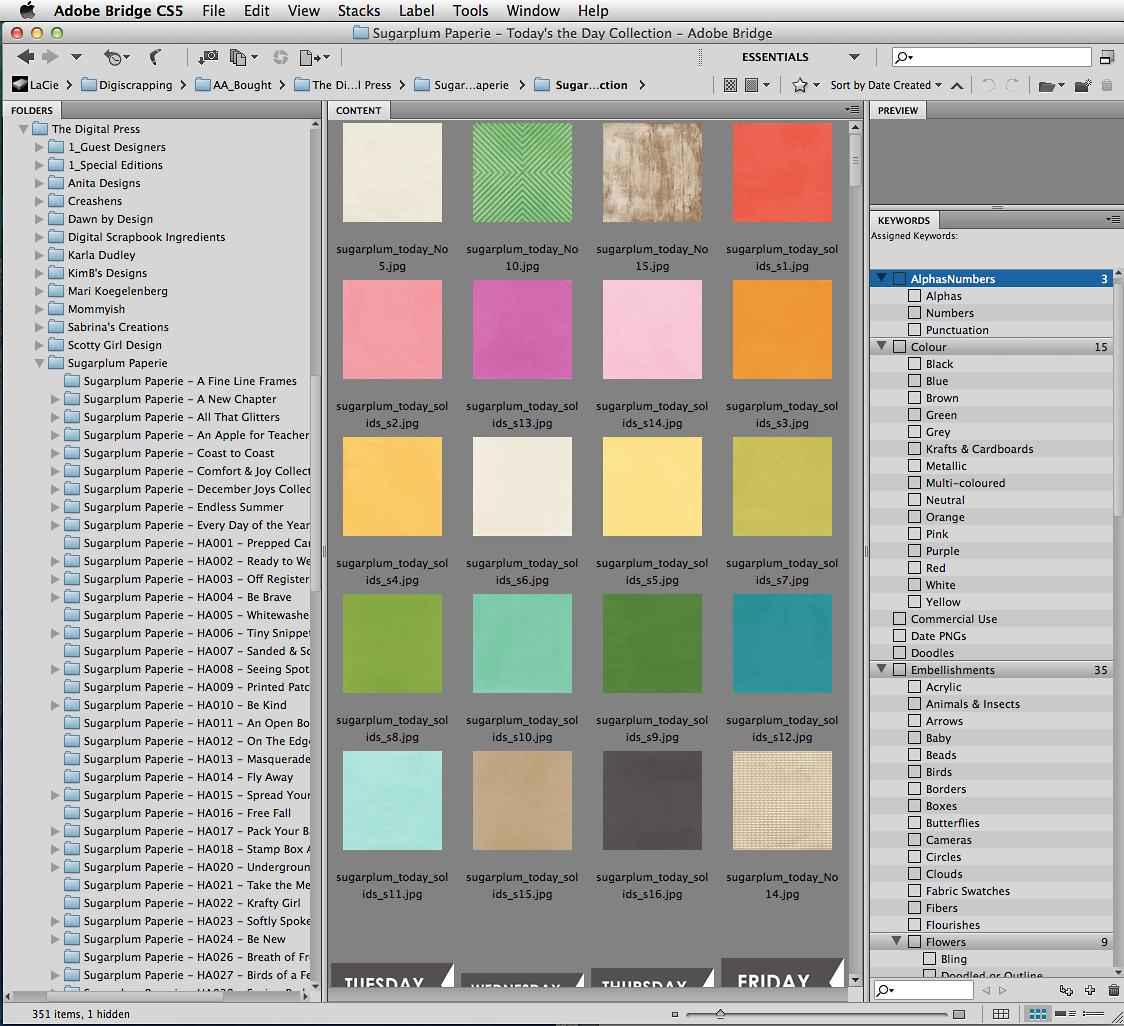
First of all, open Adobe Bridge and make sure the keywords panel is visible by going to the Window menu and ensuring Keywords Panel is checked (make sure your Folders Panel is also checked):
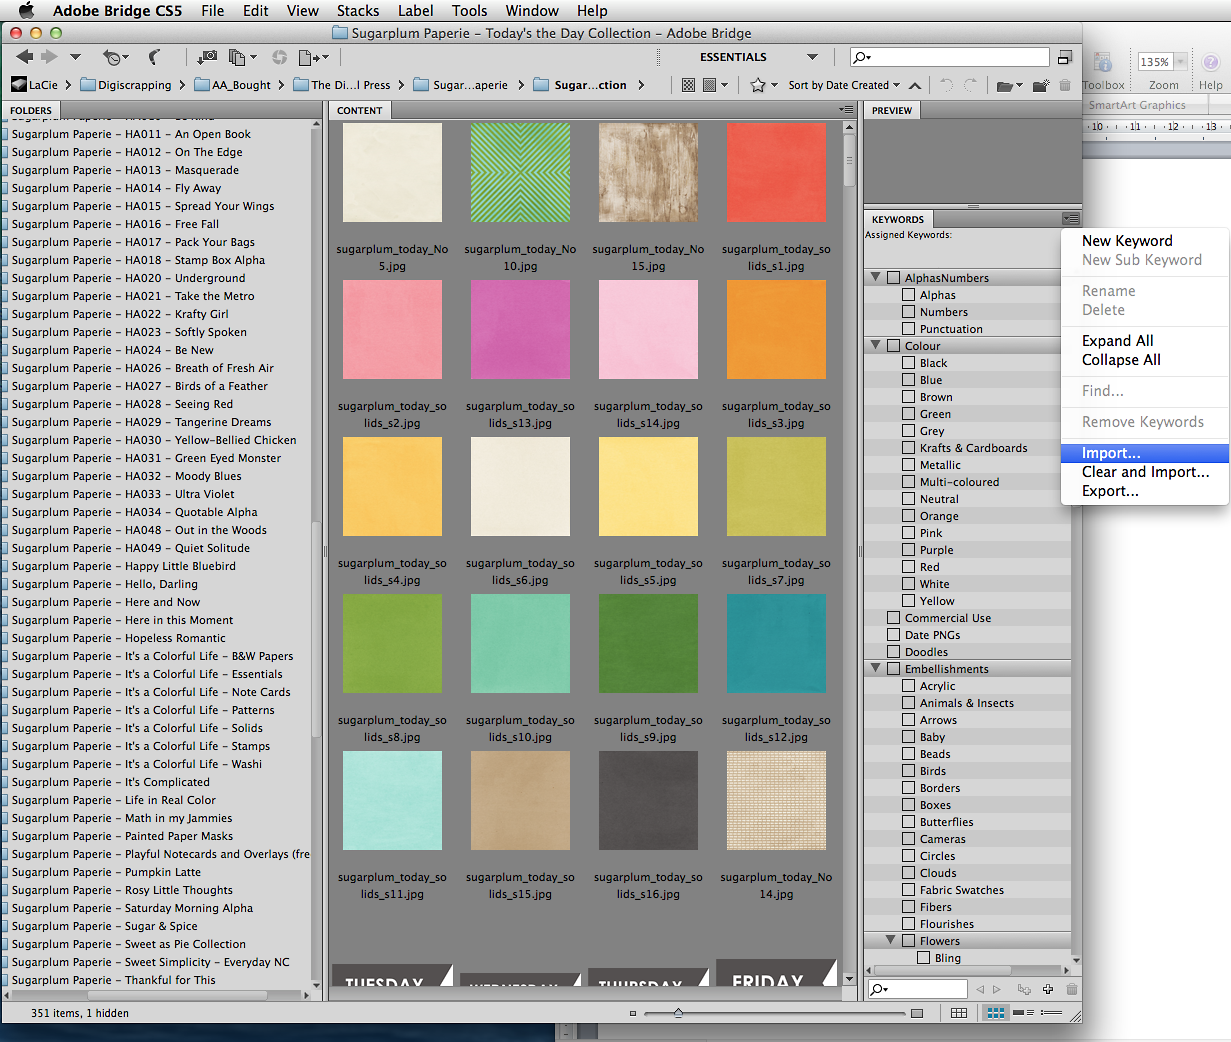
Next you’ll need to set up some keywords. If you currently don’t have a keyword library set up, feel free to download mine HERE. You can then import them by going to the drop down menu on the side of the Keywords Panel and choosing “Import” and then navigating to this downloaded file. Importing these keywords will update your current keywords list, but will not replace it.
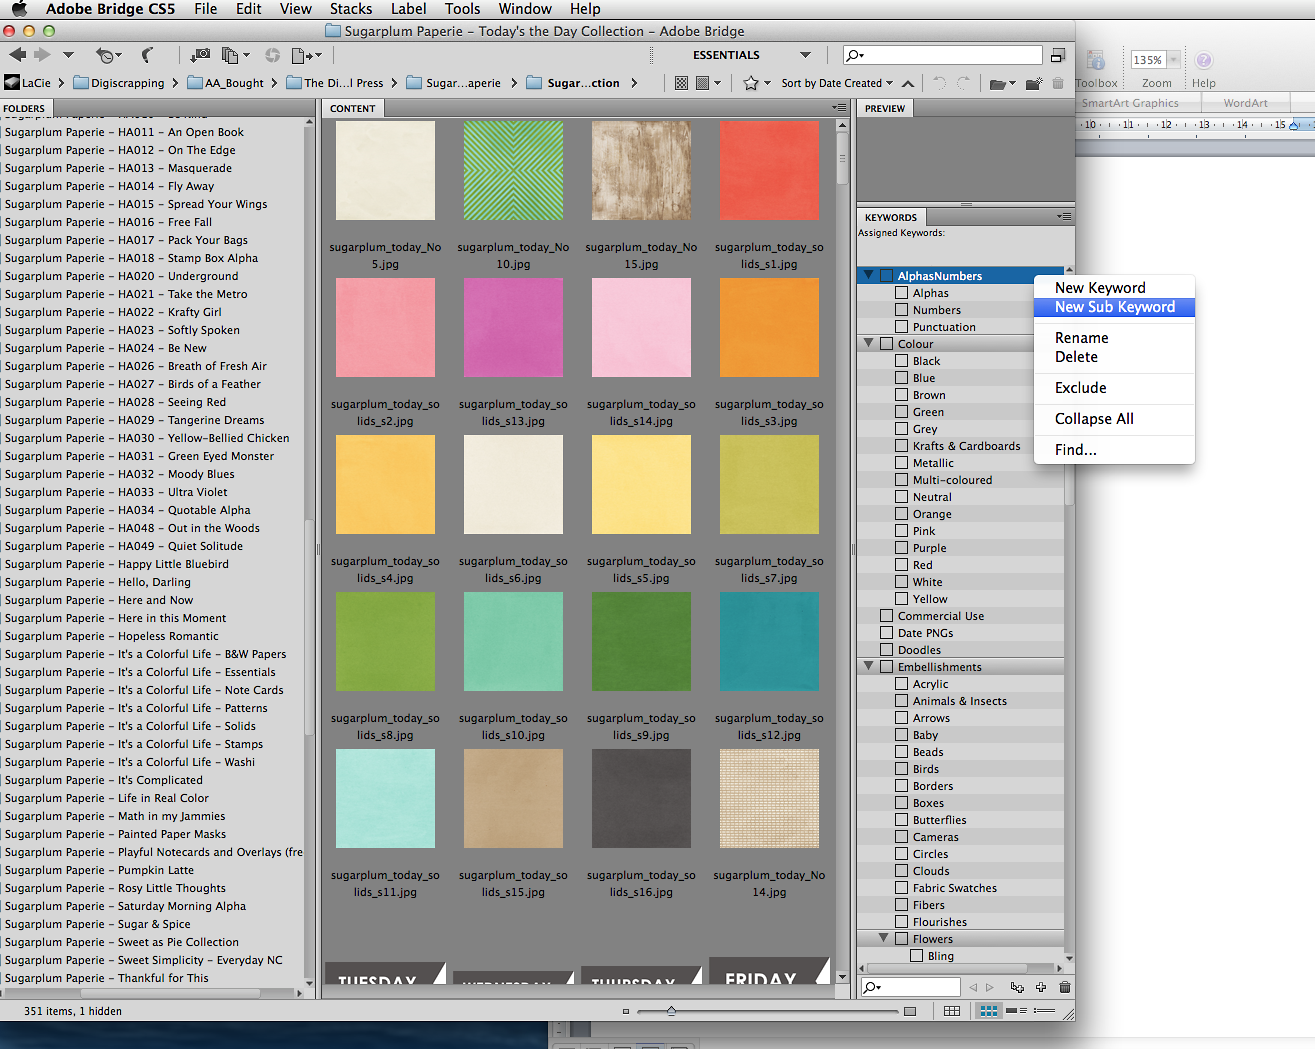
Once you have your keyword structure set up in a way that makes sense to you, you can start tagging your items. To add a keyword, click the same drop down menu you used to import the keywords list and choose “New Keyword.” To add a sub keyword to one of the existing categories, hover other the top level of the category, right-click, and choose “New Sub Keyword.”
Jpgs, pngs, psds, tiffs, etc. can be tagged, but things like actual folders, layer styles, brushes, etc. cannot be tagged. There should be a pop up that will warn you when something cannot be tagged. The reason that Adobe Bridge tagging is so powerful is that it embeds the keyword/tag right into the metadata of your file, so you can search keywords outside of Bridge on your computer and that tag will still be associated with that file. This also means that if Adobe Bridge were to be uninstalled at any time and reinstalled, your files will be tagged already and you will not have to re-catalogue your entire library of digiscrapping supplies. This is a huge time saver!
OK, so on the left hand side you see the Folders Panel. Navigate to the place where you keep your digiscrapping supplies. I tend to organize my folders by designer, or by store and then designer within the store folder if I have things from a few different designers within one store. This is helpful if you like participating in challenges where you can only use items from that particular store. You can see a bit of my file structure here on the left:
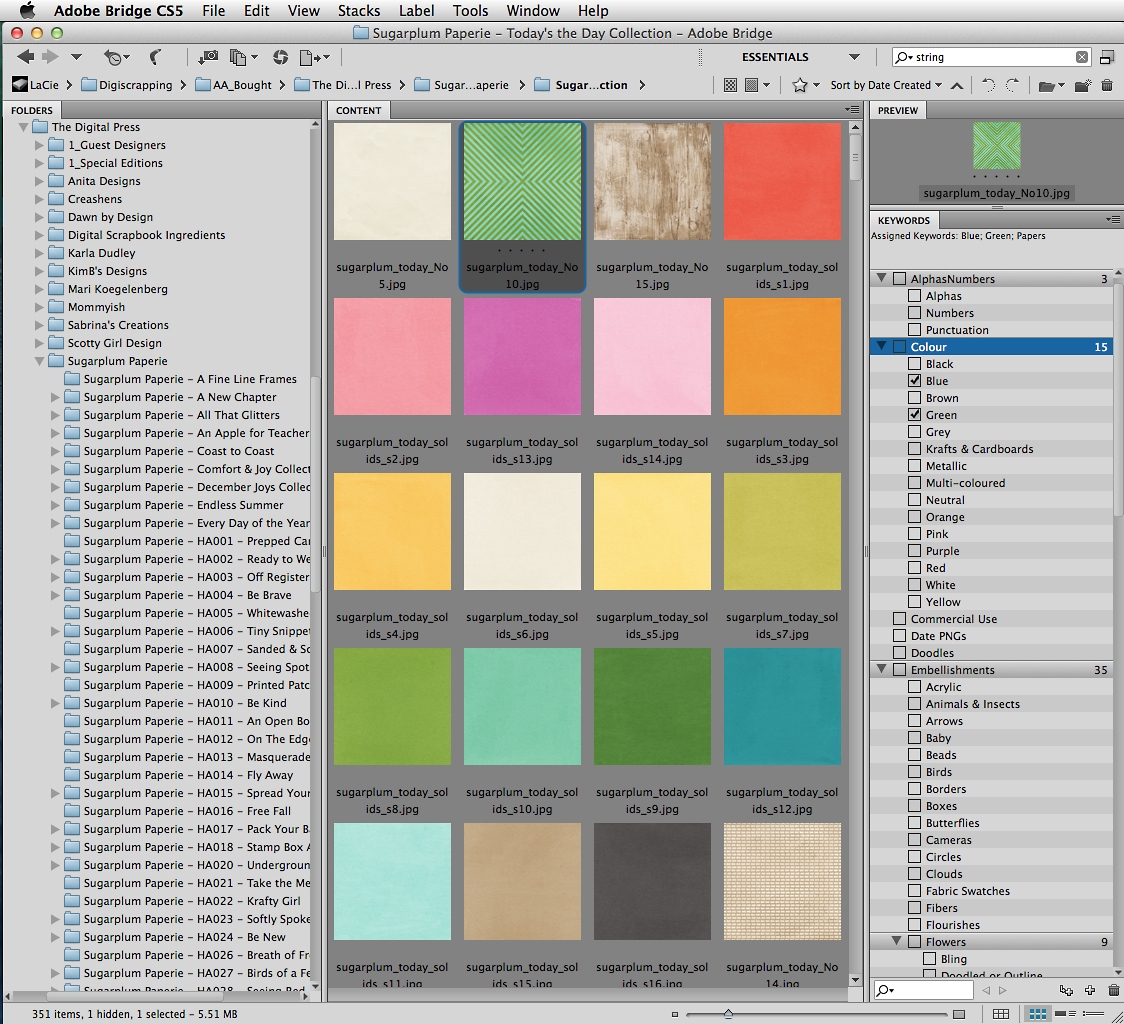
To tag something, simply select the thumbnail and then check off the keywords you want associated with that file in the keywords panel. If you see a list of filenames rather than thumbnails, you can go to the View menu along the top and make sure “As Thumbnails” is selected. If you want to see the thumbnails bigger or smaller, use the size slider on the very bottom of the software window. You can tag an item with as many keywords as you like. For instance, if you have a paper with two predominant colours, you can tag it as “multi-coloured” or with the two main colours. You can quickly see which keywords are assigned to your selected thumbnail by looking at “Assigned Keywords:” at the top of the Keywords Panel.
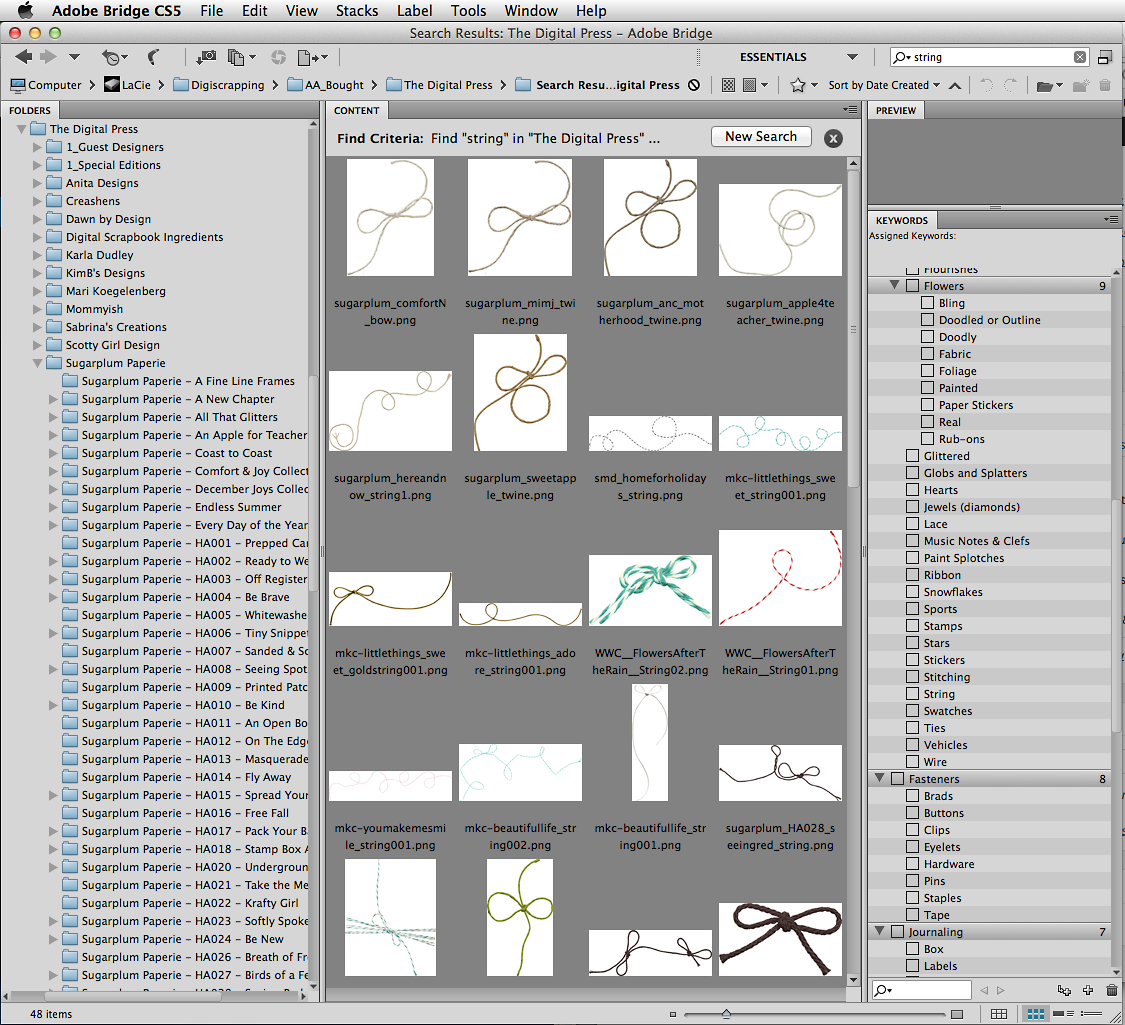
Using your keywords is as simple as selecting the folder you want to search within in the folders panel on the left and then typing the keyword in the search box on the top right of the software. For instance, if I’m doing a TDP challenge that has to include a piece of string, I would select The Digital Press store folder in the folders panel on the left and then search “string” on the top right and all the tagged string from my TDP stash will appear in the content window:
I hope this tutorial helps you get on your way with using Adobe Bridge to organize your stash. The time invested in organizing is well worth it, as it will make your scrapping time more efficient and enjoyable! Feel free to ask questions in the comments below and I’ll help as much as I can. Happy organizing!
![]() About the Author: Amy is a wife and mom to three from Ontario, Canada. She’s always been interested in scrapbooking, but didn’t try digiscrapping until 2008 when she received PSE for her birthday. By then she had 1 year old twins and a baby, so the thought of just playing for 10 minutes, hitting save and walking away with no mess was extremely appealing! She’s been hooked ever since. She loves being the memory keeper in the family, loves taking photos, loves telling the stories. She’s also excited to know that these memories are recorded for her grandchildren to enjoy someday!
About the Author: Amy is a wife and mom to three from Ontario, Canada. She’s always been interested in scrapbooking, but didn’t try digiscrapping until 2008 when she received PSE for her birthday. By then she had 1 year old twins and a baby, so the thought of just playing for 10 minutes, hitting save and walking away with no mess was extremely appealing! She’s been hooked ever since. She loves being the memory keeper in the family, loves taking photos, loves telling the stories. She’s also excited to know that these memories are recorded for her grandchildren to enjoy someday!
Thank you x1,000,000! I’ve been looking for months for a tutorial on how to organize my stash without having to buy MORE software and that was explained well, and you nailed it! I will finally be able to get my files organized and tagged and not wonder if I’m messing with the file data.
I’m so glad to hear this, Amanda! Digiscrapping is more fun when things are organized 😉
Thank you for this tutorial! I’m using … or was using ACDSee for organizing my stash and it crashed twice so that the database wasn’t usable anymore. Now I’m using it for some minor things (more viewing than organizing and some basic browser stuff) and don’t tag anymore. I had my stuff tagged similar to you. After the first crash I wasn’t tagging every single item. Back in the days I was a mix and match scrapper as well and this tagging made sense. Now I sometimes wish I had all my pl stuff at hand. So I will dive into Bridge and see what I can do to make it work! Do you have any experience how big the database can get before Bridge gets slowed down or refuses work? Are there any bugs that I would have to take care of?
Hi Alina, glad you’ve found the tutorial helpful! I used to use ACDSee as well, but Bridge has stood the test of time since I switched many years ago. I have quite a bit of digiscrap supplies and have never experienced a complete database crash. Once in a while all the thumbnails will disappear and I’ll have to let them all reload, but I never lose tags since they are embedded in the metadata of the files themselves. Also, once in a while I’ll have .png files that refuse to let me add a tag to the metadata, and I’ve found that if I open them in PS, resave them in the current folder (so overwrite, don’t save as a copy – I just open them all and create an action) and then tag them, it works perfectly. One last thing: twice in five years I’ve had it where I had to purge the cache, so I saved this link and these instructions have worked fine: http://helpx.adobe.com/bridge/kb/troubleshoot-errors-freezes-bridge-windows.html Those are the only bugs I can think of!
Wow, thank you so much Amy! Now I’m all set 🙂 So where do I find the time for tagging now? 😀 I will do it in portions and start with my most important stash 🙂 This has all been so helpful! Thank you!
Yes, getting the tagging done it the worst part, but after that it’s just one kit at a time 😉 And it’s really great knowing that once it’s done, the tags will always be attached to the files. All the best and have fun!
TY for this great info!
You’re welcome! 🙂