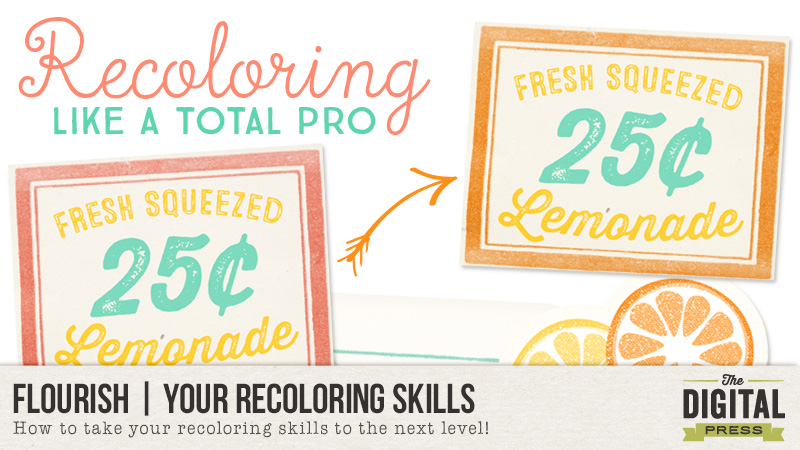
Once upon a time I used to recolor by using the Colorize option. The results were not always optimal. One day while playing with the Hue/Saturation adjustment layer I learned that I could pinpoint specific hues and change them! This changed my recoloring-life. Seriously. It was a moment where the heavens opened and angels started singing! If you aren’t afraid of watching a very silly/giggly tutorial hit play. If you want a step-by-step text/image tutorial just keep on scrolling!
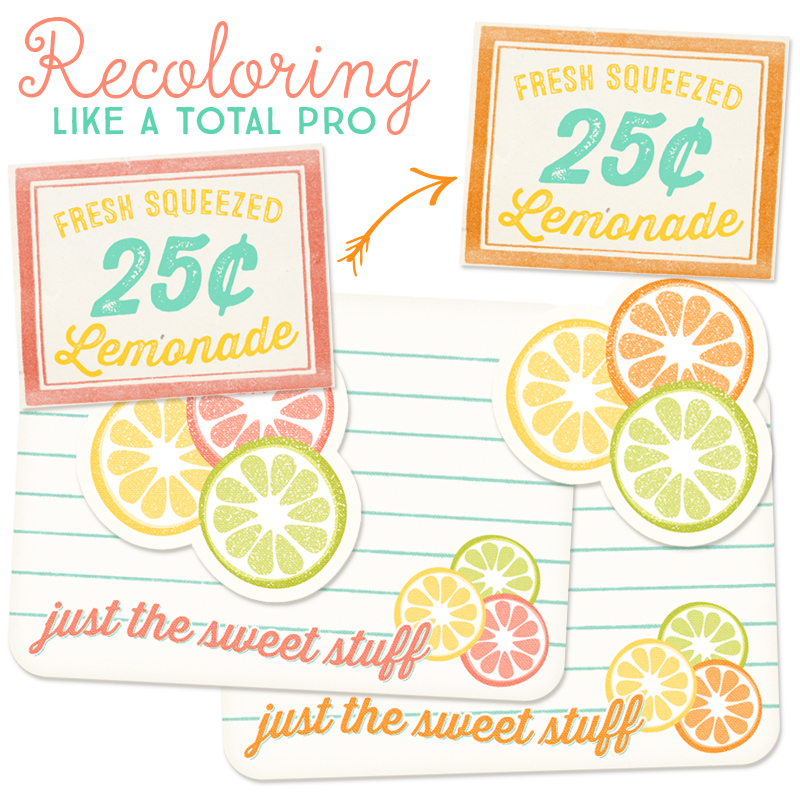
If video tutorials aren’t you thing here is a step-by-step of how I created the above effects! The kit used for this tutorial is called Lemonade Stand by Mommyish. It is 50% off Tuesday-Thursday! *inserts shameless plug*

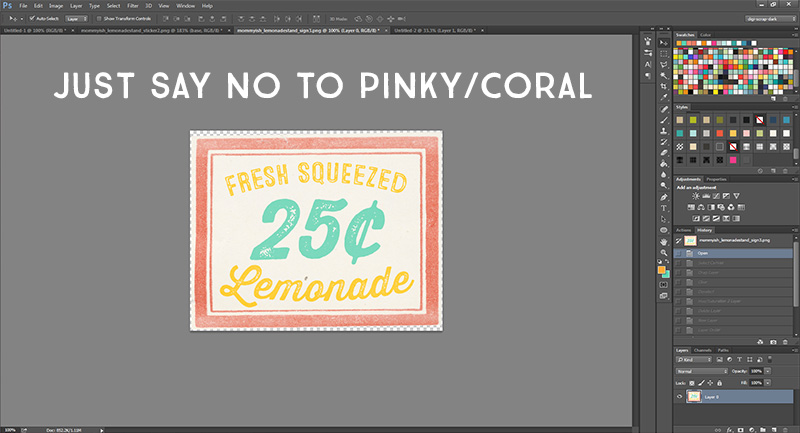
Open the element or paper you would like to change. For this I have selected a little word art piece that I want to remove the coral in exchange for a gender neutral orange.
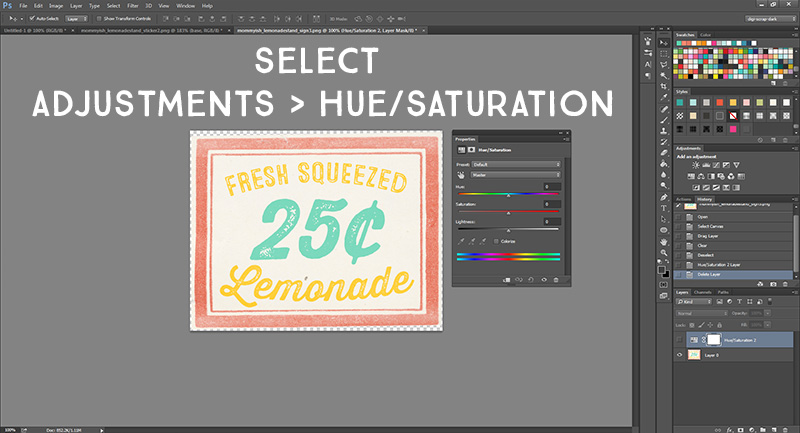
Above this layer you add a Hue/Saturation adjustment layer. If you do not have this on your tool palette you can get to it by going to Window > Adjustments then click the Hue/Saturation icon. ![]()
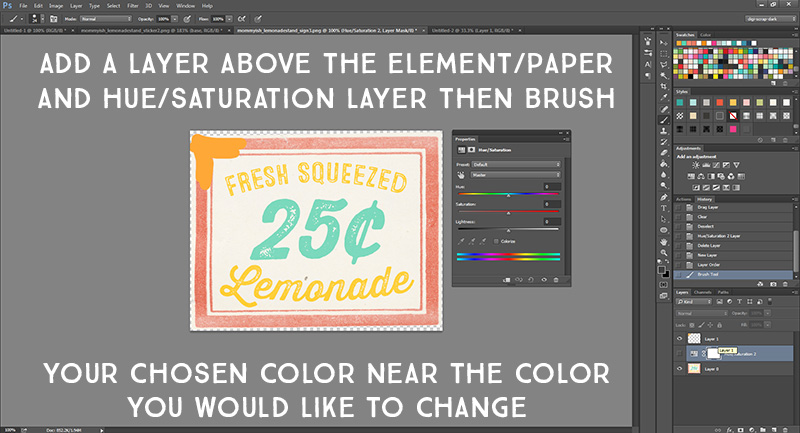
After I have added the adjustment layer I create a new layer above both the element/paper and adjustment layer. I take my paintbrush and just scribble over the element with the color I want to achieve. For this tutorial I want to change the coral to orange.
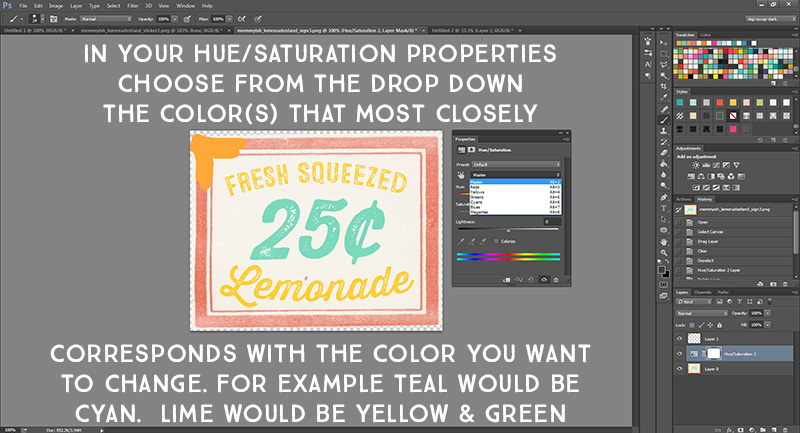
After I have my color sampled I then play around with my adjustment layer. This is where the magic happens! You will need to determine the main colors of your element and then adjust accordingly. Coral uses a red hue so from the drop down I choose red as the color I would like to adjust. If I was going to change the teal color I would choose cyan. If I was going to change the yellow I would choose yellow.
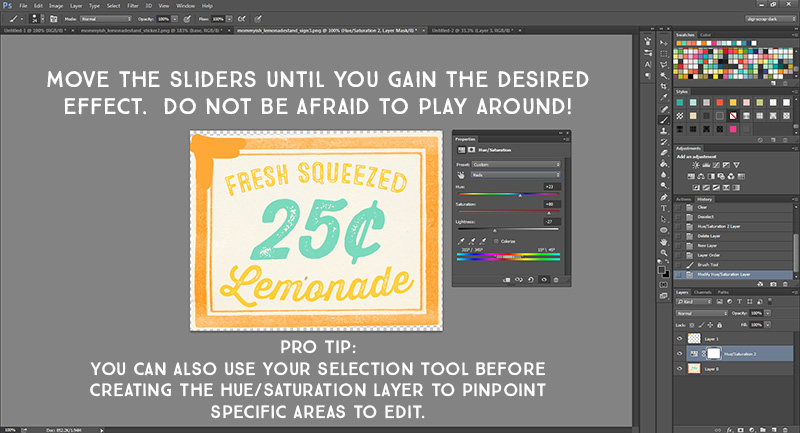
There are three sliders you can move. The first is the most important: Hue. By sliding this we can change the coral to orange.. or any other color! Saturation effects how much OOMPH the color has while lightness can either deepen or lighten it up. By using all three you could create completely different effects. Play around and have fun!
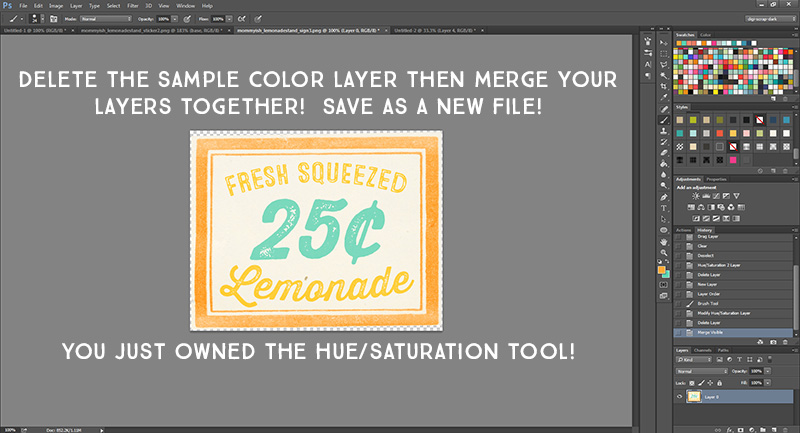
When you have accomplished the look you want you can delete the sample color layer and merge the adjustment layer with your element. I save the file as something new and call it done! You can also pull your edited hue/saturation layer into other element documents with the same color you want to change to gain the same color effect on multiple items (as you can see in the first image of the post)
As you can see to the left here are a few samples of the elements in the kit and then a quick recolor to remove the “pink coral” with a more gender neutral orange that also matches the kit! Many times we may like a kit but one color might be off-putting to our personal tastes. It is easier than you think to recolor one specific hue in a palette! While this may be a bit more of an advanced tutorial – once you get the hang of it you will find yourself going back to this technique over and over again!
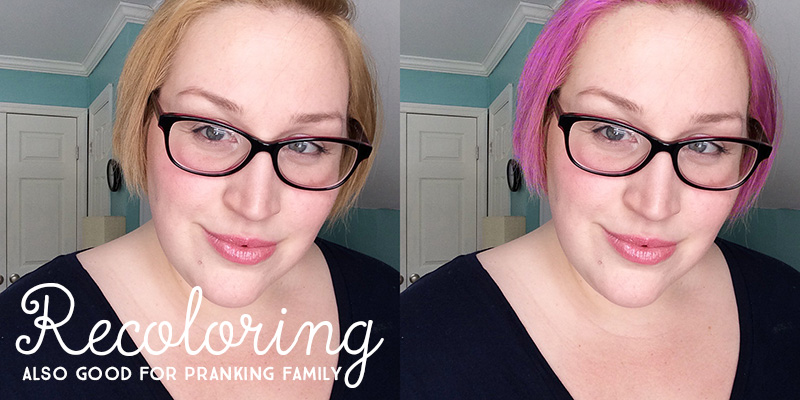
In the past I might have used recoloring skills to pull pranks on long-distance family members. (or maybe I just wanted to see if I could pull off pink hair) My hair pulls from a yellow hue. All I did was add the hue/saturation layer and adjust the yellow slider while erasing some extra color areas to maintain realism. (the lamp shade behind my shoulder, for example) You can use your eraser brush on the hue/saturation layer!
I hope you enjoyed this somewhat silly tutorial. Don’t be afraid to play around. You never know what fun effects you might accomplish just by experimenting!

About the Author: Leah is the designer behind Mommyish and owner of The Digital Press. She lives in the beautiful lower Hudson Valley of NY with her husband, two girls, and in-laws! She has a love for all things geeky and quirky. In addition to being a graphic designer, she is an avid pianist.
This is an awesome tutorial! I’ve read so many recoloring tutorials but I don’t believe I’ve ever encountered this technique before, and I certainly hadn’t come across the BRILLIANT idea of pulling that Hue/Sat layer over other elements to quickly transform them as well. Love it! Thanks!
Thanks for the tutorial — I often find myself recoloring something, but if an element has too many colors I generally leave it alone. This looks so simple — will this work in PSE12?