Have you noticed that sometimes our hobbies take on a life of their own and produce far more stress than they release?
When I was young I always kept the ‘old fashioned’ scrapbook. You know, the kind my Grandma had. A simple album with newspaper articles and photographs, old movie stubs and various memorabilia. All taped or glued in every which way. I would write and draw in them and just have a good time with the memories. I had stacks of them as a girl. They were a mess – and I loved them!
But somewhere in growing up I lost that freedom. In fact, for the majority of my life I have had a tendency to be a perfectionist. It really showed itself in my memory keeping. I would fret and worry and spend hours (OK, WEEKS!) on a layout and even then I was not sure it was done. The funny thing was, I could start twenty pages in a day, but finishing them . . . oh man! I literally had a box labeled ‘in process’ and it was always full.
When I switched to digital scrapping I simply transferred my ‘in-process box’ to an ‘in-process folder’ on my computer which slowly took over my entire hard drive. It took a complete breakdown – including a massive computer crash – for me to question my methods and my sanity.
Finally I just had to ask myself a few searching questions.
Why am I doing this?
What is it that I want to accomplish with this?
What is it that I really like about memory keeping?
I realized that I really like photography. I enjoy taking photos and looking through them again. I get almost giddy when I see a photo that I just LOVE. I also like the little stories that go along with those photos. And I LOVE sitting with my kiddos, going back through the photos and telling them the stories that match. I can tell that they love it too.
I came to see that my drive for the perfect layout, the perfect technique, the perfect album was keeping me from having more of those moments I actually enjoy and creating more stress than I needed.
I decided it was time to simplify. I needed to get real!
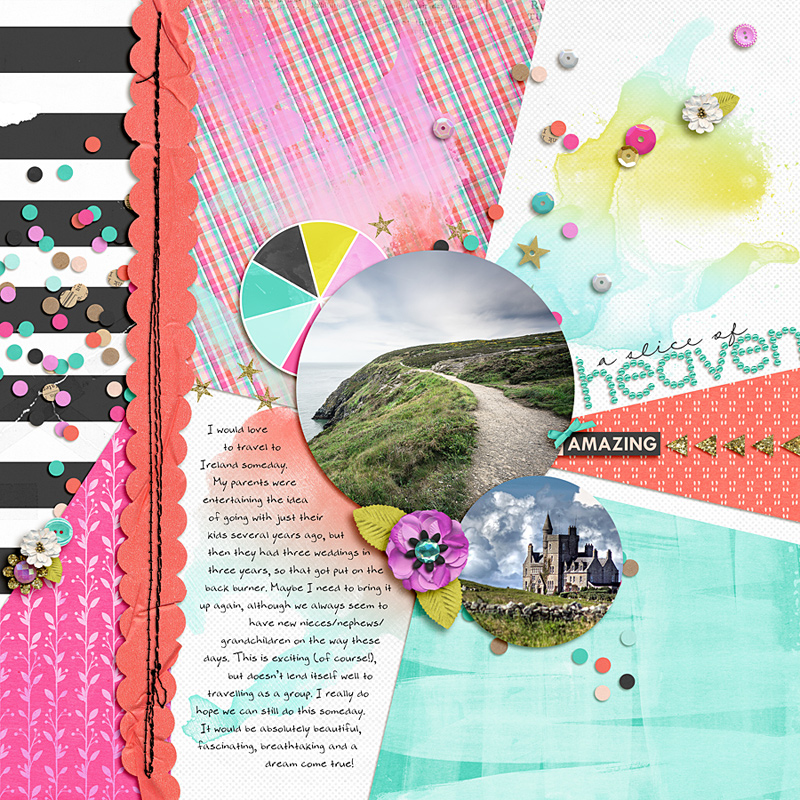
Instead of spending hours (or weeks and months) on one page trying to make it perfect, I decided to focus on the things I liked – the photographs and simple stories. I made my goal to get the pages finished, imperfections and all, so I could share them with my family and the world.
In order to do that I used a combination of minimalist layouts and pocket scrapping techniques to zero in on the heart of my memories.
Now don’t get me wrong, I still strive to improve my techniques. I love shadowing and I am always tweaking and learning new ways of improving my pages. There are some pages I still go all out on and spend loads more time working through. But the key is I no longer stress about it. I see my albums as documenting my learning and crafting technique as well as documenting our lives. Yes, the pages I made last year are not nearly as nice as the ones I make today, but that is to be expected. By accepting where I am right now and setting realistic goals I am able to enjoy the process and share the finished product with others.
And there are perks!
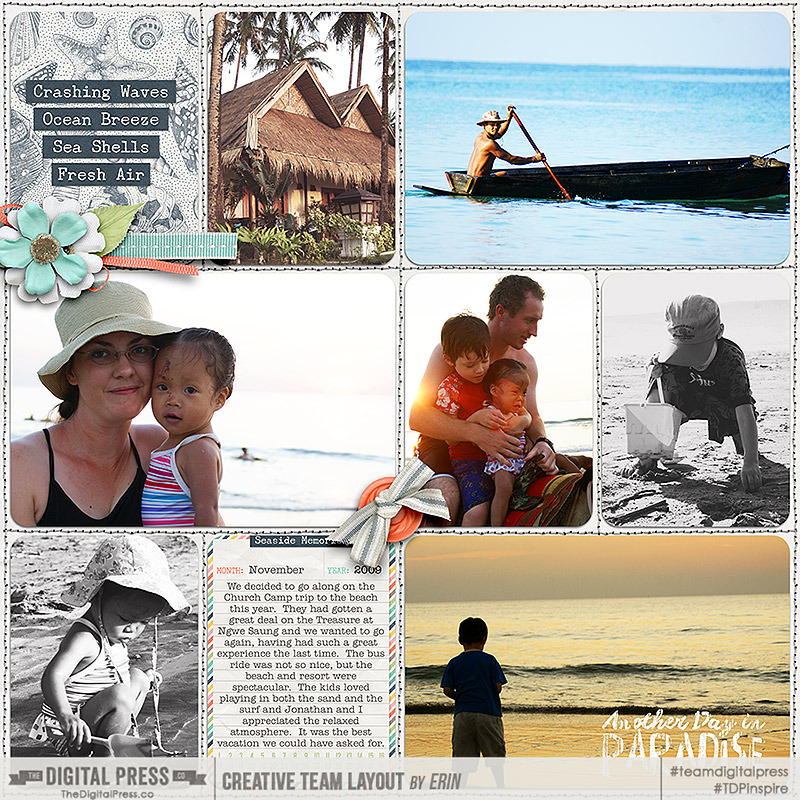
By simplifying I have been able to either finish or make pages for most of the years I have lost. Like this one from a family trip to the beach in 2009.
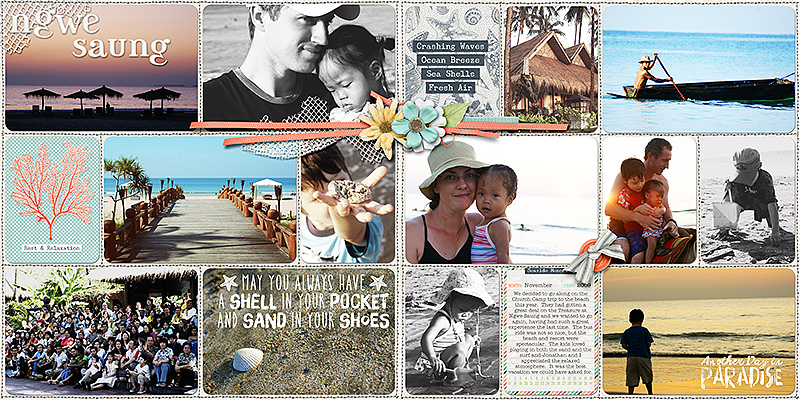
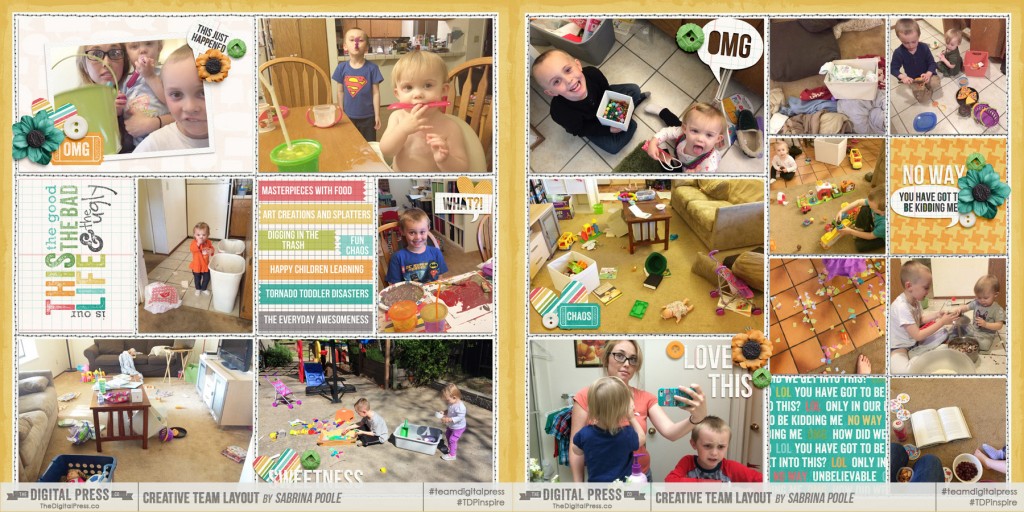
and here are the separate pages
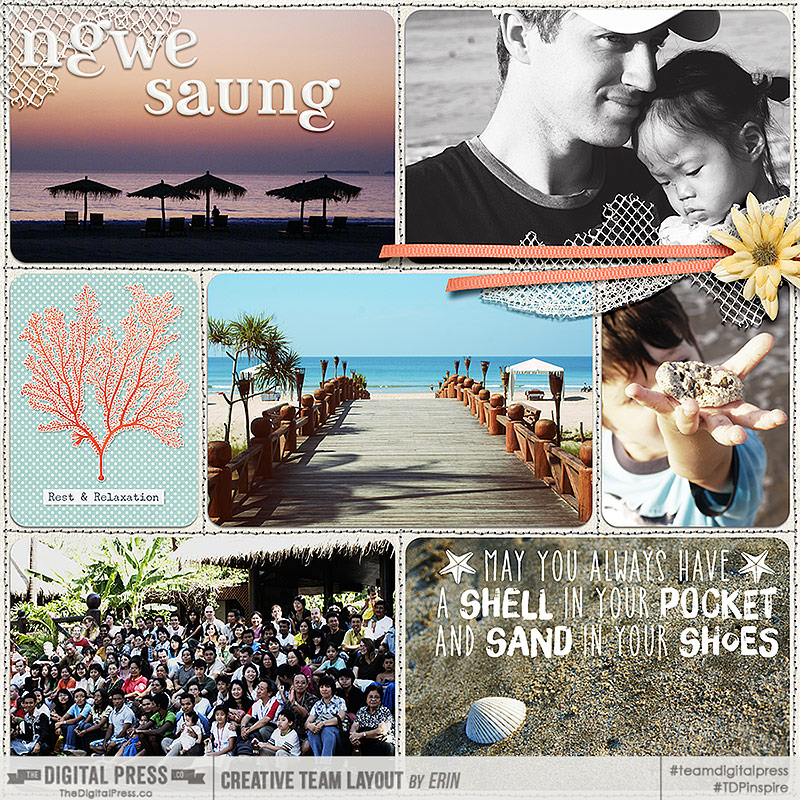
(credits: Kim B Designs Simple Pleasures Collection, Wishing Well Creations Project Twenty Fifteen Template Bundle, creashens Eggshell Alpha)
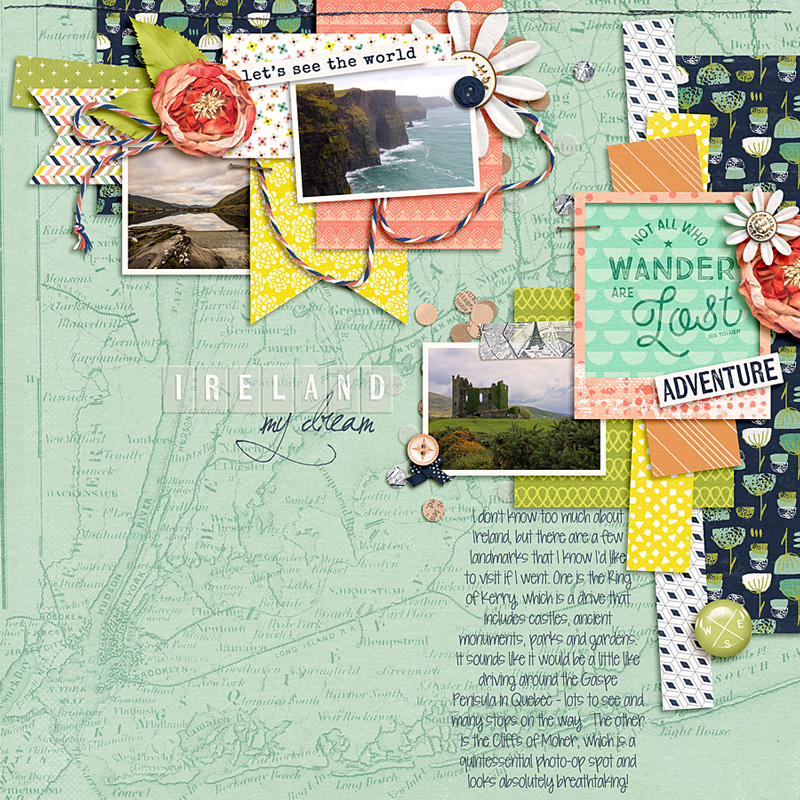
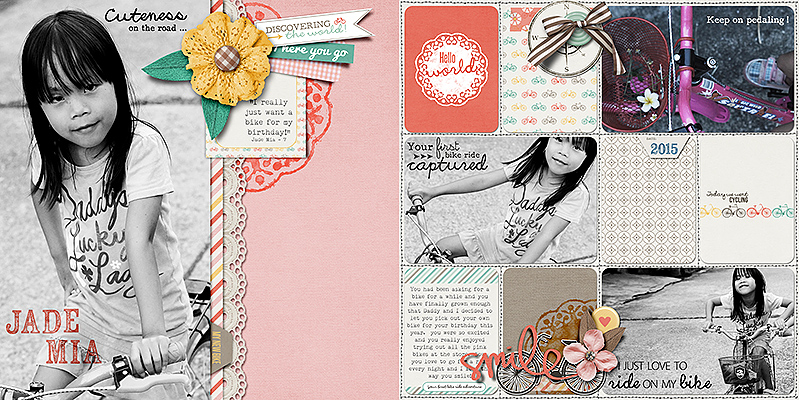
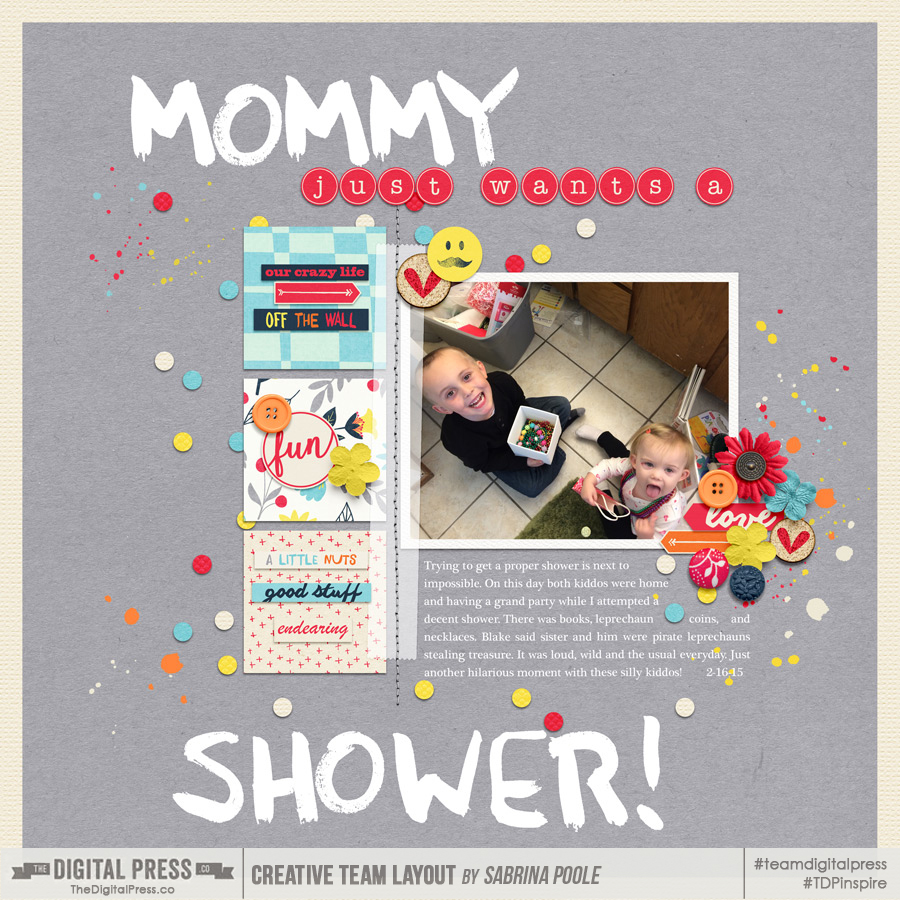
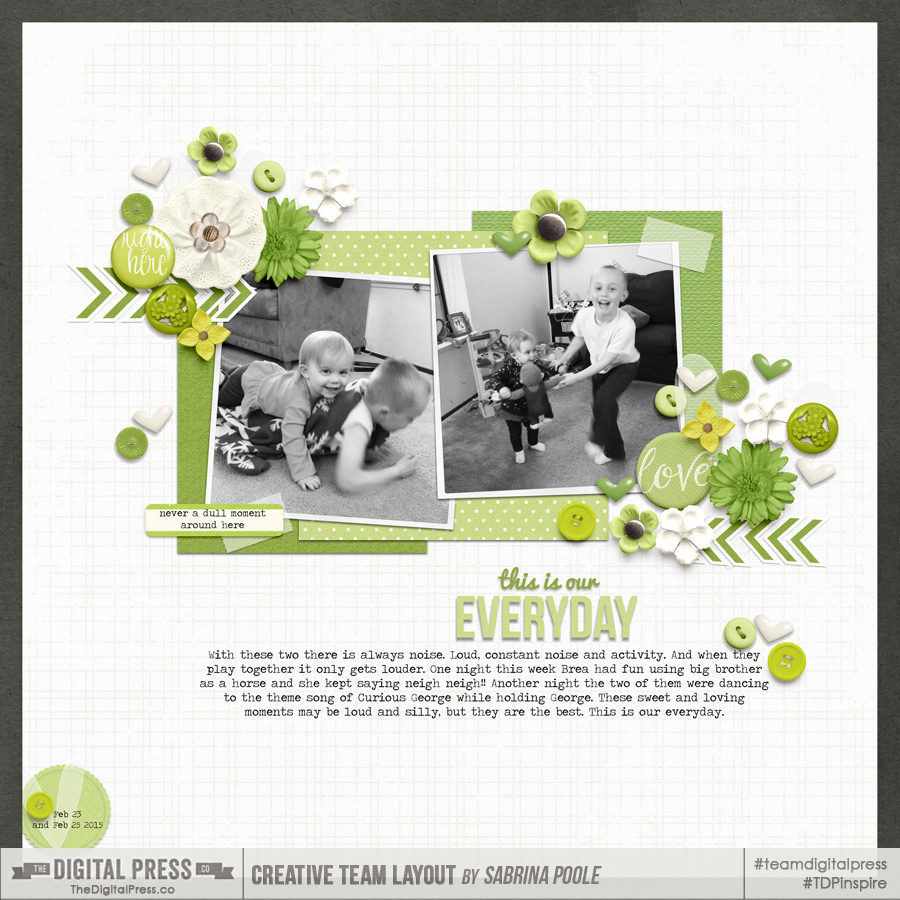
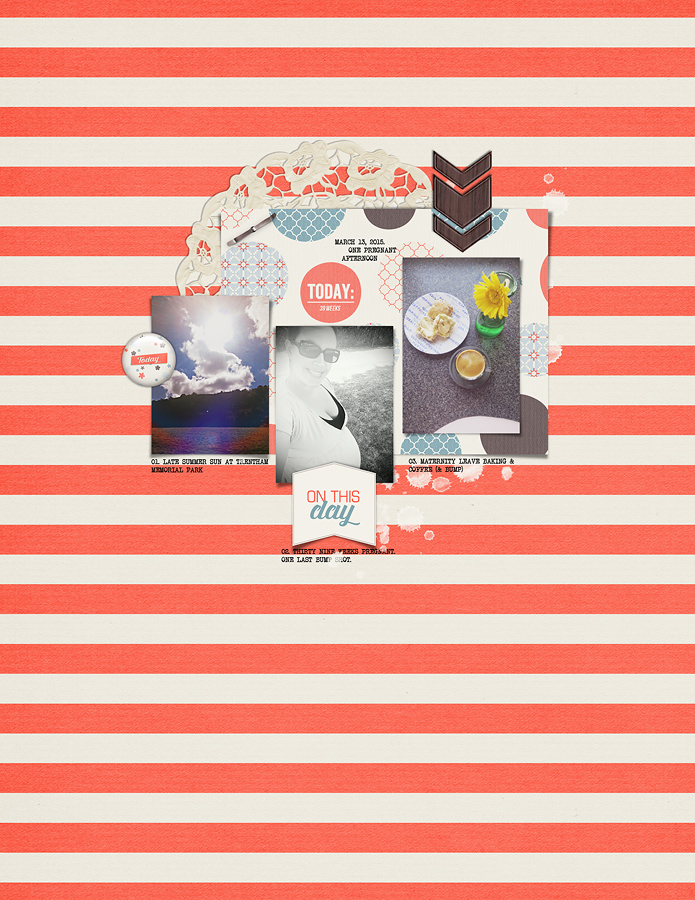
Additionally, by going more minimalist I have been able to stretch my stash so much farther. This is a series of pages from last month.
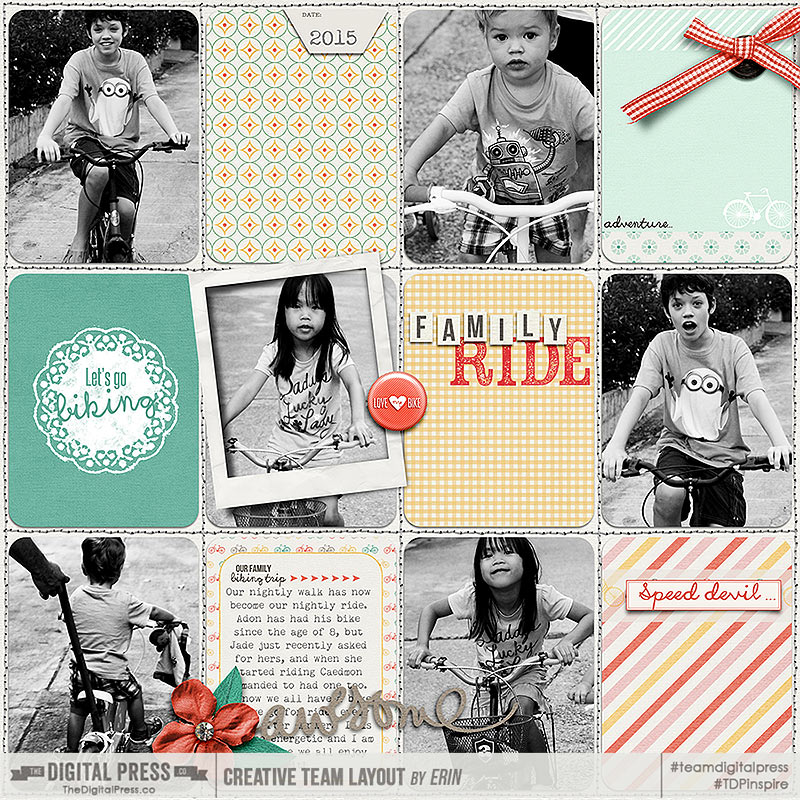
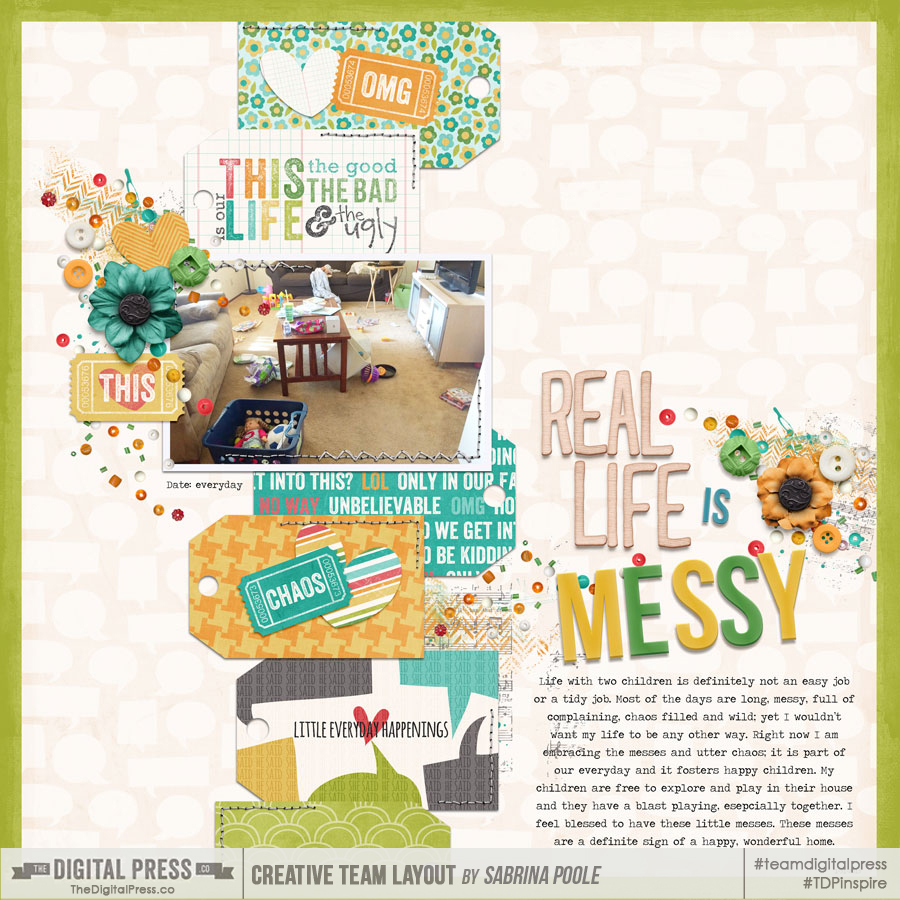
This double page spread was the layout that started everything off.
and here are the separate pages
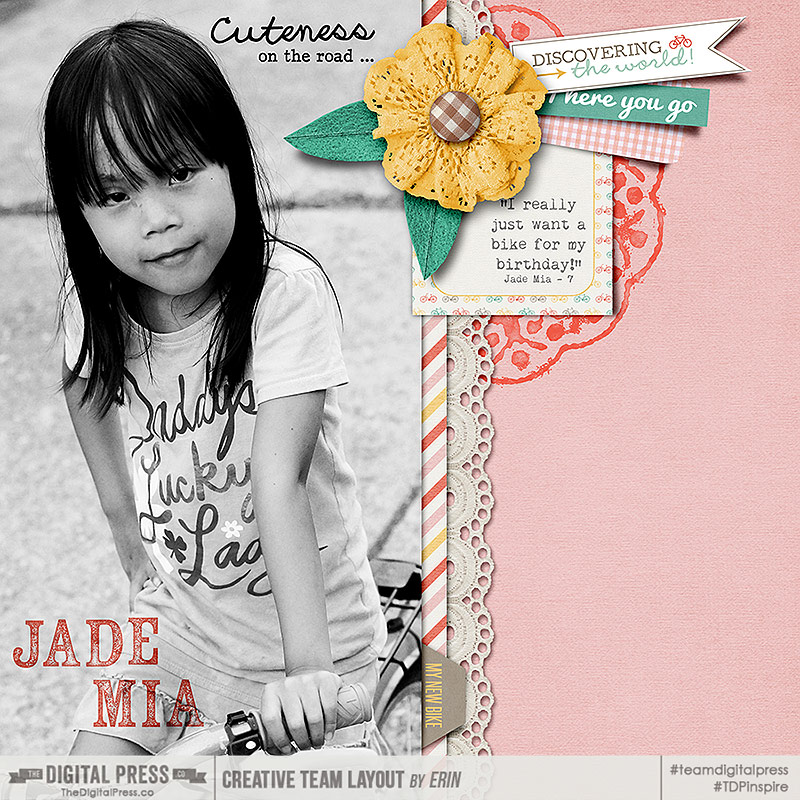
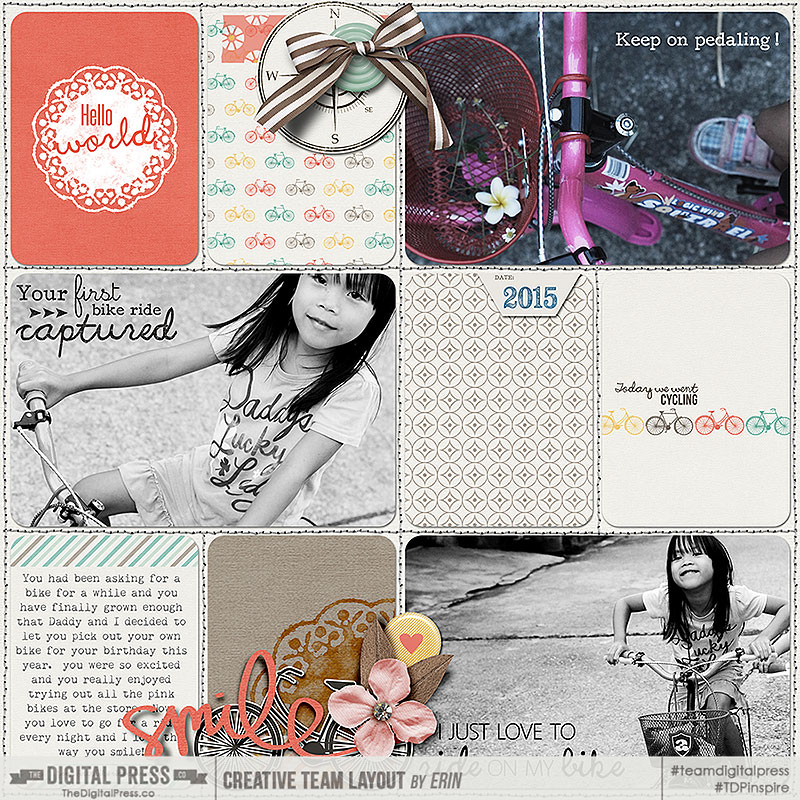
(credits: Anita Designs Lets Go Biking Collection, Wishing Well Creations Project Twenty Fifteen Template Bundle, Sugar Plum Paperie Its Elementary My Dear Alphas, Karla Dudley Giddy Cut Files)
As I finished up this layout I realized there were more stories hidden in these photos.
When we brought my daughter’s bike home, my youngest son decided he wanted to learn to ride too. Here is a page that looks at his story.
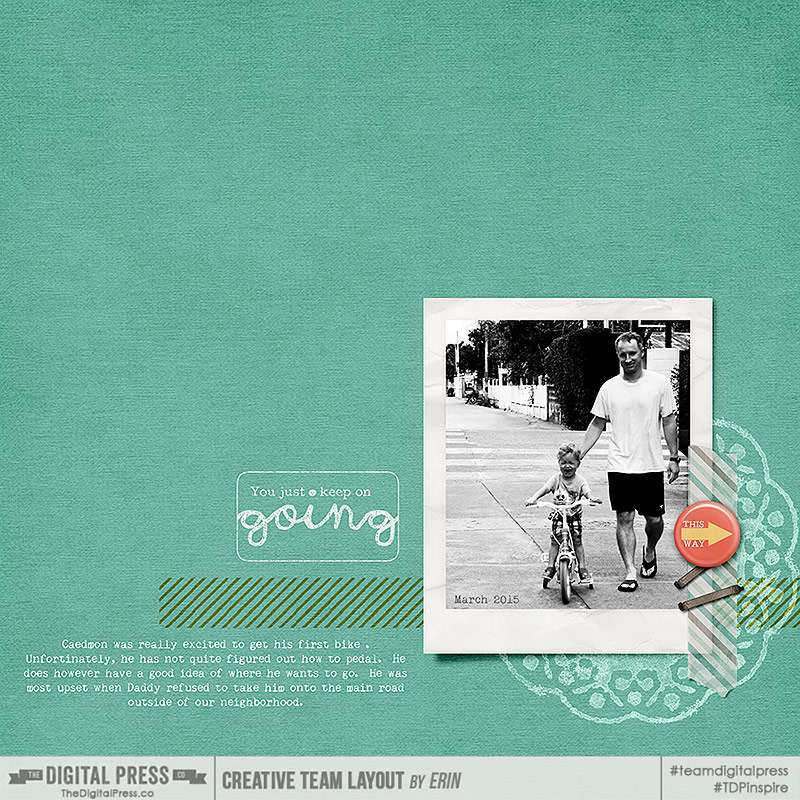
(credits: Anita Designs Lets Go Biking Collection)
The addition of two bikes changed the dynamics of our nightly family walk. I really loved the photos I was able to capture of all three of my children enjoying the exercise and so I made one final page highlighting that.
(credits: Anita Designs Lets Go Biking Collection, Wishing Well Creations Project Twenty Fifteen Template Bundle, Sugar Plum Paperie Its Elementary My Dear Alphas, Karla Dudley Giddy Cut Files)
This kit by Anita Designs was perfect for this memory and I was able to make pages for all the different aspects I wanted to remember (and all in less time than I would have spent on just one page back in the day).
It seems that these days our world really stresses perfection. Having the perfect body, being the perfect mom, keeping the perfect house. But I have found that when I take a step back and take the time to be real with myself the stress just melts away.
So now my goal is not to make the perfect layout, but to enjoy the process and share the memories.
How are you keeping it real? Join me in the Forums for a fun challenge about Being Real with yourself!
 About the Author: Erin is a work from home mom of three living in Thailand. She loves playing with her kids and anything artsy. She can often be found knee deep in toys with paint on her face. She is slowly learning the meaning of living an authentic life, and enjoying every minute of the adventure.

 About the Author: Sabrina is a wife and mom to two kiddos- Captain and Sunshine- living in sunny California. When she has free time she loves to do some type of project whether it is scrapbooking, a string art board, a washi tape project or other DIY project that is usually inspired by Pinterest. Her favorites are creating colorful layouts or pocket pages. Another lofty goal she has for the year is reading 100 books.
 About the author: Kathryn Wilson shares her 1920s New Zealand home with her husband, her brand new baby boy, a wauzer, and a cavoodle. She is a photographer, and both a digital and hybrid pocket scrapbooker, who has lots of DIY projects she should probably be working on right now.