Friday Favorites | November 8, 2019

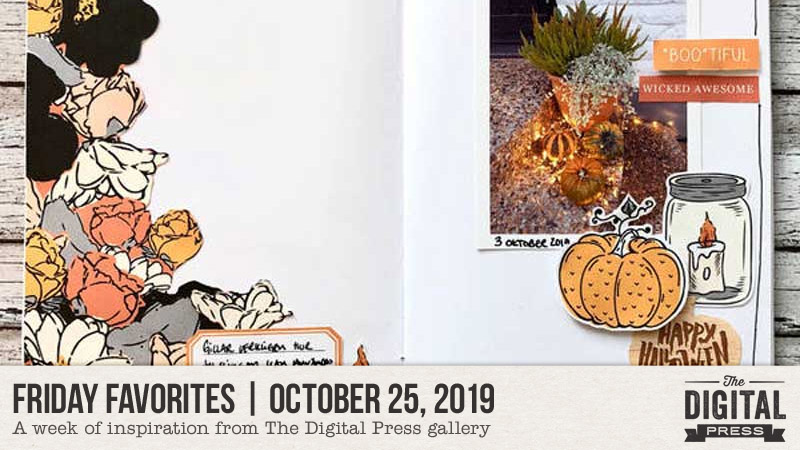
Happy Fall, and welcome to another edition of our Friday Favorites series on The Digital Press blog! I’m excited to share some of my favorite creative inspiration, found in the gallery from our awesome community members here at TDP!

Here’s a look at a few of the newest layouts I love from The Digital Press gallery this past month (they’re linked up to the original posts in the TDP gallery, so you can click through and leave them some LOVE!)…

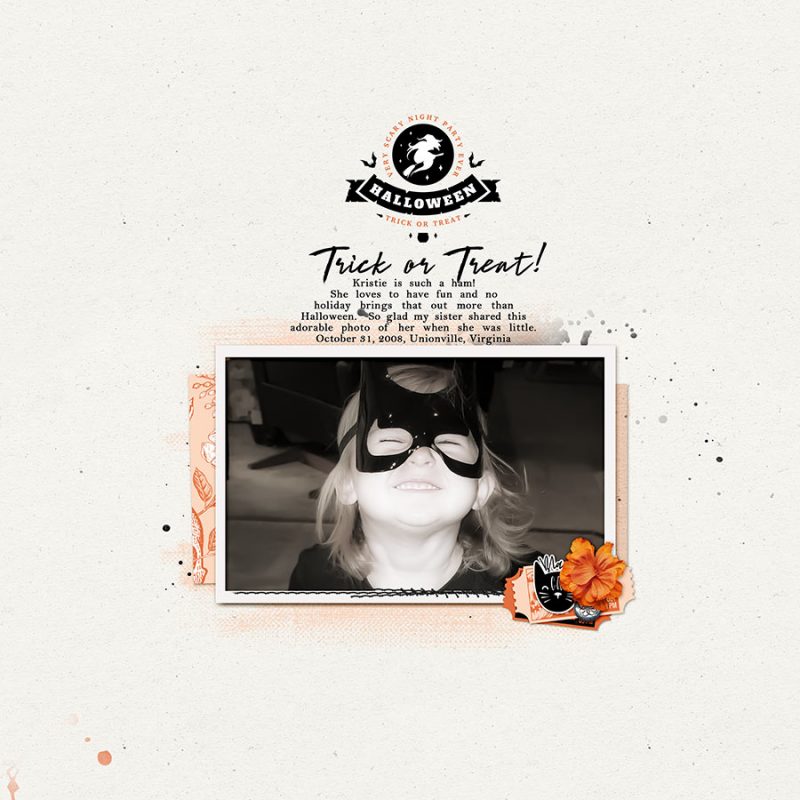
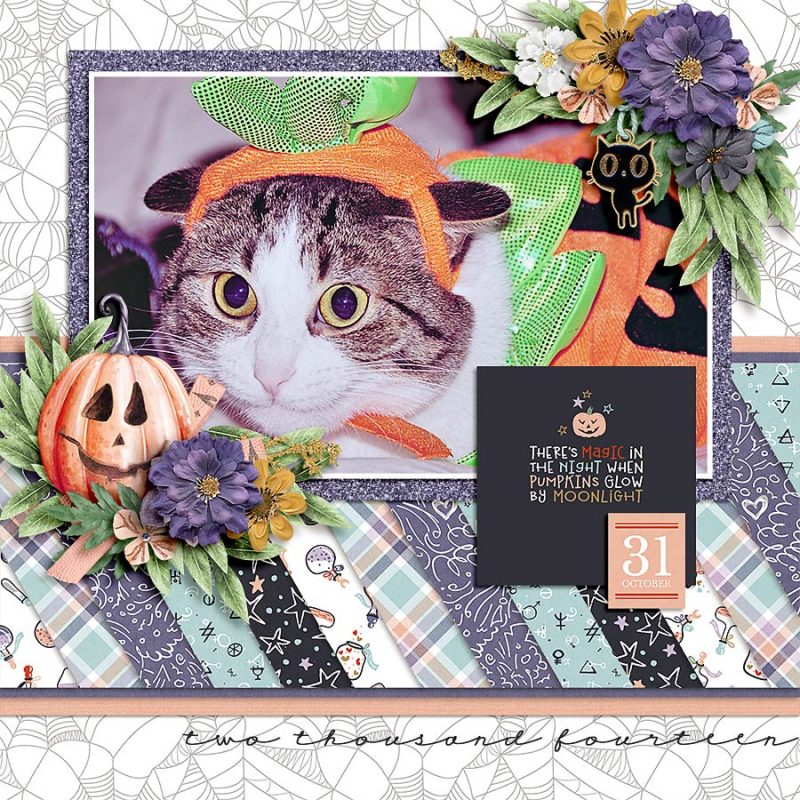
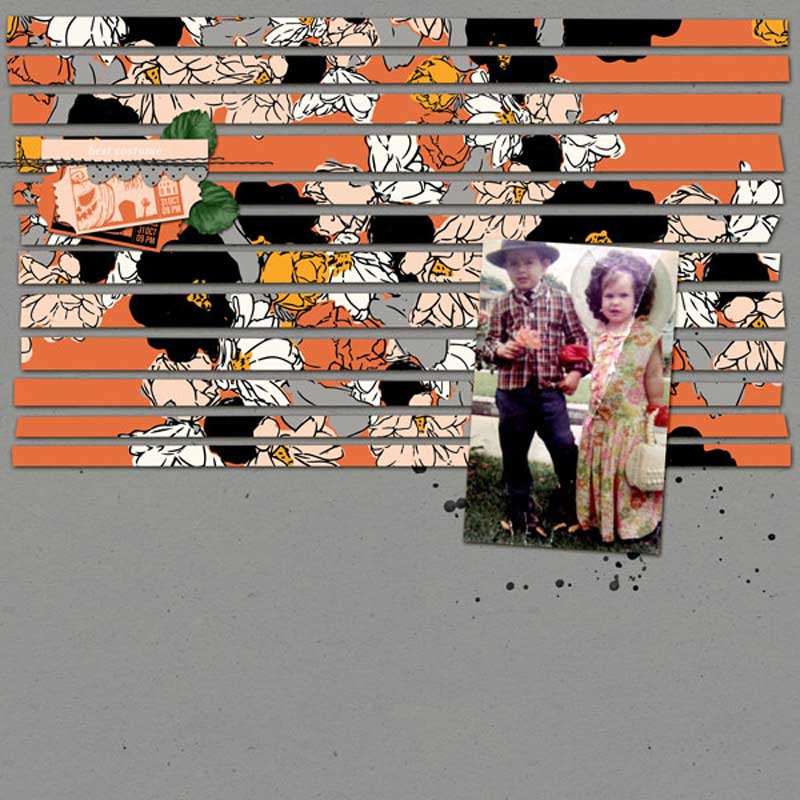
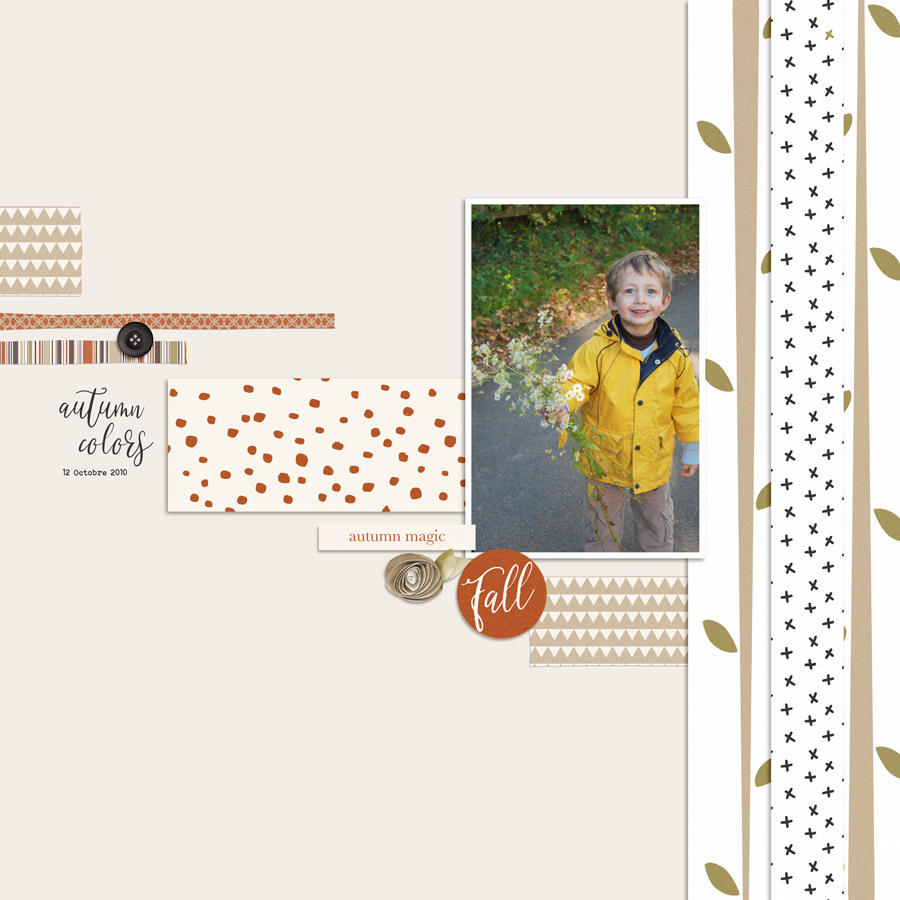
First up is this fun fall page by Anne PC.  I love the way the paper strips diagonally draw the eye across the page to the photo with additional pattern papers used to create a border along the right hand side of the page to ground the photo and frame out the lovely page.


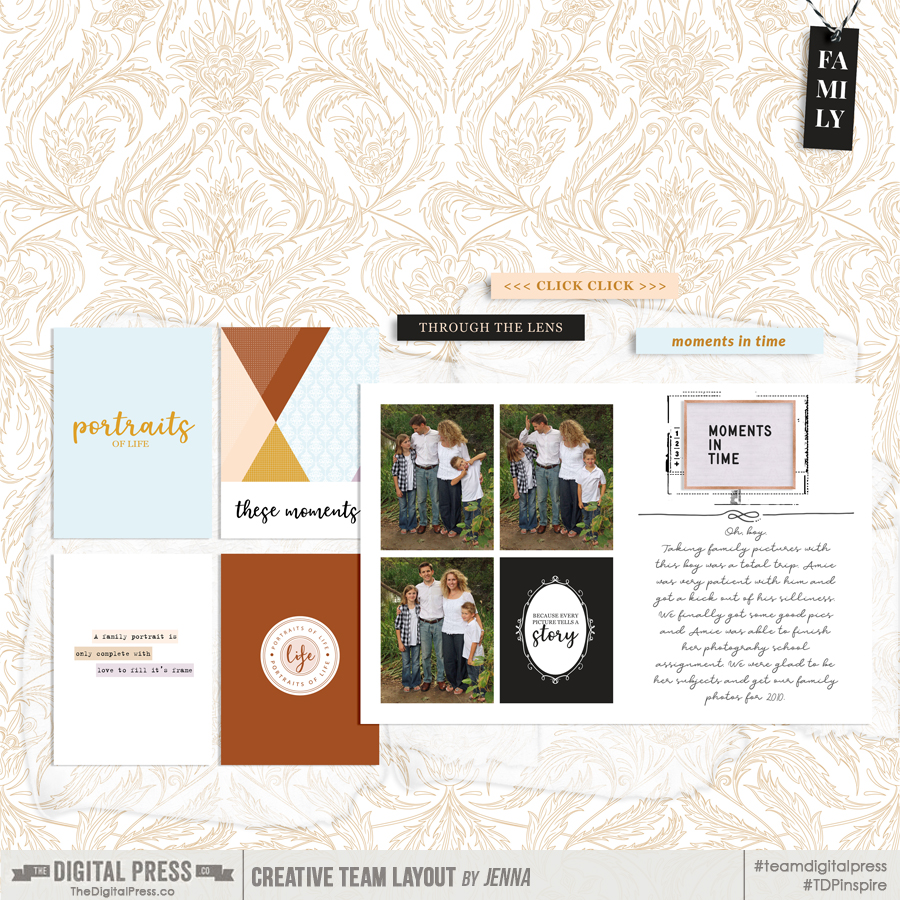
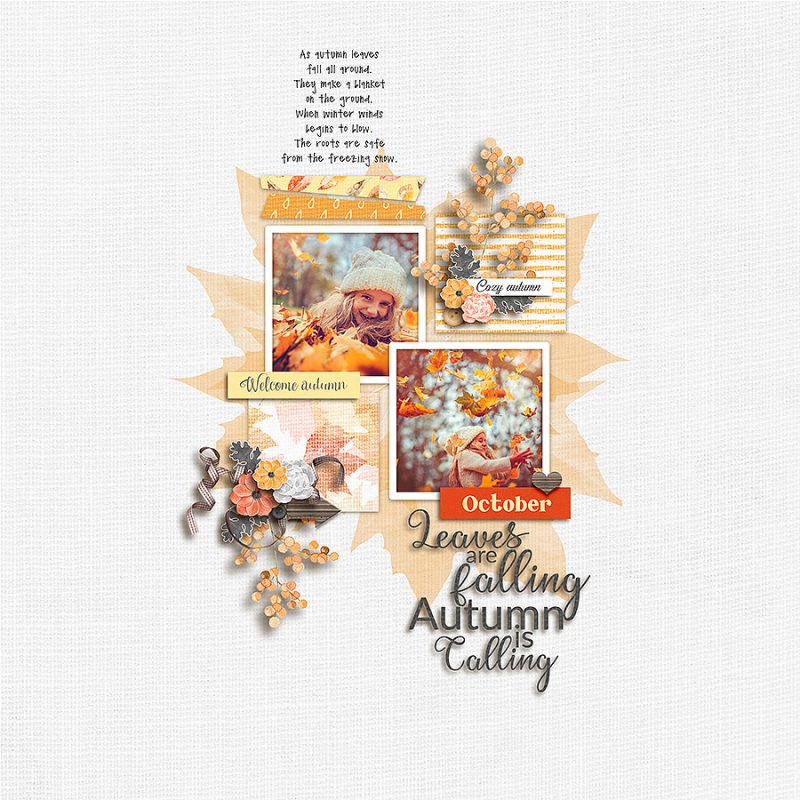
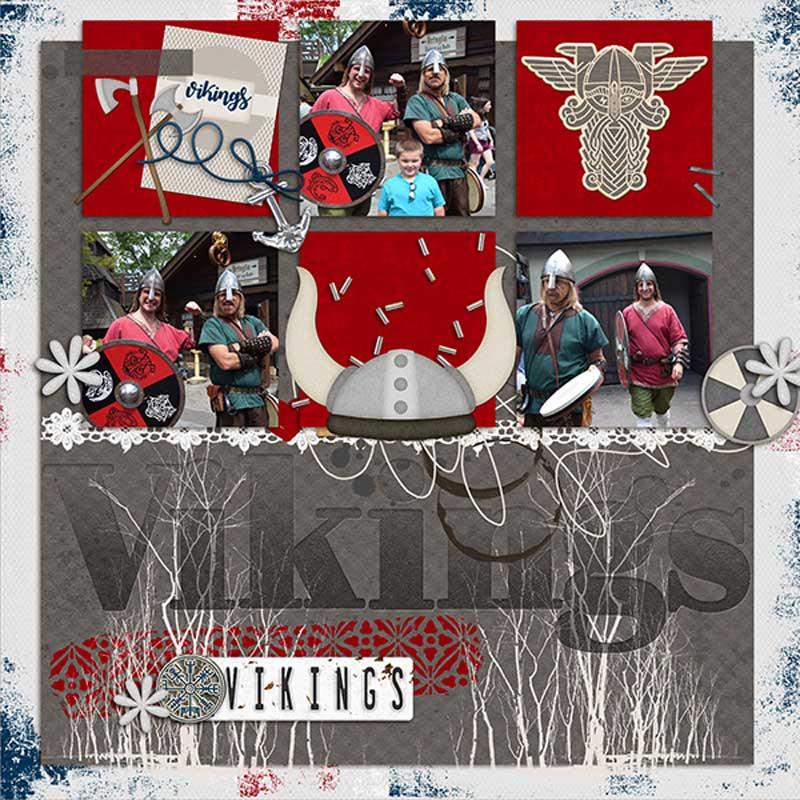
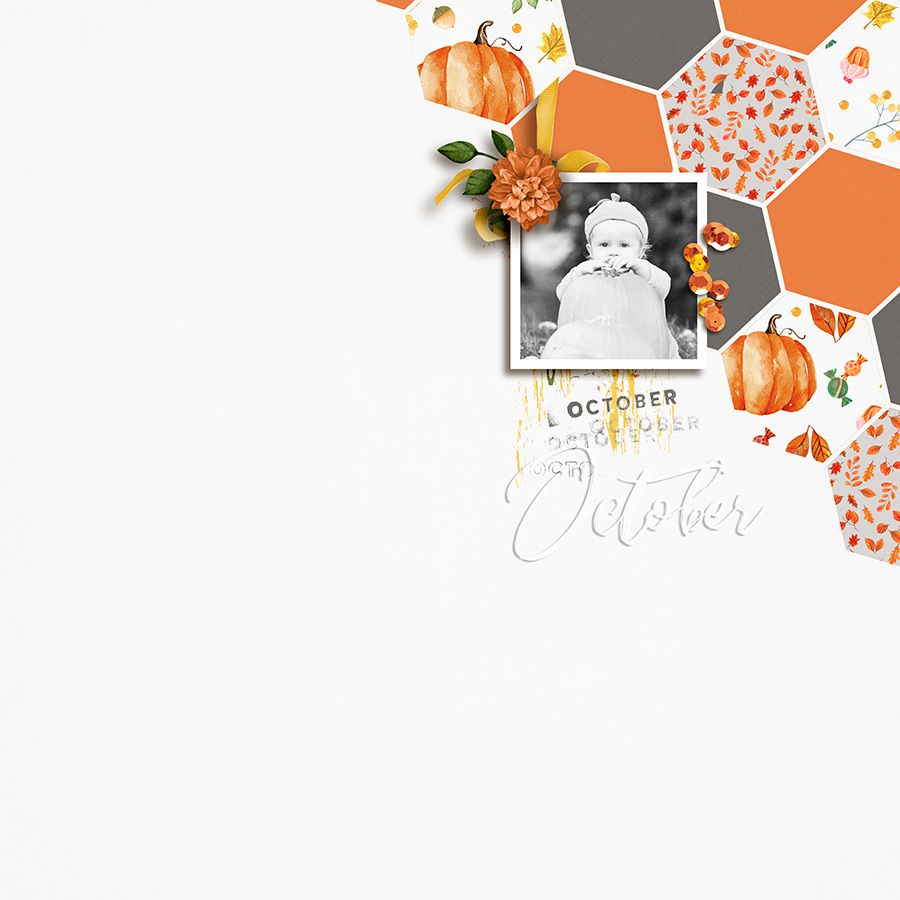
Next, I’ve picked out an impressive page by sucali. Another great page with wonderful use of pattern papers. I especially like the hexagonal shapes and use of minimal accents to complete this layout.


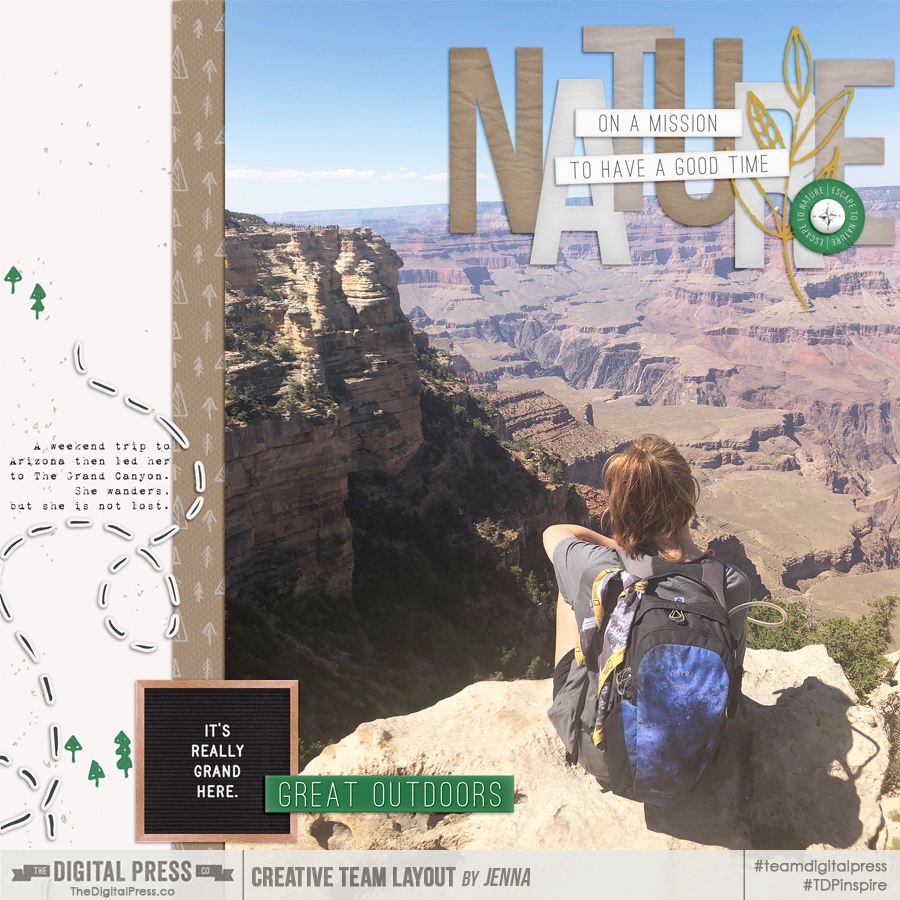
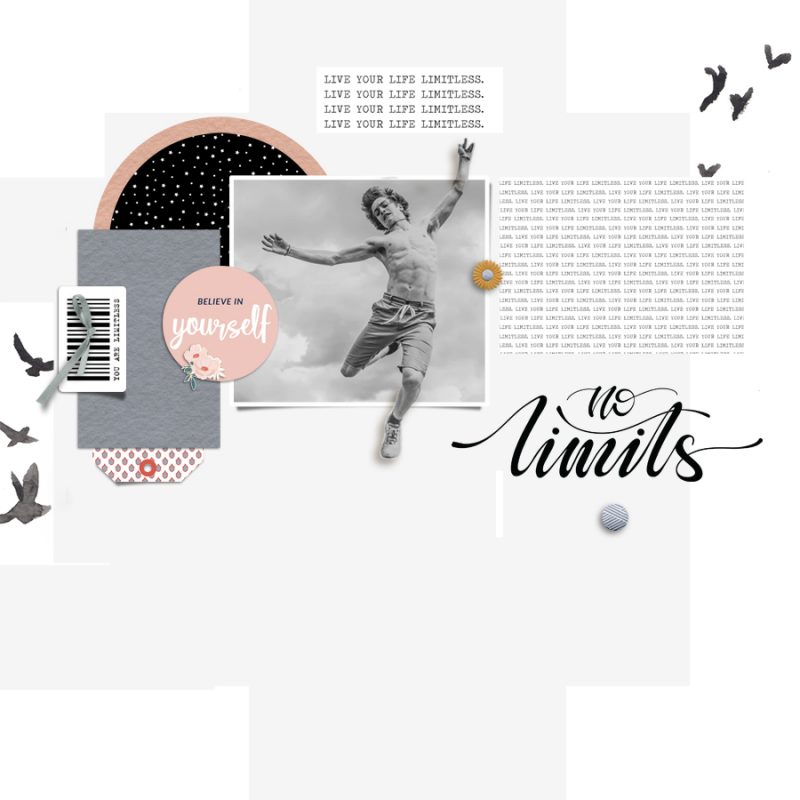
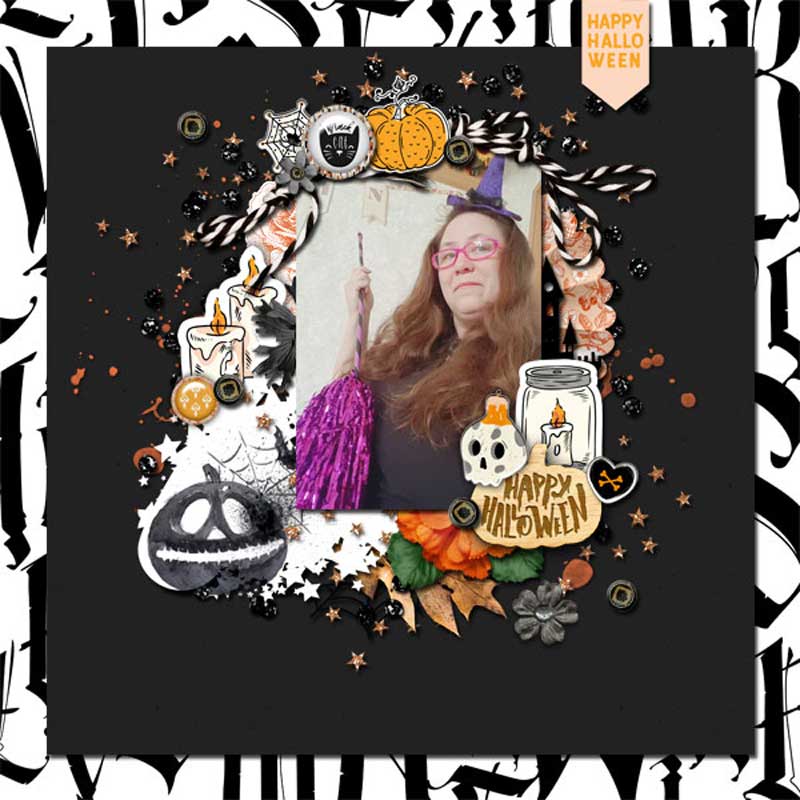
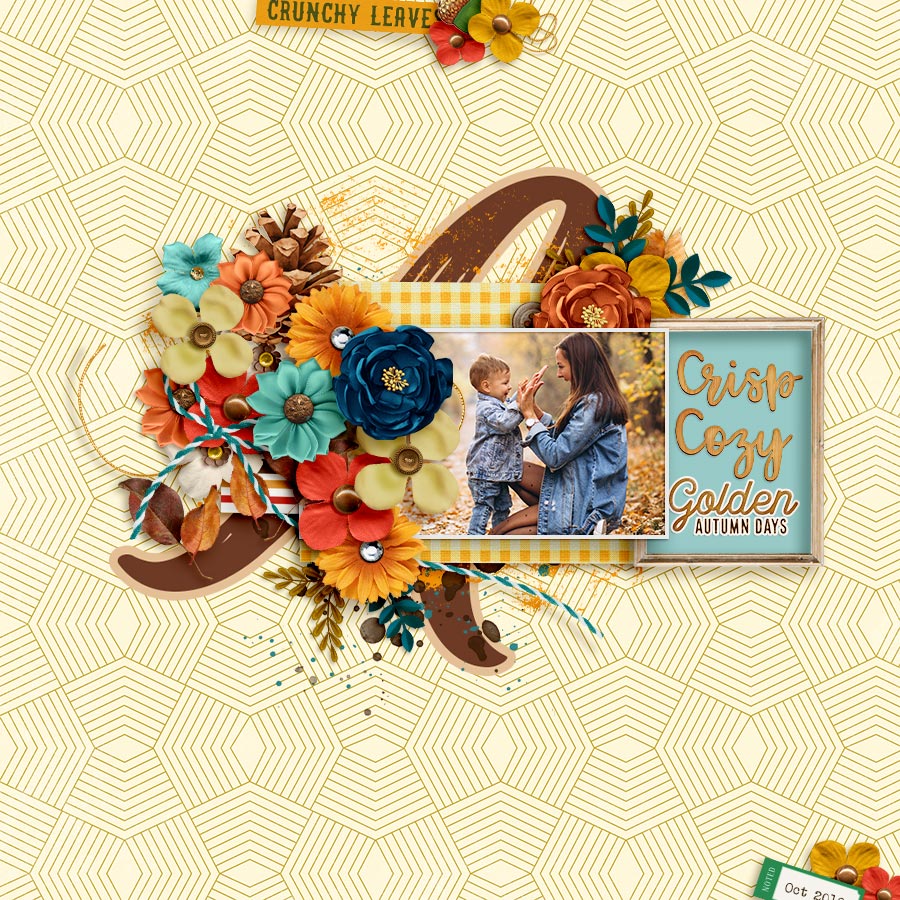
My next selection is a super sweet layout by TDP designer Shannel Tamara (of Gone Digital Design). Who can resist that gorgeous cluster work? As for me, I can not resist a well-designed page with lots of fabulous elements layered in a way to draw attention to the photo.

I also want to share some “oldies-but-goodies” from the gallery, as well. Here are a few throwback layouts I found in the gallery, to feast your eyes upon…

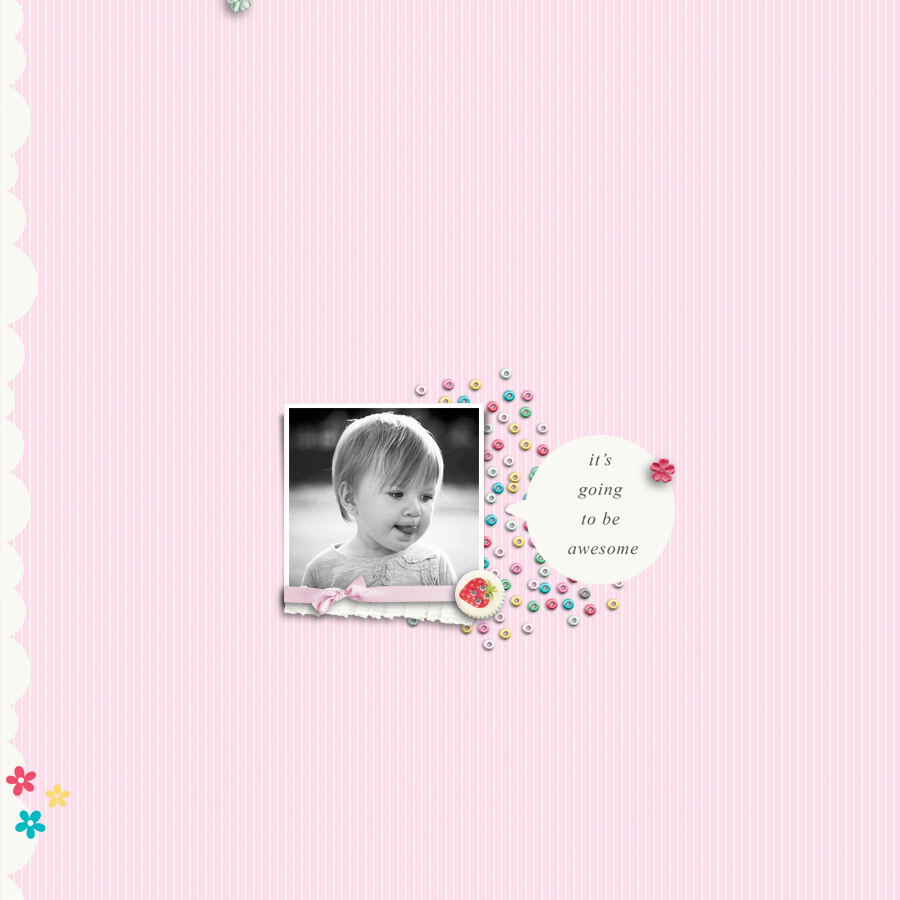
First up… I just love the clean look of this layout by sylvia. I have soooo many of her pages bookmarked into my gallery favorites. This page displays the visual triangle principle that I often use. First there is the cluster of three little flowers in the bottom left corner and then there is another larger triangle created by thee berry flair at the corner of the photo, the pink flower toward the mid-right of the page and the little blue flower flowing off the top of the page. Lovely composition!


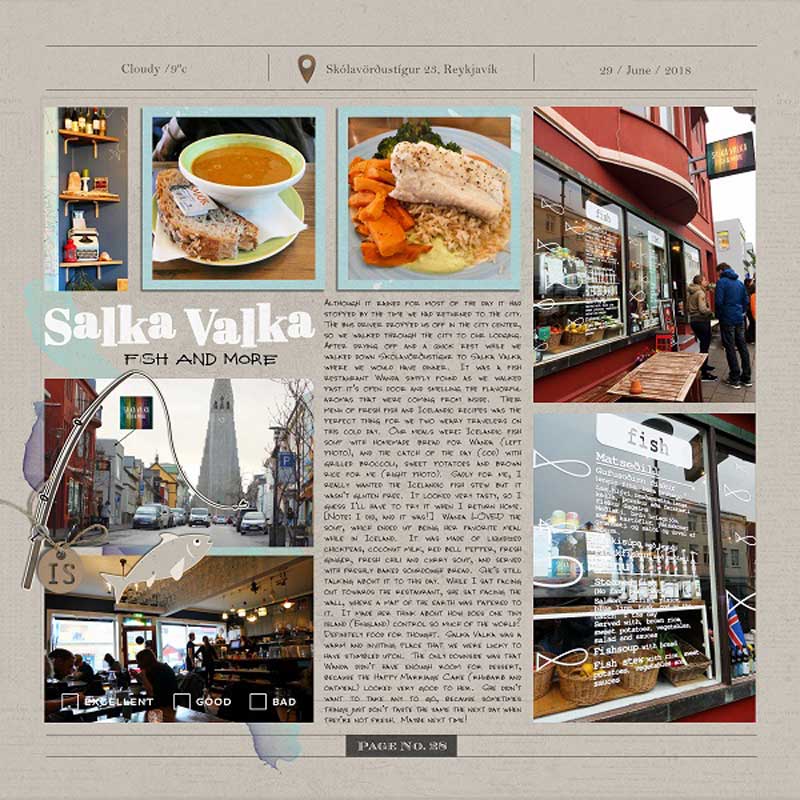
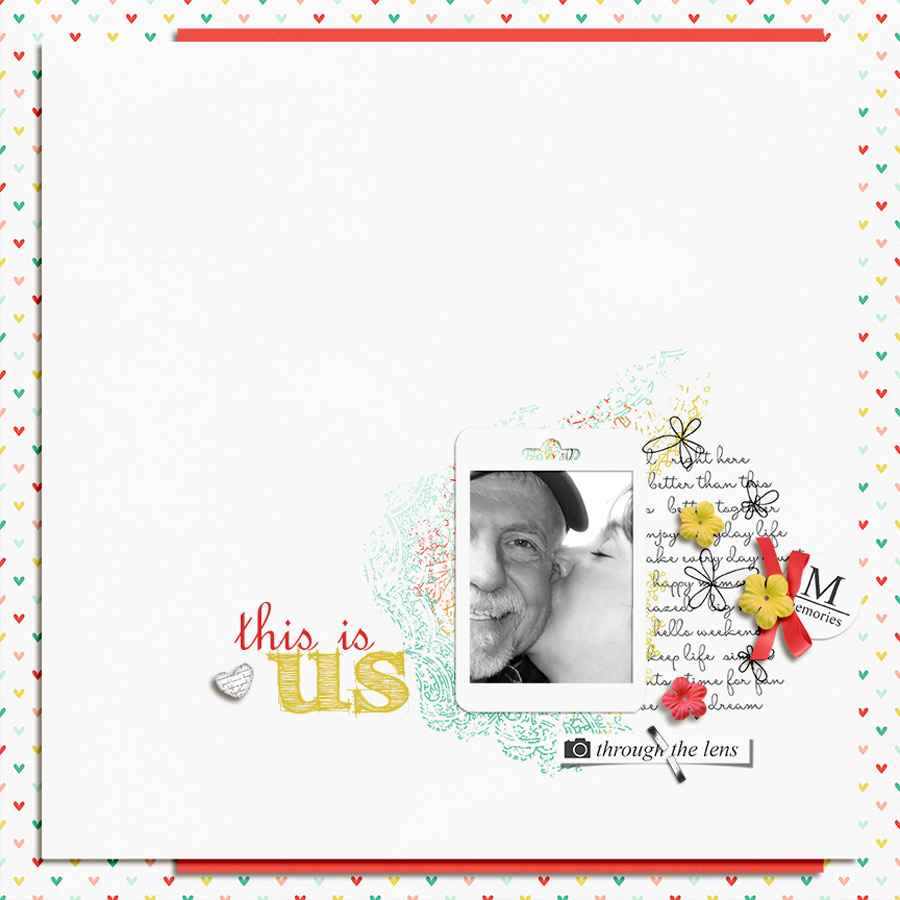
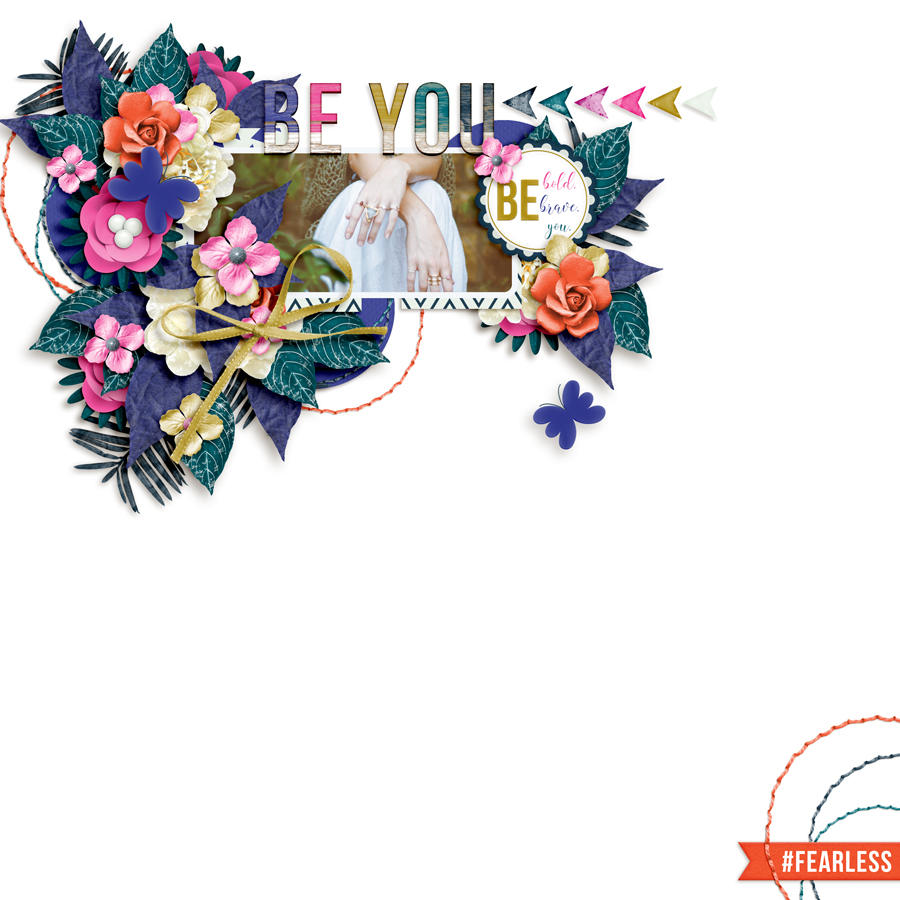
Next… check out this fantastic page by blackkathy. There are so many things that draw me to this page. I love the placement and stacking of the background papers. Naturally, I love the white space! AND… Do you see the visual triangle created with the flowers in the lower right hand corner. Yep, I can totally see myself scraplifting this beauty!


And last but not least… is this gorgeous page by chili. First of all – those clusters are simply amazing, and yep, I love the white space! Yet another great design principle of balance by offsetting the page with a few embellishments to the opposite corner and repetition of the circular stitching used in the cluster and the bottom corner too.

It’s a little addicting to browse through all of the wonderful inspiration that can be found in the gallery here at The Digital Press. When I feel stuck and need a creative boost, browsing the gallery can always get my creativity flowing again!

Be sure to check out the gallery, and then head over to the shop to check out this weekend’s newest product releases so you can grab some new digital supplies and then post your resulting projects in the gallery! We love seeing what you create with The Digital Press goodies, and you might be featured in a future edition of this Friday Favorites series here on the blog in the future, too!


About the Author  Tiffany is a creative team member at The Digital Press and has been scrapping for over 25 years. She resides with her family in Idaho, but dreams of warmer climates. Family will likely keep her in Idaho, so vacations will have to do. Her scrapbook subjects include her husband, four children, one grandson and two dogs – as well as whoever and whatever will stay put for the snap of the camera. Other things that keep her busy include teaching fitness classes at the gym and working as a hospice/home health nurse.


Tutorial Tuesday | Digital Letter Boards

Hello, and welcome to another edition of our Tutorial Tuesday series here on The Digital Press blog! This week, I’m here to help you learn how to make a digital letter board image to use on your scrapbooking pages, thanks to our friends at Letterfolk.

Have you jumped on this trend and picked one of these up yet? The modernized-and-yet-vintage letter board of today is wildly popular and not likely going away any time soon. They are everywhere… and truth be told, they’re a lot of fun around our home. I have the Poet 10×10 size and enjoy adding quotes to it — both funny and sentimental. All the while, my kids watch to see what joke they can rearrange the letters into. It’s a fun way to decorate my home!

Now, with the help of this handy online tool at the Letterfolk web site, we can create digital letterboards to use on our scrapbook pages, as well (without the “help” from saucy teenagers).

It’s so easy! Let’s begin…

First, you will navigate your web browser to the Letterfolk website. Once there, scroll to the bottom of the page and click on the ‘virtual letter board‘ link…


Next, it’s as simple as entering a few lines of text and clicking through the options to customize your board.

You can customize everything from letter size, to justification, to line spacing, to board colors, to board sizes. Be sure to look through all the possible combinations; it’s endless!


After you’ve fully customized your board, click on the ‘Save Image’ button at the bottom of the screen and navigate to the folder you wish to save to.


Once you have your image saved, you can add it to your projects. The PNG images save at 1600×1600 or 1600×1280 (i.e. about 2-3″ on a 12″x12″ page)… and so they will look great on digital pages!

Here’s how I used these virtual letter boards on a couple of my pages…


If you’re not sure how to make one of these work for your pages, here are a few ideas…

  • Take a picture of your kid and use their funny quote on your letter board
  • Use a seasonal poem or quote along with some outdoor pictures
  • Don’t forget the first day of school and birthdays; add those special dates to the virtual letter board
  • Use song lyrics, bible verses, or a quote from your favorite author
  • Use it as a countdown image for an upcoming vacation, holiday, or special event
  • You can also search through Pinterest to find a lot of other great ideas, as well!

We hope you’ll give this fun process a try! We can’t wait to see what you come up with, and how you use your own digital letter boards on your own creations with TDP products to post in the gallery at TDP. Hop on “board” and we’ll see you there!


About the Author  Jenna is a traditional-scrapbooker-turned-hybrid-scrapbooker-turned-digital-scrapbooker-turned-app-scrapper. She’s made her way through each form of scrapbooking and loves them all, but for now her motto is KISS — “Keep it Simple, Sister!”  She mainly scraps on her iPad using a handful of apps, but the digital world often pulls her back in because there’s nothing like a good drop shadow. She prefers pocket-style scrapbooking, but isn’t one to shy away from an awesome template and a kit full of goodies.

Friday Favorites | November 1, 2019

Happy Friday, and welcome to another edition of our Friday Favorites series on The Digital Press blog! I love browsing through the gallery and seeing the amazing talent of our community members.  So much inspiration to be found!  I am very excited to share with you another showcase of the many amazing pages that can be found in our gallery!  We have a wonderful community of scrappers here at The Digital Press, and it’s always fun to see what they are creating with the amazing products found in The Digital Press shop.

Below you will find just a handful of the many fantastic pages I’ve seen in TDP’s gallery this past week (each image is linked up to the original post in the TDP gallery, which means you can click on the layout artist’s name or the image and check them out yourself, leave some love, etc.).

First up is this amazing page by DivaMom96. I absolutely love all the white space, and that adorable photo centered on the page with only minimal elements and papers used to highlight that sweet little smile. The paint splatters and brushes in the background add just enough pop, and the stamp and title (in the perfect font) just above the photo are spot on.  This page definitely demonstrates that less is more!

Next… here’s a great page by weaselwatchr. The paper strips in the lower half of this page add so much depth to this super fun page. I love the colors, and the clustering is incredible.  And that journal card is a purr-fect fit with that photo. Although kitty doesn’t look too thrilled, this page just makes me smile!

Additionally, here’s a fantastic layout by sylvia. I am in complete awe of her extractions. The way that young man just pops out of that photo is incredible. The elements that she places so carefully — along with the the birds stamped in the background — make this page stunning.

Next, I found this awesome page by Heidi Nicole. I love all the fun rectangle shapes on the page with little treasures tucked in to each one.  Her choice of papers fits perfectly, and that stitching is just my favorite.

And finally, I came across this beautiful fall page from AliceM. Fall is my favorite season, and this layout is all kinds of fall. The photos are gorgeous and are such a great choice for this particular digital kit. The shadow work is incredible, and the quote and the overall composition are both absolutely perfect. I love everything about this wonderful page!

These layouts are only a sampling of the many, many amazing pages to be found in The Digital Press gallery. I hope that you will take some time to take a look for yourself, and/or upload some of your own crafty creations!

Don’t forget each week our amazing designers add lots of new products to the shop, so don’t forget to take a look and see what you need to finish your pages so you can upload them to the gallery. Maybe one of your pages will be featured in an upcoming edition of Friday Favorites, too!


About the author  Tia is a member of the creative team here at The Digital Press. A mom to a 14-year-old son, her favorite thing to do is serve those in her community who need help, and volunteer at a small alternative private school for children with special needs. When she’s not volunteering or working on school projects, Tia loves to spend time with her friends and family!

Tutorial Tuesday | The Puppet Warp Tool

It’s Tuesday again! That means it’s time for another edition of our Tutorial Tuesday series here on The Digital Press blog! Today I want to share the tool that has changed my scrapping life – the Puppet Warp tool.  Ever used a piece of string, and the end is just on the wrong area of your photo? Or that beautiful piece of lace is just too straight for your liking? Using the Puppet Warp tool makes tweaking those gorgeous elements into exactly the shape you want a breeze!

Interested? Here’s how!

Step 1: Select the element you want to edit in the layers palette. In this case, I would like the green trim to curve instead of being so straight.

Step 2: In the menu panel, select Edit > Puppet Warp

Step 3: This should show a mesh over your element. If the mesh doesn’t show up, just tick the box in the middle of option bar next to “Show Mesh”

Step 4: Now you need to add pins to the areas you want to work with. Just click on the mesh where you want the pins to go.  When you start warping your element, the other pinned points will stay in position, with the rest of the element moving in relation to those points and the pin you’re moving.

Step 5: By moving the middle pin, I can create a curve in the trim. This curve is still to linear for my liking, so I want to delete the middle pin by right clicking and selecting Delete Pin.


Step 6: I then add two pins in the middle section and manipulate both these pins until I like the result. When I’m done warping, I just hit Enter to commit the changes. You can always change the outcome by double-clicking on the Puppet Warp filter in the layers palette.

And voila! I have a trim curved exactly the way I want it!

This is a super simple explanation of a very complex tool, but I’ve found that this is all I need in my digital scrapbooking process.  I hope you find the same joy that I have when I stumbled across the Puppet Warp tool.


ABOUT THE AUTHOR  Christelle is a creative team member at The Digital Press, happily creating for all of the talented designers. She’s originally from South Africa, and has recently relocated to the UK with her husband. She loves scrapping her 3 lovely step-children and 4 beautiful nieces and all of their (mis)adventures. If she could, she’d travel all the time, but for now she makes do with traveling as often as possible. Her other hobbies include machine embroidery and sewing, as well as reading soppy romance!


Hybrid How-To | Monster Banner

Hello, and welcome to another edition of our Hybrid How-To series here on The Digital Press blog! Today, I am so excited to be sharing my very first post with you after joining TDP’s team a few months ago — and with Halloween right around the corner, I thought I’d show you how to easily use your favorite digital supplies to create a fun Halloween banner.

I knew I wanted to make some cool, spooky, Halloween decor… and this project was actually so easy to complete, my 6 year old son helped me out (and then claimed the finished product for himself… which means I might have to make another one!).

First, I found the artwork that I wanted to use in the shop at The Digital Press. I wanted a banner of monsters (cute ones though, not too scary!)… and I found the perfect product in Julia Makotinsky’s Wee Bit Spooky 3×4 Cards, shown here…

Next, I made 2 banner shapes in my Silhouette Studio software by simply altering the bottom of a 3×4 rectangle (see next image). Once I had my shapes the way I wanted them, I dragged the pocket card artwork from the folder and dropped it into the middle of each shape, as shown here…

*NOTE* You could definitely do this in a photo editing program like Photoshop (PS) or Photoshop Elements (PSE) using clipping masks — but — because I copied & pasted the bottom two shapes and simply turned them around to nest with the top ones, the Silhouette software automatically rotated the artwork for me so that the monsters were facing the right way. This is why I didn’t do it in Photoshop with a mask; I would have had to manually rotate them! Instead, Silhouette Studio did the work for me — but it would certainly be easy enough to use another program, too.

Next, I printed them with registration marks so that I could print and cut, but once they were out of the printer my son wanted to cut them out, so I actually ended up giving him half of them and a pair of scissors… and just cut the rest out myself.

Once they were all cut out, I used my WRMK hole punch to punch a 1/4″ hole in each top corner (see next image)… and then we carefully strung them onto some yarn to hang up with our other Halloween garlands…

You can see from the close up image, above, that I strung them onto the yarn in opposite ways (some from back-to-front… and others from front-to-back). This helps them stay in place a little better, and they don’t end up in a bunch at the bottom of the string because each one will stop the next one from sliding down the whole string.

Here’s a look at my finished project, decorating my crafty office space…

I hope this inspires you to create one of your own for some holiday decorating this weekend! I know excitement for Halloween is very high in my house right now, and this was a really fun and easy project to do with my child!

Thanks for checking it out!


About the Author Amy Jo Vanden Brink is a Canadian mom, wife, music teacher, and scrapbooker who always takes on too many projects and loves to craft.  She is terrible at baking cookies, but great at eating them… and loves having a clean house, but hates cleaning the house! She lives in Edmonton with her husband, her son, and their pup Farley.


Friday Favorites | October 25, 2019


Happy Friday, and welcome to another another edition of our Friday Favorites series on The Digital Press blog! I really enjoy browsing the gallery and I am very excited to share with you another showcase of the many amazing pages that can be found in our gallery!  We have a wonderful community of scrappers here at The Digital Press, and it’s always fun to see what they are creating with the amazing products found in TDP’s shop.

Below are only a few of the many pages I’ve seen in the TDP’s gallery this past week (each image is linked up to the original posts in the TDP gallery, meaning you can click through and check them out yourself, leave some love, etc.!).


First up is this gorgeous page by hichchei that I thought was really fun, and perfect for Halloween in a few weeks! The solid black paper with the patterned paper in the background is great… and the witchy elements around the photo are awesome, as well!

Next, I found this great page by QuiltyMom. The clean lines of the page are really nice, and put your attention right onto the photos! I love the large journal spot that helps tell the story of this fun page, as well… and the little fish over the photo is too cute!

Additionally, here is a super page by HappyMamacita. The lines on this page immediately drew me in… and I think it’s such a fun way to use the patterned paper! The bright paper pops off the gray background really nicely, and the Halloween photo layered on top of it complete the page!

Another community member, Lisa Campbell, has this cool Vikings page in her gallery. The large titled background drew my eye in, and I love the way the helmet stands front and center but doesn’t distract from the fun photos. The choice of kit is just perfect for these photos!

And finally, I also found this great hybrid creation by Ann-Sofie. The pretty flowers that frame her page are lovely and are perfect for her fall photo. I also love the way the pumpkin pops off the page. Awesome!

These few layouts are only a sampling of the many, many wonderful pages to be found in The Digital Press gallery. I hope that you will take some time to take a look for yourself, or even upload some of your own crafty creations! Don’t forget each week our amazing designers add lots of new products to the shop, so don’t forget to take a look and see what you need to finish your pages so you can upload them to the gallery. Maybe one of your pages will be featured in an upcoming edition of Friday Favorites, too!


 About the Author Jennifer is a creative team member at The Digital Press and lives in New York City. In addition to digital scrapping, she enjoys watching rugby and hockey and reading romance novels.