Pursue Your Creativity With One Product

blogtemplate.pursueyourcreativity
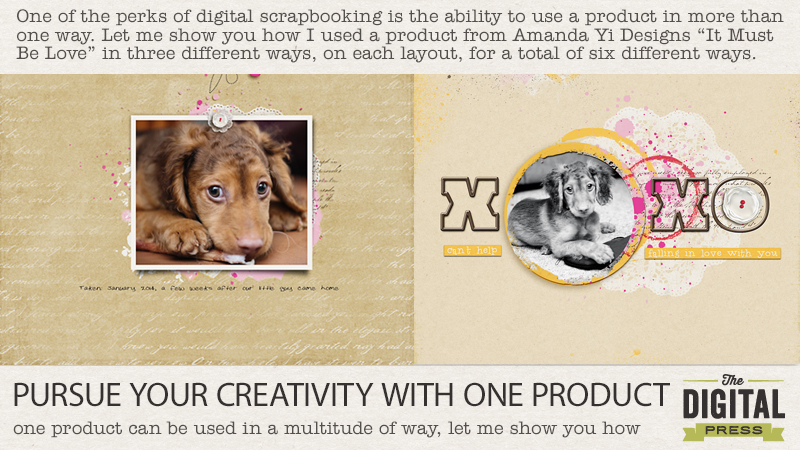
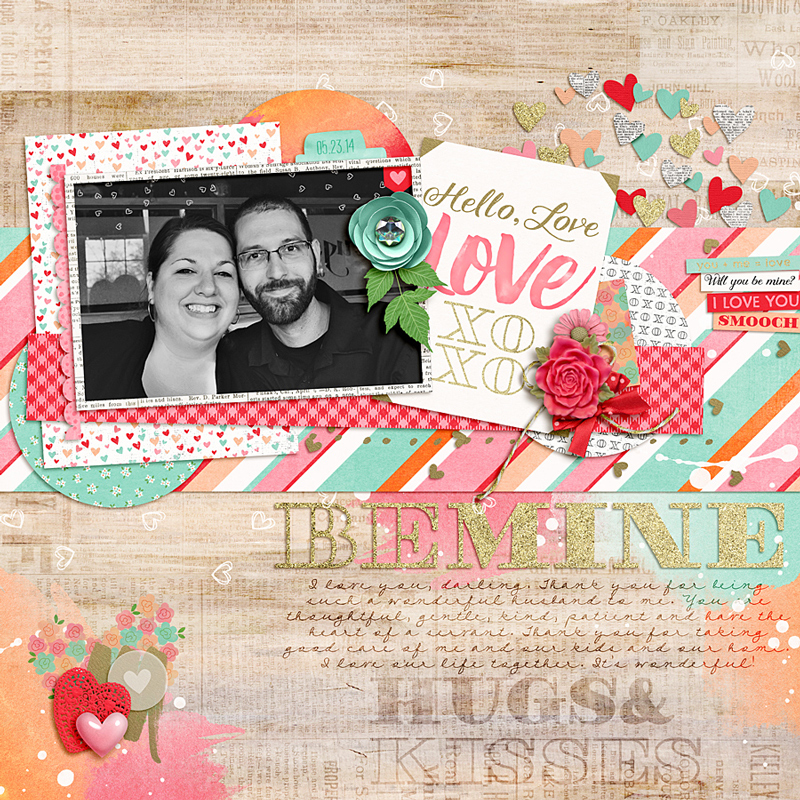
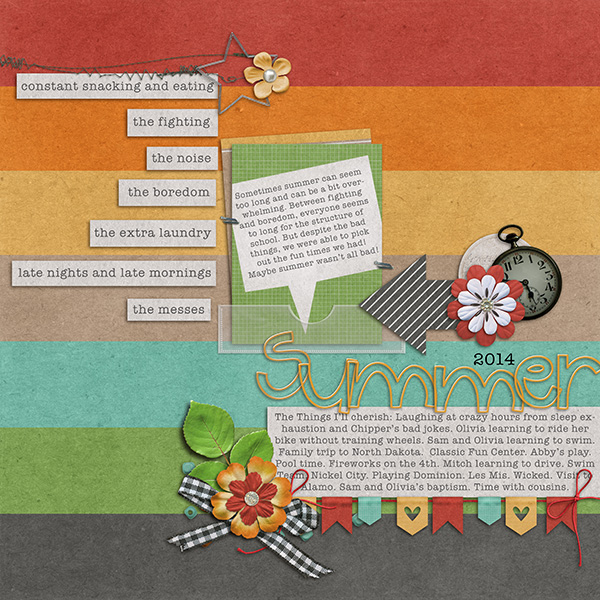
There are so many ways to alter a digital product that can really extend the usefulness of your digi stash. There is usually more than one way to alter a product and, depending on your editing software and preferences, you can determine what alterations best suit your project. I’ve created two layouts, both using the same kit, “It Must Be Love”, and on each page I have used a paint element in three different ways. Let me share with you how I’ve altered the paint to use in different ways.

Here is a link to the kit I used. Amanda Yi Designs – It Must Be Love

bunchesoflove-copy

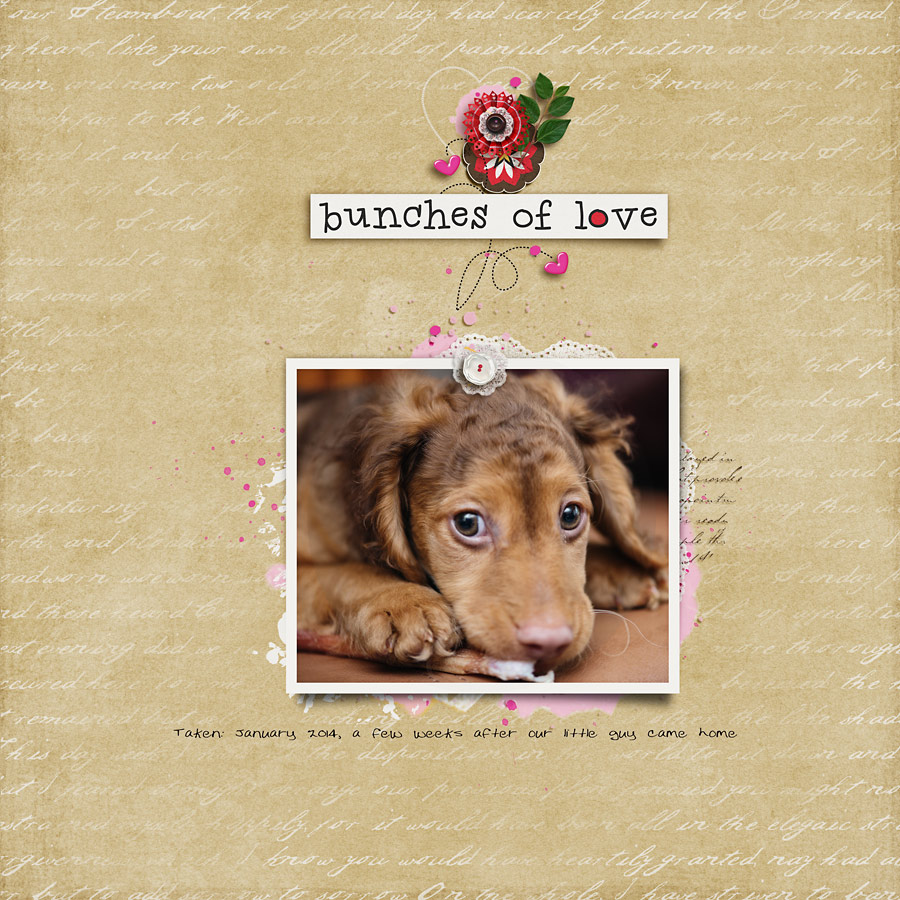
On my first page, I placed the paint under my photo, resizing it to just peek out from under my photo. The doily was just too cute to not want to use again so I decided to extract it from the paint layer. There are different ways to do this. Sometimes I will use the magic wand or lasso tool to extract from a layer but this time I found it faster to duplicate the paint layer, select the doily using the quick mask and then extract it from the layer. I resized it and placed it under the white flower. Thirdly, I used the quick edit again but this time I selected pink and red splats from the paint layer, duplicated them a few times and placed them scattered around the page.

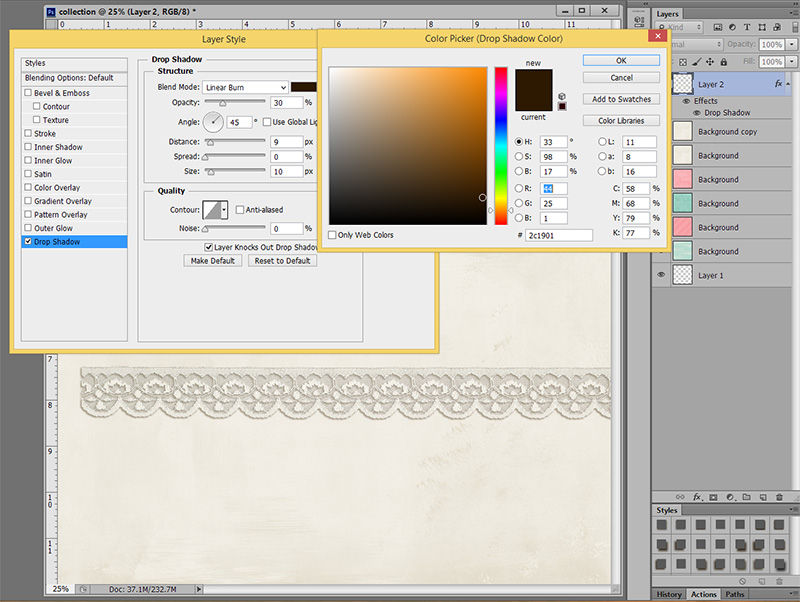
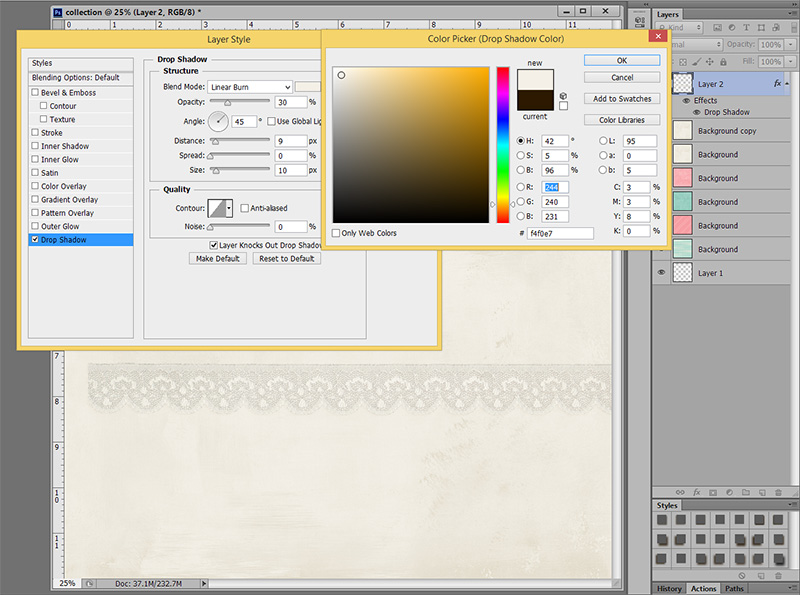
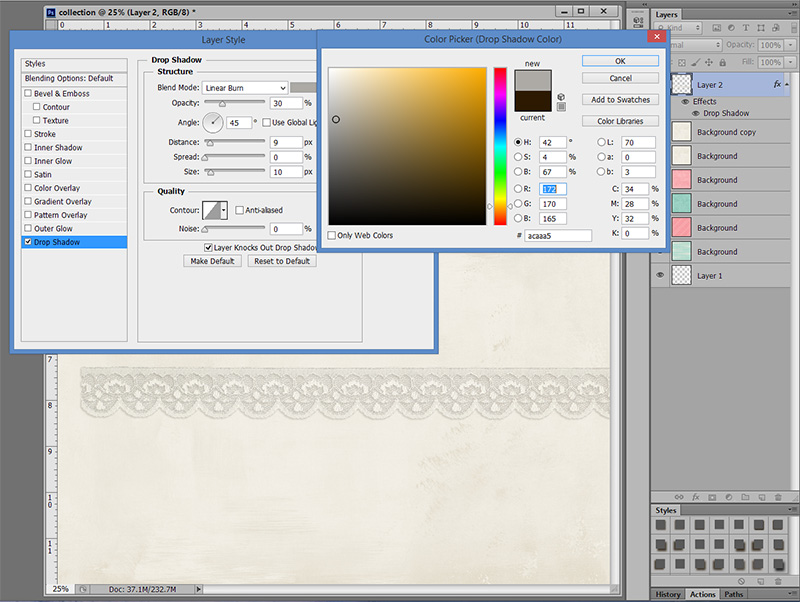
Use whatever extraction method you prefer but if you want to try my method of extracting with quick mask in photoshop, duplicate the layer, select the quick mask icon, select a brush and paint over the area you wish to extract and then click the icon to turn off masking. You will now see marching ants. Hit “delete” and Ctrl + D to turn off the marching ants. Now you can move your selection as desired (shortcut key “V”).

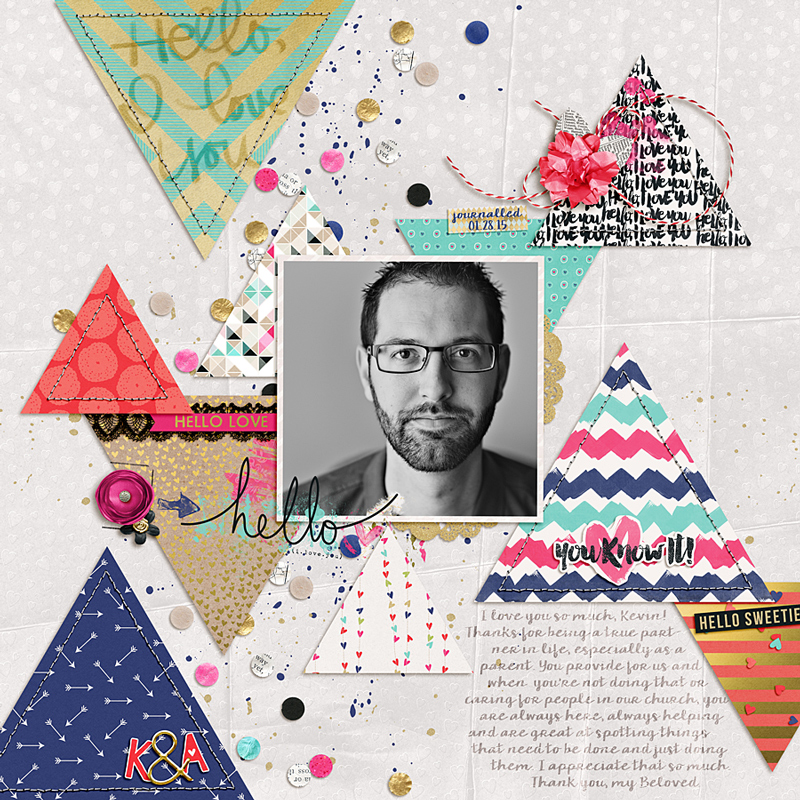
Now I’m going to use the same paint layer three different ways on my next layout.
love_copy
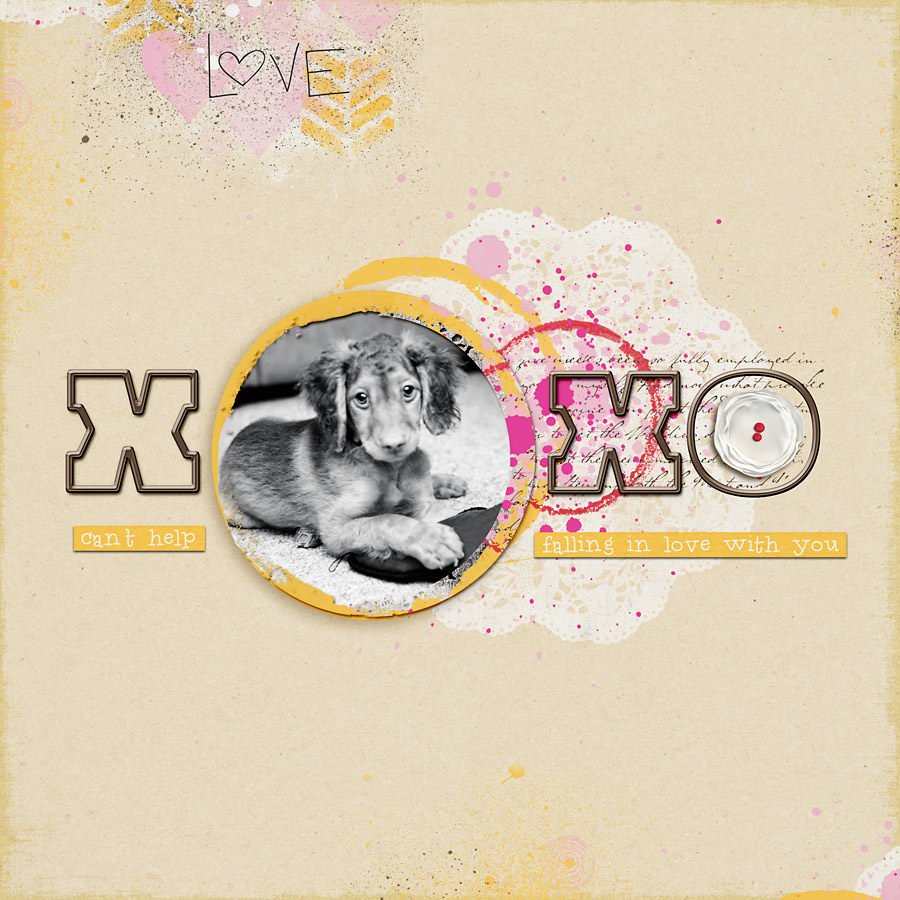
I placed the paint just to the right of where I knew my photo would go. I wanted to use the large yellow circle as a frame for my photo so I duplicated the layer, chose the elliptical marquee tool and selected the outer edge of the yellow circle within the paint element. I used the shortcut keys Ctrl + Shift + I to select the area outside of the yellow circle which I didn’t need and hit the delete key. Now, using the same method, I created another circle with the marquee tool which I deleted to create a circle frame with an inner hollow area where my photo would show. I placed my photo behind the cutout frame and chose a shadow to add some depth to it. Thirdly, I used the paint to stamp along the edges, resizing and turning as I positioned the paint along the outer edge. To do this, on the paint layer, I used the shortcut key “V” (move), held down the ALT key and dragged and dropped the duplicated paint over the edge of the layout. I continued these steps, positioning the paint off the edge of the page, turning and resizing, and also recolored a few layers with a hue/sat adjustment layer.

So now you have learned six ways to use one product. I hope this inspires you to experiment and look at your digi products in a new light, thinking of different ways to use them.

I hope this inspires you to create! Head on over to the Challenge Board and join in! Pursue Your Creativeness With One Product Challenge

ABOUT THE AUTHOR:

RaeRae Clevett is part of the Creative Team at The Digital Press. She lives on the west coast of BC with her hubby and Taz, their labradoodle. As a photographer and avid digital scrapbooker, most days she is either behind the camera or scrapping some of her personal photos. There is  usually a cup of coffee on her desk and some chocolate treats, as she is a chocolate addict. Her laptop sits next to her computer so she can watch tv or movies.  Taz usually lies on the floor beside her, playing with his toys. It’s a pretty sweet set-up, comfy and casual.

Pursue Your Beloved

 
Pursue Your Beloved (Write a Love Letter)
 
Hi everyone! It’s the start of a new month, and that means a new crop of challenges in the forums here at The Digital Press. Each month we create a series of blog posts and challenges that correspond with one word.  This month, we chose the word PURSUE.
 
Pursue could mean many different things and we would love to have you join us as we “pursue” different aspects through our scrapbooking.
 
With Valentine’s Day coming up, this is a great time to focus on our loved ones. If you have a spouse or partner, it’s likely that you don’t communicate things you love and appreciate about that person every single day. Personally, although not a writer by nature, I find it easiest to communicate those thoughts to my Beloved through the written word.
 
Pursue Your Beloved
 
Here are a few journaling prompts you can use to jumpstart your own love letter:
– Use an endearing name (i.e. Beloved, Darling, etc.).
– List qualities you love about your Beloved and tell them why you love those qualities.
– Write about things your Beloved does for you that often get overlooked in the hustle and bustle of life (but you still really appreciate).
– Record the story and relive the memories from when you first started your relationship with your Beloved, and write about how things are different and better today.
– Write about your hopes and dreams for your future together.

And one final tip: be sincere and leave the humour to a minimum for this letter. Really dig deep and write from the heart!
 
Pursue Your Beloved
 
So, now it’s your turn – I’m hosting a challenge over on the forums at The Digital Press and I hope you will come play along! Check it out at The Drawing Board: Challenges. See you there!
 

Amy H.About the Author: Amy is a wife and mom to three from Ontario, Canada. She’s always been interested in scrapbooking, but didn’t try digiscrapping until 2008 when she received PSE for her birthday. By then she had 1 year old twins and a baby, so the thought of just playing for 10 minutes, hitting save and walking away with no mess was extremely appealing! She’s been hooked ever since. She loves being the memory keeper in the family, loves taking photos, loves telling the stories. She’s also excited to know that these memories are recorded for her grandchildren to enjoy someday!

Pursue What You Love This February

We hope you are enjoying our inspirational posts and challenges here at The Digital Press! I’m here today to introduce our word for February and give you a taste of what’s to come!

February is usually overshadowed by one little holiday on it’s calendar. But instead of just focusing on romance and chocolate all month long (not that there’s anything wrong with either one of those—yum!), we kinda liked the word “pursue” for this month.

Pursue can mean many things…

pursue

via Pinterest: (1) (2) (3) (4)

From pursuing what you love to pursuing the one that you love… there’s a lot out there to pursue! What are going to be your personal goals for this month?

We have some amazing and inspirational posts coming your way right here on the blog. You will also find new challenges on the forums to spark your creativity and help you to make pages you really love!

You’ll find all the details of our challenge system laid out for you here: Everything You Need to Know about Challenges

Our new month of challenges starts tomorrow. We hope you’ll join us then!


Nicole About the Author: Nicole Seitler is a designer here at The Digital Press, creating kits under the name Sugarplum Paperie. In her free time, she loves to to work on her Project Life album, knit or craft with her kids. But she doesn’t have much free time, since she’s also a stay-at-home homeschoolin’ momma of four. Her life may be a little crazy, but she wouldn’t want it any other way!

Focus on the Good within the Bad

So often when we scrapbook, we show off the fun photos, we tell the favorite memories and we share all the good things in our lives. This is great and a large part of why we love this hobby.

But what about the bad days, the hard times and the moments when we just want to walk away from it all? Do they deserve their moment in the spotlight? Is it our job as the family storyteller to brush away the bad, hide it in the corners or the back rooms and hope that no one goes in? Is it our job to ONLY roll out the good, the wonderful, and the beautiful moments and put them on display to show what a wonderful life we have?

tdp_blog_post

I want to encourage you to memorialize the bad. Don’t brush it aside. Don’t pretend it never happened and most certainly don’t let guilt convince you that your hard days aren’t worth the telling. It doesn’t mean your pages have to be full of negative things, but be honest. Tell the real story of your family. Let it be a little raw. Let it cost you some tears in the telling. Pour out your heart into your pages and see what happens to your albums. Mix in the difficult memories with the good, sprinkle your books with a healthy dose of realness and watch your story come alive.

Remember, life happens. Life with all the pain, the beauty, the joy and the tears is worth being remembered.

Here are THREE tips to help you scrap the bad and still want to share your story with others!

LIST IT

Sit down and write out a list of the things you didn’t like about today or the holidays or the summer, etc. Get it out! Make that list and give yourself permission to be brutally honest about the things you hated in that moment. This will serve two purposes.

  • It allows you to get it out. You don’t have to let those negative thoughts or feelings stay hidden and fester. Write it down, get it out and move on.
  • It gives you perspective. If you see it written down in black and white, it is easier to then pair it with the good. You can’t appreciate the good, unless you’ve experienced the bad!

2014_summer_lo

USE STILL PHOTOS

It probably wasn’t possible, in the moment, to capture photos of everything going on. That doesn’t mean you are lost! I remember one of the many messes that Sam made, he had taken a brand new bottle of dish soap and poured it all over the kitchen and living room floors. That was some mess to clean up! The linloleum was bad enough with bubbles multiplying with every drop of water, but can you even imagine the carpet? It was awful. I was not in the mood to capture the moment with photos. But after the fact, I could take a still photo of some dish soap and a picture of my clean living room and talk about what happened when the two came together. In this way, no memory is ever too late to be told. Think back to any experience and think of 2-3 photos that would best sum up how you felt or what happened. Take the photos and scrap them while sharing the memory.

2009_soapsuds

TELL THE STORY

Write out the experience as if you were a fly on the wall telling the events. Write it all out. Even if the moment was bad, chances are with time and distance, the story can have a little humor. Wait until you are able to look back and laugh a little (even if you are cringing too) and describe it. Give as many details as you can remember and put it all out there! By telling the story one detail at a time, it distances you but gives the reader a chance to connect. The nice thing about bad memories is that we all have them! We’ve all had the cringe worthy experiences that we hope no one ever knows about. When one person is daring enough to share theirs, we feel an immediate connection that we are not alone!

2014_autism

Life Happens. Life is not easy. Don’t get so caught up in documenting the wonderful that you forget the difficult. It is all part of your story and deserves a chance to be told. And as I read recently:

“Never blame any day in your life.

Good days give you happiness.

Bad days give you experience.

Worst days give you a lesson.”

So cherish your happiness, ponder your experiences and learn from your lessons! And in the meantime, check out my challenge HERE in the forum!

Ramona About the Author: Ramona Brown is a storyteller and graphic/web designer. She loves finding the stories in the every day and sharing them with others. She believes that everyone should “Scrap Your Story” and find purpose and meaning in doing it. Her best stories come from life with her six kids and the adventures they take her on daily! You can read more of her stories on her blog.

Focus on Organization using Adobe Bridge

Focus on Organization using Adobe Bridge
 
Being organized in life generally means we are more efficient, and the same goes for digital scrapbooking. I love to create “mash up” layouts where many different elements and papers from many different kits are used. For instance (click for credits):
Focus on Organization using Adobe Bridge
 
Layouts like this take a lot longer to complete without having an organized stash. Enter: Adobe Bridge. If you are a Creative Cloud subscriber or own a copy of Photoshop, it’s likely you also own Adobe Bridge. If you do, here is a tutorial on how to get your digiscrapping supplies organized in that software!
 
First of all, open Adobe Bridge and make sure the keywords panel is visible by going to the Window menu and ensuring Keywords Panel is checked (make sure your Folders Panel is also checked):

Focus on Organization using Adobe Bridge
 
Next you’ll need to set up some keywords. If you currently don’t have a keyword library set up, feel free to download mine HERE. You can then import them by going to the drop down menu on the side of the Keywords Panel and choosing “Import” and then navigating to this downloaded file. Importing these keywords will update your current keywords list, but will not replace it.

Focus on Organization using Adobe Bridge
 
Once you have your keyword structure set up in a way that makes sense to you, you can start tagging your items. To add a keyword, click the same drop down menu you used to import the keywords list and choose “New Keyword.” To add a sub keyword to one of the existing categories, hover other the top level of the category, right-click, and choose “New Sub Keyword.”

Focus on Organization using Adobe Bridge
 
Jpgs, pngs, psds, tiffs, etc. can be tagged, but things like actual folders, layer styles, brushes, etc. cannot be tagged. There should be a pop up that will warn you when something cannot be tagged. The reason that Adobe Bridge tagging is so powerful is that it embeds the keyword/tag right into the metadata of your file, so you can search keywords outside of Bridge on your computer and that tag will still be associated with that file. This also means that if Adobe Bridge were to be uninstalled at any time and reinstalled, your files will be tagged already and you will not have to re-catalogue your entire library of digiscrapping supplies. This is a huge time saver!

OK, so on the left hand side you see the Folders Panel. Navigate to the place where you keep your digiscrapping supplies. I tend to organize my folders by designer, or by store and then designer within the store folder if I have things from a few different designers within one store. This is helpful if you like participating in challenges where you can only use items from that particular store. You can see a bit of my file structure here on the left:

Focus on Organization using Adobe Bridge
 
To tag something, simply select the thumbnail and then check off the keywords you want associated with that file in the keywords panel. If you see a list of filenames rather than thumbnails, you can go to the View menu along the top and make sure “As Thumbnails” is selected. If you want to see the thumbnails bigger or smaller, use the size slider on the very bottom of the software window. You can tag an item with as many keywords as you like. For instance, if you have a paper with two predominant colours, you can tag it as “multi-coloured” or with the two main colours. You can quickly see which keywords are assigned to your selected thumbnail by looking at “Assigned Keywords:” at the top of the Keywords Panel.

Focus on Organization using Adobe Bridge
 
Using your keywords is as simple as selecting the folder you want to search within in the folders panel on the left and then typing the keyword in the search box on the top right of the software. For instance, if I’m doing a TDP challenge that has to include a piece of string, I would select The Digital Press store folder in the folders panel on the left and then search “string” on the top right and all the tagged string from my TDP stash will appear in the content window:

Focus on Organization using Adobe Bridge
 
I hope this tutorial helps you get on your way with using Adobe Bridge to organize your stash. The time invested in organizing is well worth it, as it will make your scrapping time more efficient and enjoyable! Feel free to ask questions in the comments below and I’ll help as much as I can. Happy organizing!
 
 
Amy H.About the Author: Amy is a wife and mom to three from Ontario, Canada. She’s always been interested in scrapbooking, but didn’t try digiscrapping until 2008 when she received PSE for her birthday. By then she had 1 year old twins and a baby, so the thought of just playing for 10 minutes, hitting save and walking away with no mess was extremely appealing! She’s been hooked ever since. She loves being the memory keeper in the family, loves taking photos, loves telling the stories. She’s also excited to know that these memories are recorded for her grandchildren to enjoy someday!

Focus on Shadows

Hi, all! Heidi here with a simple little trick that will help make your shadows a little more realistic.

I don’t know about you, but I am a sucker for premade shadow styles. Push a button and done. So today we are going to be using Sabrina’s new Shadow Styles.  One thing I have discovered though, is that sometimes, the COLOR of the shadow just isn’t right. And if the shadow looks bad, where is your focus? On what is “wrong” with the layout instead of your focus being on your subject.

So in the screen shot below, the shadow on the lace is from Sabrina’s Shadow Style. It is the perfect size, but the color is way to dark for the paper I am using.

Shadow 1

To change this takes less than 30 seconds … ready? Double click on the Drop Shadow effect (circled in red on the screen shot). It will pull up your layer style box.

Shadow 2b

Once you have the layer box open, make sure “drop shadow” is highlighted like mine is in blue. Next, you will click on the color box circled in purple below. That will open up the box to be able to change the color of your shadow.

Photoshop should now look similar to this:

Shadow 3

Notice the small white circle in the color box (bottom right)? That is the color of your shadow. It is way to dark for the paper I am using, so my next step is to move my cursor over my paper that I have my lace on and click on the paper. Notice how the white circle moved to the top right and the actual color changed from an orangish color to a little more yellow as well?

shadow 4

That means I now have a more accurate shade to create a shadow from.  Also, notice how my shadow pretty much disappeared?  It is now the same color as the paper, so it is hard to see an actual shadow.

What I want to do is move my cursor back up to my shadow color box and pick a new shadow color. When I have a hard time finding a realistic color for my shadows, I stay with a grey color. Look at shadows around you right now … grey is probably what you will see. Sometimes, I can stay within the brown color for my shadow, but just pick a lighter brown. Play around with it. Click on lighter greys, darker greys, which color works for the paper you are using?

Here is the color I finally picked:

shadow 5

Much softer and a little more realistic right? Don’t believe me? Look at my first screen shot again. That shadow is way to dark. 😉

I usually use this method with pink paper. Brown shadows overall work great! Which is why Sabrina chose the color she did. But every once in awhile, you get that one perfect paper and horrible looking shadows. Now you know how to fix it fast and put the focus where it should be!!

HeidiHeidi has been scrapping for 17 years. Her passions include dark chocolate, photography of her family and reading Christian fiction. When not doing one of these activites, she can be found working at an elementary school library or enjoying being a SAHM.