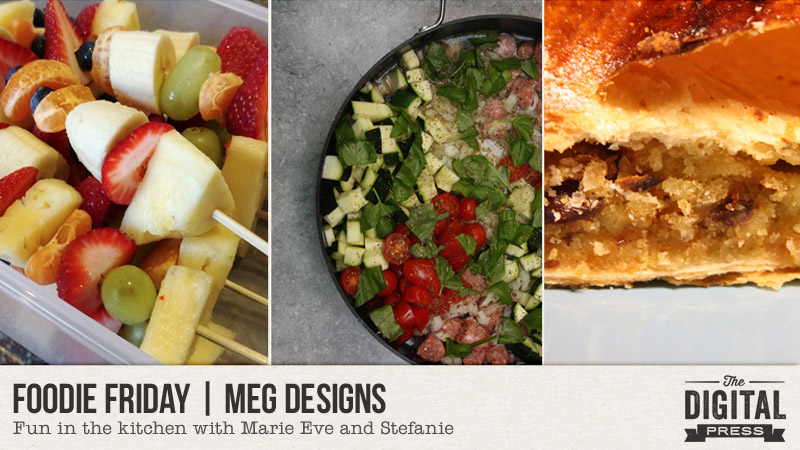
Welcome to another edition of Foodie Friday here on The Digital Press blog!
With Thanksgiving right around the corner, I can almost taste all of the deliciousness that the holidays brings! This week, we have a special treat for you scrappy food lovers… Tracie Stroud and I are here to share some delicious Thanksgiving recipes and tips that will have you looking forward to Turkey Day!
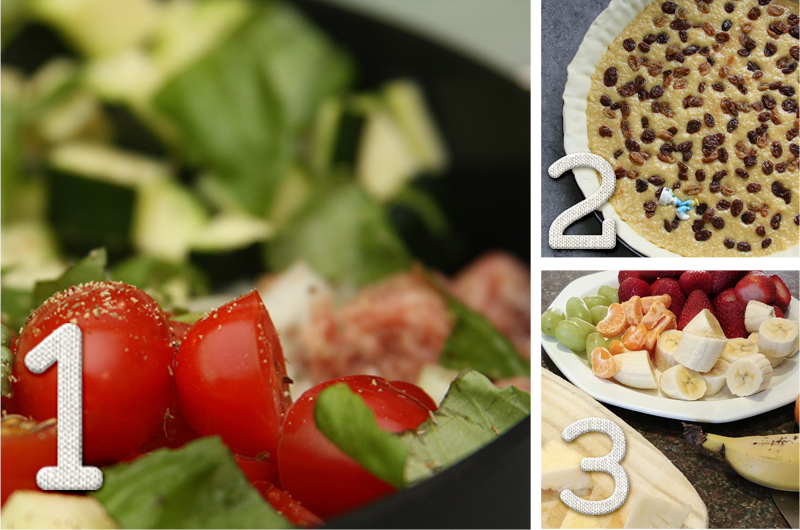
Thanksgiving is my absolute favorite holiday, and Tracie loves it too! There is something so special about family and friends gathering to share delicious food and appreciate all they have. When I asked her about her favorite Thanksgiving dishes, Tracie said, “I grew up in South Louisiana, and for Thanksgiving we always had a few must-haves: Cornbread Dressing, Green Bean Casserole, and Jambalaya. All three are still favorites in our family.”
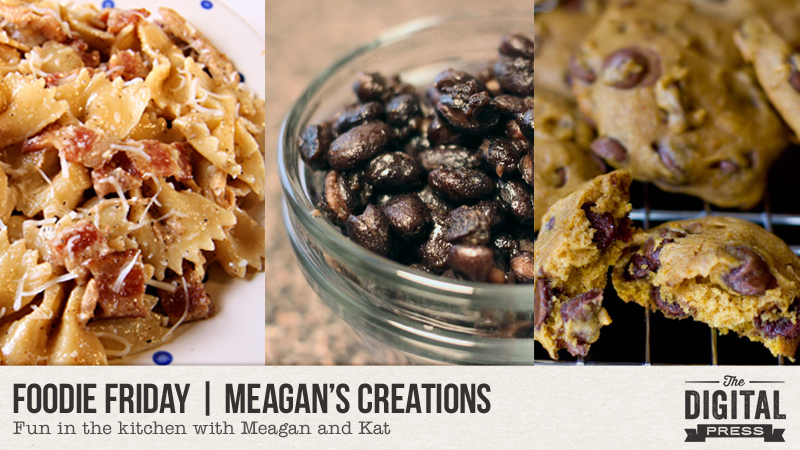
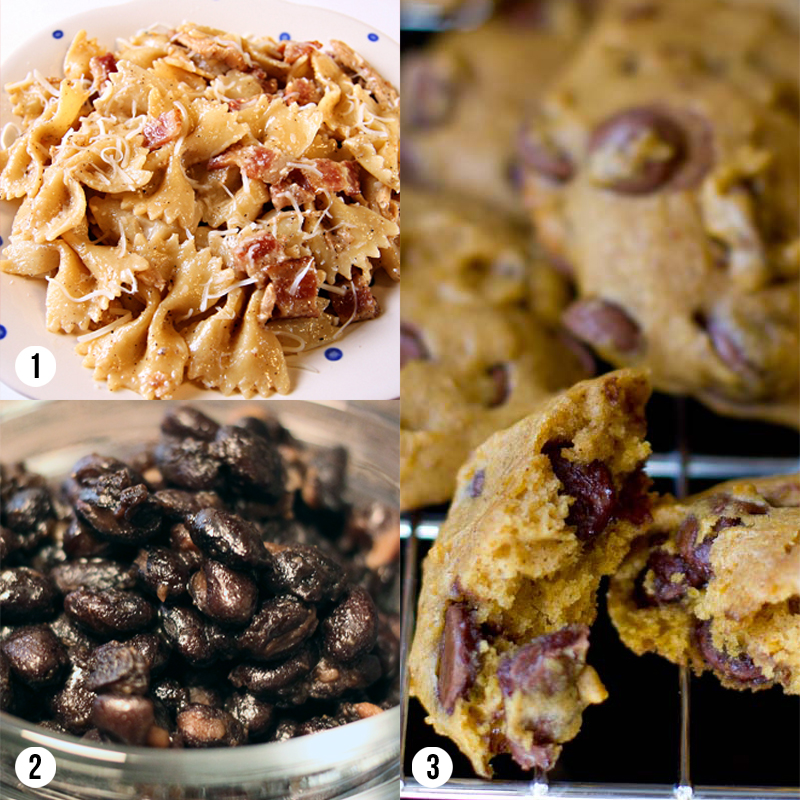
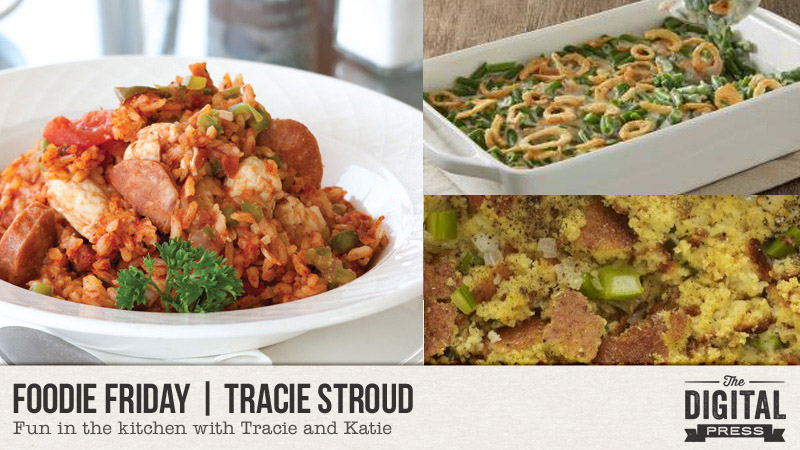
And seriously, don’t these dishes look amazing?…
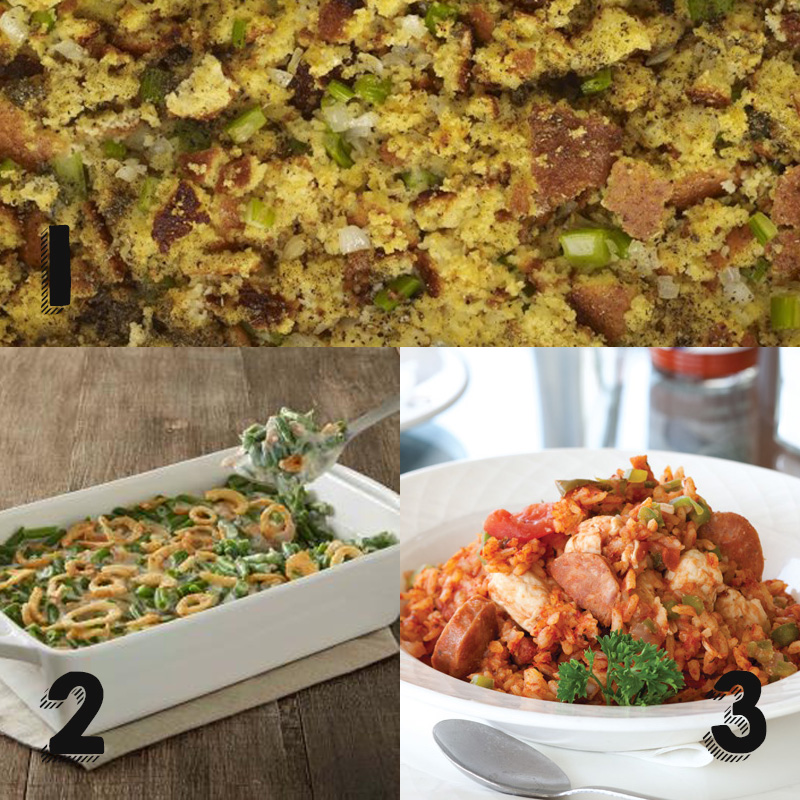
photo credits: [1] All Recipes [2] French’s and [3] Louisiana Cookin’
So, what is all of this deliciousness you see above?
- Cornbread Dressing
- Green Bean Casserole
- Chicken and Sausage Jambalaya
Cornbread Dressing
About this recipe, Tracie says, “The key to authentic cornbread dressing is to use day-old cornbread. I don’t know why, but it makes all the difference. When the dressing is done, we always add some of the Thanksgiving turkey into it.”
My favorite tip for cornbread dressing is to add some jalapeños. It gives the dressing a little kick that can cut the richness a bit.
INGREDIENTS NEEDED
—2 tablespoons butter
—1/2 cup chopped celery
—1 small onion
—2 eggs, beaten
—2 cups chicken stock
—2 tablespoons dried sage
—salt and pepper to taste
INSTRUCTIONS
—Prepare the dry corn bread mix according to package directions. Cool and crumble.
—Preheat oven to 350 degrees F (175 degrees C). Grease one 9×13 inch baking dish.
—In a large skillet over medium heat, melt the butter and saute the celery and onion until soft.
—In a large bowl, combine the celery, onions, 3 cups crumbled corn bread, eggs, chicken stock, sage and salt and pepper to taste; mix well.
—Place into prepared dish and bake at 350 degrees F (175 degrees C) for 30 minutes.
[ recipe adapted from All Recipes ]
Green Bean Casserole
The classic side dish! About this dish, Tracie says, “This is my very favorite dish from my childhood. My mom had this one down to an art, and she would always give me a few of the extra “crunchies” to munch on. She always used the French’s recipe, and it was always perfect. My kiddos aren’t crazy about green beans, so sometimes I make a smaller batch of this just for me.”
My own tip for delicious green bean casserole — it is the perfect make-ahead dish. On Thanksgiving, I am always running around like a crazy person. To save some time, I prep the green bean casserole the day before… just leaving off the fried onions on the top. By doing that, you can save yourself some time on the big day and give all the flavors in the casserole a chance to come together.
INGREDIENTS NEEDED
—1 can (10 1/2 oz.) Campbell’s® Condensed Cream of Mushroom Soup
—3/4 cup milk
—1/8 tsp. black pepper
—4 cups cooked cut green beans or 2 cans (14.5oz each) any style Del Monte® Green Beans, drained
—1 1/3 cups FRENCH’S® Crispy Fried Onions
INSTRUCTIONS
—MIX soup, milk and pepper in a 1 1/2 -qt. baking dish.
—Stir in beans and 2/3 cup Crispy Fried Onions.
—BAKE at 350°F for 30 min. or until hot. Stir.
—TOP with remaining 2/3 cup onions. Bake 5 min. until onions are golden.
[ recipe adapted from French’s ]
Chicken and Sausage Jambalaya
Says Tracie, “Jambalaya takes a lot of practice to get right, and it can be quite an undertaking, but it’s always worth it in the end.”
INGREDIENTS NEEDED
—2 pounds mild smoked pork sausage, sliced ¼-inch-thick
—2½ pounds boneless, skinless chicken, chopped
—1½ pounds onions, finely chopped
—1 cup finely chopped celery
—1 cup finely chopped bell pepper
—2 tablespoons minced garlic
—1 cup diced tomato
—1 (6-ounce) can tomato paste
—1 tablespoon Creole seasoning
—1 tablespoon chopped fresh parsley
—2¼ teaspoons fresh thyme
—2¼ teaspoons chopped fresh basil
—5⅓ cups chicken stock
—1½ pounds long-grain rice
—In a large cast-iron Dutch oven, cook sausage on high heat for 3 minutes.
—Add chicken, and cook until browned on all sides, 15 to 20 minutes.
—Lower heat to medium, and add onion, celery, bell pepper, and garlic; cook until vegetables are soft, about 15 minutes.
—Add tomatoes, tomato paste, Creole seasoning, parsley, thyme, and basil. Simmer over low heat for 10 minutes.
—Add chicken stock, and bring to a boil over high heat.
—Add rice, and stir. When jambalaya returns to a boil, reduce heat to simmer.
—Cover and cook until rice has absorbed all liquid, about 25 minutes.
[ recipe adapted from Louisiana Cookin’ ]
Don’t these recipes make you want to pop your turkey into the oven and start prepping your holiday feast right now?
What are your favorite holiday foods? We would love to hear what recipes your families likes best to celebrate the holidays.
Meanwhile, it wouldn’t be a designer feature week without a fantastic sale and a special Free-with-Purchase offer… so you’ll be excited to see what Tracie has in store for you! Not only is her entire shop marked down 30% OFF throughout her entire feature week (sale prices will be valid through 11:59pm ET on Thurs 11/23)… but she also has this awesome deal in her shop all week long, as well — Spend $10+ in Tracie Stroud’s Shop, and get the following brand-new FULL KIT (just landed in the shop today) completely FREE!

![]() About the Author Katie is a member of the creative team here at The Digital Press. She lives in Central Florida with her husband and their four sweet but crazy boys. When she’s not dodging Nerf bullets or trying to dig out from under the never-ending pile of laundry, she enjoys photography, cooking, going to Disney World with her family, and, of course, digital scrapbooking.
About the Author Katie is a member of the creative team here at The Digital Press. She lives in Central Florida with her husband and their four sweet but crazy boys. When she’s not dodging Nerf bullets or trying to dig out from under the never-ending pile of laundry, she enjoys photography, cooking, going to Disney World with her family, and, of course, digital scrapbooking.