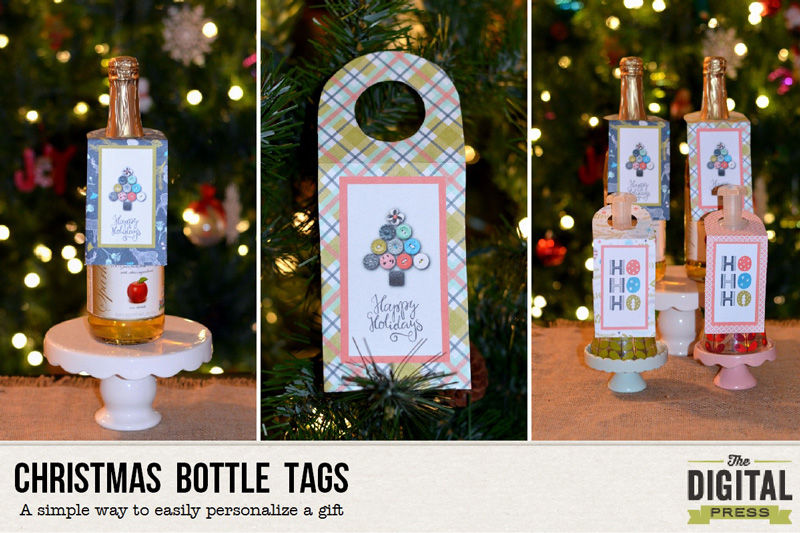
I love the holiday season! It’s a great time to share gifts with friends and family. Today I’m here to show you a simple way to dress up a gift with bottle tags! I plan on making quite a few of these tags this month to add to my neighbor gifts this year — things such as bottles of sparkling cider or hand soap. To make mine, I used elements from both the All Spruced Up Kit and and All Spruced Up Journal Cards by KimB Designs…


Supply list:
- Digital kit of choice
- 1.5 inch circle punch
- Scissors
- Glue dots
- Hand soap / sparkling cider (or other bottled gift)
- Optional: digital template for a bottle label tag pocket (or you can approximate yours using the following image as a guide)

To begin, I started with a canvas sized at 11″ x 8-1/2″. I used the Christmas tree element cards and word brushes from the All Spruced Up Kit.
If you choose to freehand a simplified template and don’t use a cutting machine… measure a rectangle 9″ x 3″, and then make a scored fold line at 2.75″ from the top. You can leave a square edge or round the edges.
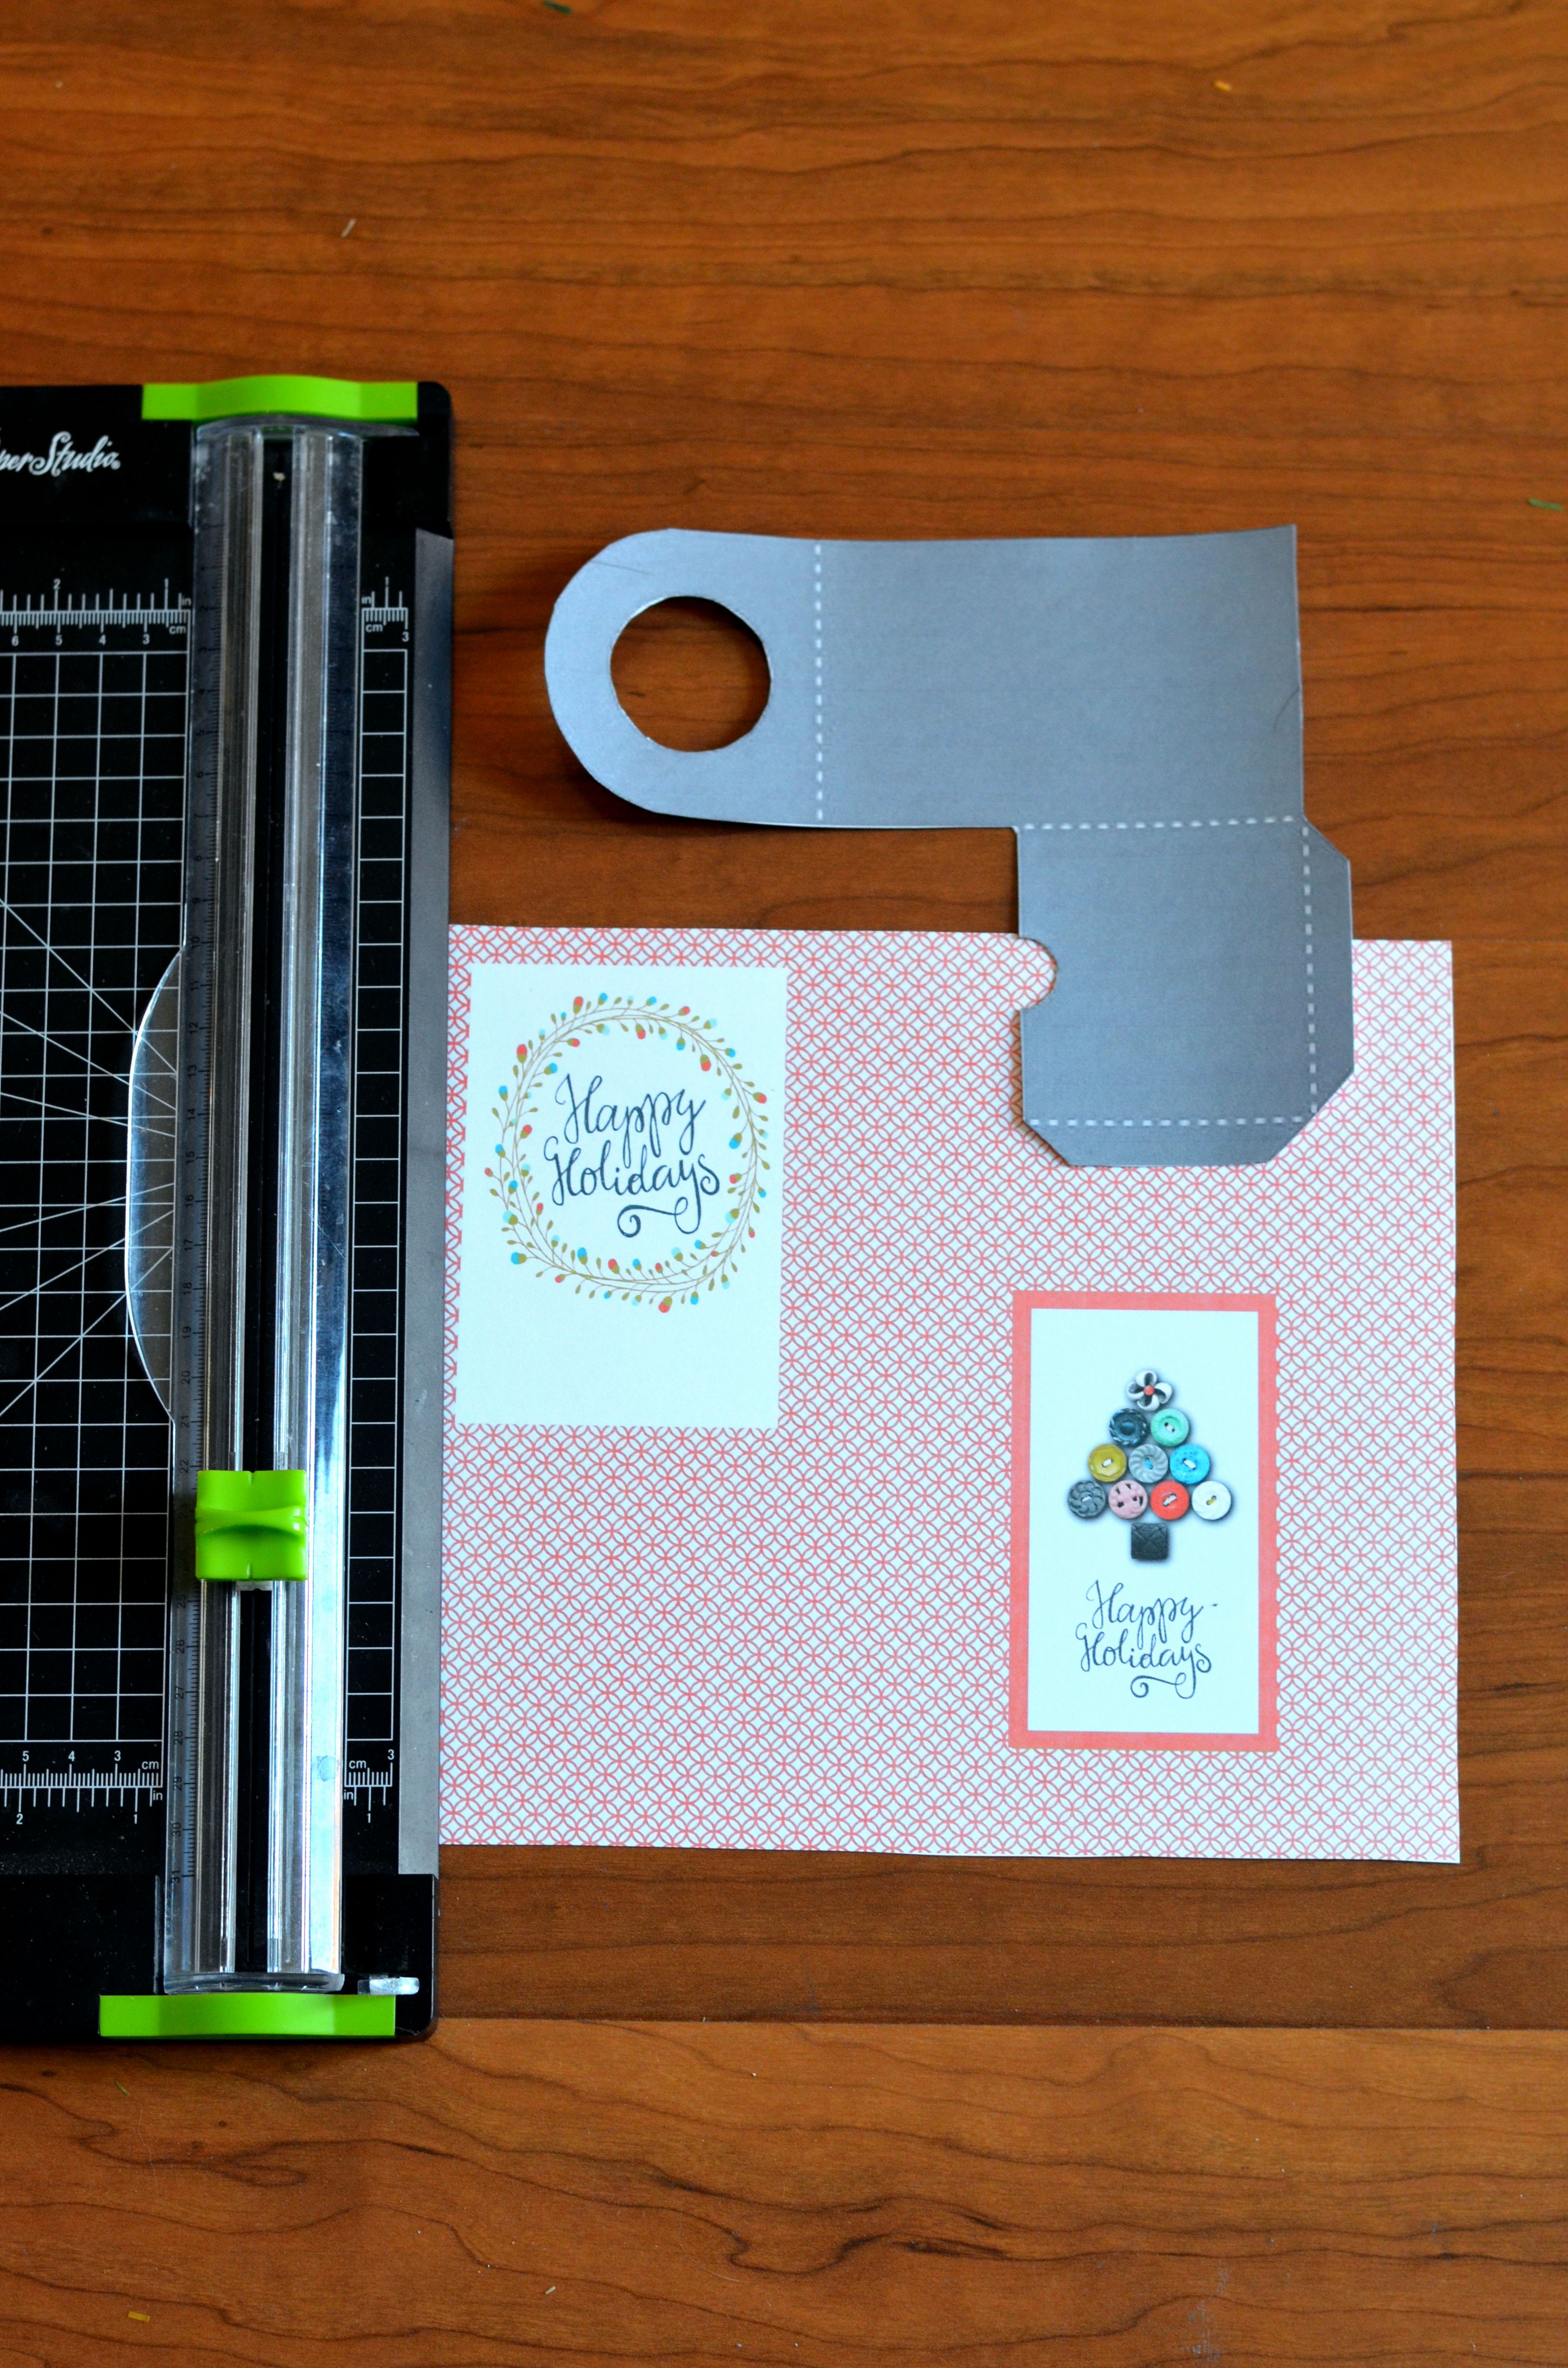
Now, for those of you who are using a template similar to mine (shown above)… I loaded the template image into my digital program. I centered the Christmas tree and word art inside my transparent 9″ x 3″ template, and then I designed the image on the front of the tag as 2.5″ x 6″. If you choose to add the pocket card on the back, you will need to create a journal card 2.5″x 6″ to slip inside. It will be the same dimensions as the image on the front of the tag.
As you can see on my image above, the right side is the front of the tag. On the left is the card for the back. In the photo, my template is on the side you will straighten the template to fit over the Happy Holidays image. Once you have your page ready, you can print it on card stock from home or send it off to your local printer. Trace the template and cut it out by hand, or use your cutting machine. Punch a hole with a 1.5″ circle punch (or freehand it with scissors like I did). Score the dotted lines and fold, and then secure the back of the pocket with glue dots.
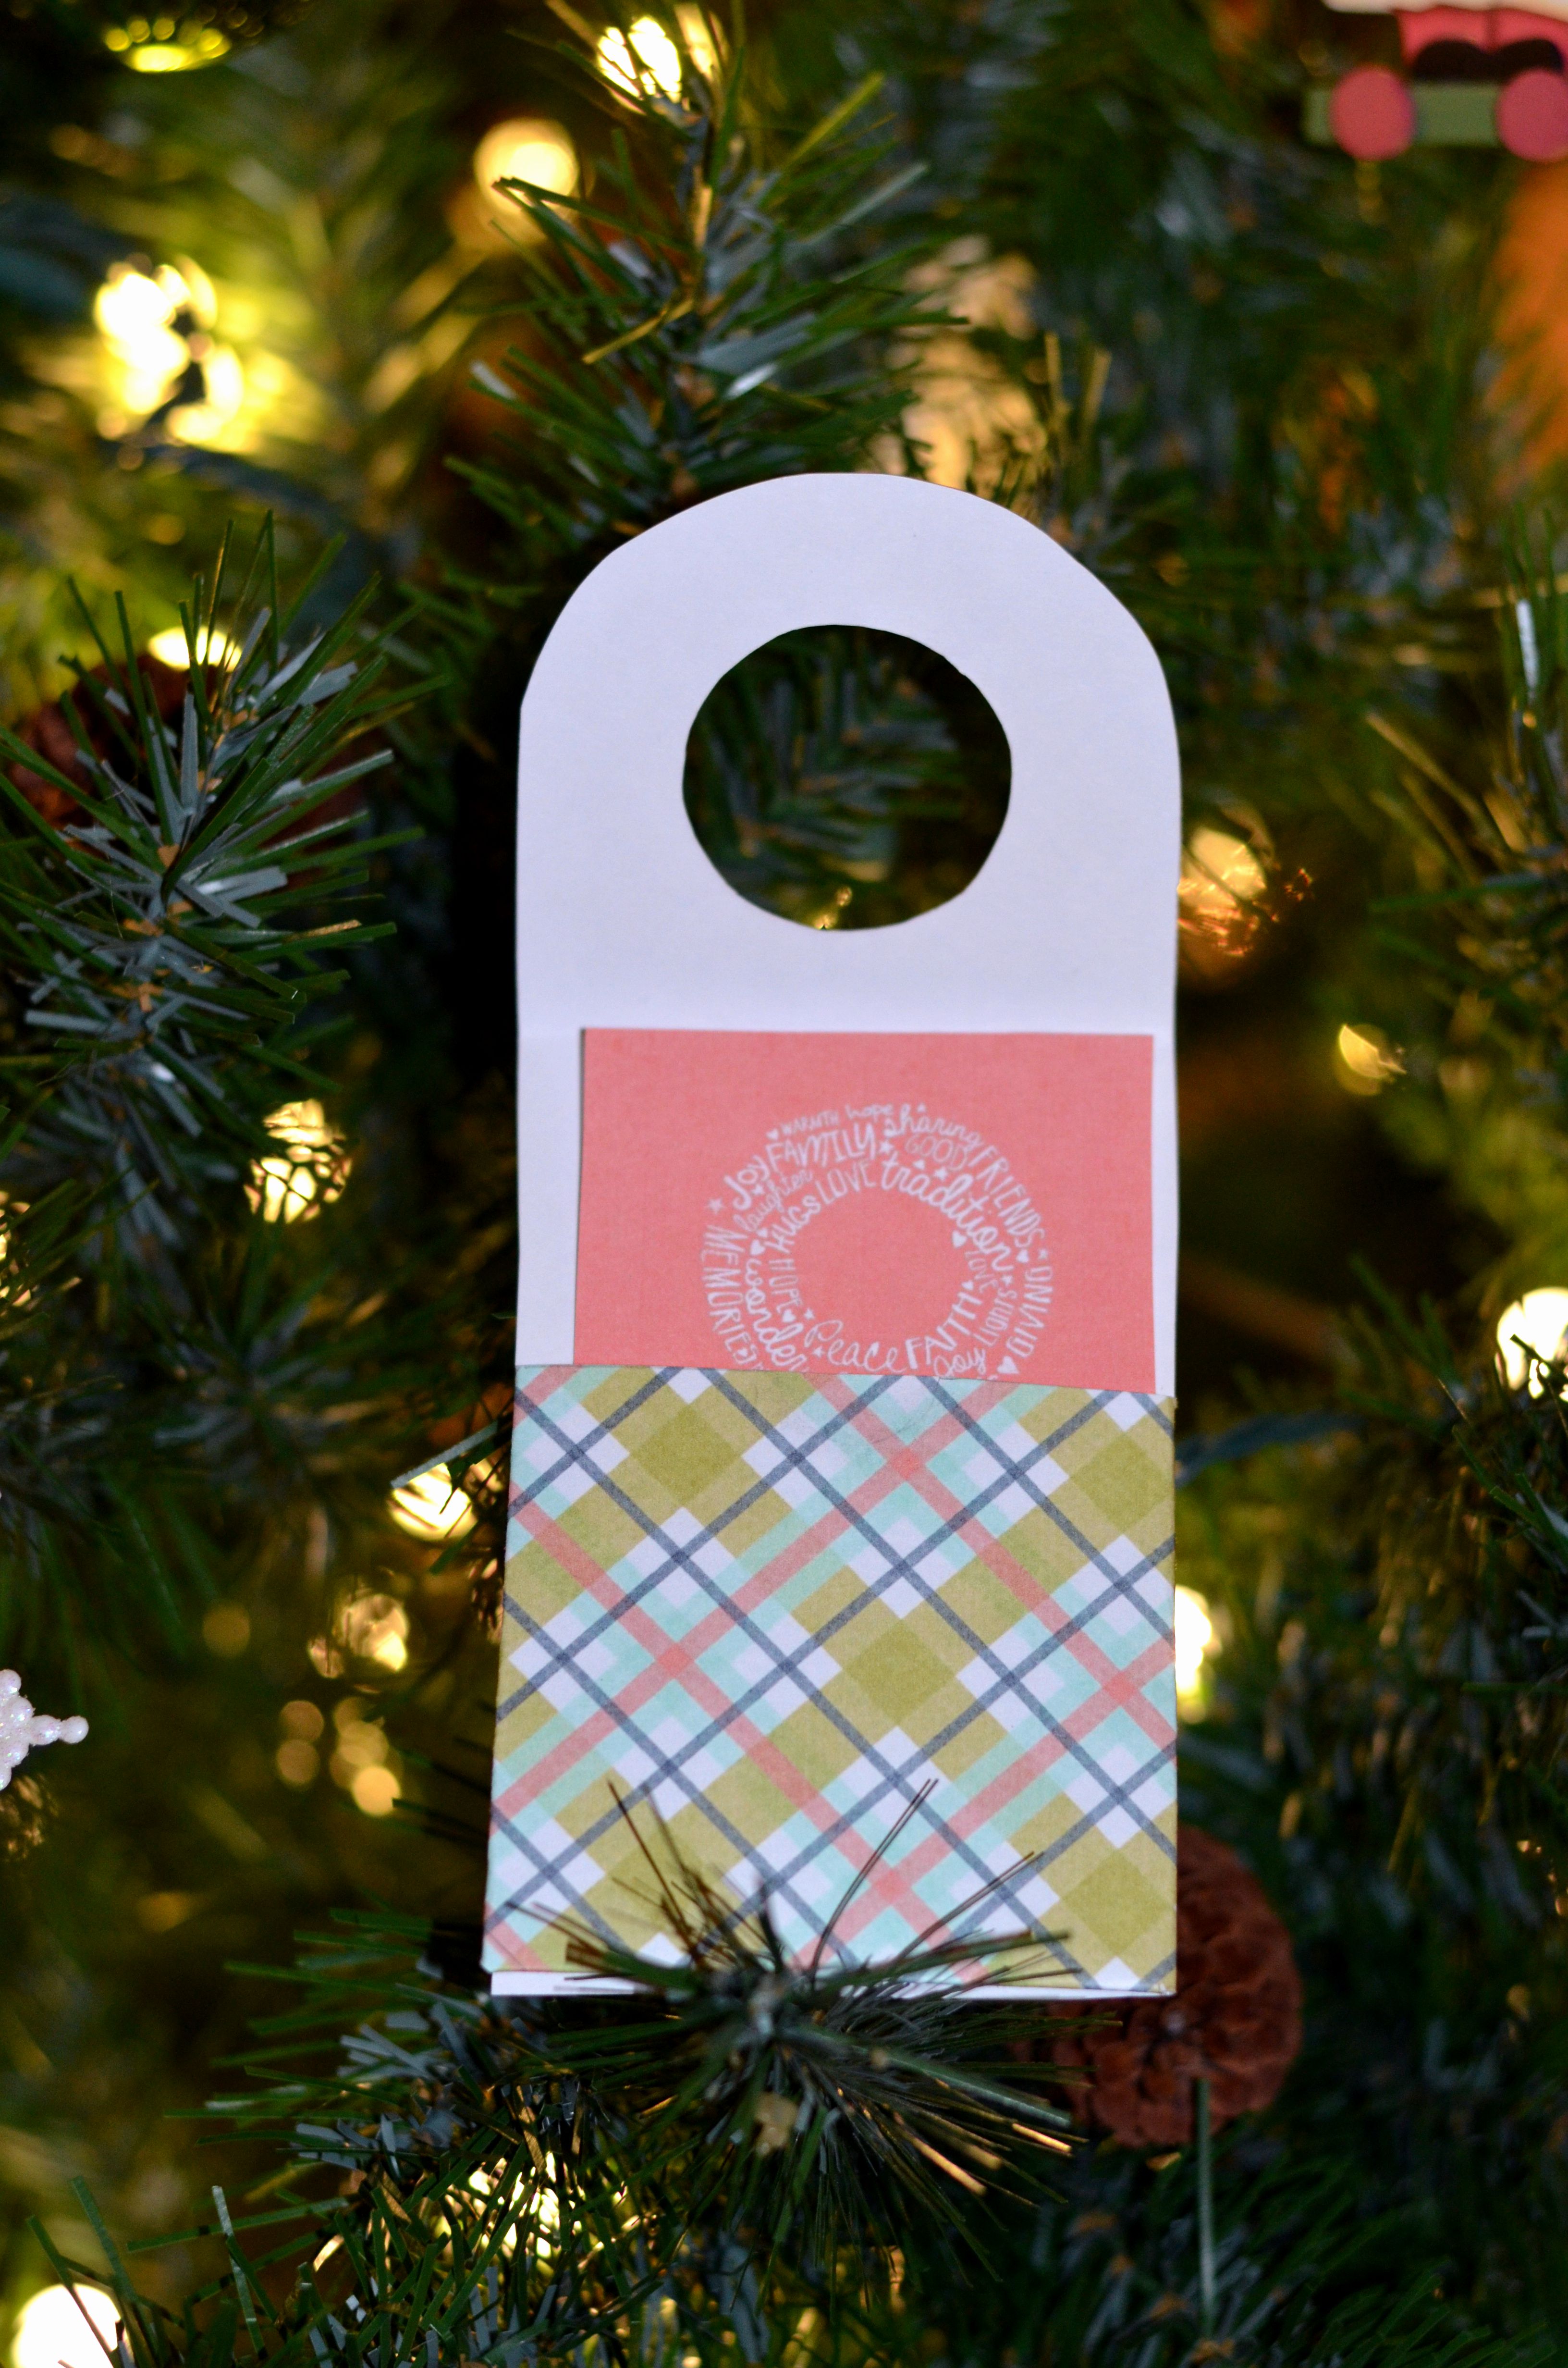
I have included the front and back view of my completed bottle tag with the hole punched. Scored edges and pocket tag are shown on the back.
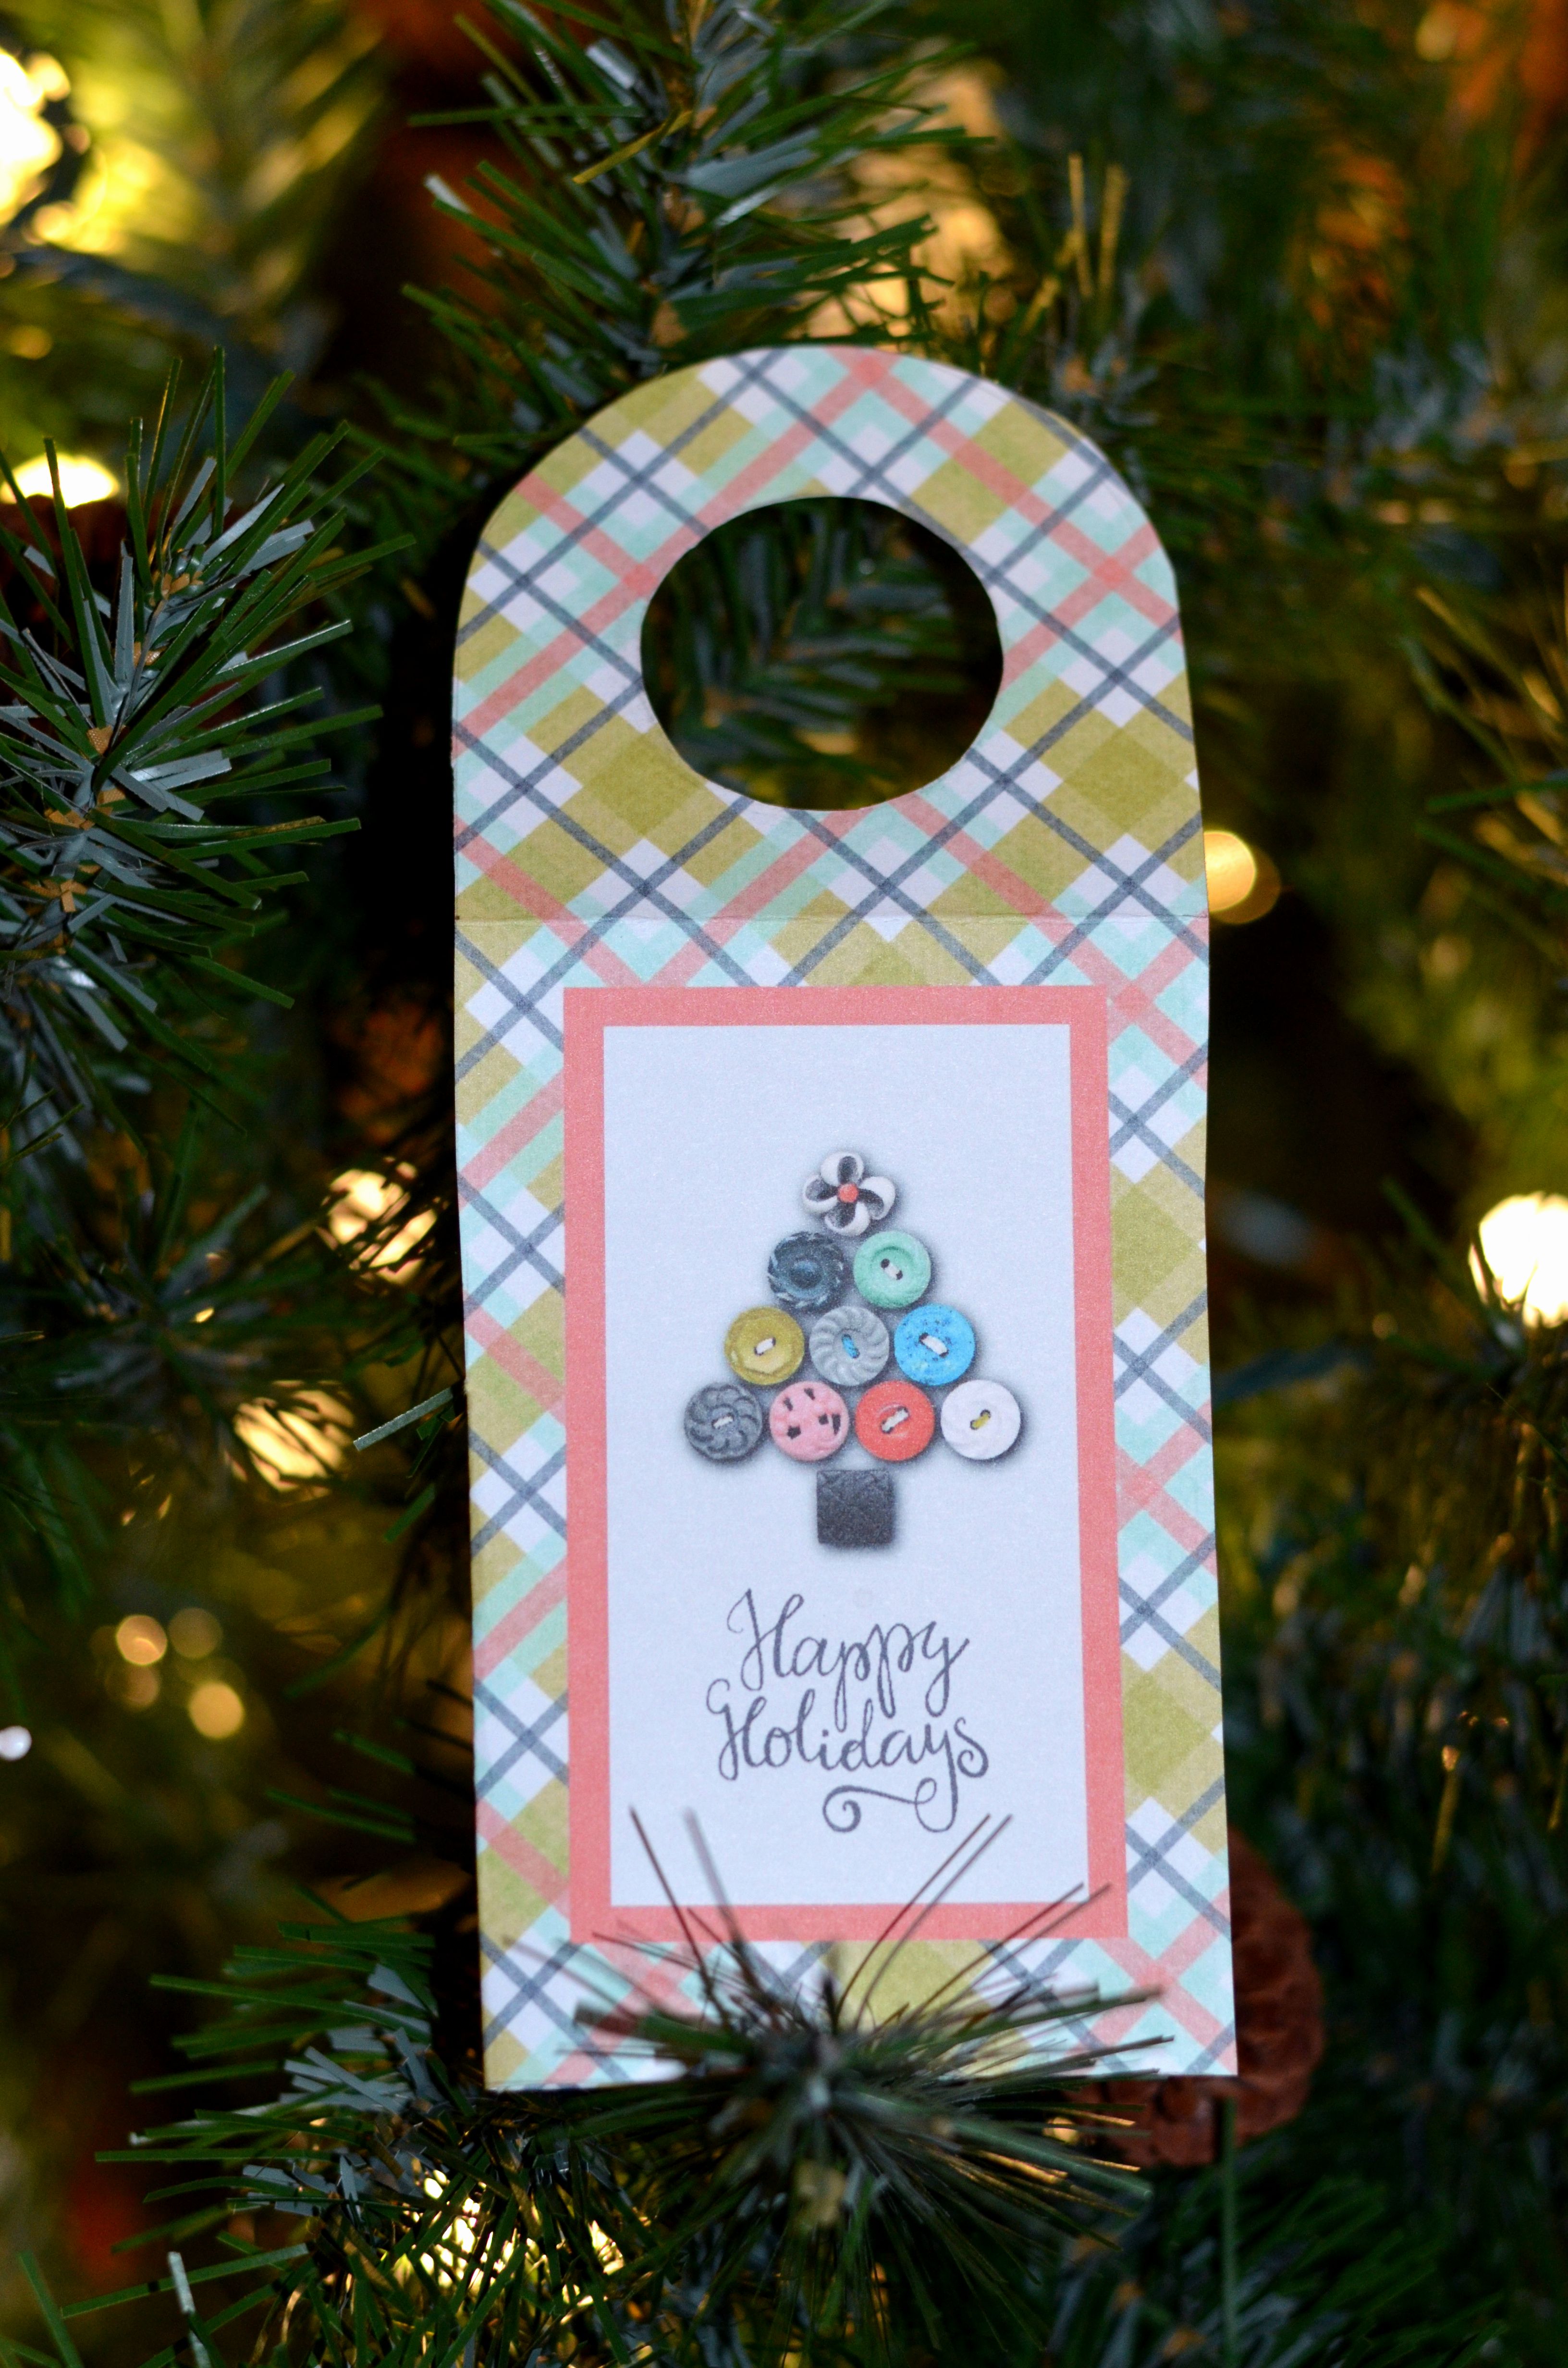
Here’s a look at the bottle gift tags attached to apple cider and hand soap… ready for gift giving!

So simple to create… and you now have a personalized gift for friends and neighbors. Join us in the forum for a fun challenge!
Merry Christmas and happy gifting!
 About the Author Terresa is a mother to 5 beautiful children. She loves capturing memories with her digital camera and then creating a visual family memory book to be enjoyed and treasured. She also loves to design and create personalized items for her home and children. Other interests are crafting and gardening, and you will often find her enjoying the outdoors and soaking in the beauty of nature.
Great ‘personalized’ gift idea, and also easy enough for me to make- lol. These look fantastic Terresa.