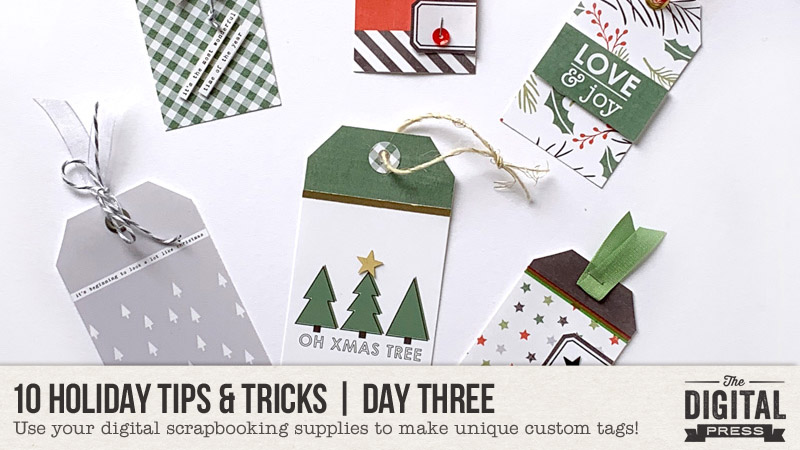
Happy holidays, everyone, and welcome to Day Three of our annual 10 Holiday Tips & Tricks series here on The Digital Press blog! Today I’m here to share a few ideas for using your digital papers and elements to make some festive holiday tags.
I love making tags; I use them on packages & gift bags, bottles of wine, and sometimes I even hide gift cards in them. I also like to use them in my pocket pages in my scrapbooking albums (often, the smaller sizes fit nicely in a 3×4 pocket, or attached to a larger journal cards).
For today’s project, I am going to to show you how to create some photo-based tags (for memory-keeping purposes), and also some gift tags (for wrapping purposes).
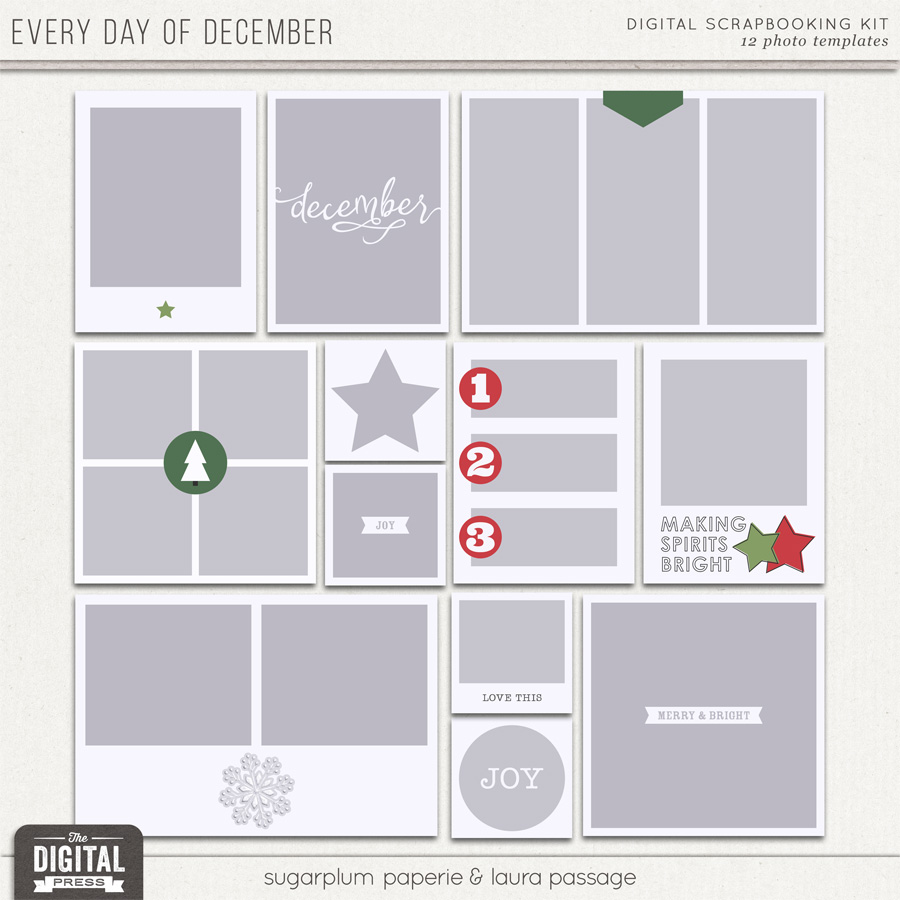
To create the photo-based tags, I used a bunch of different items from the all-new holiday collection Every Day of December by Sugarplum Paperie and Laura Passage. Mainly, the photo template set…
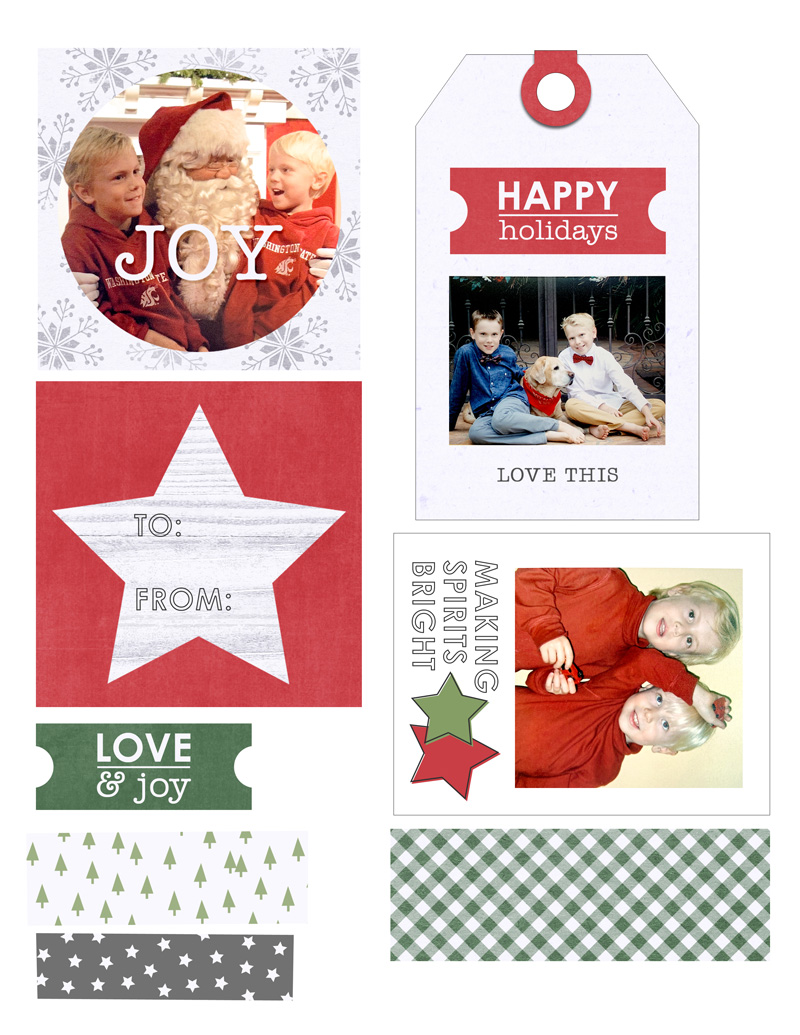
First, I took out a few of my old Christmas cards from when my kids were little, and snapped a few photos. Then, using Photoshop Elements (PSE), I attached the photos to some of the blocks on the templates (Ctrl-G in PSE; Ctrl-Alt-G in PS)… and I also picked some cute patterned paper and elements to attach to others.
Once I had the templates filled, I printed it all on 8.5″ x 11″ white matte presentation paper. I usually add a stroke around each item make it easier to see the edges for cutting. I wasn’t exactly sure how I was going to use everything; the process was just to print things that I could easily cut or punch and then play around (and it was super fun)!
Here’s a look at what my first print sheet looked like as it came out of the printer…
I just use my Fiskers cutter, some scissors, and some punches to cut everything out. I don’t have an electronic cutting machine — yet! (hello, Santa…!)
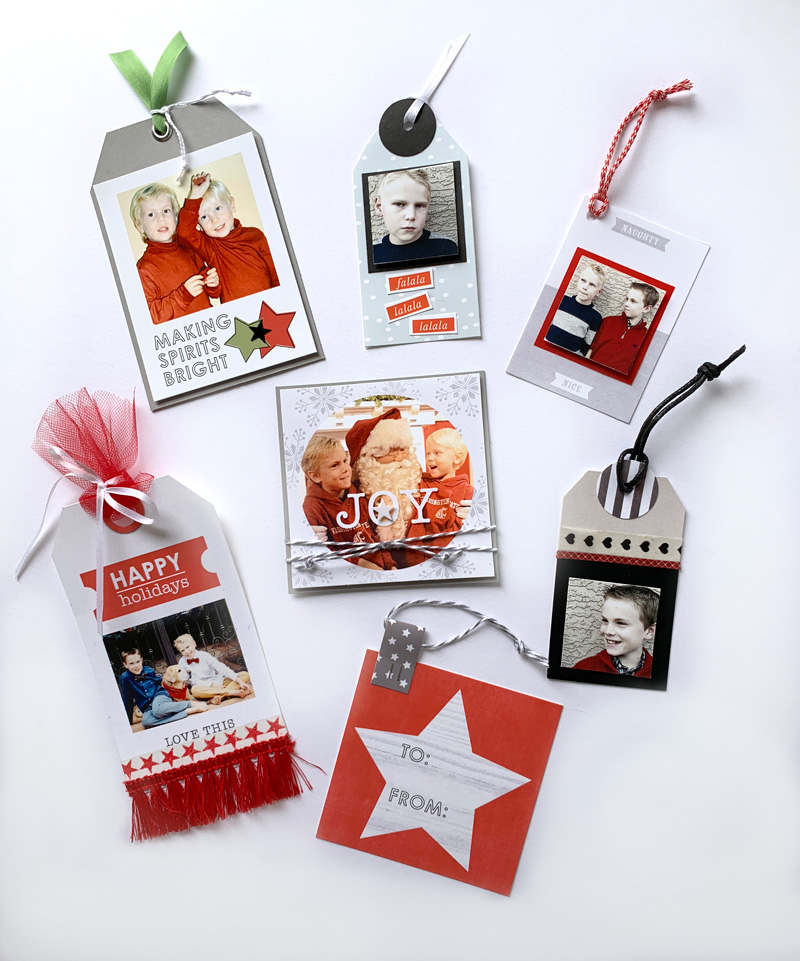
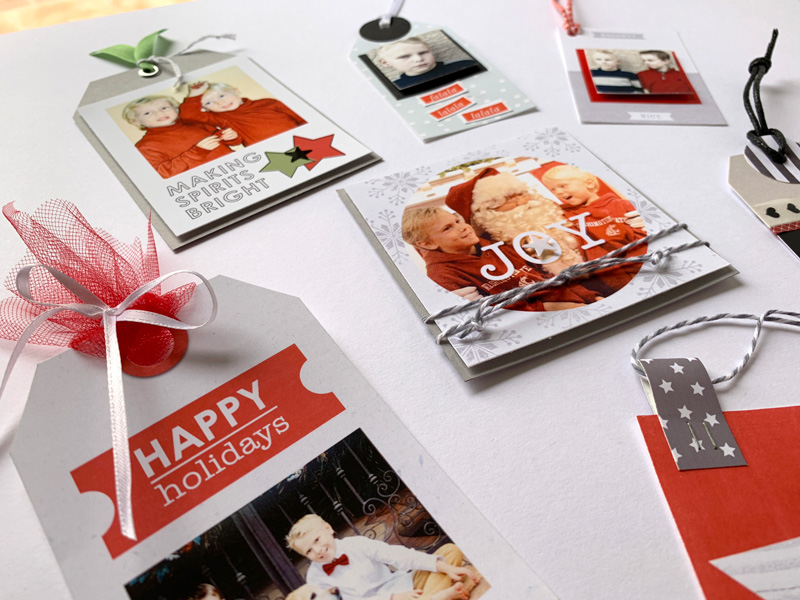
Once I had everything cut out, I started assembling the tags… which came together quickly! First I added ribbon, bows, and twine. For dimension, I used glue dots to add some stars I had in my scrap stash.
I love the way these turned out, and it is so fun to have these old photos front and center this year! Take a look…
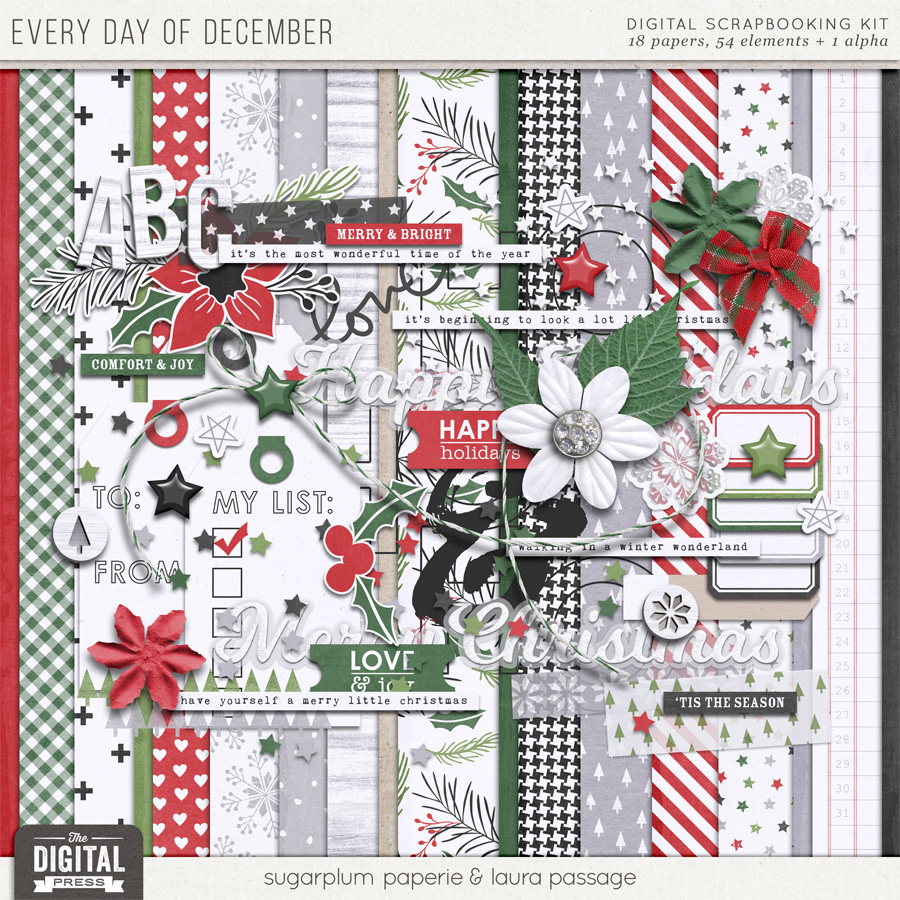
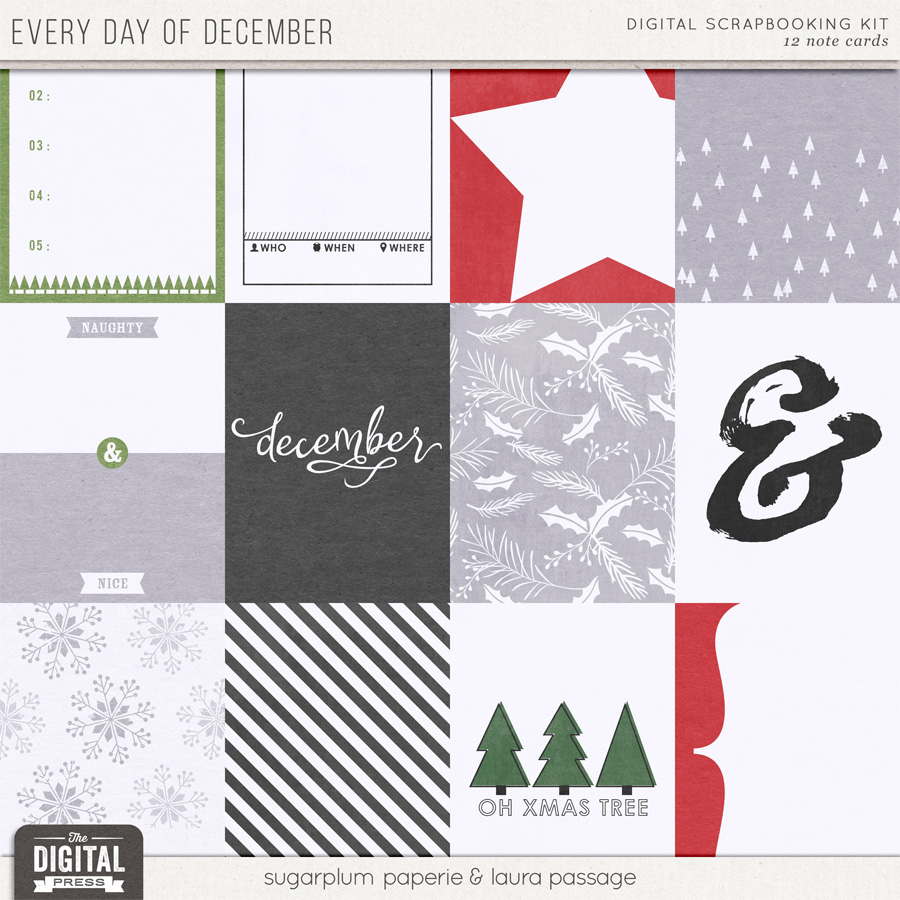
For the non-photo-based simple gift tags, I wanted to utilize all of the beautiful patterned papers and journal cards that I found in the Every Day of December collection. Here’s a look at the kit and cards, so you can see what I used…
First, I found a generic tag shape from my digital scrapbooking stash, and I used it as a clipping mask to attach the patterned paper (see the next image, below; the shape I used is shown in the top two rows — and also — as you can see, I try to use every square inch and align items evenly to make for quick cutting)…
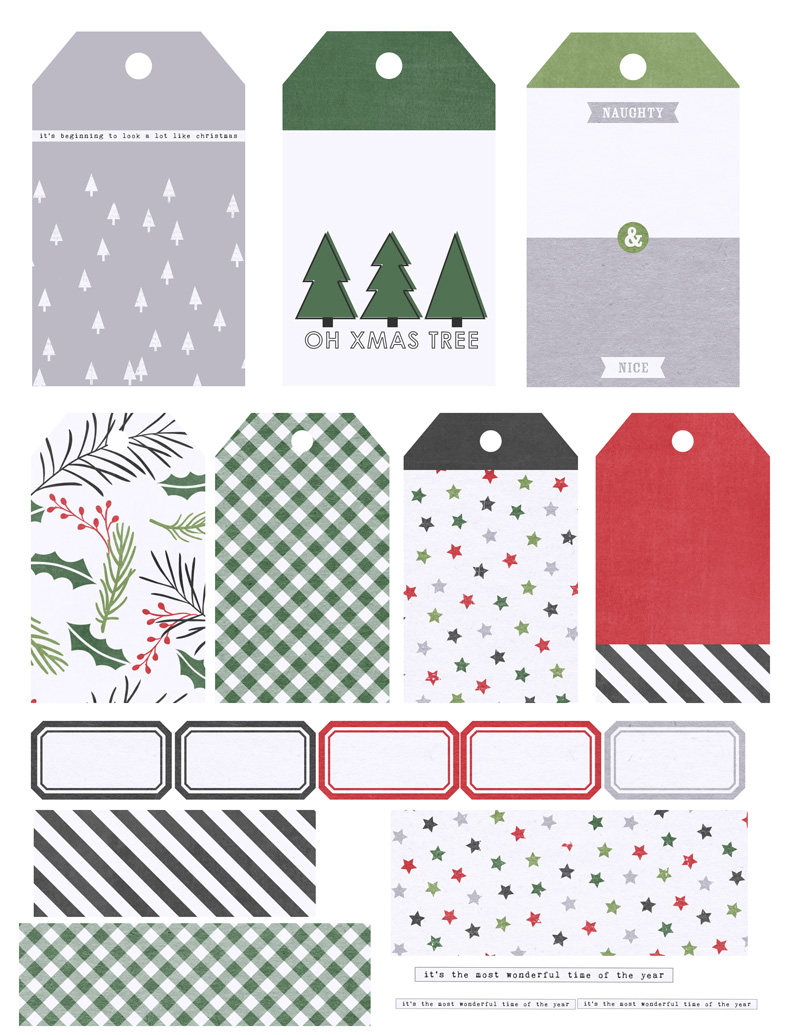
As you can see, above, if you compare my print sheet to the original journal cards/etc… on some tags I wanted the top of the tag to be in one color, and the body of the tag in another… so I just clipped the two papers and moved them up or down in Photoshop until I got them each where I wanted to create the two-tone effect.
Then, after adding a stroke around each tag (again, to give myself a handy cutting line, once printed)… I printed them on an 8.5″ x 11″ paper and cut them out.
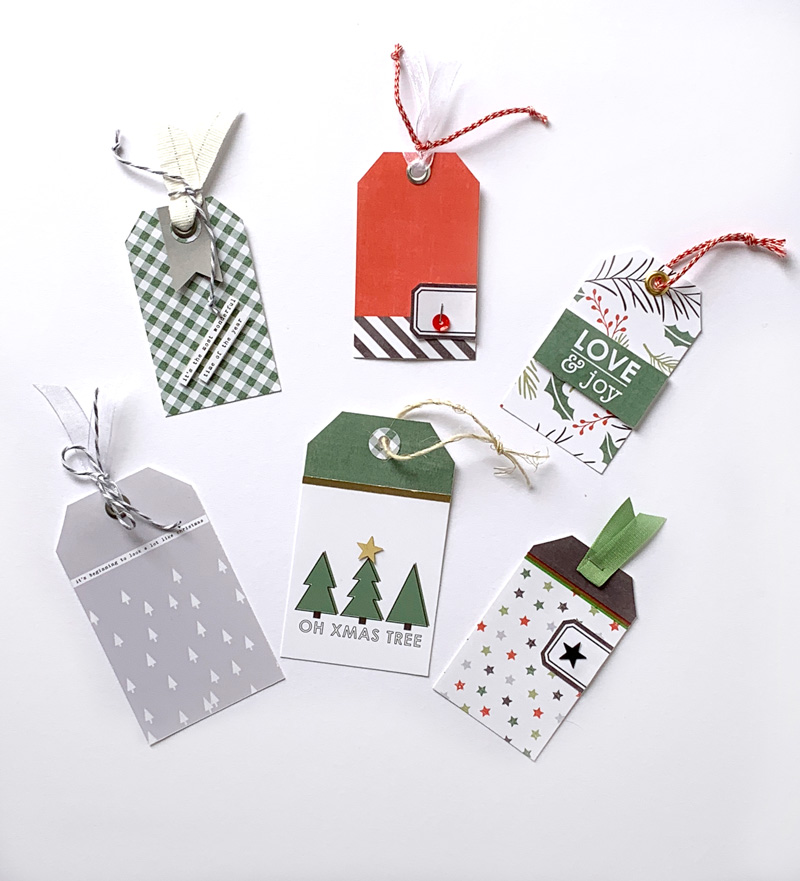
Once the tags were cut apart, I then punched a hole in the top of each one — and even brought out my crop-a-dile to place a few grommets in the holes, which is a little touch that just gives them a little extra sparkle. 🙂
I also selected some twine, ribbon, and a few other embellishments from my stash (and/or word art from the kit) to complete these tags. Here’s a look…
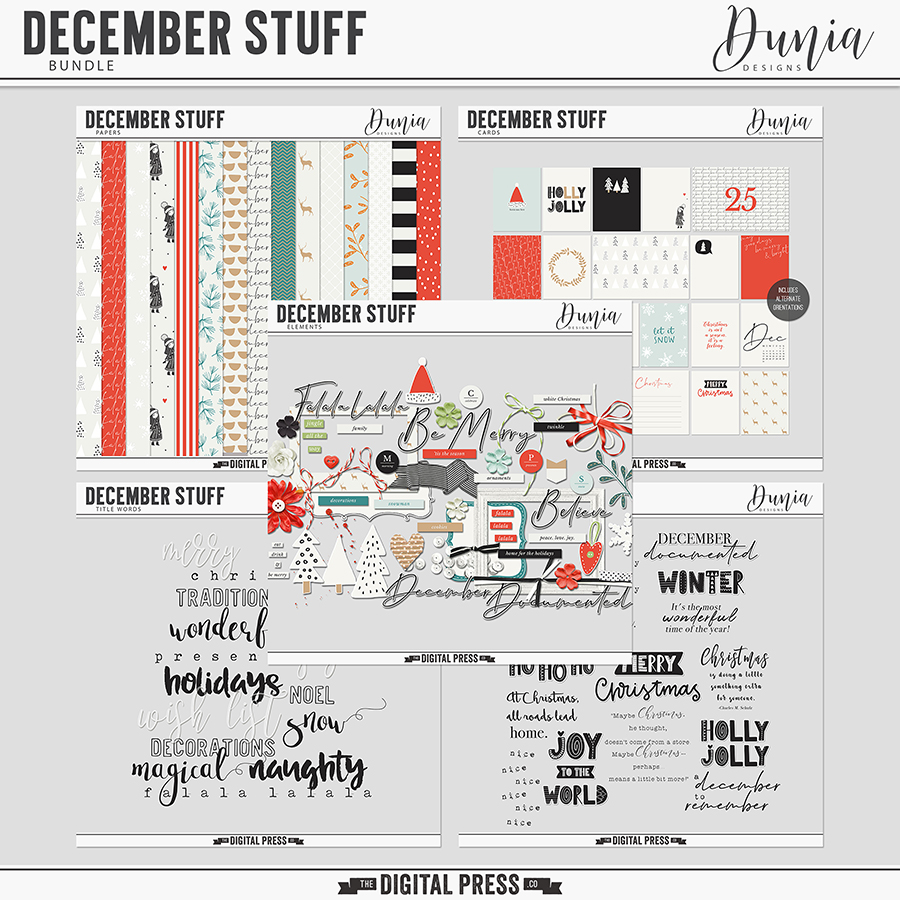
I was having so much fun, I decided to make another group of tags — this time, using the December Stuff collection by Dunia Designs, as shown here…
I fell in love with the little doodled trees… so I decided to use them as embellishments on a bunch of tags.
Here is a look at my print sheet, after I arranged them on a 8.5″ x 11″ canvas in PSE…
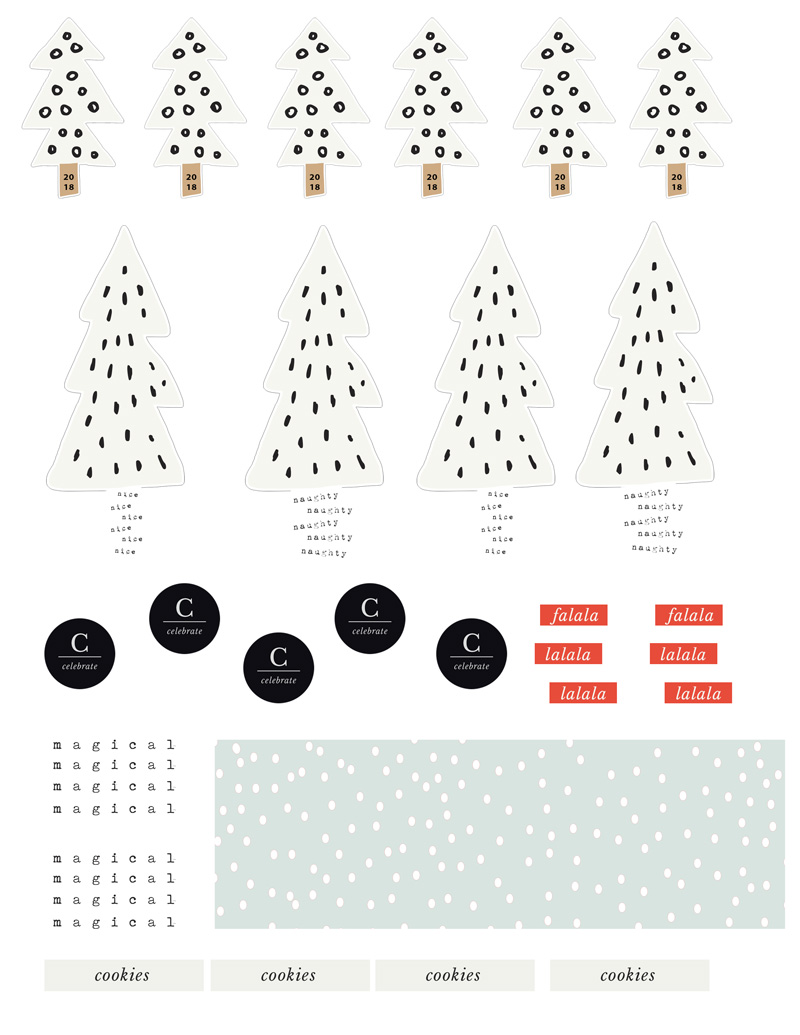
I did have to cut each of these items out by hand — and I am not perfect at “fussy cutting” — but it was quick and easy!
After cutting the trees, I thought they looked great and really stood out on black and kraft-colored solid papers. This time, I just cut the tags out free form — maybe not perfectly-cut, but fine for my purposes! The key to these tags is to give some of the elements dimension. I did that with pop-up dots in a couple of different sizes, and also with the twine, ribbons, washi tape, and stars that I added (oh, and a few circles I added from punches)…
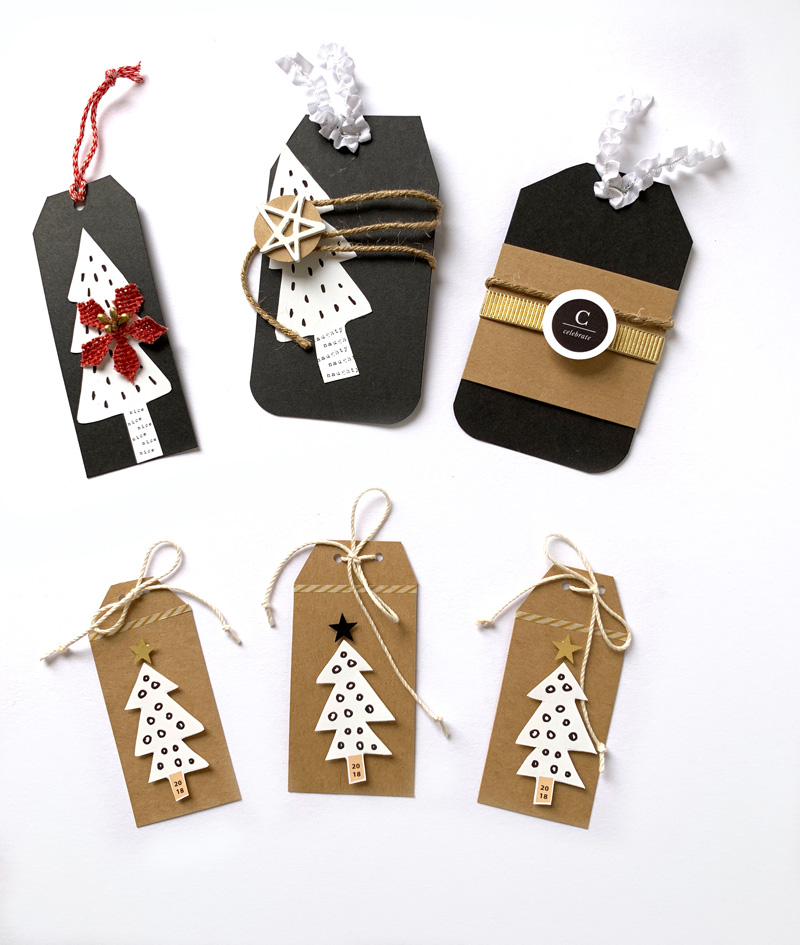
*TIP* — on the trunks of the trees in the top row of tags, you can see the little bit of “naughty and nice” word art that came in the kit. I added it to the trees, creating my own custom trunks, by layering it and clipping it to the tree shapes in PSE — super easy, and a great way to add just a bit more interest (plus, “naughty and nice” is perfect for life around here)! In this same way, I also put the year “2018” onto the tree trunks of the smaller tags in the bottom row, as well. I felt like I had a lot of kraft paper on the smaller tags… so rather than adding another patterned paper, I broke things up by using a thin strip of some washi tape.
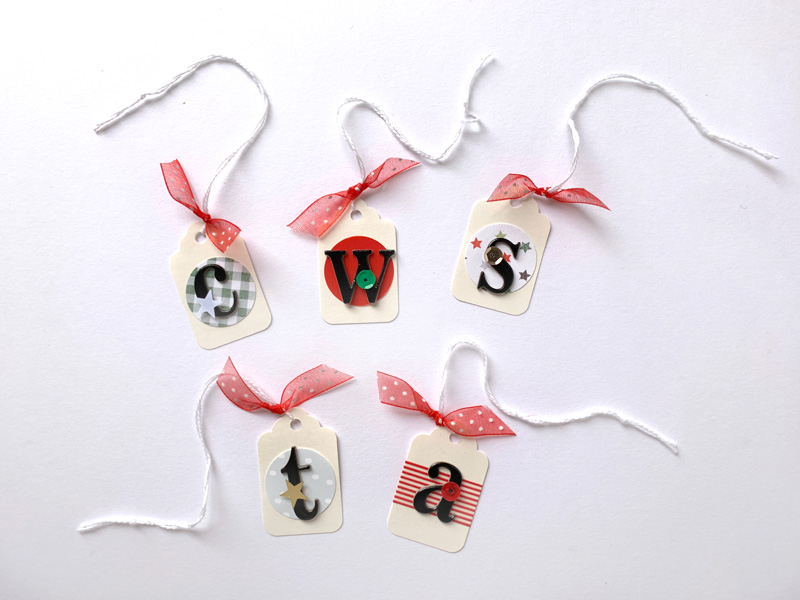
Finally, for one last project… I had some very small cream-colored tags laying around in my physical stash for years, and I thought this would be the perfect opportunity to use them! I knew they would be perfectly-sized to put around a wine bottle or box of chocolate to give to girlfriends and neighbors.
For these, I just punched out some more 1 inch circles from various patterned digital papers that I printed out, and then I attached those circles to each tag. On top of the circles, I added each friend’s first initial with some chipboard letters, and a topped it off with a small star or sequin and some ribbon. I think they are going to like this bit of customization on their gifts!
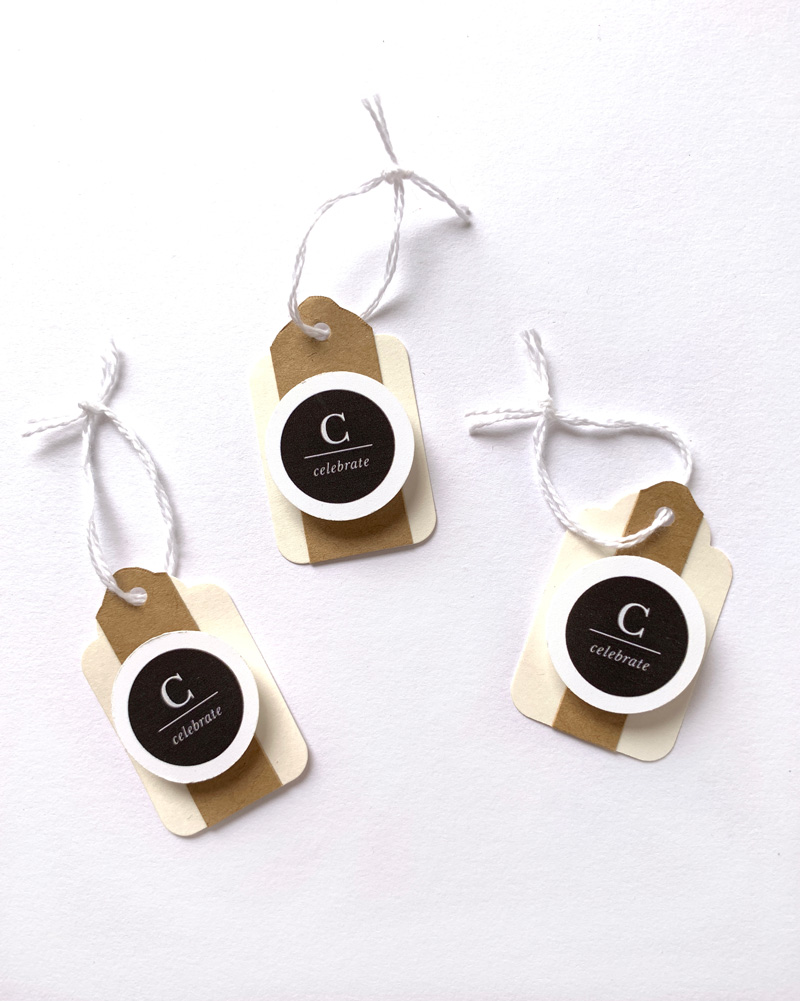
I also used a punch for some of the word art (“celebrate”) that I found in the kit… and added that to these small tags. I thought these might be nice for New Years Eve.
I hope I have inspired you to print out a few papers and elements and put together some tags this holiday season. This was seriously a fun and therapeutic project for me — and I know I’ll be so glad I’m getting it done early in a couple of weeks when things get really hectic!
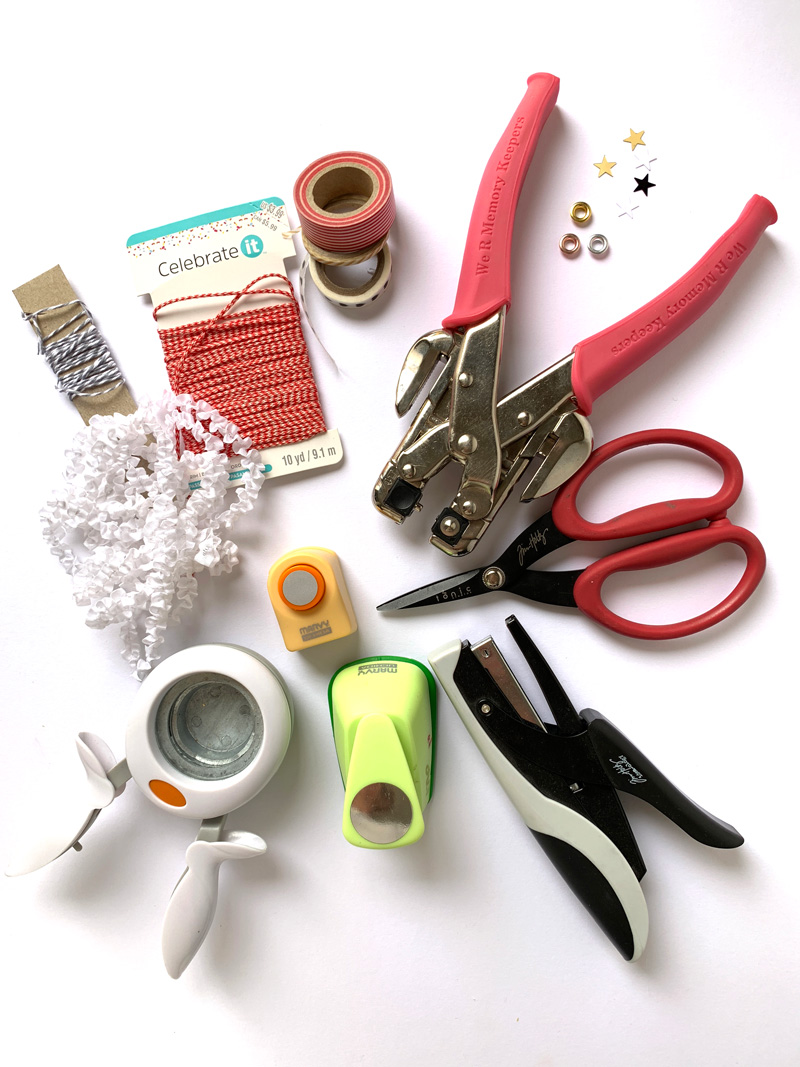
This project is nice because you really don’t need any fancy tools or machines (other than a photo-editing program such as Photoshop or Photoshop Elements, etc.). Here is a look at the other tools I used…
I hope this has given you some ideas! If you’re thinking of giving this project a try… head over to The Digital Press’s challenge forum and get the details about how you can earn challenge points for December 2018 at TDP if you try any of our “Holiday Tips & Tricks” throughout the month as they appear here in this blog series! Also, we’d love to see any photos of your holiday projects using TDP goodies in the gallery this month, so link us up after you’re finished creating and uploading! 🙂
Happy crafting and happy holidays!
About the Author KerriAnne is a homebody who resides in the desert SW. She started scrapbooking when her kids were little and hasn’t stopped despite the teenagers rolling their eyes and sticking out their tongues! When not scrapping or being a chauffeur, she can be found consuming large amounts of iced coffee.

