
Hello there! Carrie here, wishing you a very Happy December and welcoming you to Day One of the 2018 edition of our always-popular 10 Holiday Tips & Tricks series here on The Digital Press blog!
I have a fun, quick ornament project for you today.
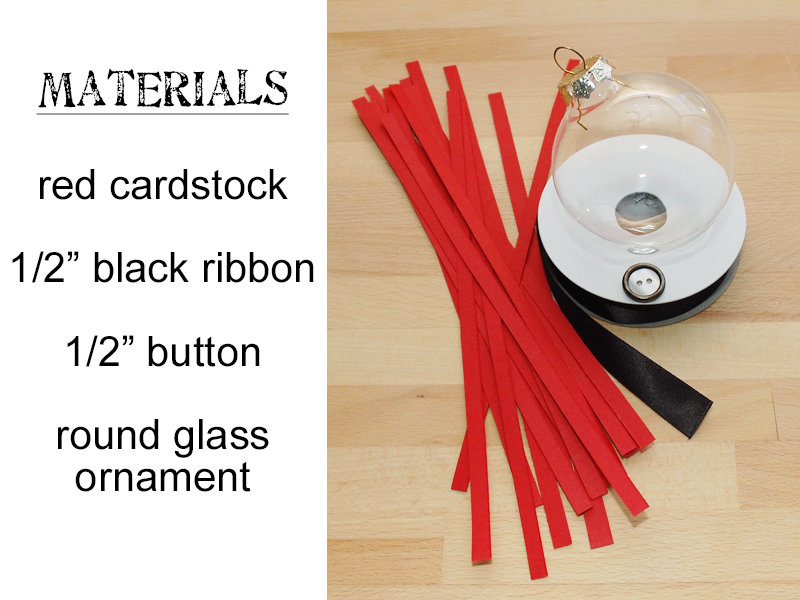
You will need a couple of things, some of which you may already have on hand: half a piece of red cardstock, a 10″ strip of 1/2″ black ribbon, a 1/2″ (diameter) button, and a glass ornament with a removable top. You will also need scissors (or optionally, a paper cutter), a glue stick, and a hot glue gun.
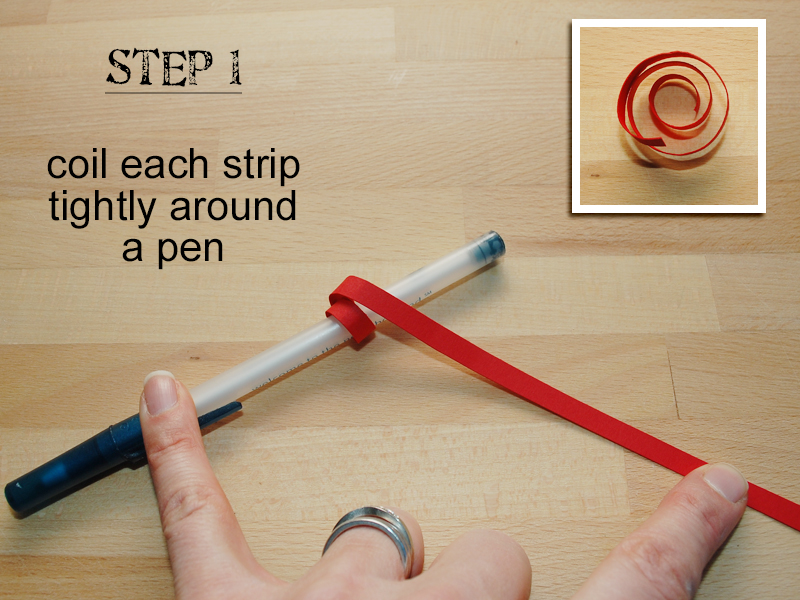
The first step is to trim that red paper into 1/4″ strips. I cut mine from the 11″ edge of the paper, so they are 1/4″ wide by 8 1/2″ long. You will need about 20-22 of these (half the sheet of cardstock). I’d recommend using a paper cutter, but you could also cut the strips by hand with scissors. Once you have a pile of 1/4″ strips, roll each one into a spiral. I found it easiest and quickest to roll them tightly around the barrel of a smooth pen as shown in the photo below (using a pencil or just my fingers left creases in the paper). The coils will spring loose when you pull them off the pen, which is fine.
Next you’ll need to get all those little coils into the ornament. Remove the prong cap (just pull gently), and insert the coils. I found it easiest to wind each coil a little tighter when I pulled it off the pen and then drop it straight into the ornament. You can fill the ornament as full as you want, but you’ll probably want to use at least 20 of those 1/4″ strips.

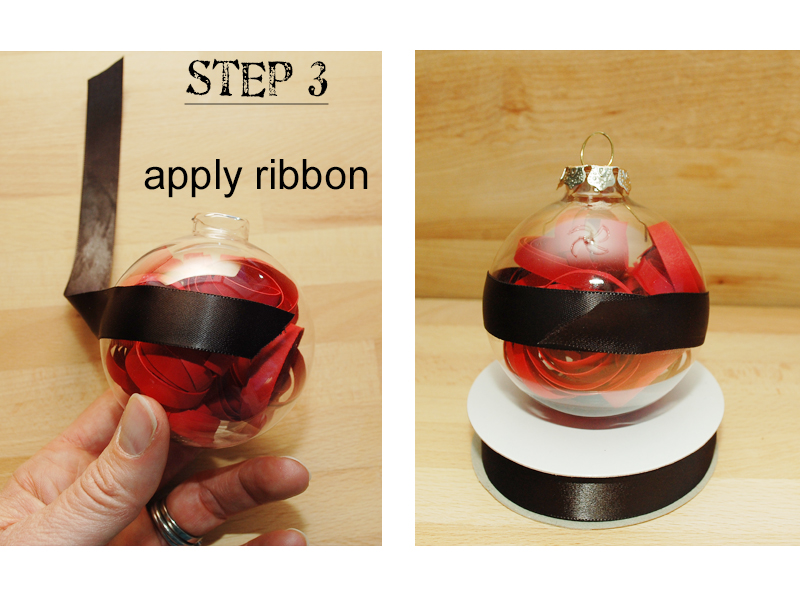
Once your ornament is filled with coiled paper strips, put the prong cap back on. Measure the circumference of your ornament by wrapping the ribbon around it. Add another 1/2 – 1″ for overlap. Trim your ribbon, and lay it right side down on your work table. The classic DIY way to adhere a ribbon belt is to hot glue it, but that’ll leave a lumpy line underneath the ribbon that is especially noticeable with satin, shiny or clear ribbons. I recommend using a glue stick instead. Just drag that glue stick down the wrong side of the ribbon, making sure to get even coverage all the way out to the edges. If you want the last 1/2″ or so of your ribbon belt to hang loose, be sure to stop applying glue about 3/4 – 1″ from what will be the exposed end.
This may be the trickiest part of this whole thing: applying the ribbon belt. Starting with the end of the ribbon that will be completely covered, stick it, glue side down, to the center of the ornament. Working your way around, smooth the ribbon against the ornament, working out any puckers or bubbles. You may find as you finish that the ribbon will need to dip into a slight “v” where it overlaps which is fine as long as the rest of the ribbon belt is smooth. You may also want to trim the exposed end of the ribbon if it seems a little too long. In my example below, the ribbon is cut on an angle to look like the loose end of a belt.
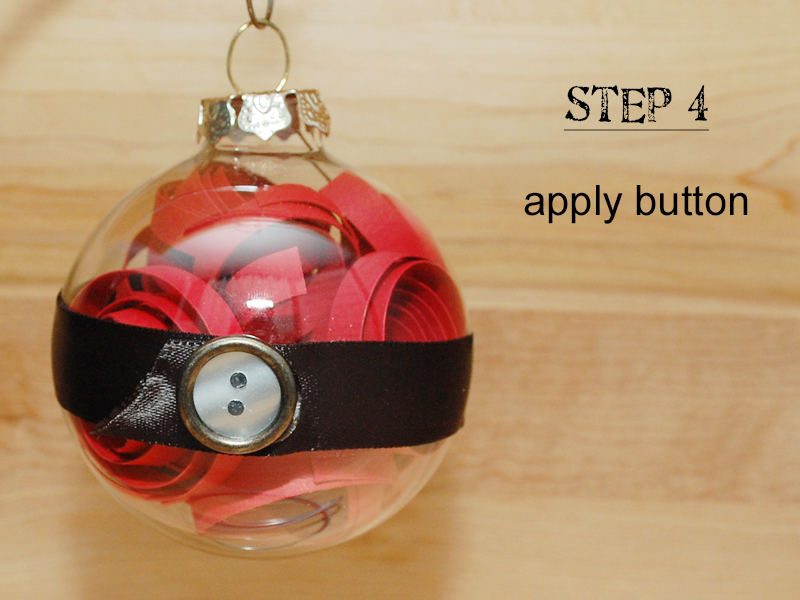
The last thing to do is apply the button. Place a healthy dollop of hot glue on the back of the button, and stick it on top of the ribbon belt. You can use the button to cover up the overlap, or offset it slightly to look like it’s a belt buckle (mine has the latter option). There you go, one simple Santa ornament.
You can apply this same trick to other themes as well: white paper and black ribbon for a snowman, green paper and striped ribbon for an elf, turquoise paper and silver ribbon (and a jewel button), etc. I’d love to see any other variations that you come up with!
Speaking of which… if you’re thinking of trying this, head over to The Digital Press’s challenge forum and get the details about how you can earn challenge points for December 2018 at TDP if you try any of our “Holiday Tips & Tricks” throughout the month as they appear here in this blog series! Additionally, we’d love to see any photos of your December/holiday projects using TDP goodies in the gallery this month, so link us up after you’re finished creating and uploading! 🙂
 About the Author Carrie is a creative team member here at The Digital Press. She and her family enjoy spending time outdoors, year-round, near their home in Colorado. In addition to scrapbooking and the occasional hybrid home decor project, Carrie also reads voraciously, accumulates fabric, makes soap, brews beer, grows hops, and tries to keep indoor plants alive.