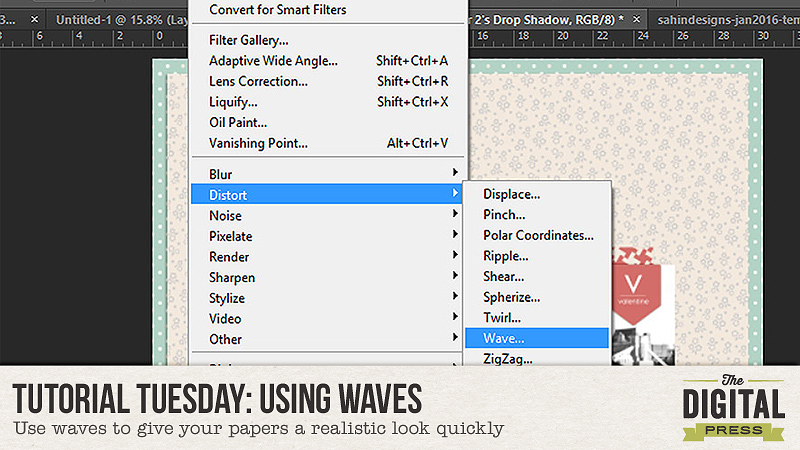
Today I want to share a technique that I use to give my shadows a realistic look. Yes, I do warp my shadows. But if you do that for every paper on the page, then the time taken for each shadow quickly adds up. Thats why I use the wave shadowing technique for most of my pages. The effect is super cool and its a time saver too!
So, I will first start with my finished page.
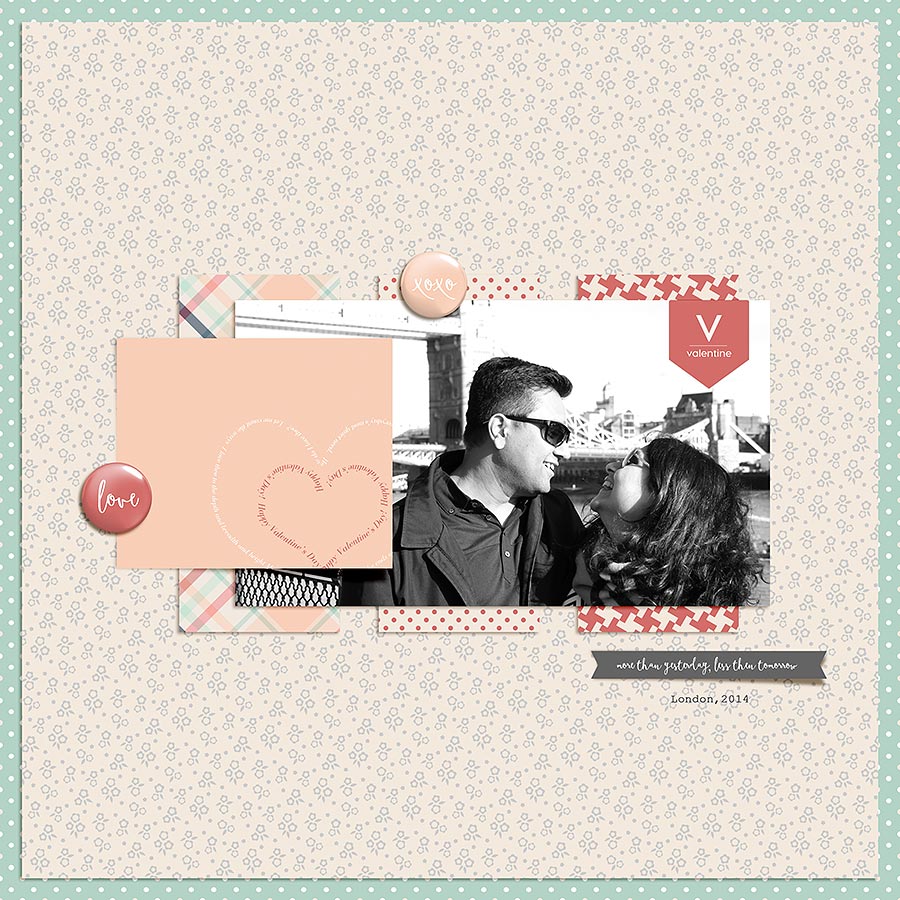
I like the shadows on the page. However, if you look at the cream background paper, the way the shadow falls on the polka dot blue/green background paper, looks a little flat. Thats where the wave tutorial comes in.
Here are the steps.
- Apply your usual shadowing layer style to the paper you want to use. (As I am a very slow scrapper, I believe in saving time, therefore I use a style for shadowing all my papers as a starting point and then tweak. In case you apply shadows from scratch, please go ahead and apply your usual shadows to the chosen paper)
- Create a separate layer for the shadow so that it is on a layer of its own. In PS, if you look at the layer of your selected paper, there will be a ‘fx’ sign on that layer. Right Click on that ‘fx’ sign to open up a drop down menu. Choose ‘Create layer’ option from the drop down menu. Now your shadow will be in its own separate layer.
- Make sure you have selected the shadow layer from the layers panel.
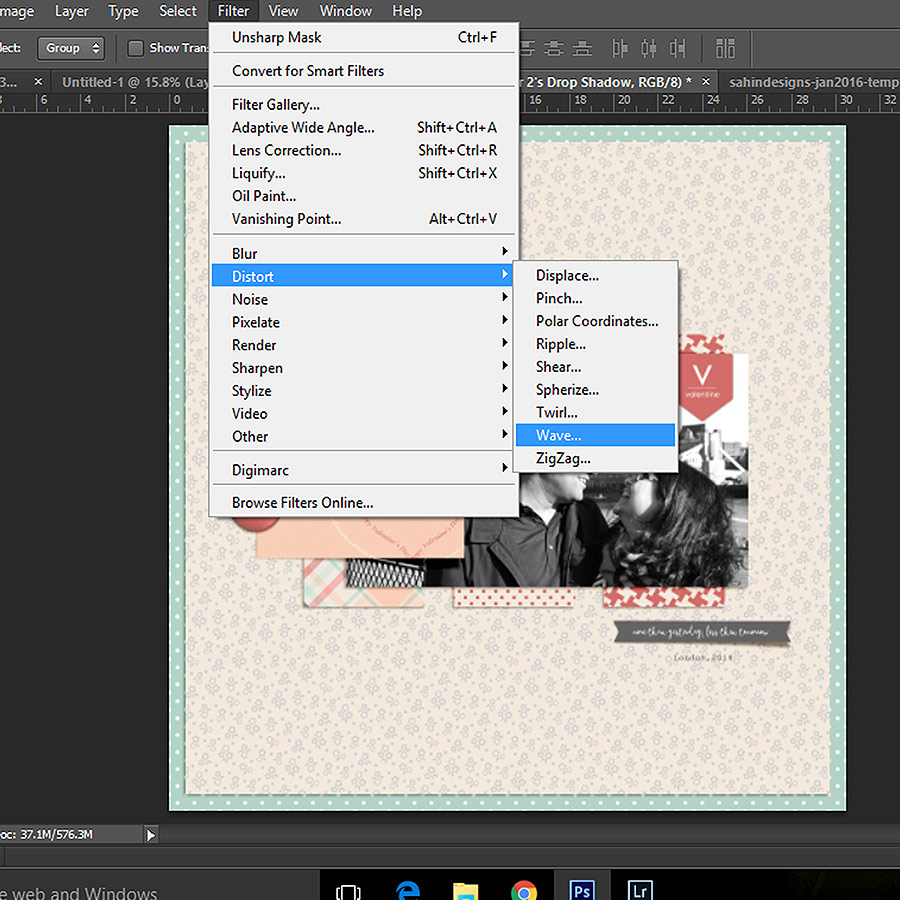
- Now use these following setting in the Filter menu.
5. The Wave menu will open up. I use the following values in the wave menu –
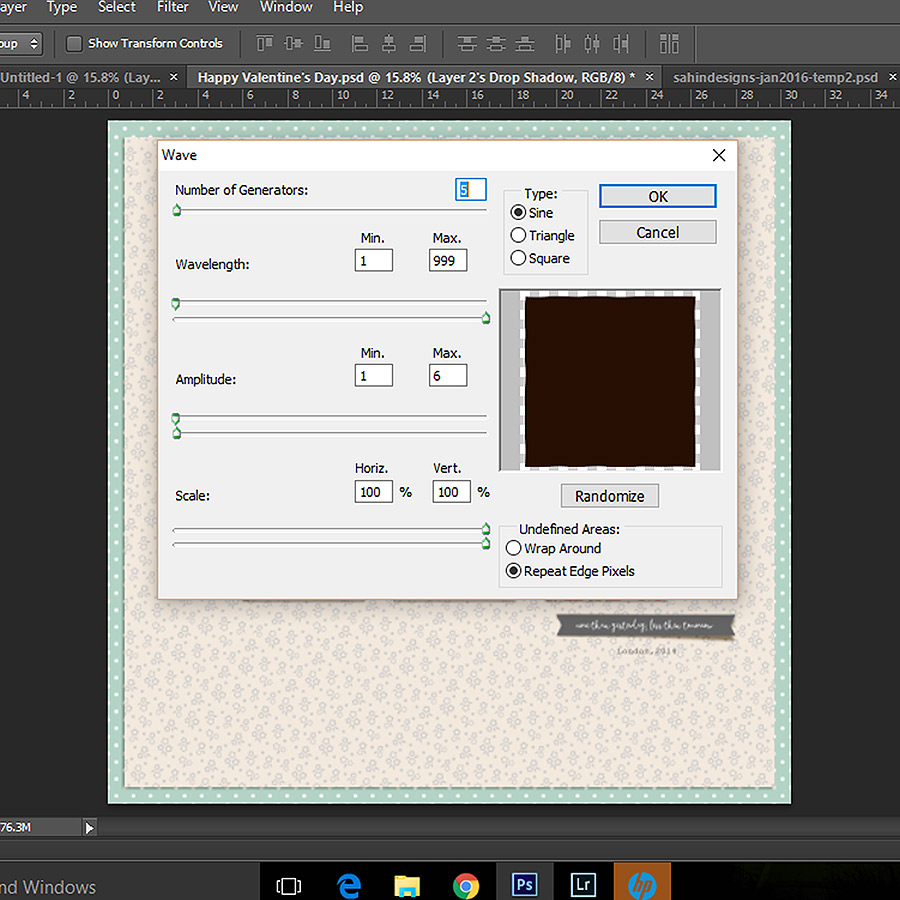
6. And voila! Your perfect paper like shadow is ready!

If you look at the cream paper now, there is an uneven-ness in the shadow that gives it a realistic look.
Sometimes, when this shadow doesn’t come out right – like if it shows that the paper is raised while it is just under a heavy element, – I just cancel out the effect and apply it once again. That gives a different look and after playing around a few times, I generally am happy with the effect.
I used PS5 for my page. However, you can follow the same steps in PSE as well. Just creating a separate shadow layer in PSE requires some extra steps.
Do play around with this fun technique and see your pages take a realistic look instantly.
 Pallavi resides in Mexico City with her husband and her ever growing little son, Rajveer. She has previously lived in Calcutta, Pune, San Francisco, Chicago and London. She reflects all these places in her pages as she captures her everyday stories. She is an alumni of Northwestern University. Currently she is learning photography and working towards getting to a healthy weight. Her days are full and she loves it that way!
Thank you! I haven’t used this technique before and will give it a try. I like the wavier effect on the large paper.
what are the steps for doing this in PSE……?
Great technique! Thanks so much. I can’t wait to give it a try.