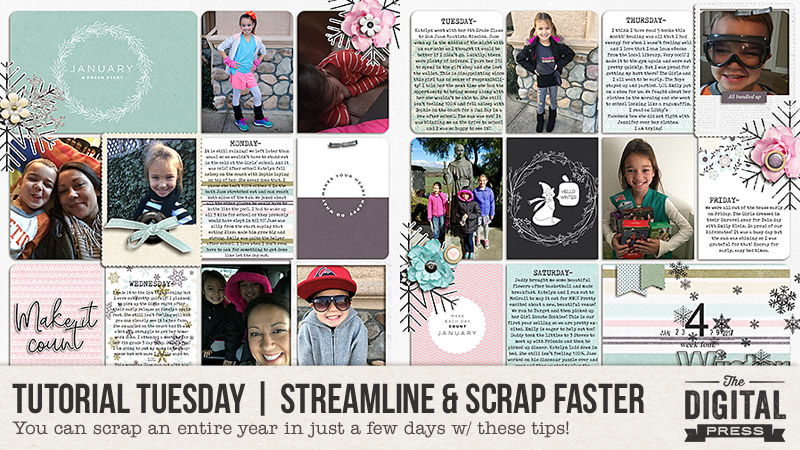
Hello everyone, and welcome to another edition of our Tutorial Tuesday series here on The Digital Press blog! Today I am here to show you my plan for getting an entire year’s worth of photos and memories scrapped — and fast (!) — using a pocket page-style system of scrapping.
I have been documenting our everyday memories using weekly pocket pages for years now, and yet recently I have found myself a little behind. Well, actually a lot behind! I have not scrapped a single week for 2017! I do have the photos (and some notes for the journaling), but I still need to actually create the weekly scrapbook pages. All 52 of them!
Therefore, I knew needed a plan in order to get an entire year of everyday memories scrapped. I needed it to be fast… and I needed it to be easy.
I think that starting a big project like this is always the hardest part. It can feel so overwhelming,,, which is normal when taking on such a daunting task… but it doesn’t have to be paralyzing. If you simplify the entire process, it can actually be really easy and go really quickly!
For me, the first step was to choose a template pack/design that I could use for the entire year. I chose Every Day Life | Templates No3 by MEG Designs…
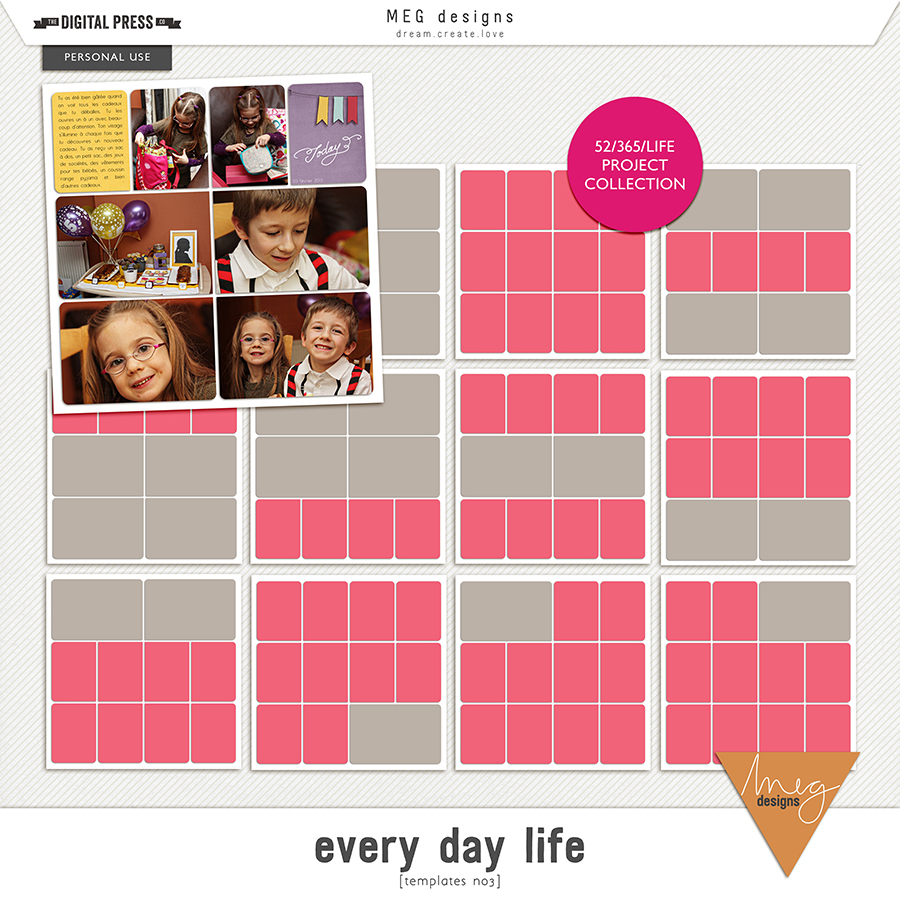
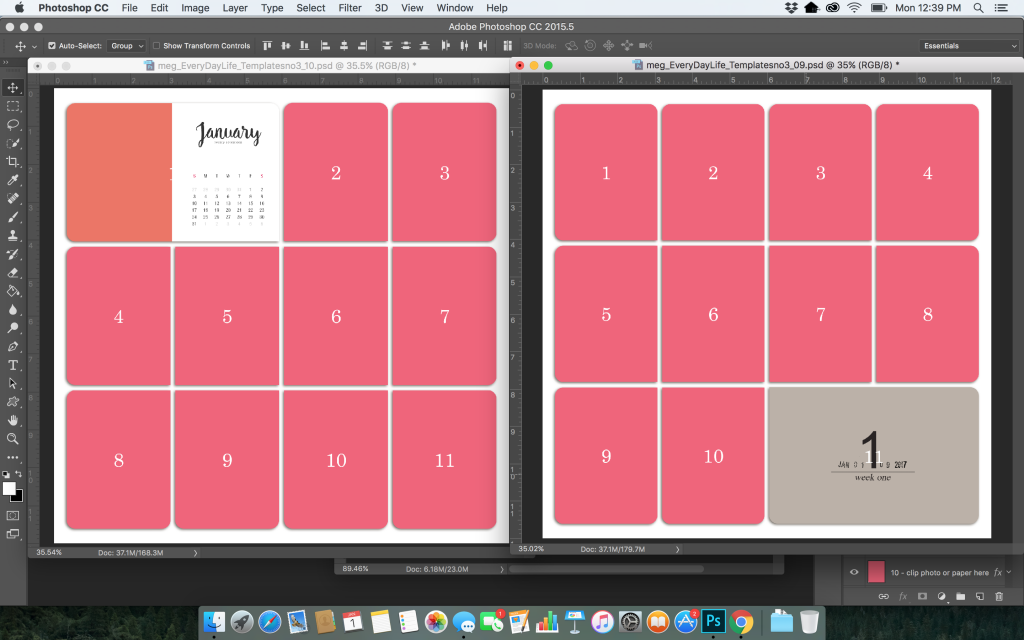
More specifically… I decided to really simplify things by choosing the same templates to use for the entire project (thus cutting out the time/etc. it takes to choose a template for each new page/2-page spread). I chose template 10 for all of my left side pages… and template 9 for all of my right sides.
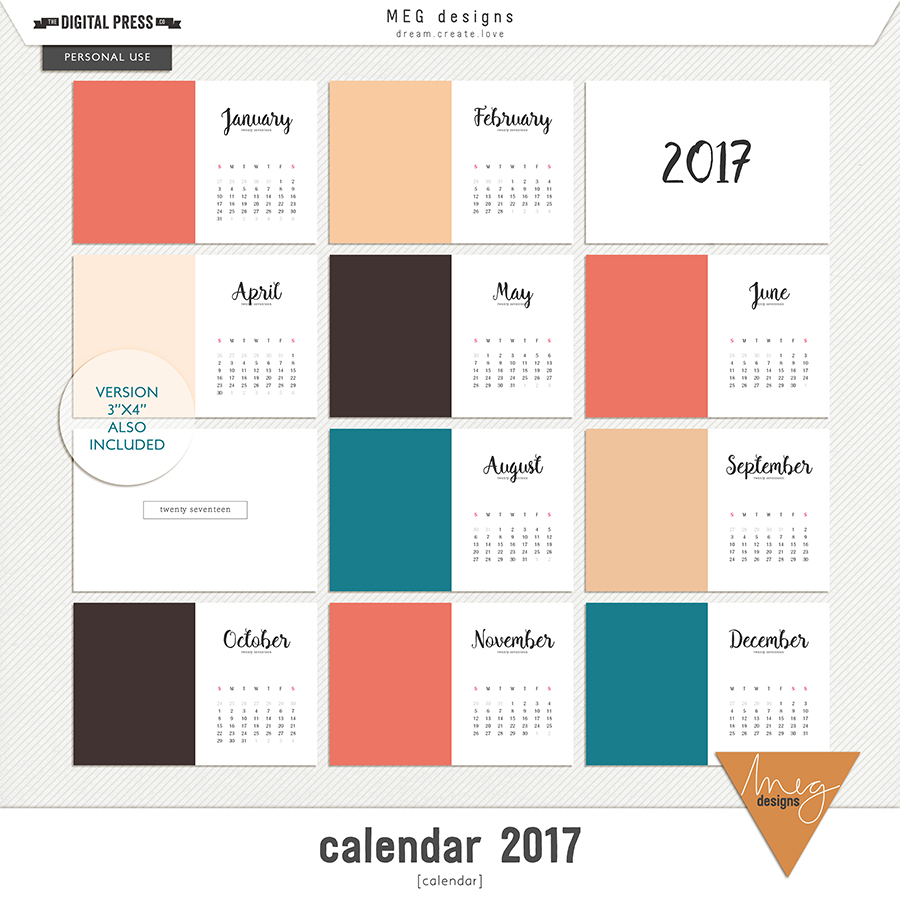
Similarly, I knew it would speed things up if I chose a calendar card to use at the beginning of each month on the left side (in the upper left-hand pocket).
For this, I chose Calendar 2017 — also by MEG Designs…
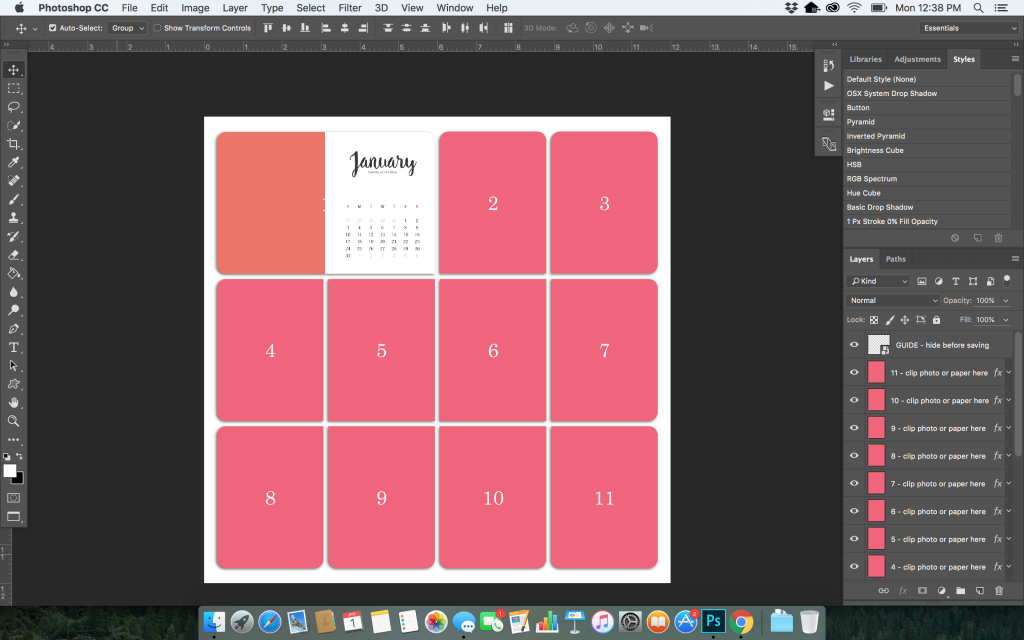
Then, as soon as I had a chunk of time (1-2 hours) available to scrap, I did the following:
(1) I inserted a calendar card for every month and saved the PSD file into my 2017 folder on my desktop…
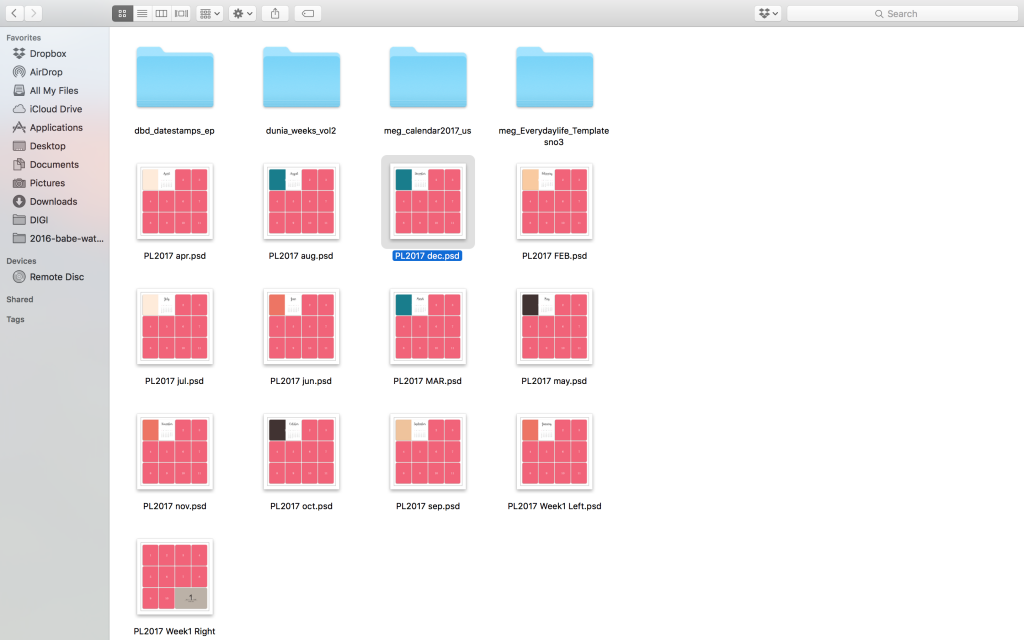
(2) Then, I chose (a) date stamps and (b) weekly cards to use throughout my album… with the idea that these items (combined with the monthly cards I’d already chosen, above) would create a simple and consistent look throughout the entire year/album. For the date stamp, I chose Date Stamps | Stamps & Brushes by Dawn by Design… and for the weekly cards, I used Weeks Volume 2 by MEG Designs…
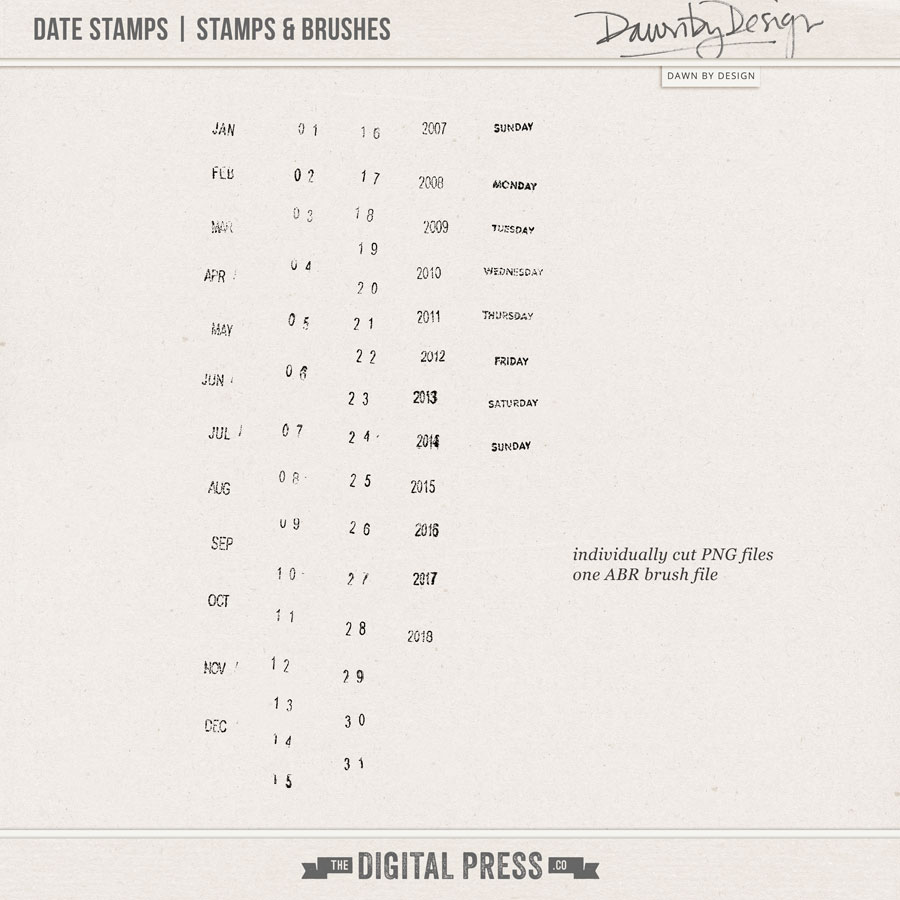
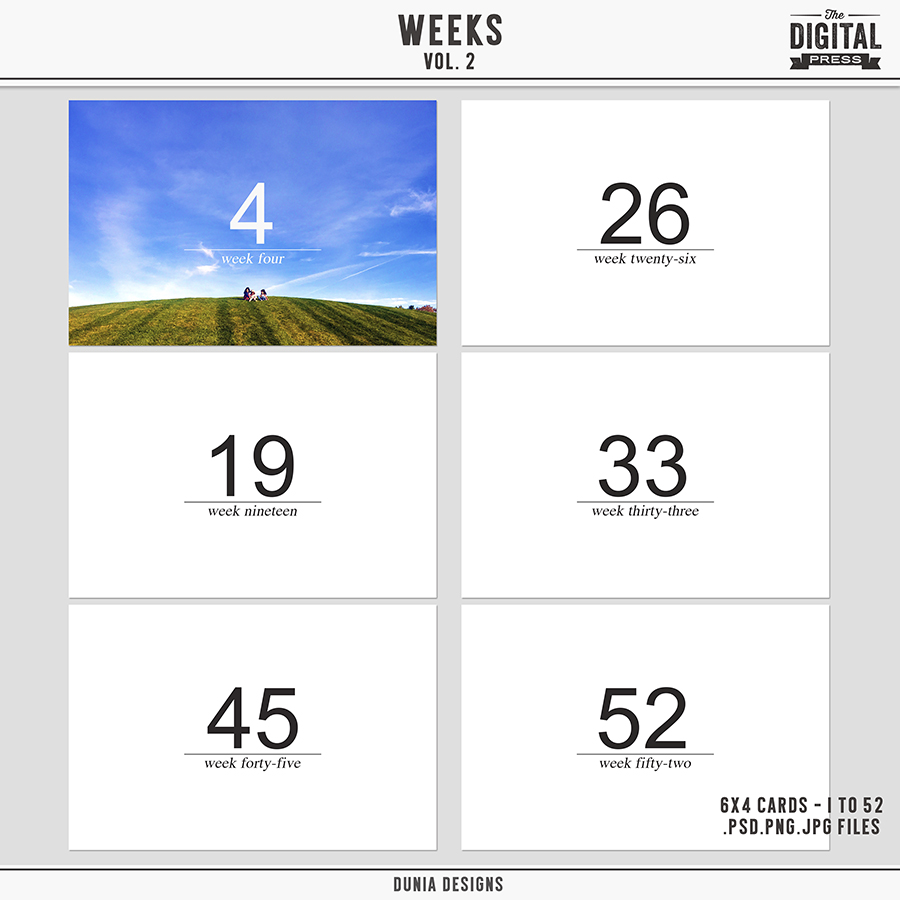
Then, I re-opened each of the layout files I created in Step 1, above, and I inserted each of the weekly cards and the date stamps into the right side of all 52 weeks (see next image, below). This did take some time… but I binge-watched Netflix while doing it, and got it done! 🙂
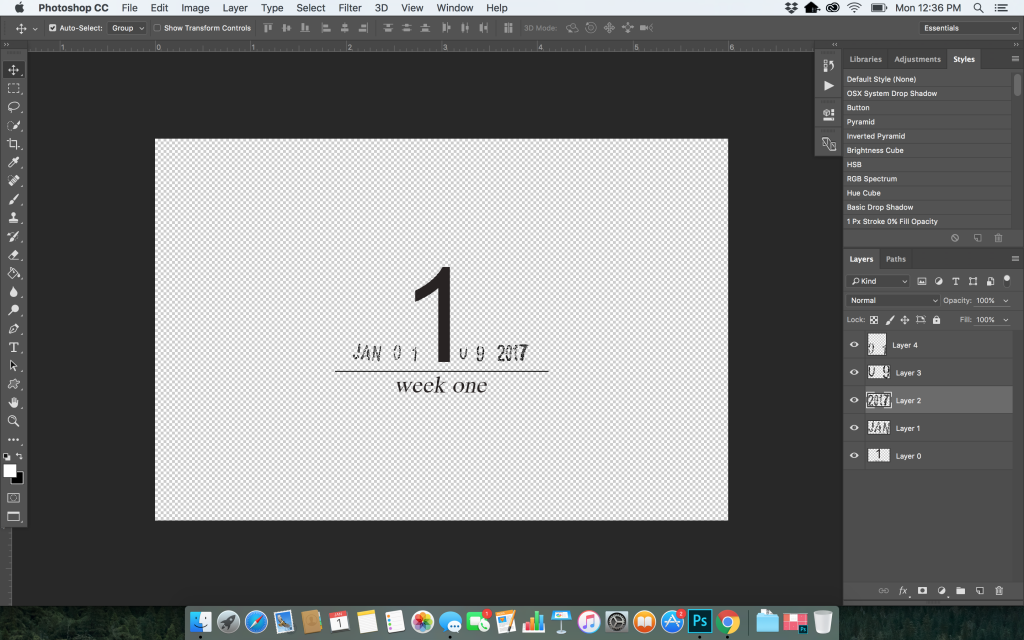
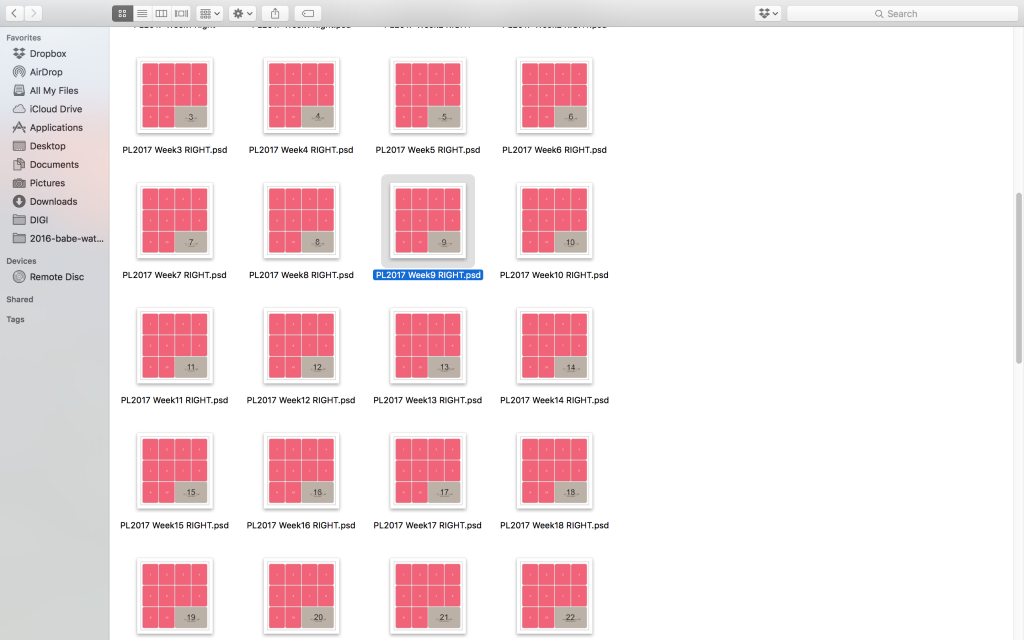
(3) Once I had all 52 of my templates started and saved in my folder, as detailed above, I started working on January. My plan was to set aside a chunk of time to complete 1 month at a time. In theory, that would mean that in just 12 “chunks” …I would have a completed 2017 album!
For me, the fun part is always choosing what digital kit to use! I am typically an embellishment-loving scrapper — meaning I like to add all kinds of chunky embellishments and layers on my layouts. But I knew that if I was going to get 2017 completed, I would have to keep my layout spreads simple. With that in mind, I decided that in addition to the cards and date stamps already discussed above, my plan would be to use: (a) plain backgrounds, (b) journal cards, and (c) minimal embellishments.
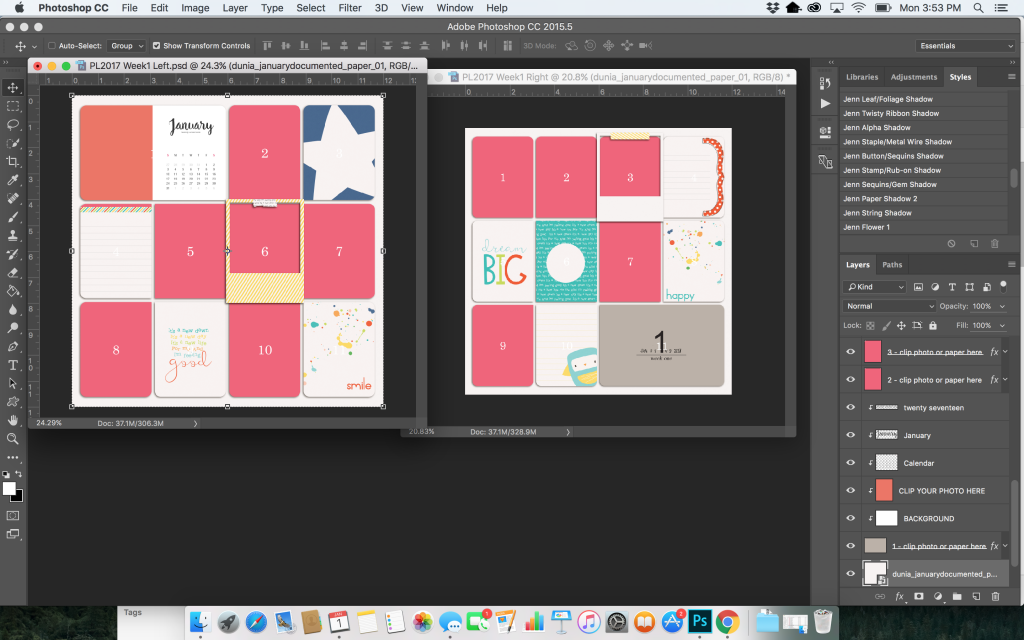
Here’s a look at how I began “filling in” my templates with journal cards. For the first week, I chose to use the January Documented Cards by Dunia Designs…
*PRO TIP*
Even though I didn’t keep up with the actual scrapbooking of my weekly spreads in 2017, I did keep up with my daily journaling. I simply sent myself an email every morning with a recap of the day before — along with random memories like the silly things the kids said or did, and/or any other special moments. Then, I filed these in a folder in my gmail account. Easy, right?!
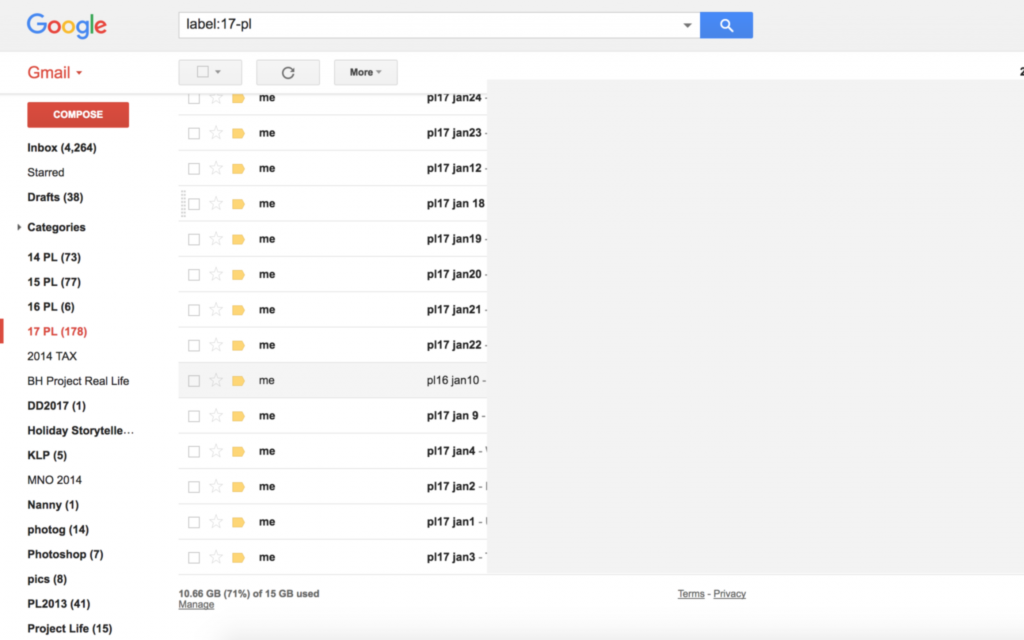
Using these notes in the “emails to myself,” I copied and pasted some journaling onto my cards/layouts…
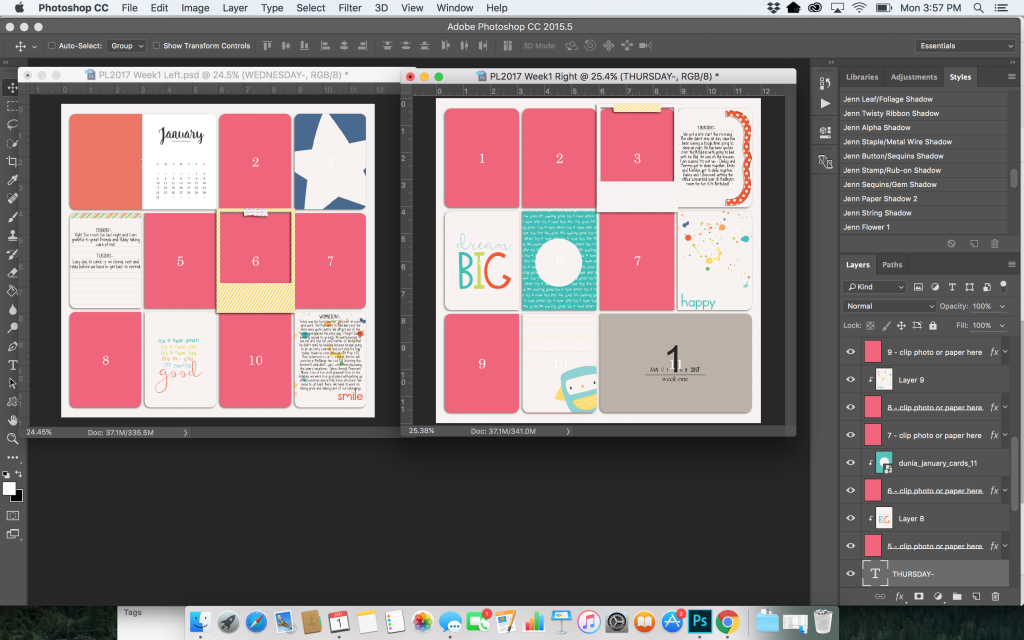
Then, I added my minimal embellishments…
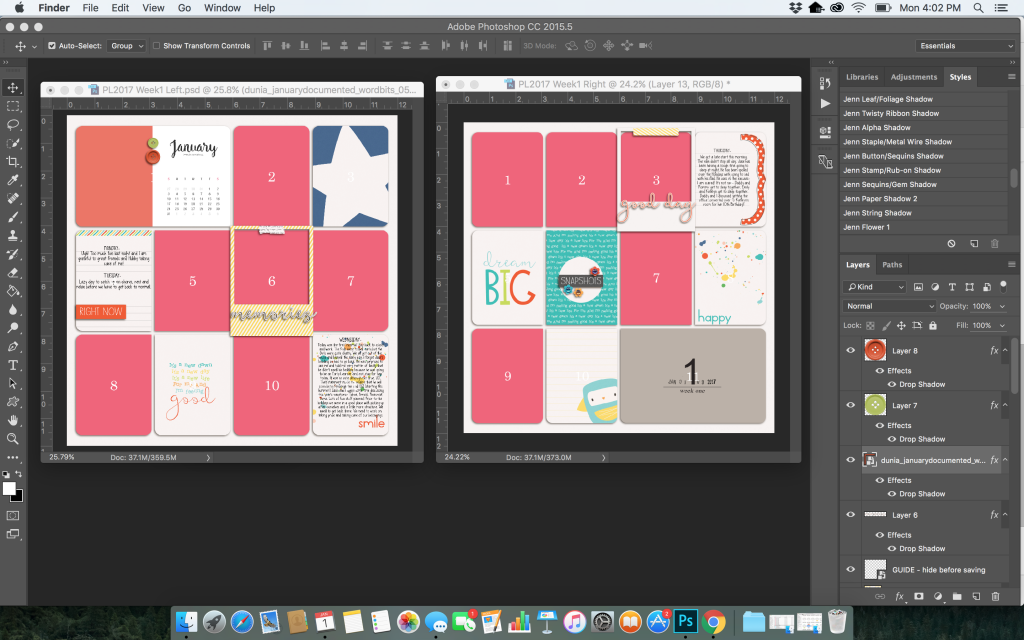
And finally, I added my photos (which I keep organized in SmugMug throughout the year, as I take them)…
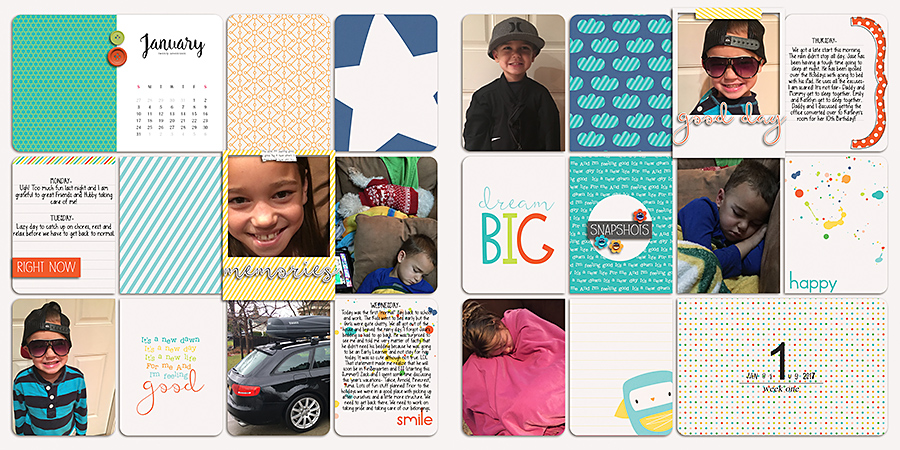
After completing my first week’s spread… I repeated this process to finish out the rest of the month of January 2017.
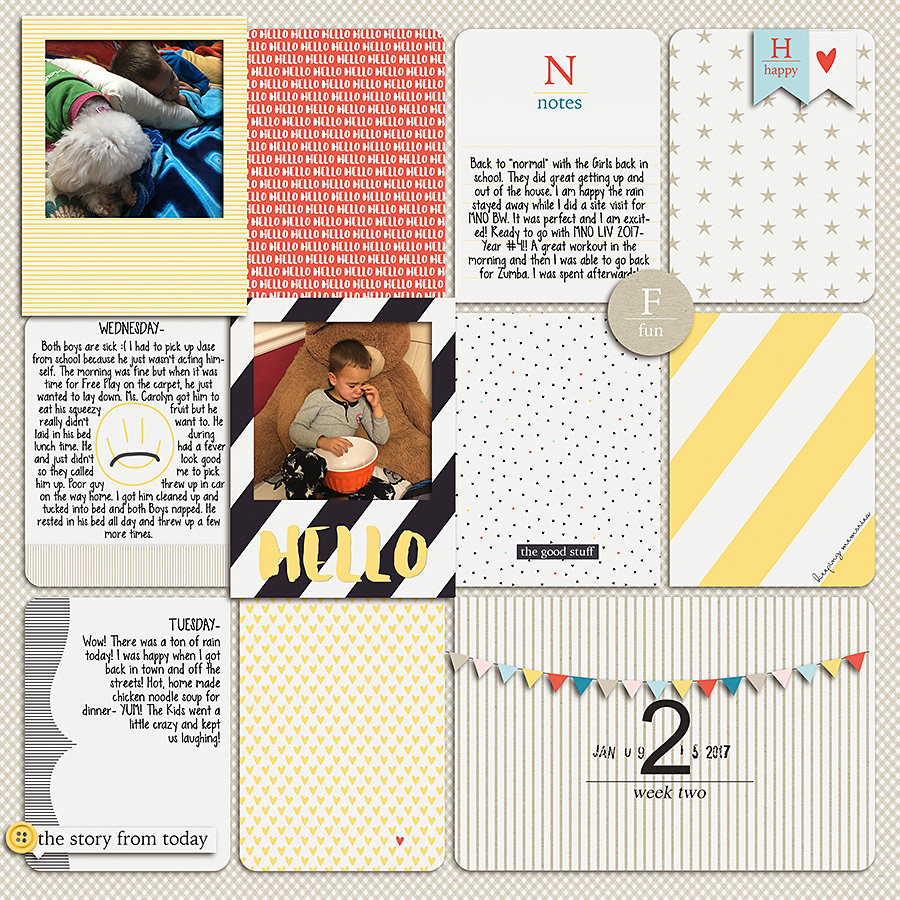
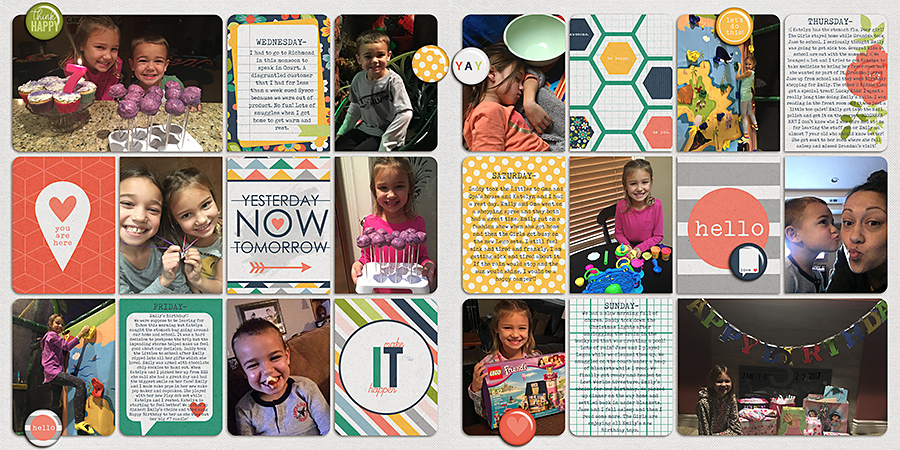
As I worked my way through the month, it turned out that I didn’t have too many photos for Week 2, so I created a single page. There are lots of other types of pages that I can put in place of the “missing side” (some ideas I like are: a “Currently” page, a “Current Events” page, a “Travel Bucket List” page, and/or a list of “Resolutions”).
Here’s what my single-page Week 2 layout looked like, once finished (using the Hello January Bundle by Dunia Designs)…
After that, I created my Week 3 spread (using products designed by one of TDP’s guest designers in January 2018; no longer available at TDP)…
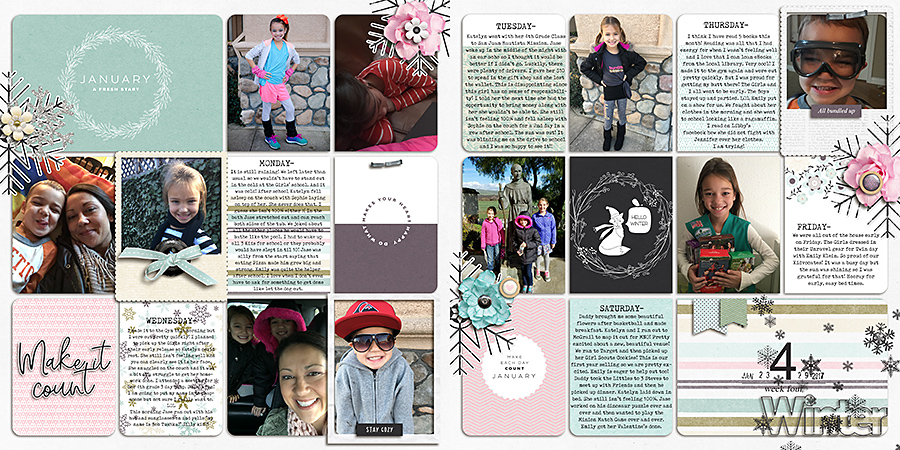
And finally… a look at my Week 4 spread for January 2017 (using the Make it count: January 2018 | Collection by Anita Designs)…
(4) Once each page was finished, I saved my files in 3 places:
1. External Hard Drive
2. Smugmug
3. Blurb (that way, my files will already be uploaded when it comes time to print!)
(5) And now… I just need to do this 11 more times and I will have a finished 2017 album! 🙂
But truly, it was really quick (and easy!) to get an entire month’s worth of photos from a year ago scrapped and recorded in just a couple of hours. Streamlining the process (with the monthly cards, weekly cards, and date stamps) really sped things up. Using my emailed notes from last year was a life-saver, as well!
So now… go give this a try! If you’re feeling behind and you have a mountain of memories to document, give this system/process a go! You’ll be happily surprised at how much you can get done in a really short time if you “automate” the page composition and the decision making.

About the Author Krista Lund is a mom of 3, married to her high school sweetheart and living in the San Francisco Bay Area. Some of her favorite things are brownies, chips ‘n’ dip, taking pictures, and documenting her family’s story.
