Have you ever created a layout and decided it just needed a little more “oomph”? Or have you designed a layout and the kit you’re using has so many amazing papers that you simply have to find a way to use more of them? If so, I’ve got a quick tutorial for you.
Following is my sample page:
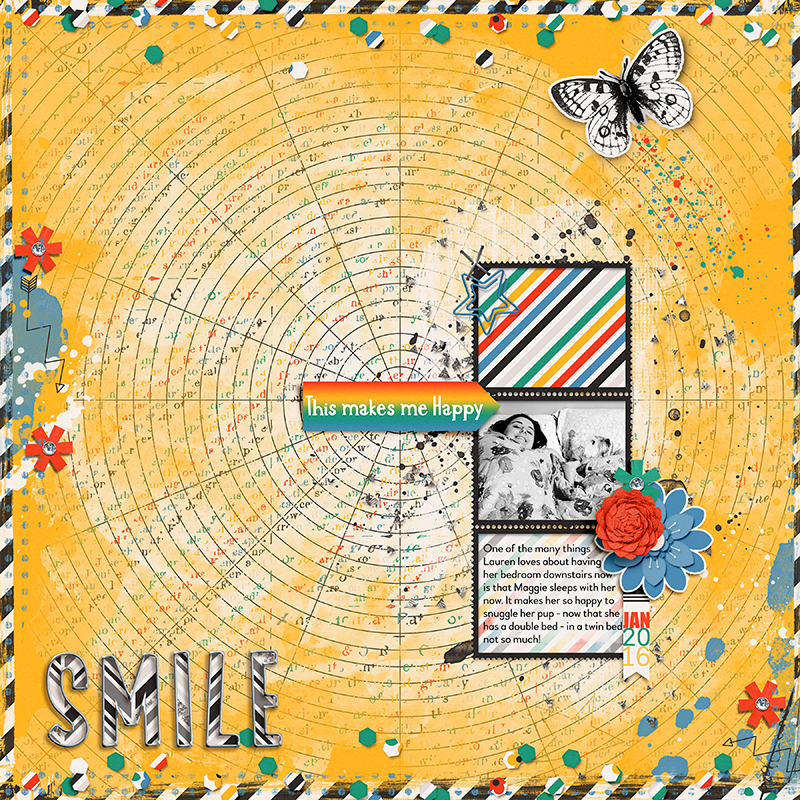
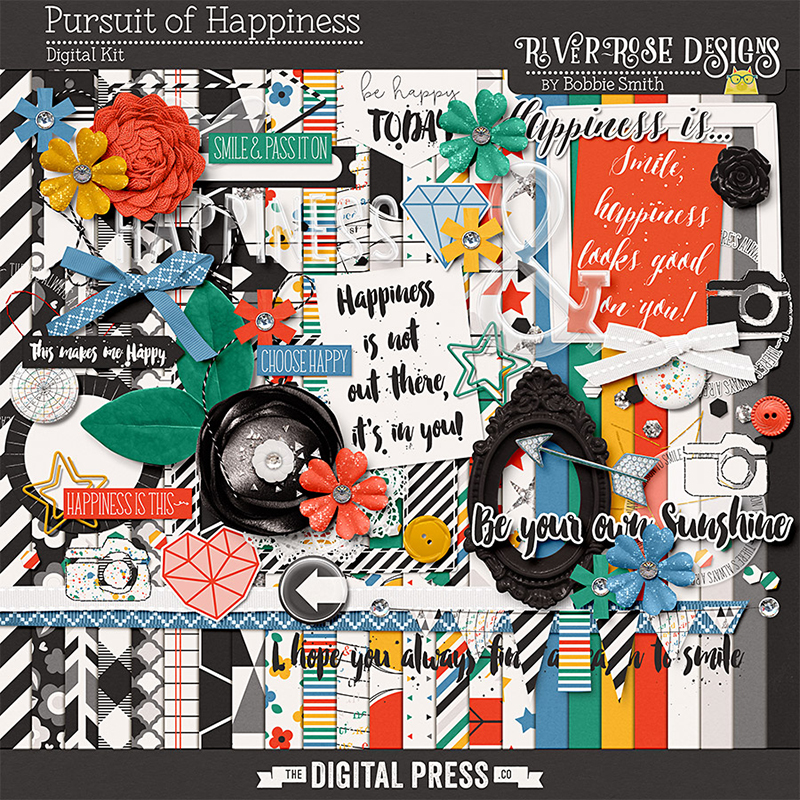
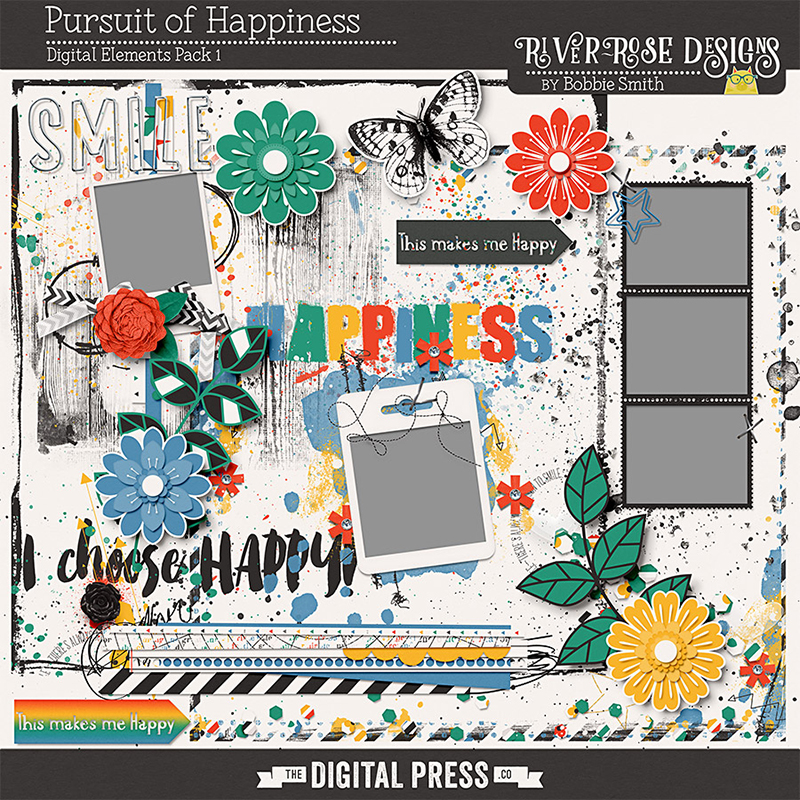
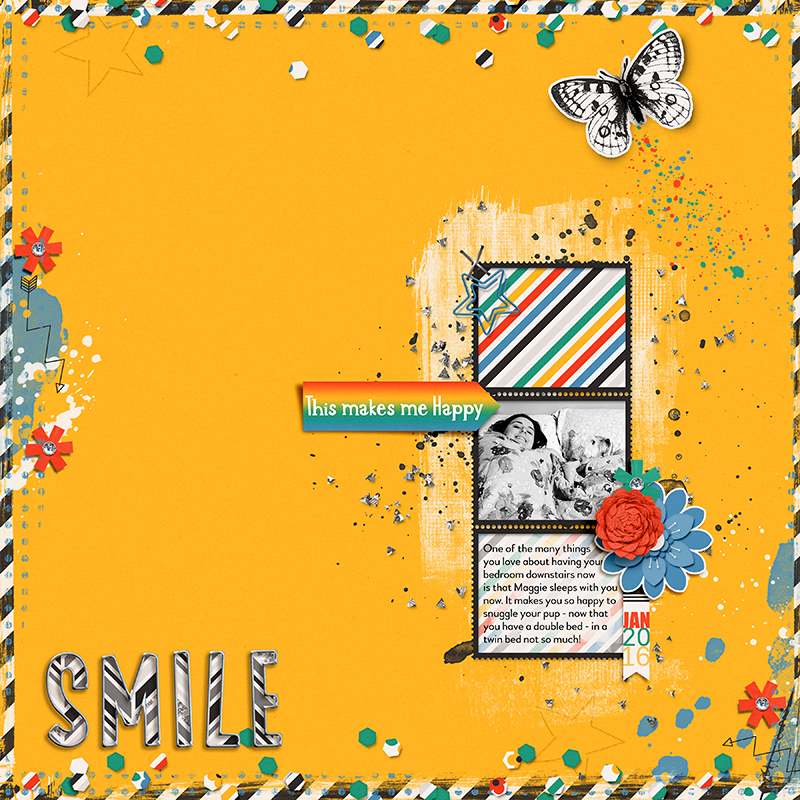
I created my page using River-Rose Designs’ Pursuit of Happiness Full Kit and the Pursuit of Happiness Extras Pack 1.
I created my page with the solid colored yellow paper as the background. It was a nice solid color that allowed all of the artsy elements, cluster frame and page border from the kit to really shine. The look was a bit too stark for me and I wanted to tone it down a bit so I chose another paper from the kit and “painted” it onto the background paper. Let me tell you how you can quickly and easily accomplish this look.
1. Add the background paper to your layout.
To show you where I started from, here’s my layout without the painted paper layer.
2. Add the paper you want to “paint” onto your background paper to your layout.
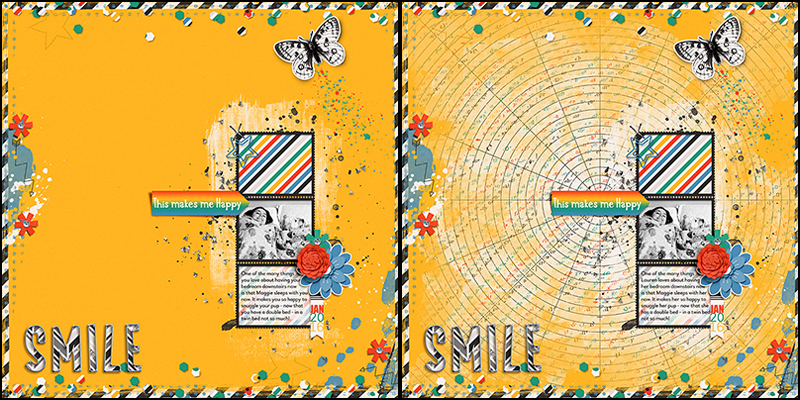
I chose the paper with the circular design from the Pursuit of Happiness kit.
3. Add a black layer mask to the paper you just added.
Make sure your newly added paper is active in the layers panel. To add a black layer mask press the OPTION key (Alt on a PC) and click on the Add Layer Mask icon in the layers panel. Since you added a black layer mask, the paper will now disappear.

NOTE: If you added a white layer mask instead of a black layer mask, you can easily change it to black. Simply make sure the layer mask is active in the layers panel and press CMD+I (CTRL+I on a PC) to invert it.
4. Choose a brush to paint with.
You are now going to choose the brush you want to use to paint your paper. I suggest using a paint/watercolor style brush or a soft round brush. You can access the brush tool by using hotkey “B”.
5. Make sure that the black layer mask is active in the layers panel.
The layer mask will have a white bounding box around it when it is active in the layers panel. If the white bounding box is around the paper and not the mask, simply click on the layer mask.
6. Now it’s time to play! You can begin “painting” in parts of the paper.
Make sure that white is your foreground color in the color picker then simply “paint” on the layers mask. As you paint, if you want, you can play around with the opacity of the brush or change the shape dynamics in the brush properties. Once you’re happy with the painted layer, if you want to change it up a bit more, you can adjust the layer opacity or the blend modes for the newly painted paper layer. The sky’s the limit here!
Here’s my layout before and after painting the paper.
Fun right?! Feel free to ask any questions in the comments or, if you have any other related tips you want to share, I would love to hear them as well!
Until next time … happy scrapping!
 About the Author: Barbara is a member of the creative team here at The Digital Press. She is a wife, mom to two teenage kids (a 19 year old boy and a 16 year old girl) and a dog (an adorable 9 year old Soft Coated Wheaton Terrier). In her free time she loves to digi scrap, take photos and hang out with her family.
What a fun tip! I don’t believe I’ve heard of this ever before. Thanks for sharing, Barbara!
AKA “Reverse Masking”. LOL This is fabulous! It REALLY added a lot to the layout!
I prefer using a black mask and ‘painting in’ what I want. It is a lot easier to paint in what you want than to paint out what you don’t.
But, the beauty of a mask is, if you don’t like your results, just re-fill the mask with black and start over!
Thank you so much!
Su
thanks for teaching a “new” to me skill
Love this tutorial – it makes so much sense to start with a black mask! I didn’t know about using alt to make it black immediately! 🙂