Happy Tuesday y’all, and welcome to another edition of our Tutorial Tuesday series here on The Digital Press blog! Today I’m here to show you how you can use the gradient tool to make digital papers look creased. It’s easy and fun to do, and can totally change the look of a paper with just a few steps.
Sound fun? Let’s get started!
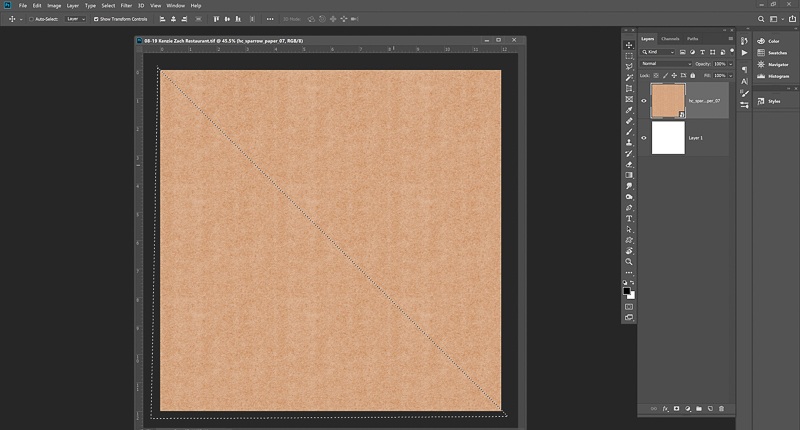
Step 1: Use your Polygonal Lasso Tool and draw a shape where you want your crease. You can take a peek at mine, below, and see that I wanted my crease to appear on the diagonal so I drew a triangle…
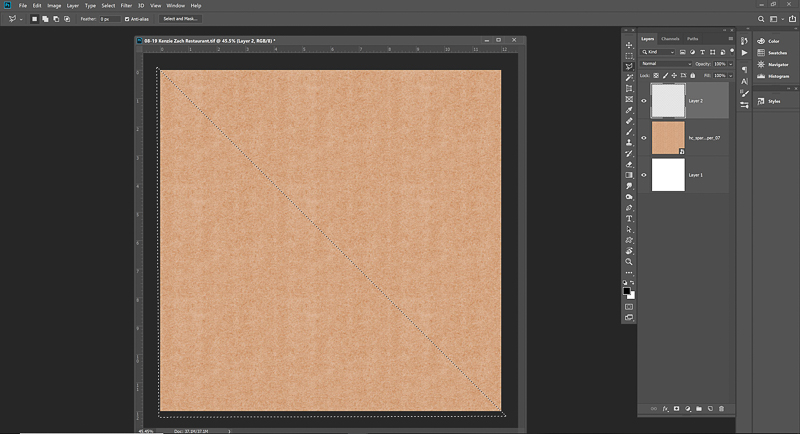
Step 2: Create a new layer above your paper.
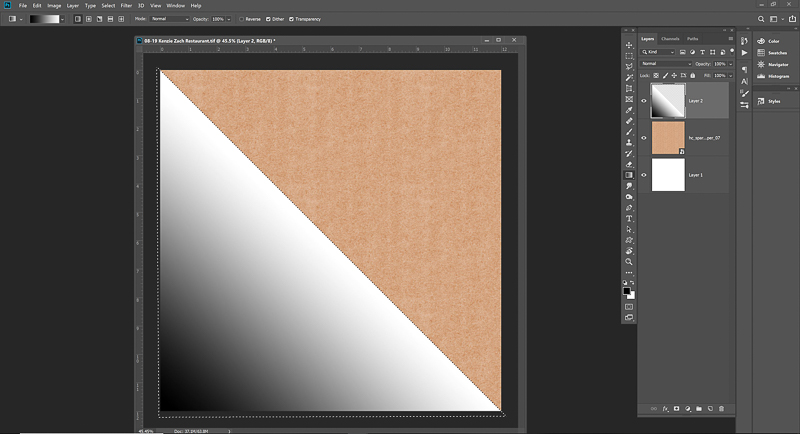
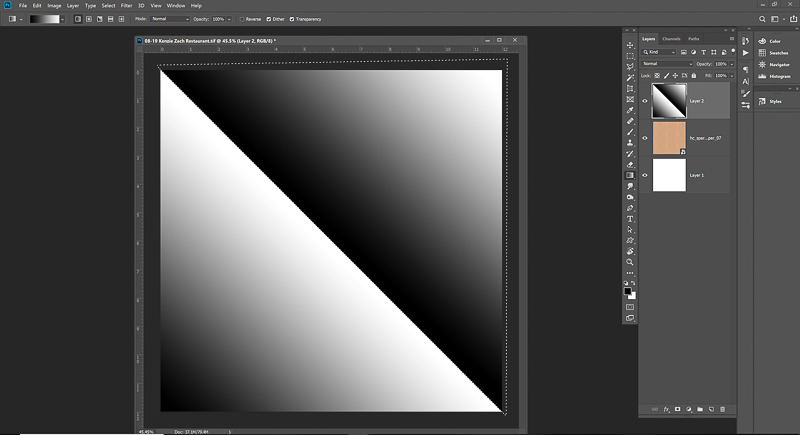
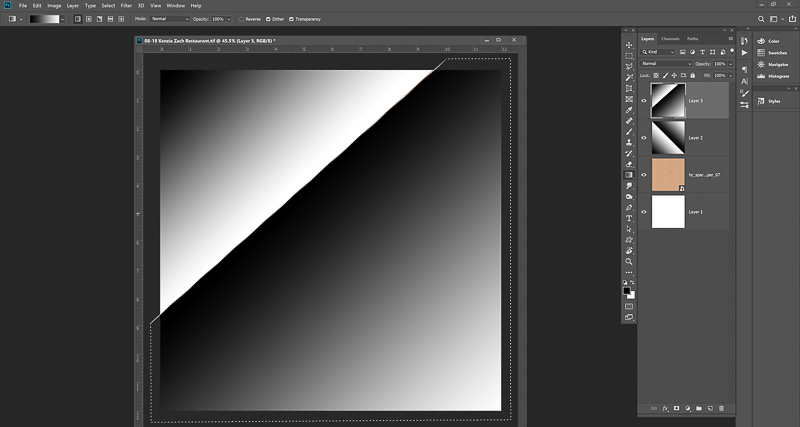
Step 3: Select the Gradient Tool and choose Linear Gradient. Then, draw the gradient starting in the lower left part of your selection and move towards the center. Wherever you start is where the darkest part will be, as shown here…
Step 4: Use your Polygonal Lasso Tool again to draw another shape on the opposite side. Then, grab the Gradient tool again and start in the middle and move your way to the top right corner. You should notice the white space of your previous selection is next to the dark space of this selection (and where the light meets the dark is where your crease will be!)…
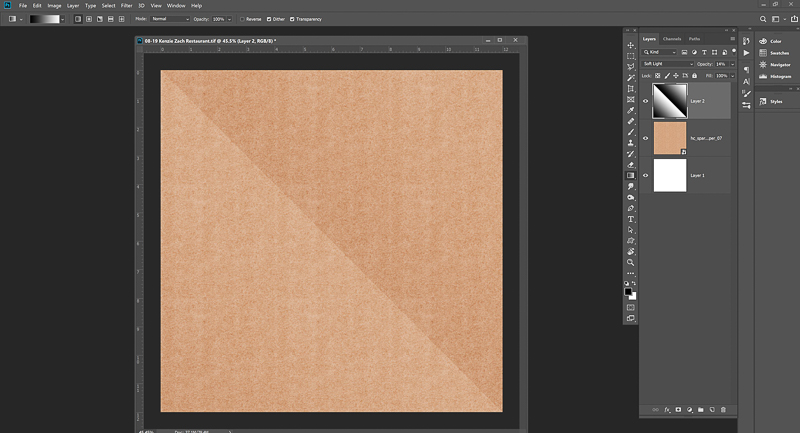
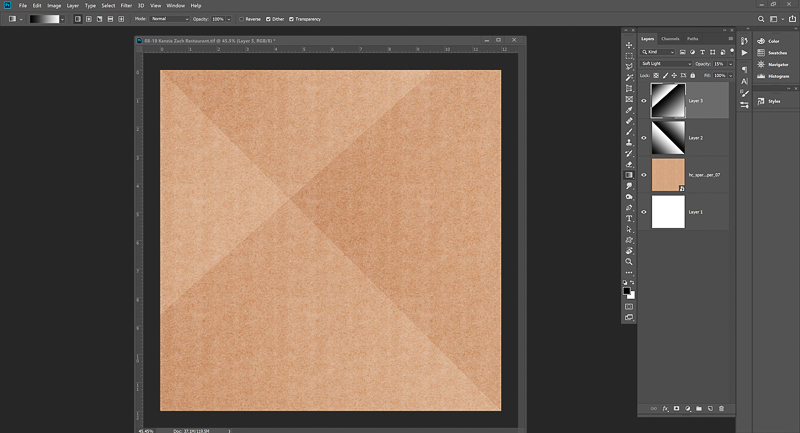
Step 5: Select this gradient layer and change the opacity until you like the desired effect (on mine, below, you can see I liked what it looked like at 14%). Also, you can play around with your blending modes until you get the look you are going for. I personally liked the Soft Light option with this particular background paper. Once you have the settings the way you like them… ta da! You have a crease!
Optional Step 6: Now… you could totally stop here… but I decided that I wanted to add another crease, so I repeated the first five steps in a different location and going the opposite direction (see next image).
You could put this second crease anywhere you want it. For myself, after creating a new layer, I drew another shape in the top left corner with my Polygonal Lasso Tool…
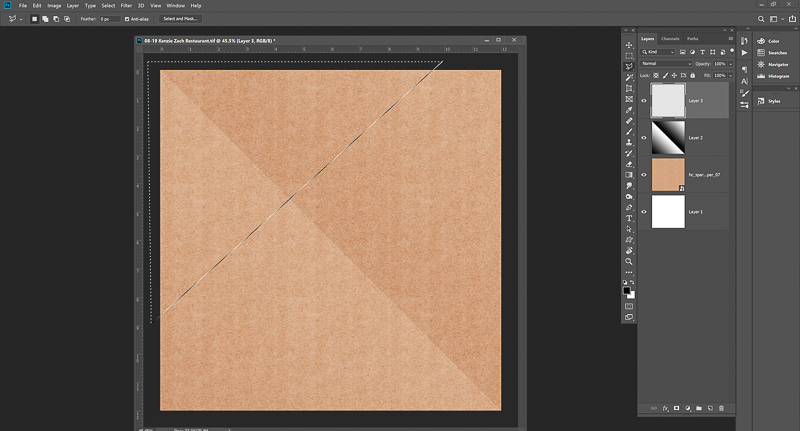
Then I added a gradient with my starting point in the top left corner…
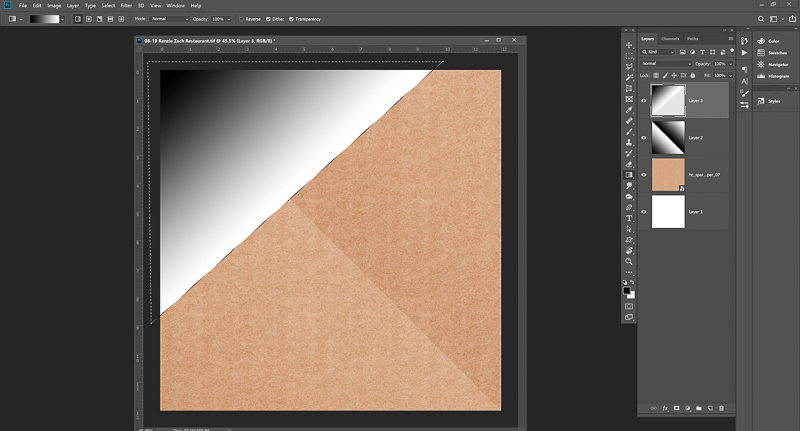
I outlined the remaining portion of my page with my Polygonal Lasso Tool. Notice that you can go outside the page in order to do this…

Next I filled that portion with another gradient with the dark side directly touching the light side of my previous one (just like Step 4, above, but going the opposite direction)…
Once again, I changed the opacity of this layer (this time to 15% — just because I liked the way it looked), and I also changed the blending mode to Soft Light.
Voila! I have a twice-creased piece of paper…
This is so much fun, and really easy to do. You aren’t limited to diagonals, either; feel free to make your creases in horizontal or vertical directions, as well. Just remember that the light side of one gradient must be directly adjacent to the dark side of the other… as that’s what makes the crease.
Here is a look at a layout I created using my newly-creased background paper…
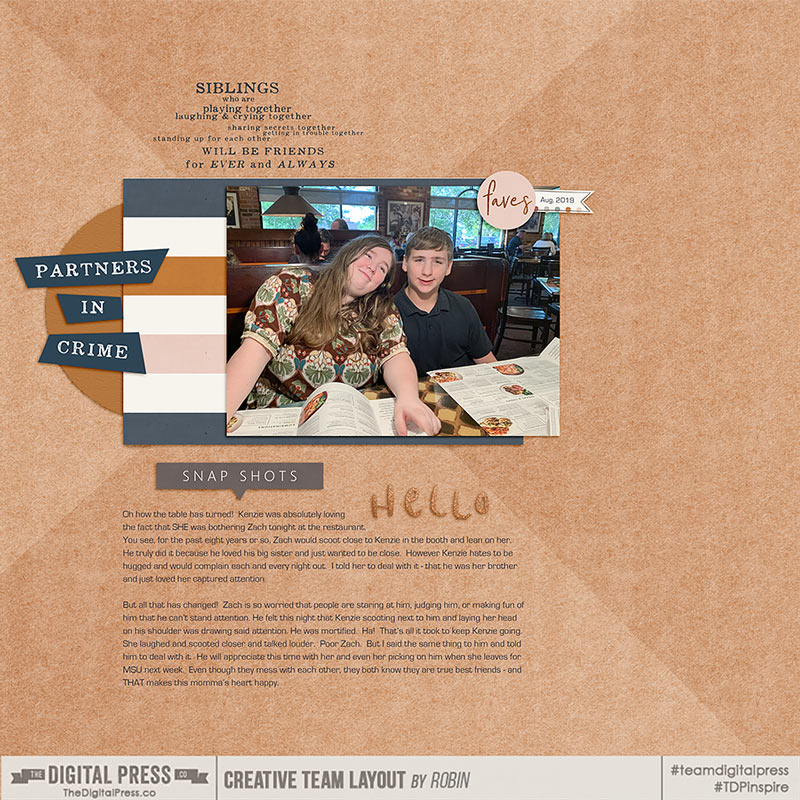
I hope you try this technique and have as much fun as I did making my layout!

About the author Robin is a member of the creative team here at The Digital Press. A wife of 26 years and a mom of 4 crazy children (3 in college and 1 still at home), she says that her life occurs mostly in the car as she transports said crazy kids to their many, many homeschool activities. When not driving, Robin loves to make her family cringe by pulling out her camera again (and again, and again…).
Whoa, Robin, that is super realistic, I love it!!