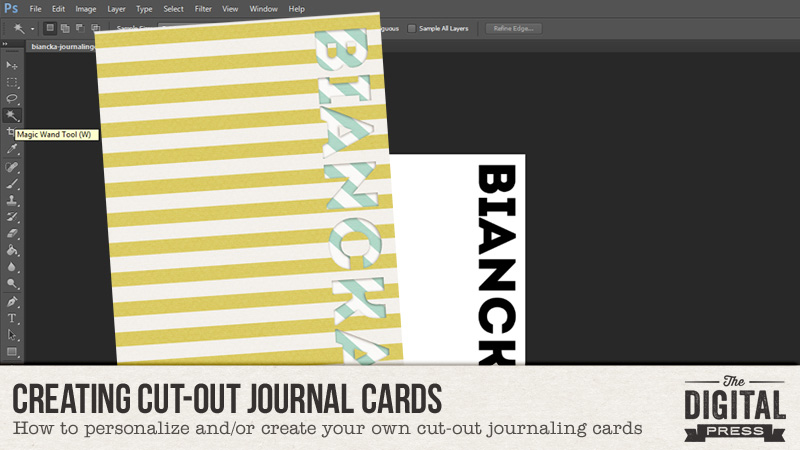
I love using journal cards on my digital scrapbooking layouts. I don’t pocket scrap very often, but I do love to tuck a journal card in behind my photo or behind clusters of elements. A few days ago, I was working on a layout when I thought, “I would love to be able to add a card with my name on this layout…” and there it was — my idea for this Tutorial Tuesday blog post! Today I’ll be teaching you how to create a cut-out card for an extra fun twist.
I created a card template for the purposes of this tutorial, and you can download yours HERE. The zip file contains PSD, TIFF & PNG versions of the template. I will be using the layered PSD file in the examples shown below.
We will also need a few fonts. I am going to use bold fonts for this tutorial, and I found a few freebie fonts which I thought you’d also like: Axis Extrabold, Bohemia Slab Serif, CastIron Condensed & Intro. Follow the links and you will be able to download the fonts (I think that you have to enter your email address with one of those; if you don’t want to do that… just skip it and use a bold font that you already have in your collection, instead).
And now that we have everything we need… let’s start!
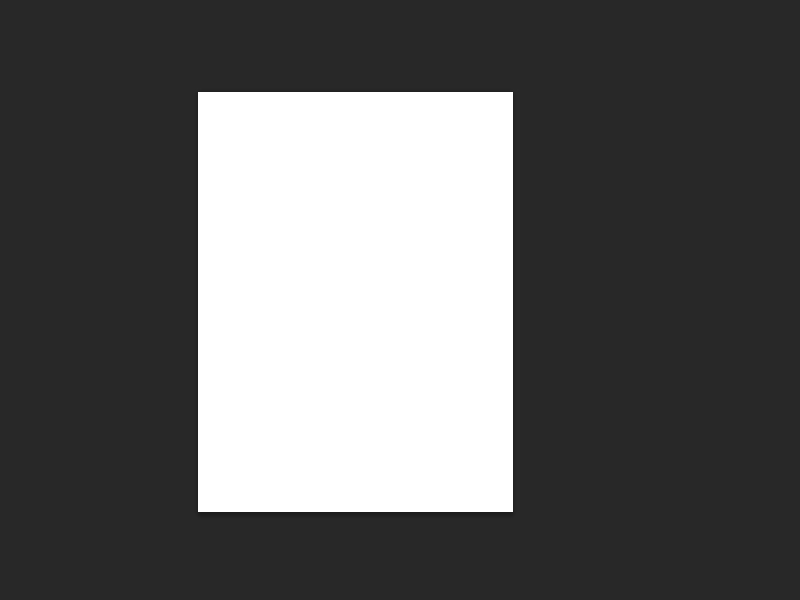
First, open the card template.
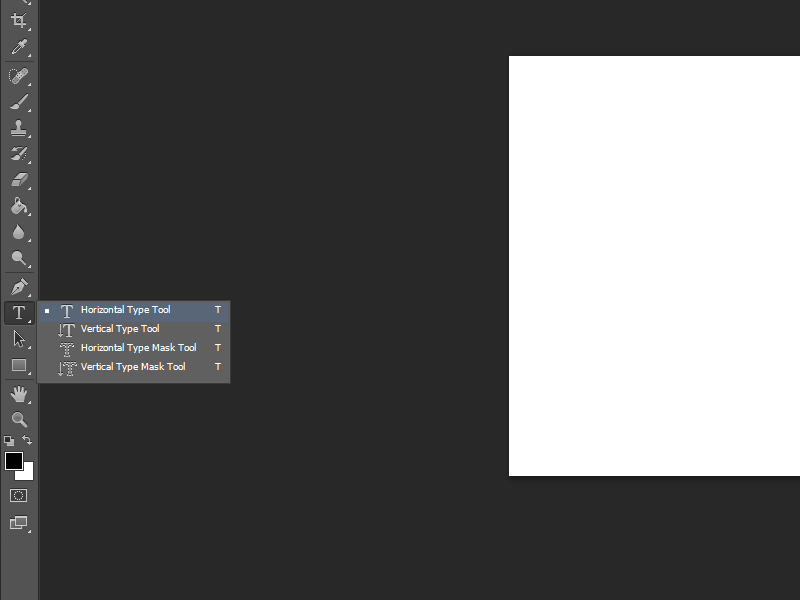
Go to the type tool. I chose the horizontal but you can always chose the vertical option, if you prefer.
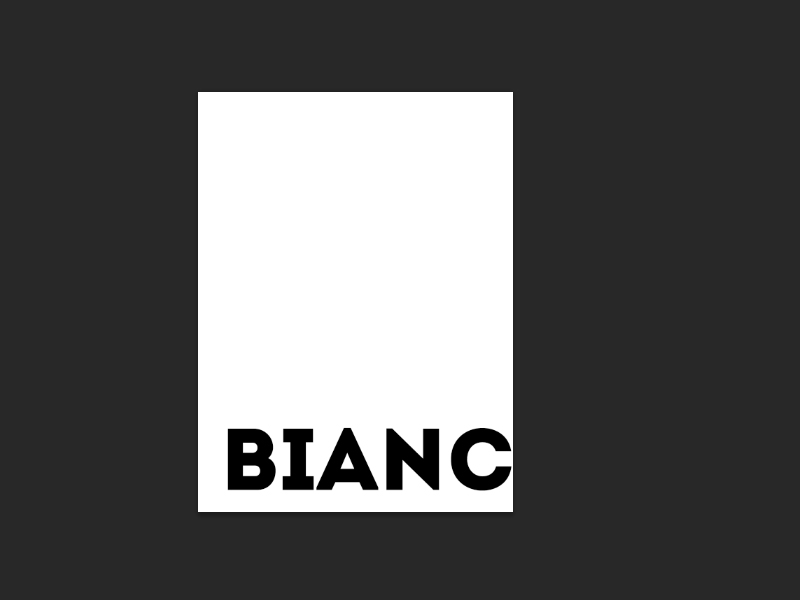
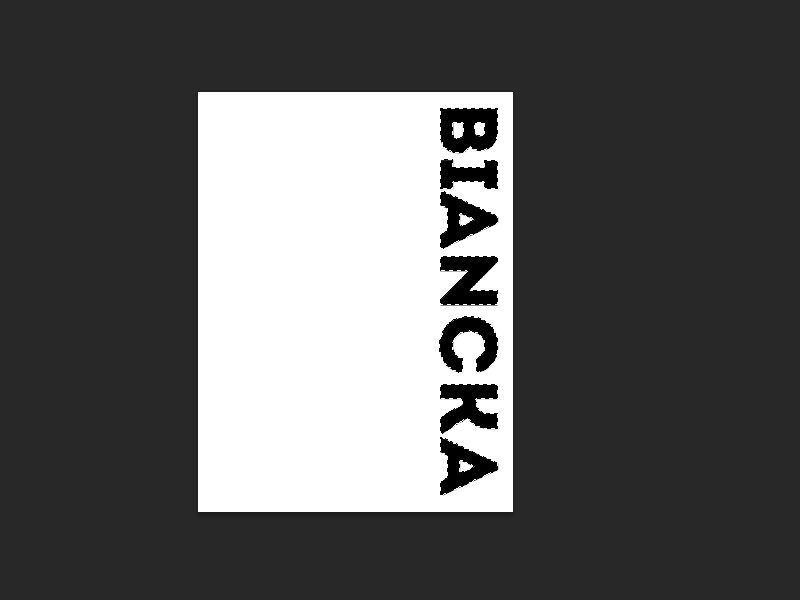
Type something. I am going to type my name. I chose the Intro font, size 60. As you can see… my name doesn’t fit on the card.
I don’t want to re-size it, so I decided to rotate the text (if your text does fit, you can skip the following steps for rotating the text). Select the move tool. I have auto select on, layer and also show transform controls.
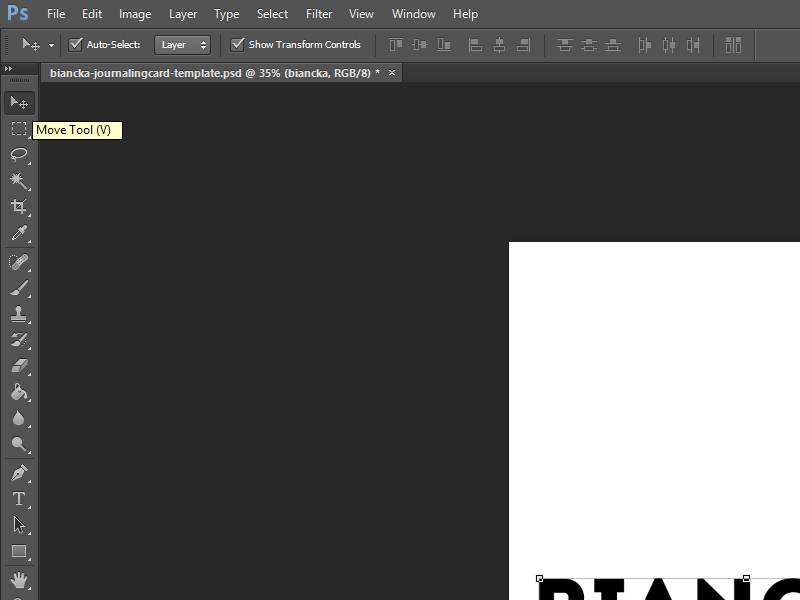
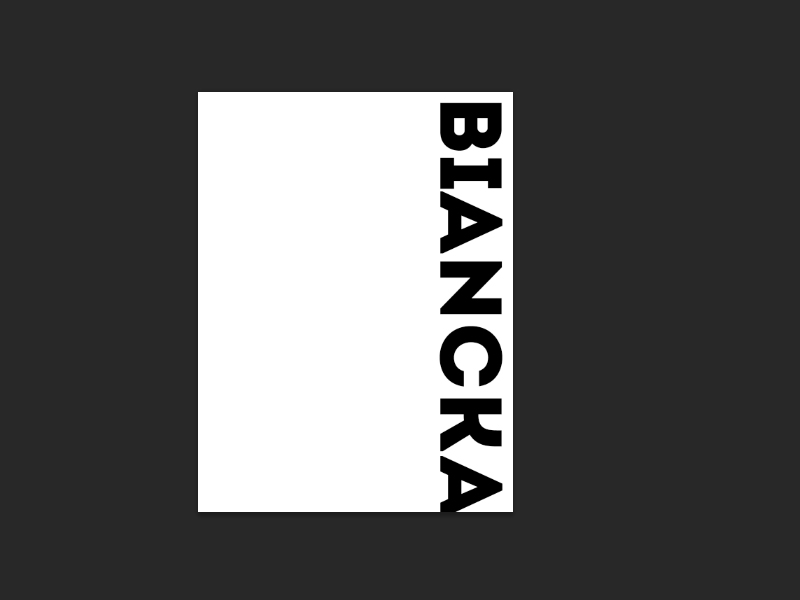
Now, click on the text. When you click on the text… you can see the transform boxes around the text. Hold the shift-button and hover next to one of the transform boxes. You will see a bowed arrow (I cannot get a screenshot of this, so sorry). Continue holding down the shift-button and rotate the text. My text is now vertical… but I feel it’s a bit too big so I am going to change the font size from 60 to 56. After doing that, it looks perfect now!
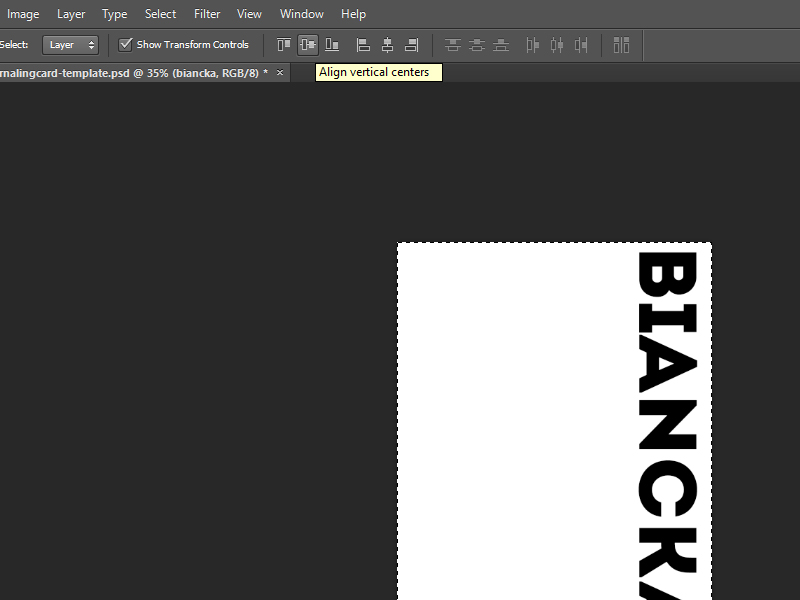
I want my text to be centered. That’s easy to do. While you have the move tool selected, click CTRL-A. This will select the text (make sure you have your text layer selected). Click “align vertical centers” and your text is perfectly in the center.
Next, click CTRL-D to de-select the layer.
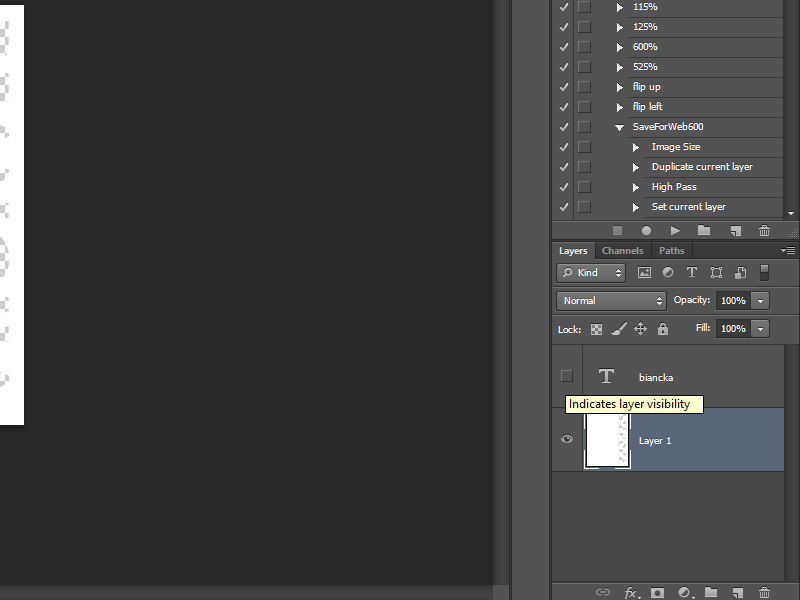
Now select the Magic Wand Tool. In the following screenshot (at the top) you can see my settings…
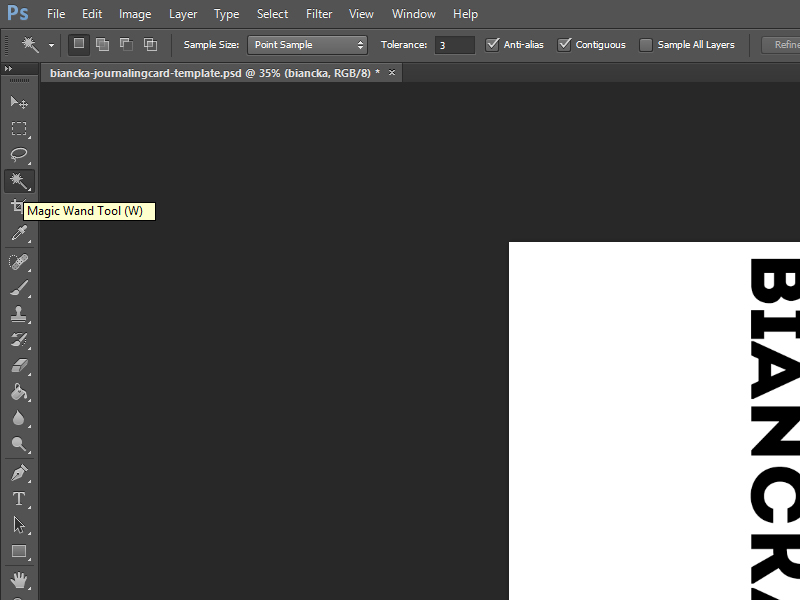
Select your text layer and while holding the shift-key, select all of the letters.
Select the card layer and hit the delete button. The CTRL-D to de-select. Now make your text layer invisible. Just click on the eye that’s in your text layer.
You can now see on the card layer (layer 1 in the template) that the text you typed is cut out… but this is still a little boring. So let’s add a paper to the card and make it a little bit more fun. I have used a paper from The Digital Press’s June shop collaboration collection, Family Man. I am addicted to stripes, so I chose a cute stripey paper.
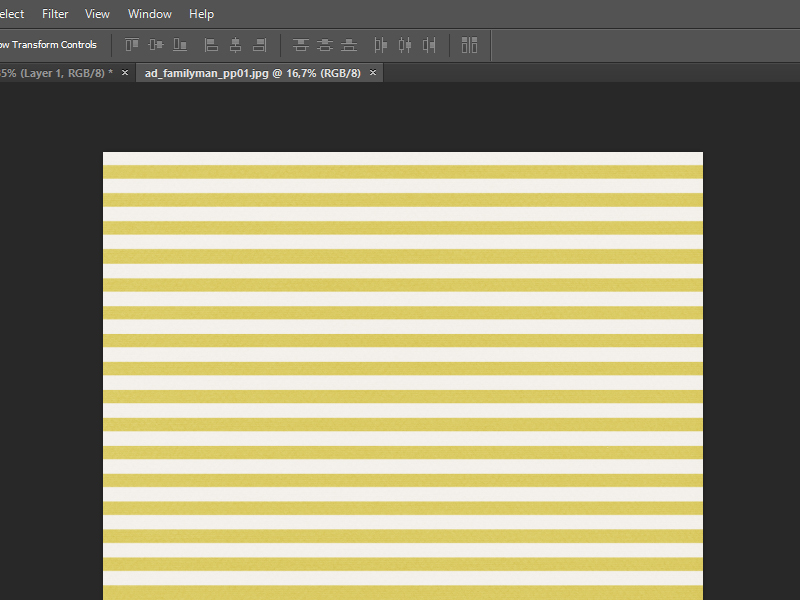
Select the paper (CTRL-A), copy the paper (CTRL-C) and go back to your card template and paste (CTRL-P) the paper above your card layer.
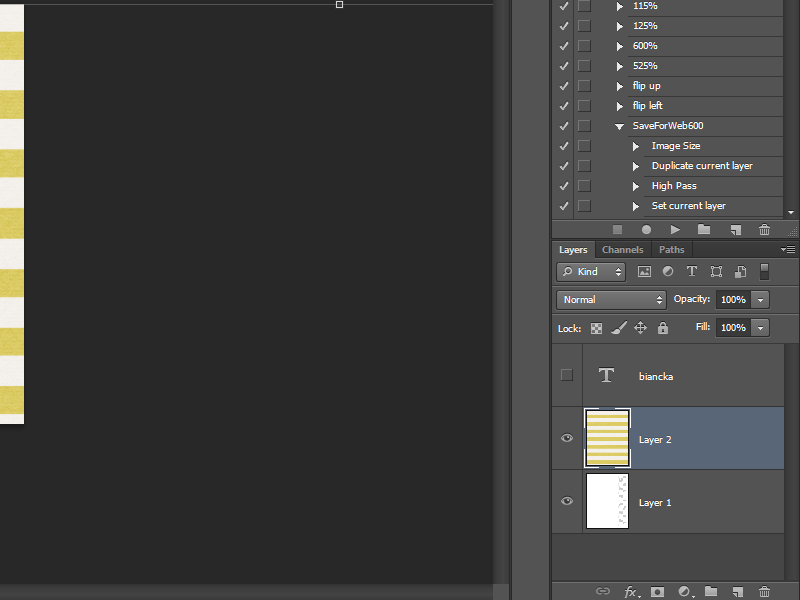
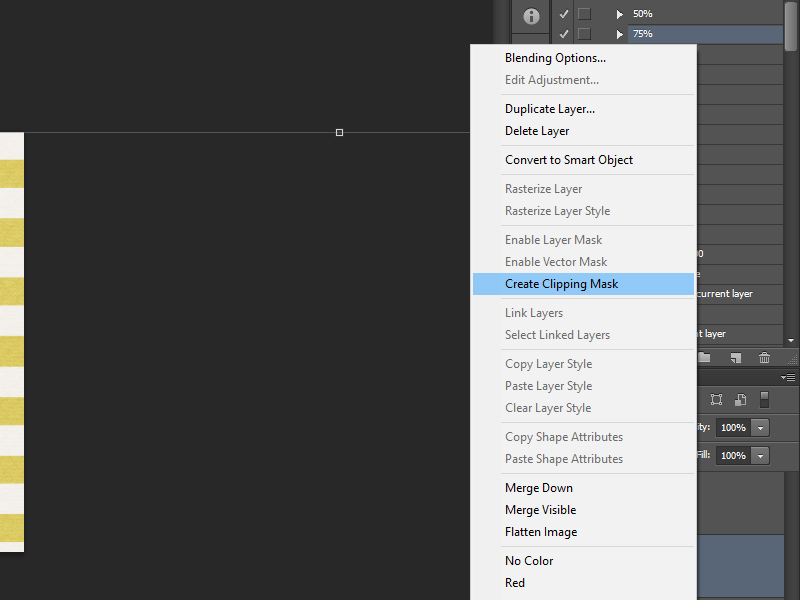
The paper now sits above the card layer. If you click CTRL-ALT-G (I love my shortcuts!)… you are creating a clipping mask with this shortcut. You can also right-click on the paper layer and choose “Create Clipping Mask.” Either method works.
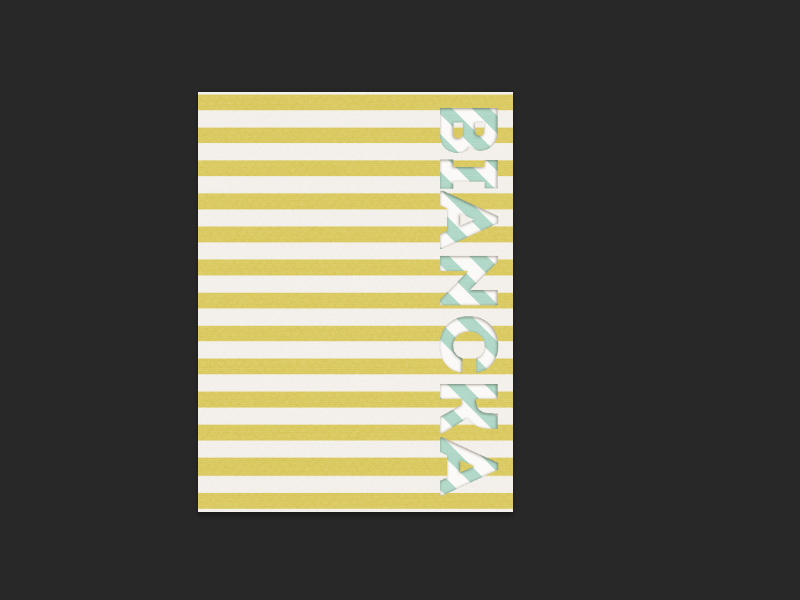
I’ve added a white background so you can see what happens when you play around with shadows on the card layer (layer 1).
It will make the cut-out text from your card stand out more. Also adding another background (as you will have on your layout) enhances the effect. I played around with the paper size that’s on top of the card and added a cute background and this is what you’ll see….
I thought I was done with my card (and this tutorial), but then I realized… I still have to save the card! When you’re happy with your card, first save it as a layered PSD. I always do that so I can customize the card again whenever I like. Don’t forget to use the “save as” option… otherwise you will over-write your original template file. So you want to “save as” and change the file name. After you’ve saved your card as a PSD… go again to the “file” menu, click “save as” once again, and save your card as either a JPG or a PNG (JPG if it’s a solid card, and PNG if it has any transparency). Give your card any name you’d like.
And here’s a look at the final result…
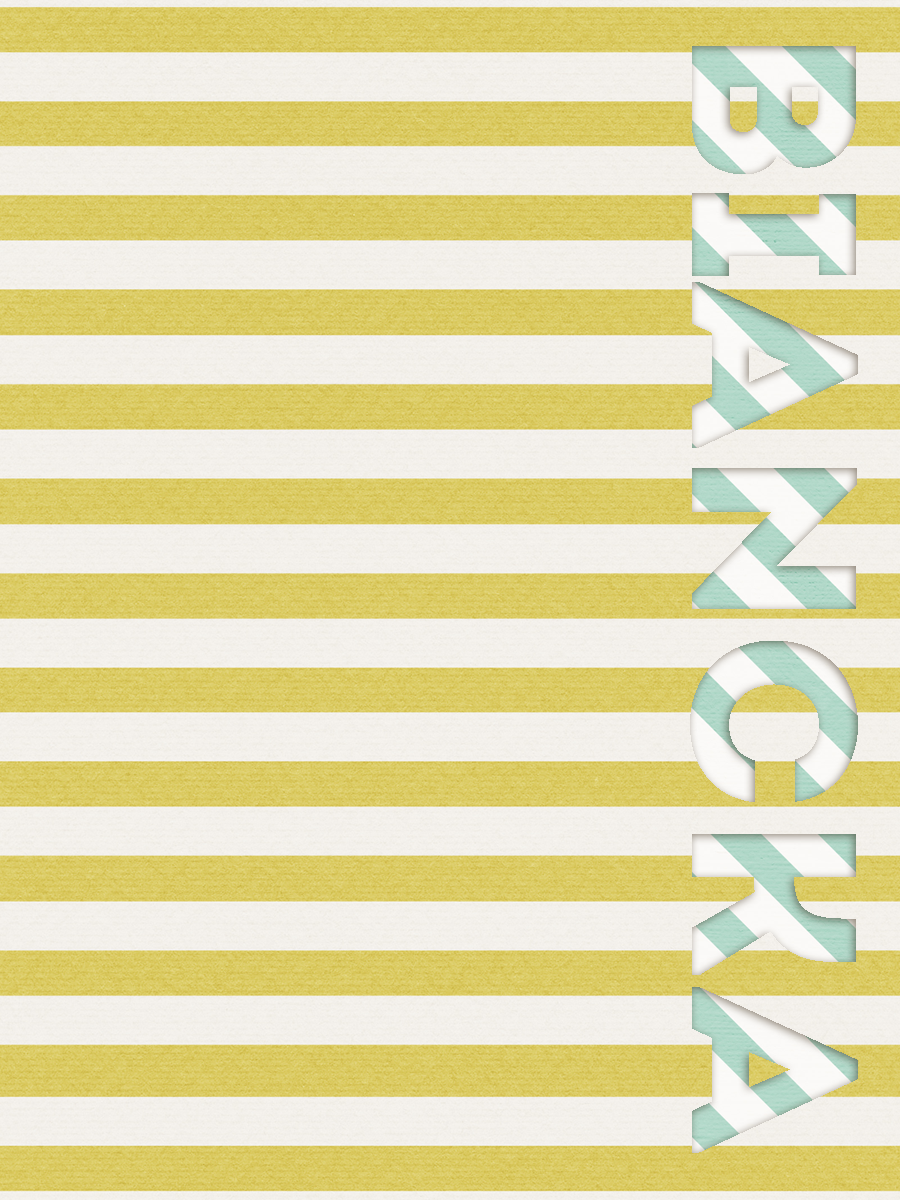
One last tip/trick… you can change the effect of the cut-out by adding a stroke instead of a shadow, in order to achieve a totally different look to the card (for myself, I actually like the stroke effect better on this card).
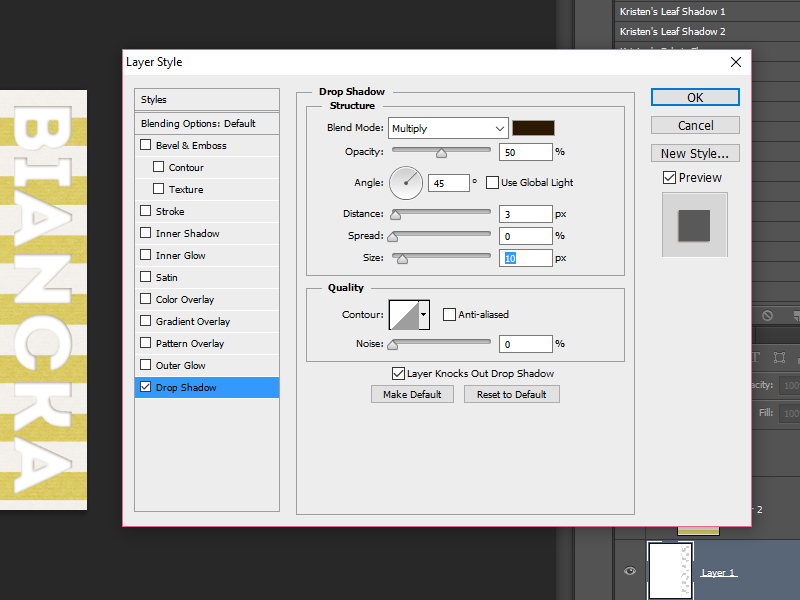
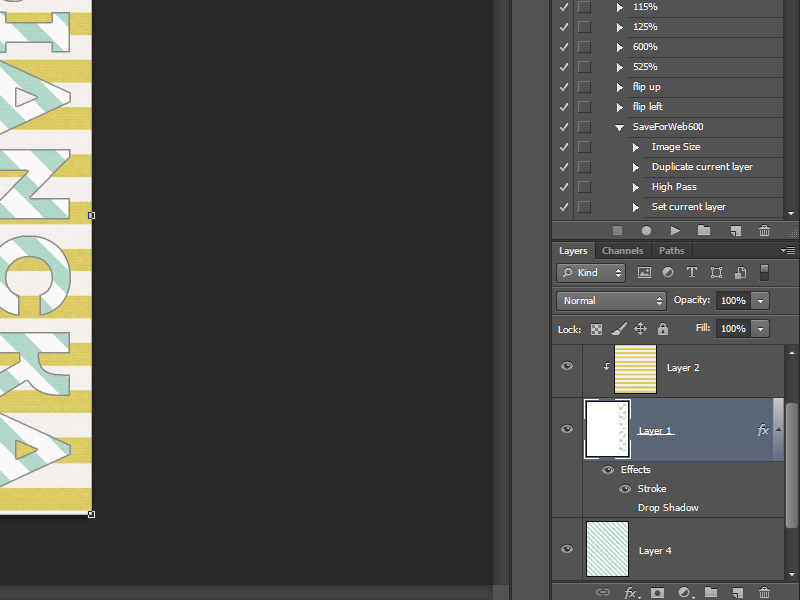
To do this, I opened my saved PSD (layered) file of my card. Then I clicked on the arrow next to the “fx” on layer 1…
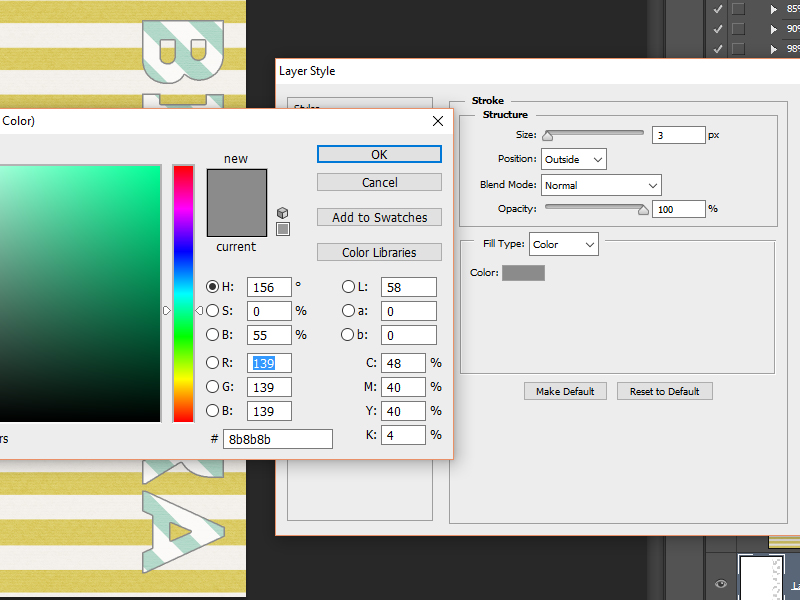
Next, I double-clicked on “effects” and the effect panel will opened. I chose stroke, and used the following settings (to change the color of the stroke, I first had to click on the box next to color)…
This is what I ended up with after saving this new version of my card…
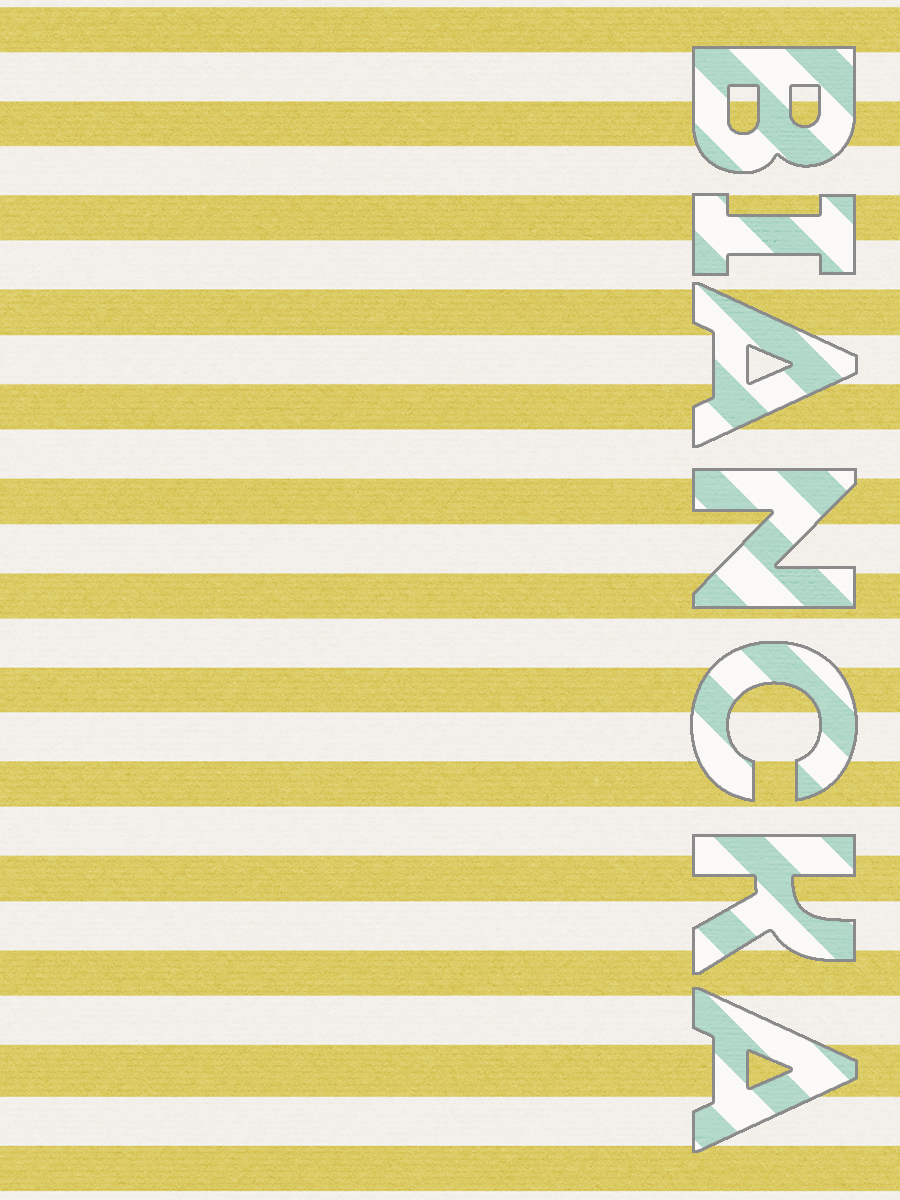
This effect makes the text pop even more, so I like this version better than the shadowed version, for my own purposes. For yourself, now you have two options to use with your custom-made cut-out journal cards!
I hope this tutorial was useful, and that you are excited to create your own cards from time to time! If you do… definitely link me up in the comments, below, to layouts in the gallery that use your new cards. 🙂
 About the Author Biancka is a creative team member here at The Digital Press. She is a stay-at-home mom (SAHM), a wife to Edwin, and mom to Jasper. She lives in the east of The Netherlands (about 30 minutes from the German border). She is addicted to scrapping, but also enjoys baking, reading books (mostly thrillers), watching her favorite TV shows, and photography.
I am so excited. I have been trying to figure this out. I think I might have it!