Hello, and welcome to another edition of our Tutorial Tuesday series here on The Digital Press blog! Today, I’m here to show you how to create a torn paper edge look with any of the digital papers you can find in the wonderful kits available at The Digital Press!
I’ve had a lot of fun using this technique on layered papers to create a really cool look. The instructions you’ll find here have been created for Photoshop CC, but they’ll likely translate (maybe with a few tweaks?) to other photo-editing programs, as well.
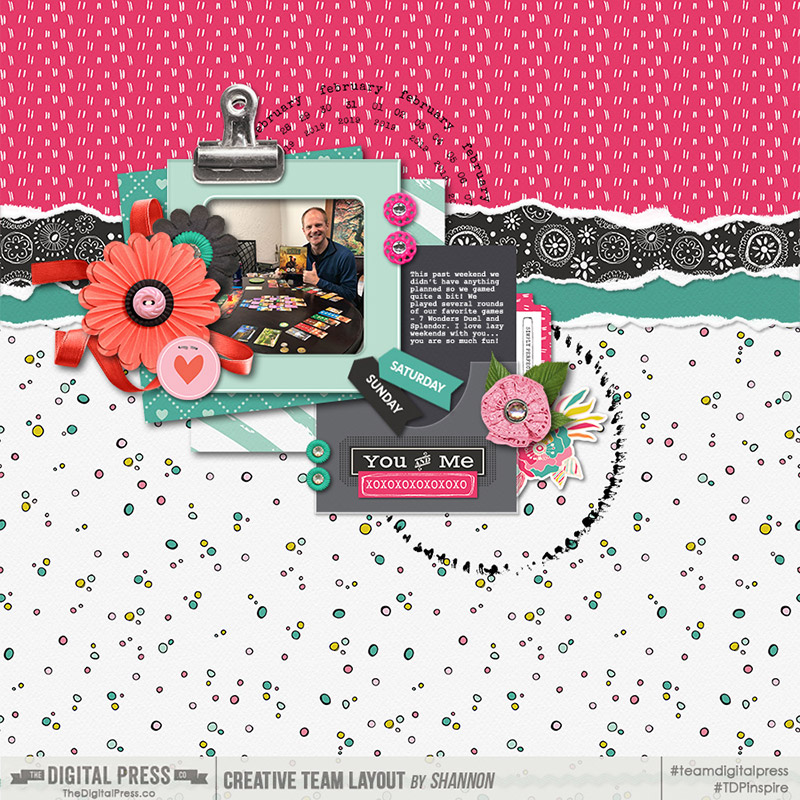
First, here’s a look at my finished scrapbooking page to show you the effect that we’ll be learning here today…
Let’s get started!
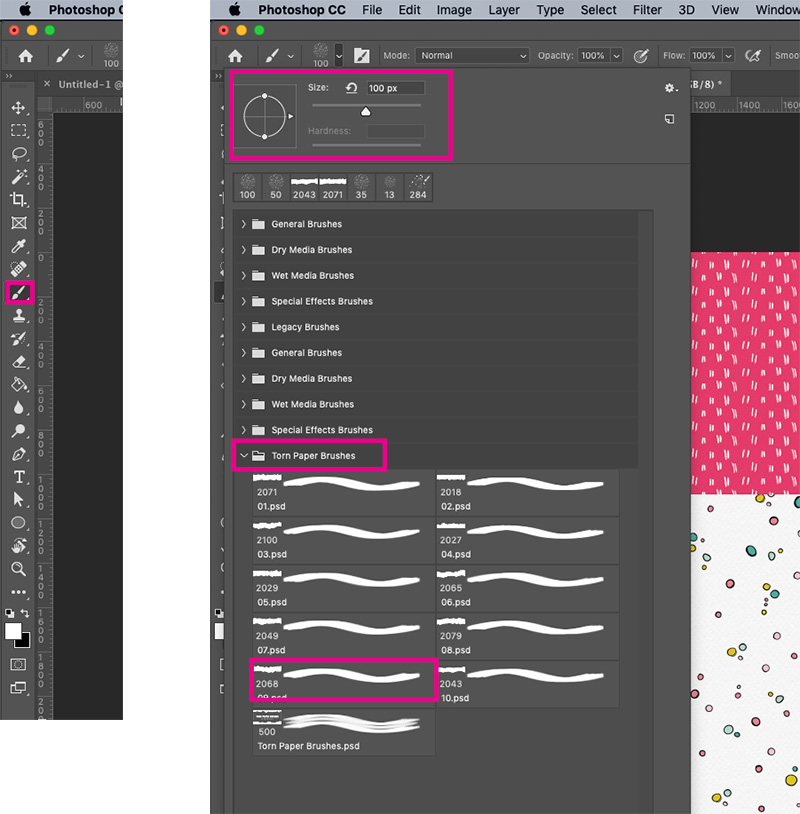
Step 1: Download and install these Torn Paper Brushes to make this process much easier.
- I used the brushes available here.
- Once you download the file, unzip to get the .abr file.
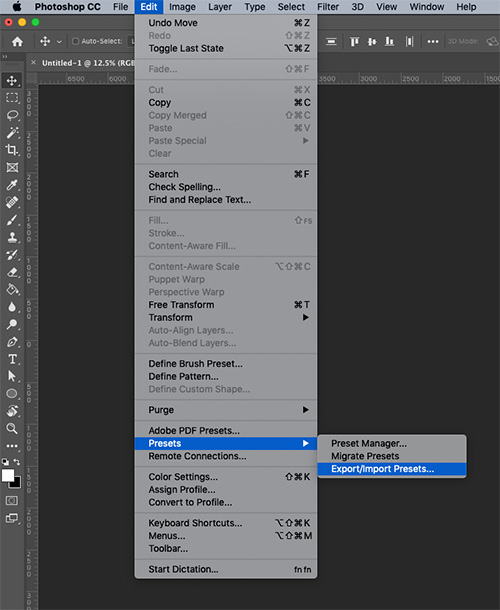
- To install, in Photoshop choose Edit > Presets > Preset Manager
- Follow the prompts to find your download .abr file and install it in the brush folder of your choice.
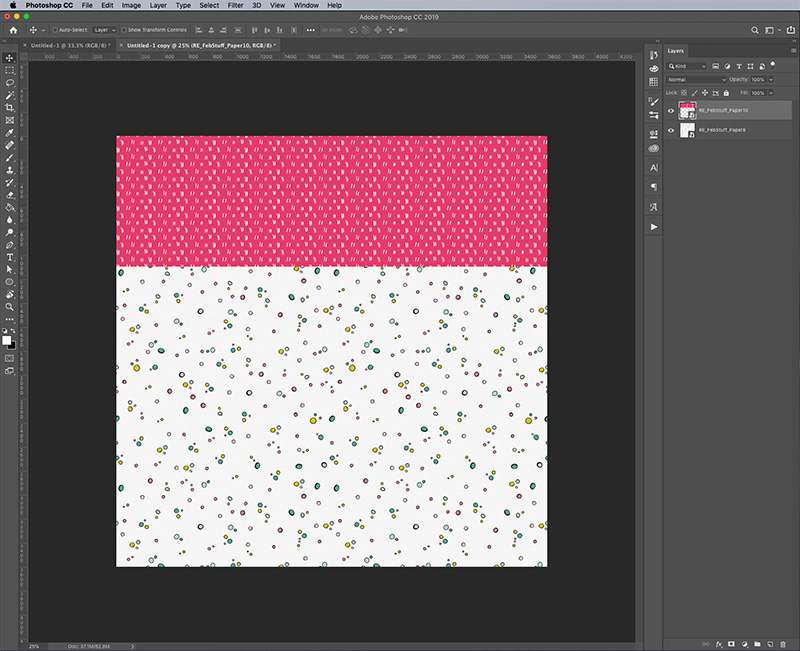
Step 2: On your layout, place your paper.
Step 3: Add a Layer Mask
- In your layers palette, select the top layer of paper
- Then use the Add Layer Mask icon on the bottom of the layers panel to add a mask.

Step 4: Use a brush to start the torn edge look
- First select the Brush tool, then choose your favorite torn paper brush.
- Then make sure that your foreground color is black and that you have the mask selected on your top paper layer.
- Use the brush along the edge of the paper to create the torn edge.
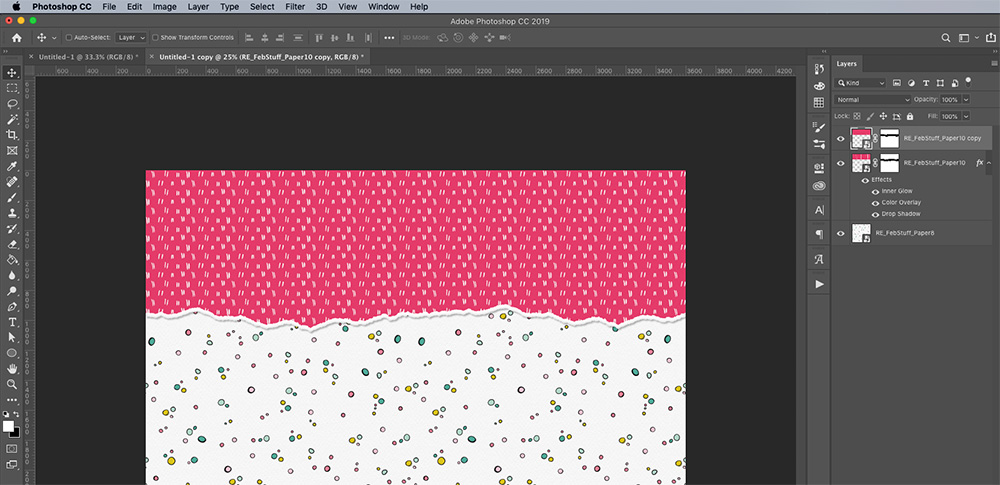
Step 5: Duplicate your paper layer
- Right click on your paper layer and choose “Duplicate layer…” to duplicate the paper layer.
- Once you have two paper layers, hide the top one so you can work with the lower layer.
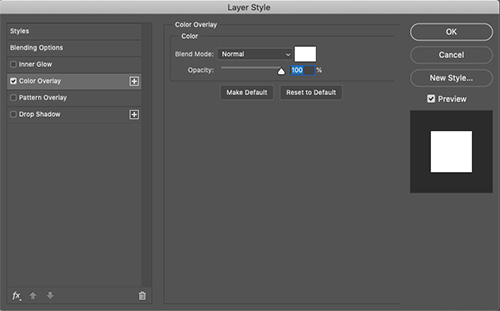
Step 6: Add a color overlay
- With the bottom paper layer selected, choose the fx icon from your layers panel.
- Because I wanted a white torn edge, I chose white for the color overlay with a 100% opacity.

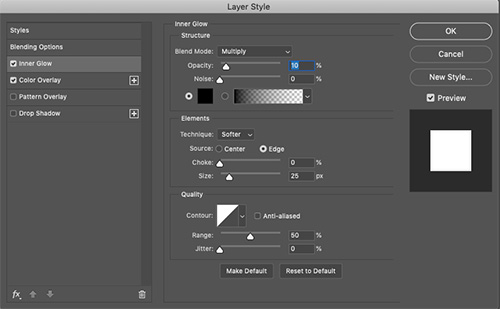
Step 7: Add an inner glow
- With the bottom paper layer still selected and your effects panel open, now add an Inner Glow with the following settings:
- Blend mode = multiply
- Opacity = 10%
- Noise = 0%
- Change the color swatch to black
- Size = 25px
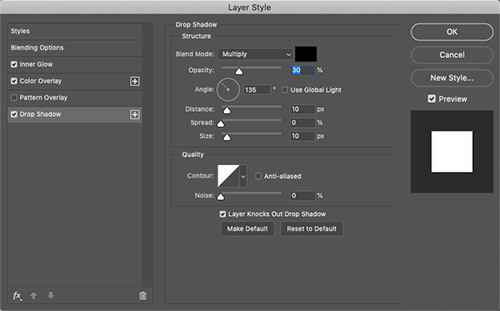
Step 8: Add a drop shadow
- Keep that Layer Style panel open and now add a drop shadow with the following settings:
- Blend mode = multiply
- Opacity = 30%
- Angle = 135
- Distance = 10
- Spread = 0
- Size = 10
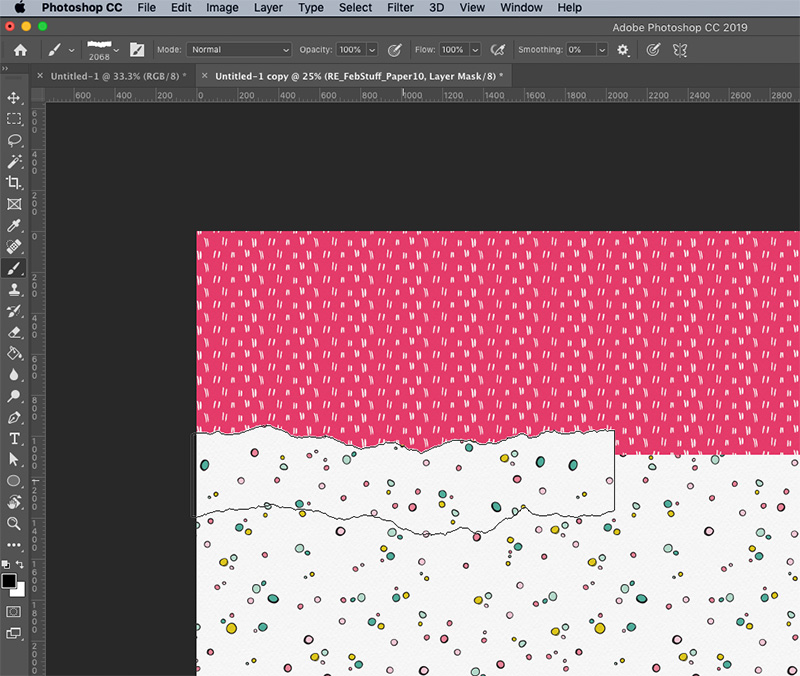
Step 9: Turn the top paper layer back on and use the Move tool (V) to move the layer up by 10 or so pixels so you can see the white torn paper below it.
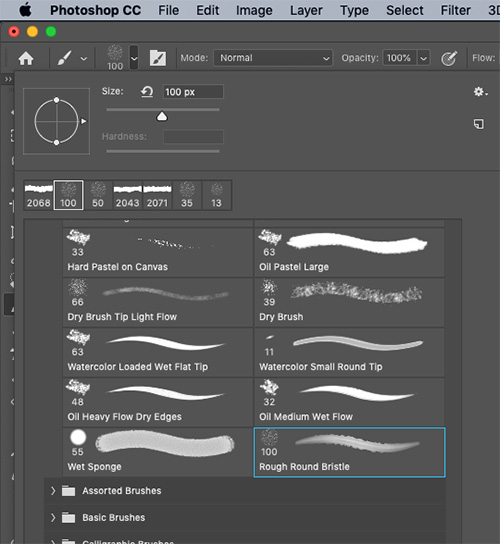
Step 10: Use a smaller brush to paint away more of the edges
- First, make sure the mask of the top paper layer is selected. Then, I used the Rough Round brush (found it in the Legacy brushes folder) with a size of 50. Paint away more of the edges to give a rough look.
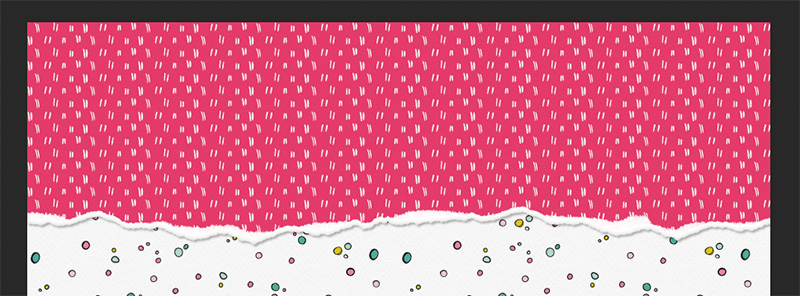
And you’re done!
Yes, it has a few steps, but it gives you a whole lot of flexibility to determine just how you want your torn paper to look. The settings suggested here are just that – suggestions. You can play around with brush sizes, drop shadow darkness, the edge itself… so much!
Hope you guys have fun!
 About the Author Shannon has been completely addicted to digiscrapping since she began in early 2016 (though she’s been a scrapper since 2000). Her early morning ritual of a few quiet hours of scrapping while sipping a chai tea is her favorite part of each day. She is also the owner of a web design company, and when she’s not at the computer designing websites or digiscrap layouts, she’s probably hiking one of the local mountains in her hometown of Phoenix, Arizona. She is an avid reader and loves to travel to foreign countries.
One comment