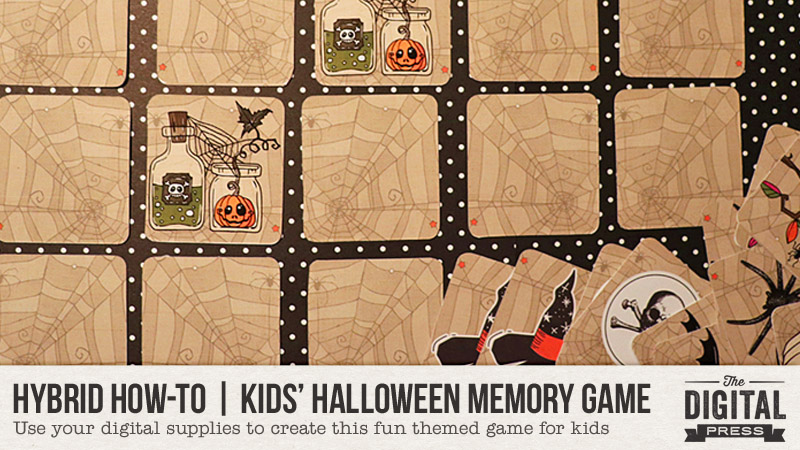
Hello everyone! It’s Tanya here, and I’m excited to bring you another edition of our Hybrid How-To series here on The Digital Press blog! Today I’m going to show you how to use your digital supplies to make a cute kids’ Halloween-themed memory game. It’s a super easy project that can even be given to your child’s classmates instead of candy (we all know there will be enough candy already, right?).
First things first… a peek at the Halloween-themed kits from the shop at TDP that I chose to use for this project…
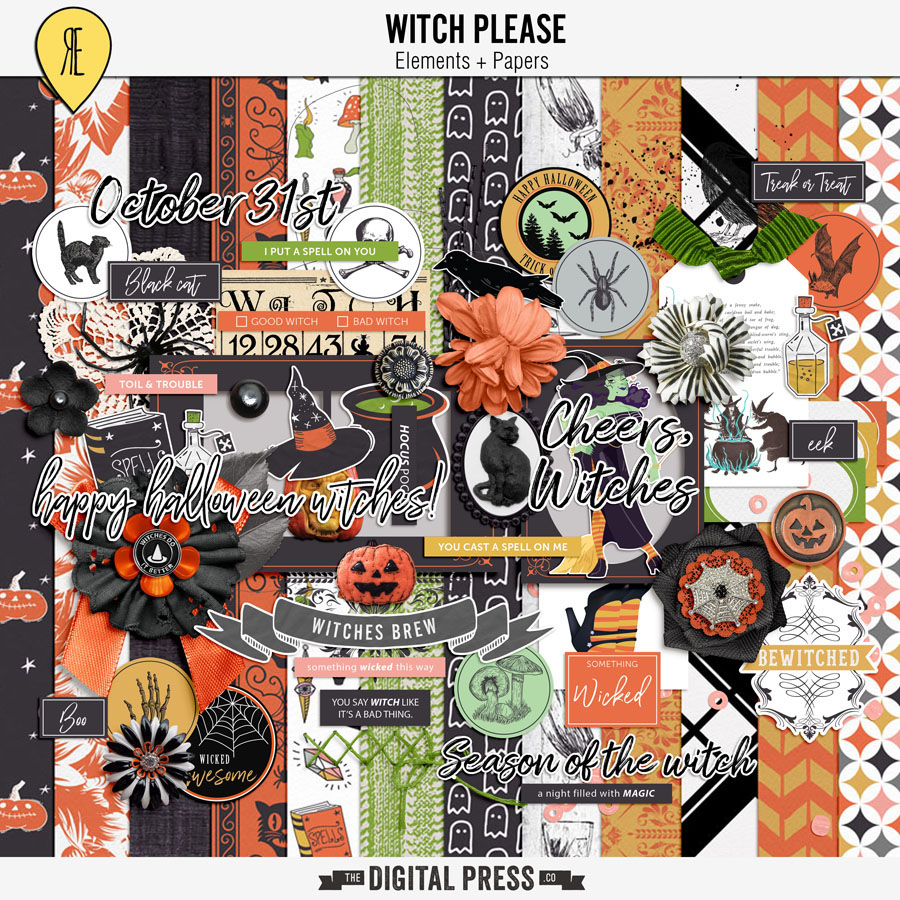
Witch Please by Rachel Etrog Designs
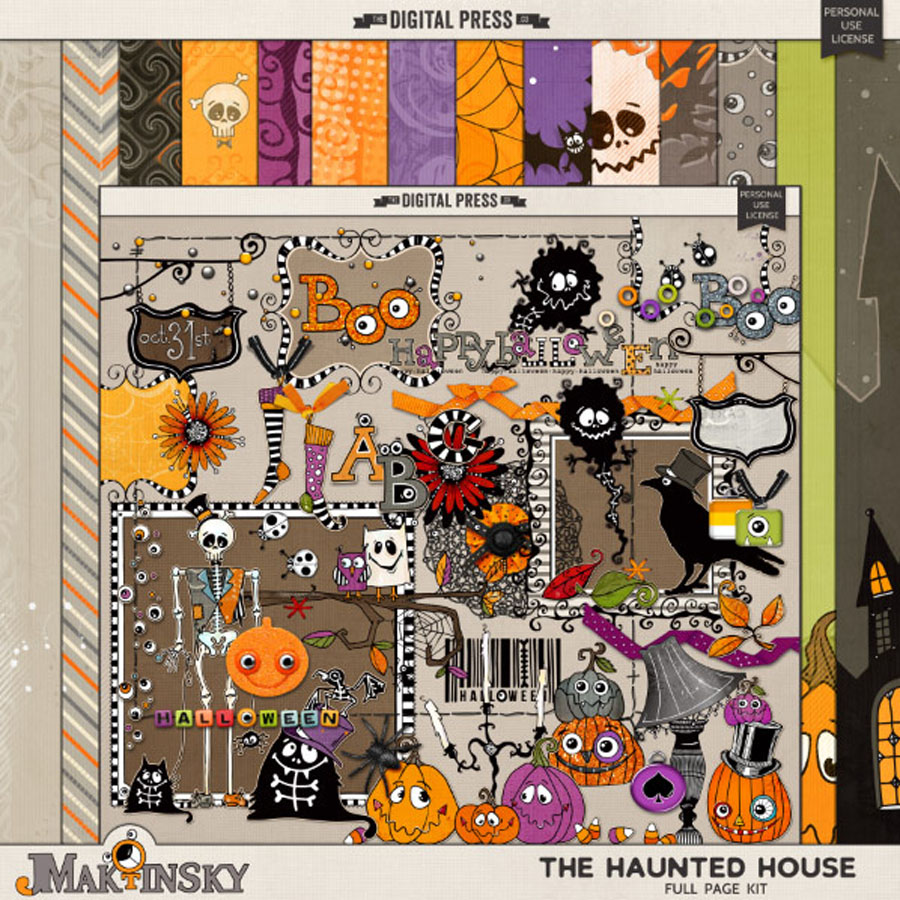
The Haunted House by Julia Makotinsky
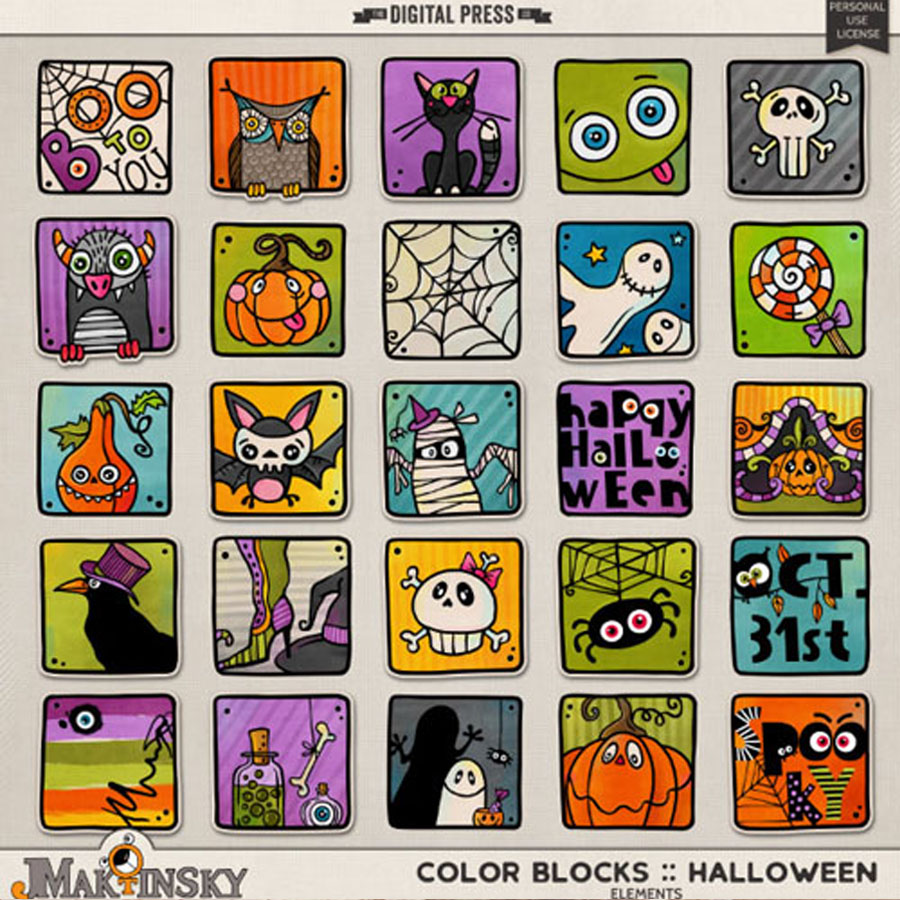
Color Blocks: Halloween Elements by Julia Makotinsky
SUPPLIES NEEDED:
- Themed digital products (see my choices, above)
- White cardstock paper
- Double-sided tape
- Paper cutter or scissors (or a cutting machine)
I used Silhouette Business Edition to create this fun project; I use it for all my projects because I find the software pretty easy to use. However, using a cutting machine and related software is NOT necessary; you can also create the same thing using any photo editing software program, and some scissors or a few paper punches.
HOW TO MAKE THE MEMORY GAME:
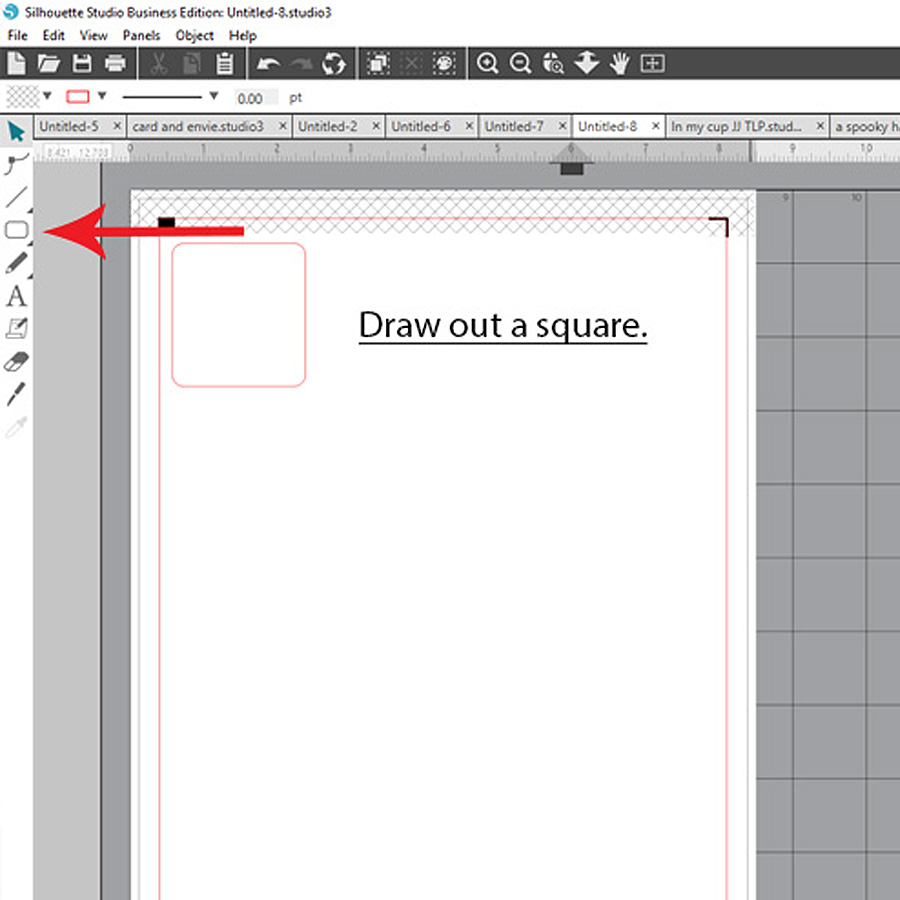
The first step is to draw out a shape for your game pieces (I used the rounded square)…
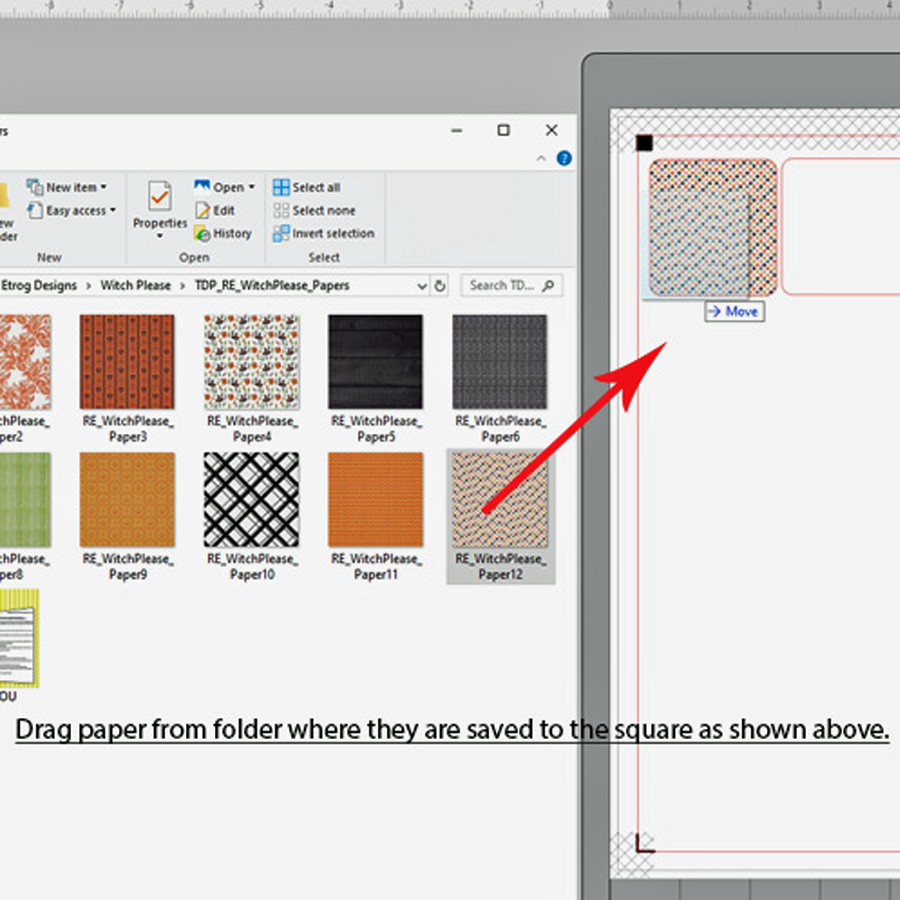
This project will have two sides: one side with just patterned paper, and the other with the elements. After choosing a shape for the game pieces, it’s time to fill-in one side with patterned paper (if you’re using another photo editing program like Photoshop, etc… you can use your shape as a clipping mask and “clip” the patterned paper to the shape).
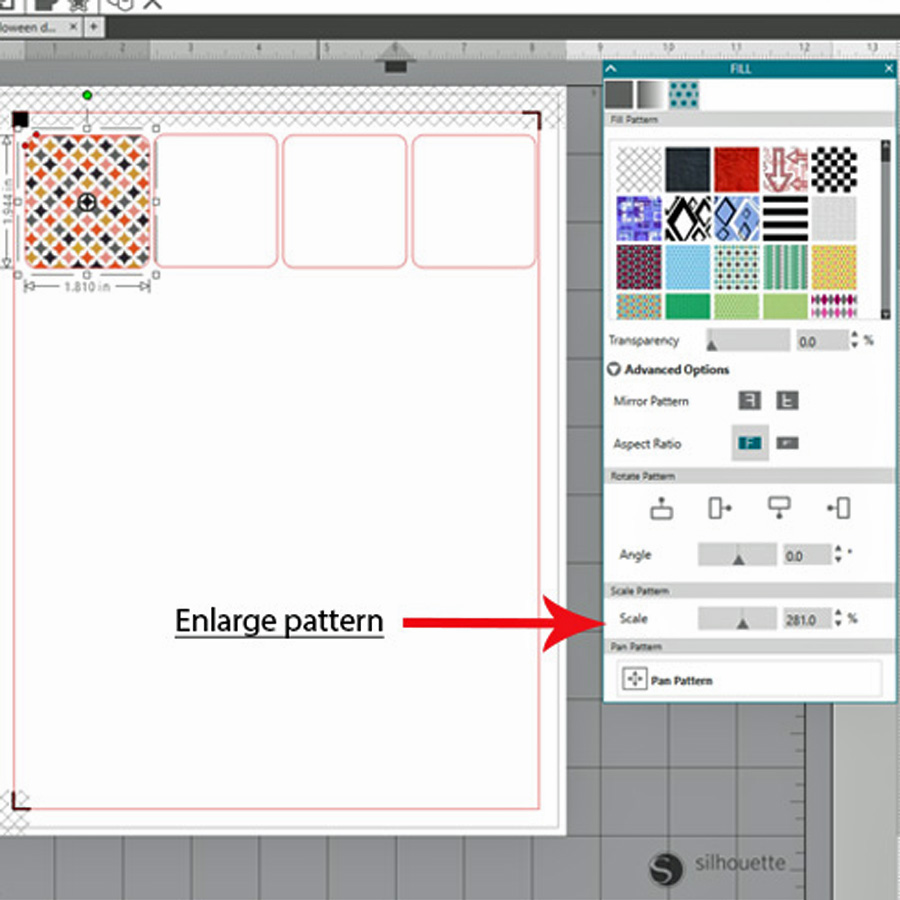
Once applying your paper to your game pieces shape, you can alter the pattern size, if desired…
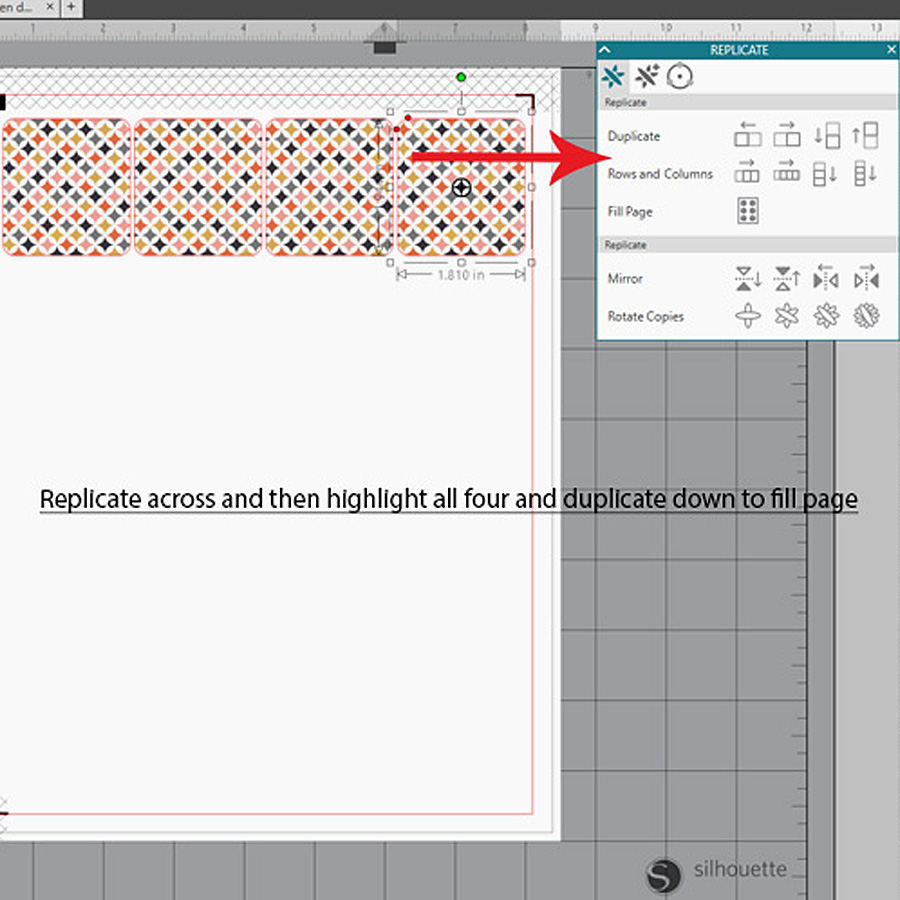
Now, you’ll replicate this shape/pattern combo across the page… by grouping that selection and then replicating down…
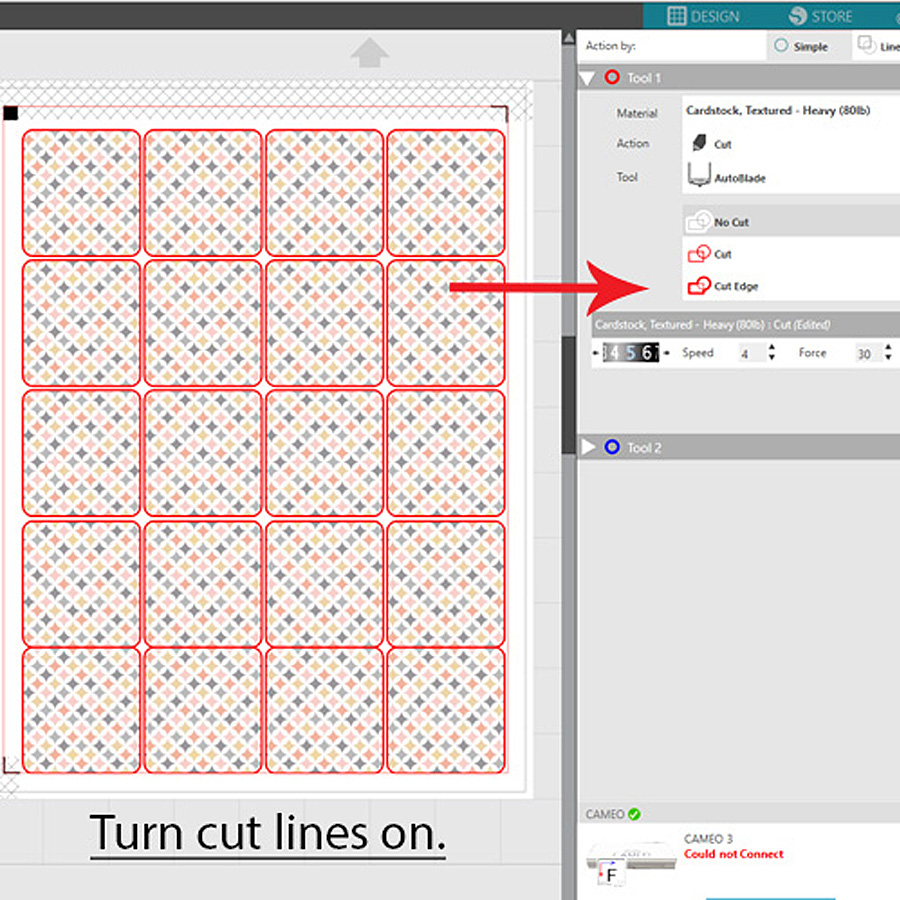
Once the page is filled, you will turn ‘on’ the cut lines (if using a cutting machine), put on your mat, and run it through your cutting machine…
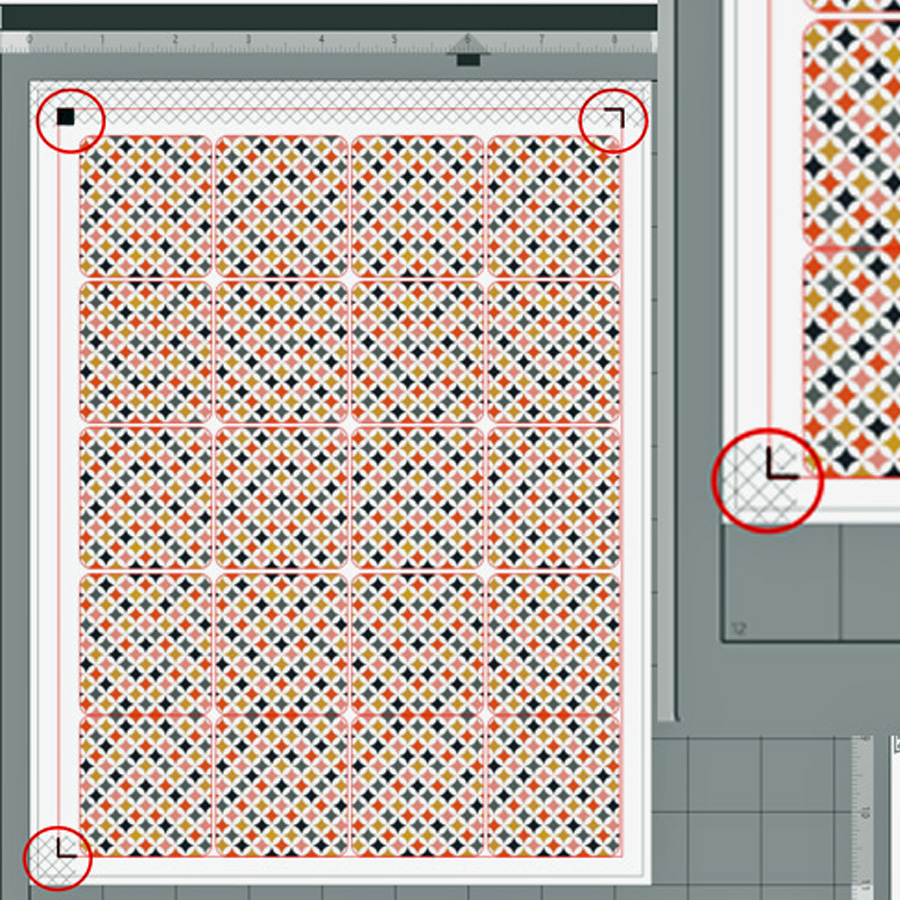
Make sure to keep your image from touching any of the registration marks.
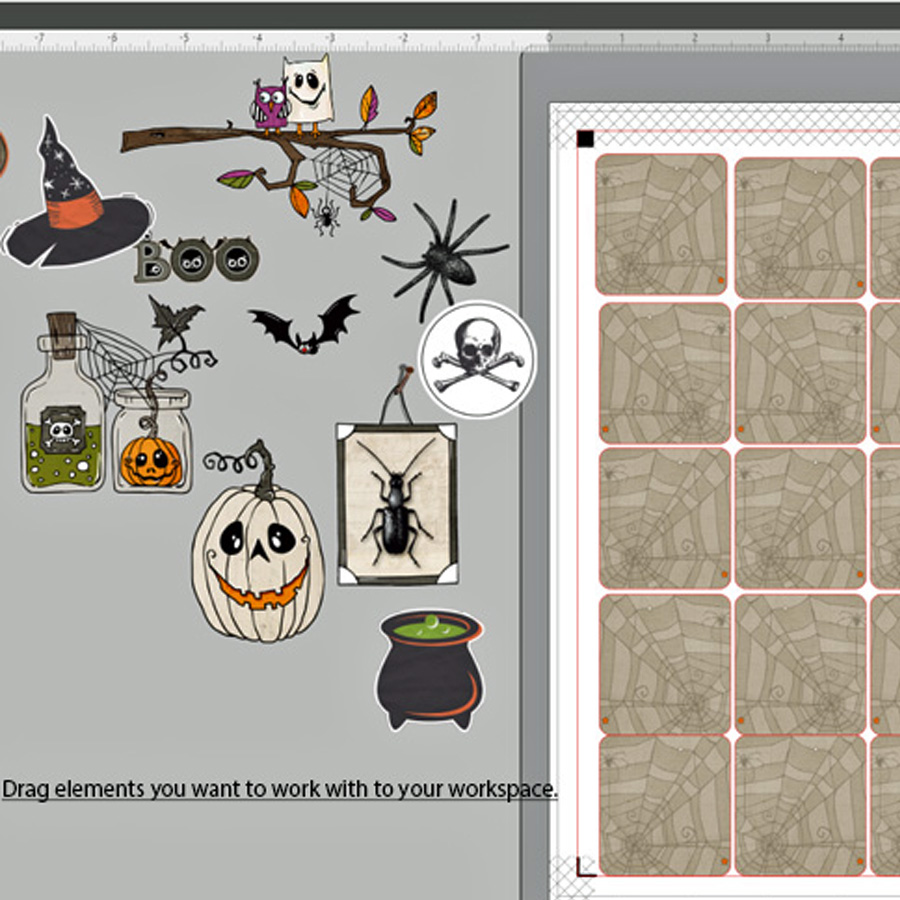
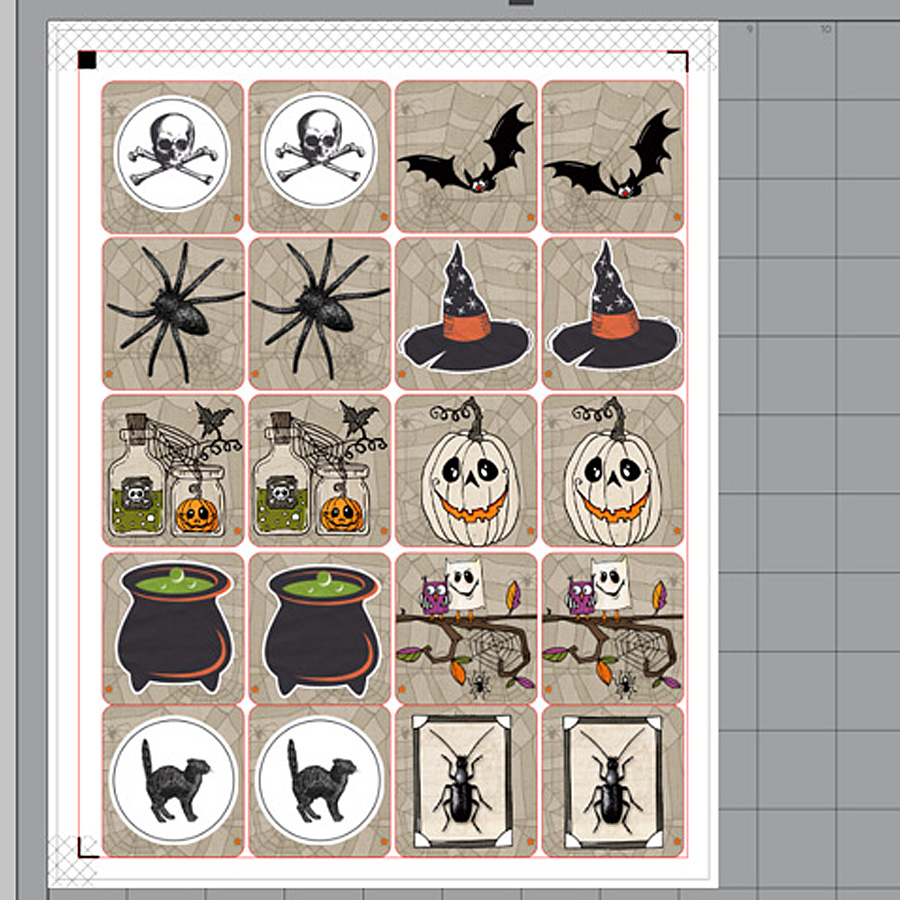
Next, for the back of the game pieces… you will first fill with the paper pattern of your choice, and then add elements on top of that. Make sure to use each image on two separate game pieces (to allow for a match!)…
*TIP* You can use on sheet of paper by drawing a large square out and filling it with paper of your choice (no cut lines for this side) Once printed flip it over, put pack in printer and cut the element side of the paper.
After cutting both pieces out, you will use double sided tape to put them together.
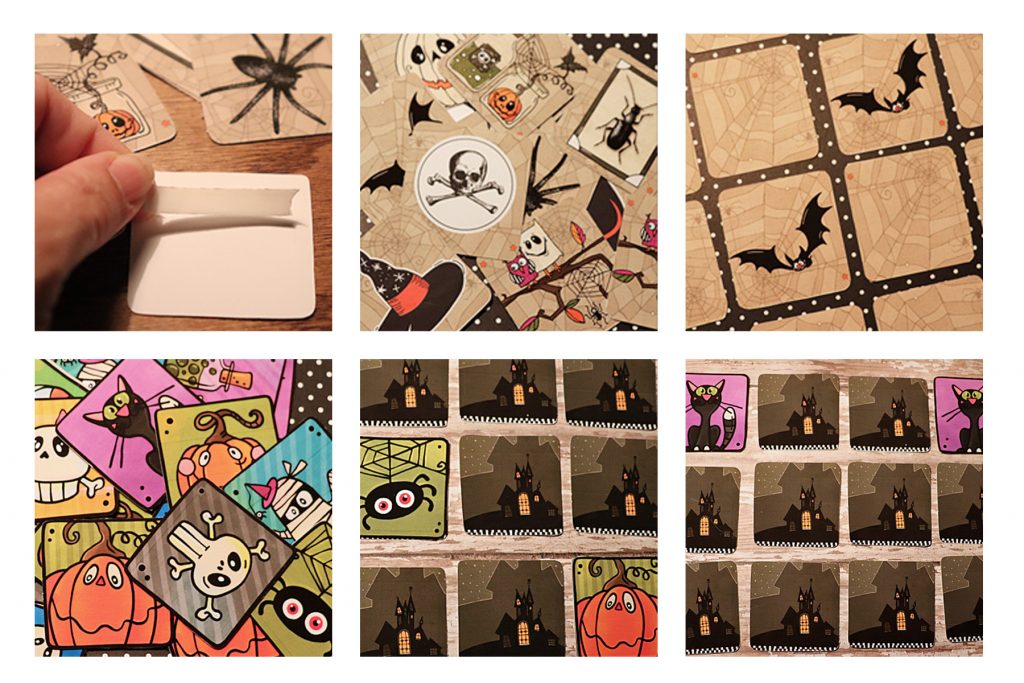
I created two different sets of the game… and I had to stop myself from making a third!
Here’s a look at some of the finished game pieces…
I hope I’ve inspired you to use your own digital products to create this fun game! If you give this project a try, we would love to see pictures of your completed projects in the Hybrid Gallery at The Digital Press!
 About the Author Tanya is a member of the hybrid creative team here at The Digital Press. She has been paper and hybrid crafting for at least 18 years now, and loves creating and sharing those creations with others. Her all-time favorite tool is her Silhouette Cameo. She has been married for 30 years to her high school sweetheart, Richard, and has two sons: Chris, 28 and Chance, 23. She also enjoys crocheting, photography, and woodworking.