
Honestly, I am the slowest scrapper. I love the process of scrapping. Really, I do. I will play with different papers, placements and format of my title (alpha, fonts or stamps?) and will even switch out my photos as I try all those amazing filters in my Lightroom library. It is nothing for me to spend an hour on a one-photo 12×12 layout…..and double or triple that time for a pocket page spread.
But, this Summer I’ve had to speed up my scrapping. My kids are home and want attention, there is lots of outside fun to be had and I just haven’t had much time to sit at the computer. Here are the six steps I’ve been using to speed up my scrapping, but still make the process fun for me AND make a page that I want to print for my album!
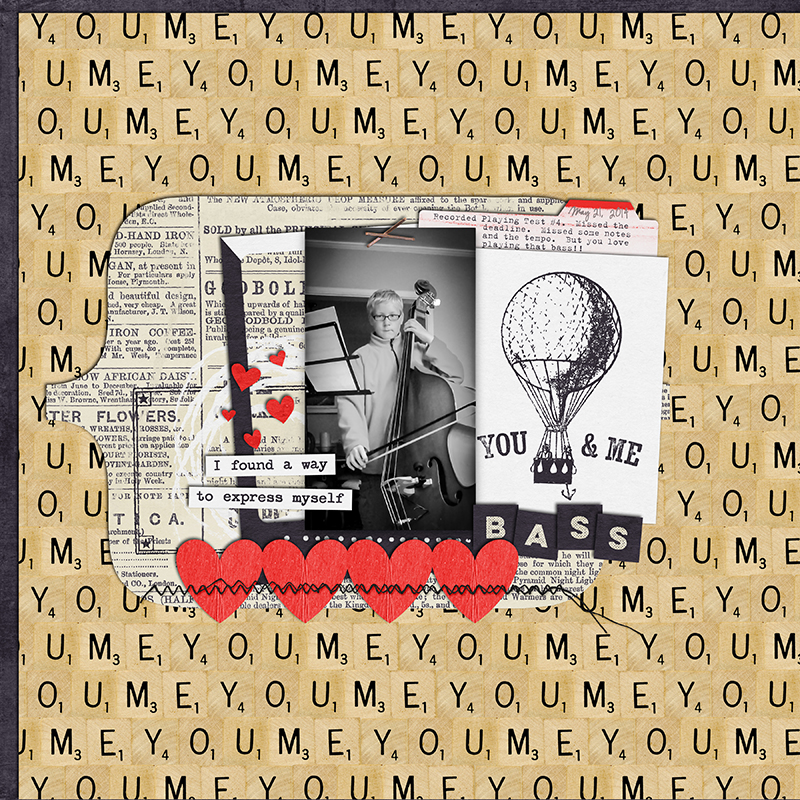
- Scraplift Myself – I gotta admit, when I first did this it seemed like cheating. But I loved my layout and figured why not? If not my layout, I head to my crazy huge Pinterest board where I have hundreds of amazing paper and digital layouts pinned. I can usually find something that I think will work in a couple minutes and then I am on my way to creating my page. But if something doesn’t pop out, I try #2.
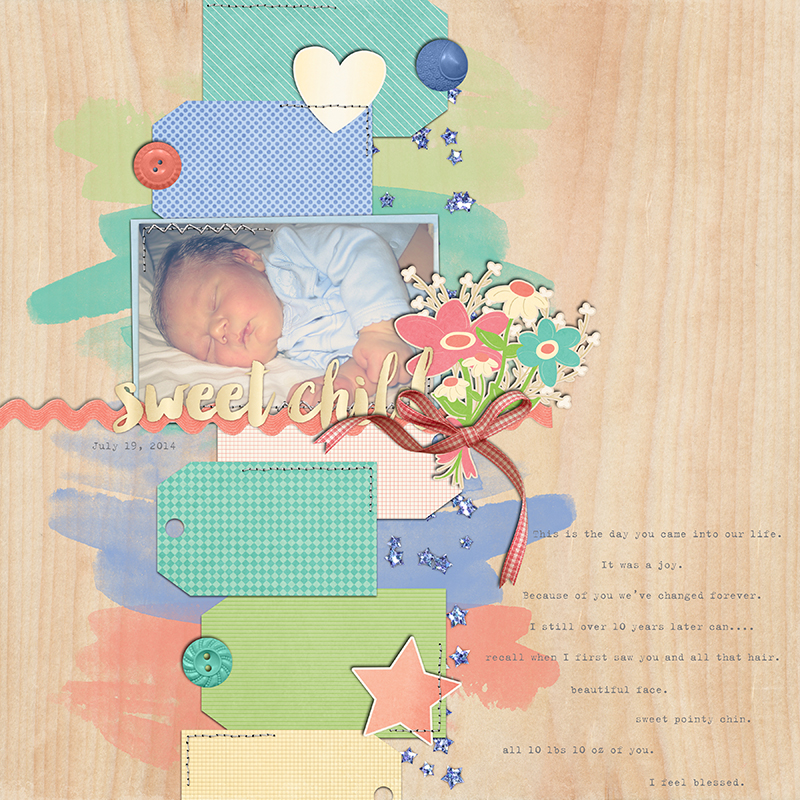
- Grid Layout – Ok, most people would assume I would say use a template. Frankly, for me they aren’t quick. Templates gives you limitless options for clipping all the amazing papers in a kit to various blocks, shapes, mattes and for me this would take more time. What does work for me is to quickly build a grid-type horizontal or vertical layout. Using either clipped paper blocks or filling a “square” with a flower or flair and then adding a 3×4 journaling or title card. I love that I can get the most out of a kit this way, but I don’t have to worry about all those pesky design principles that 10 years of scrapping have ingrained in me (visual weight and direction, rule of thirds, focal point, alignment, etc.).
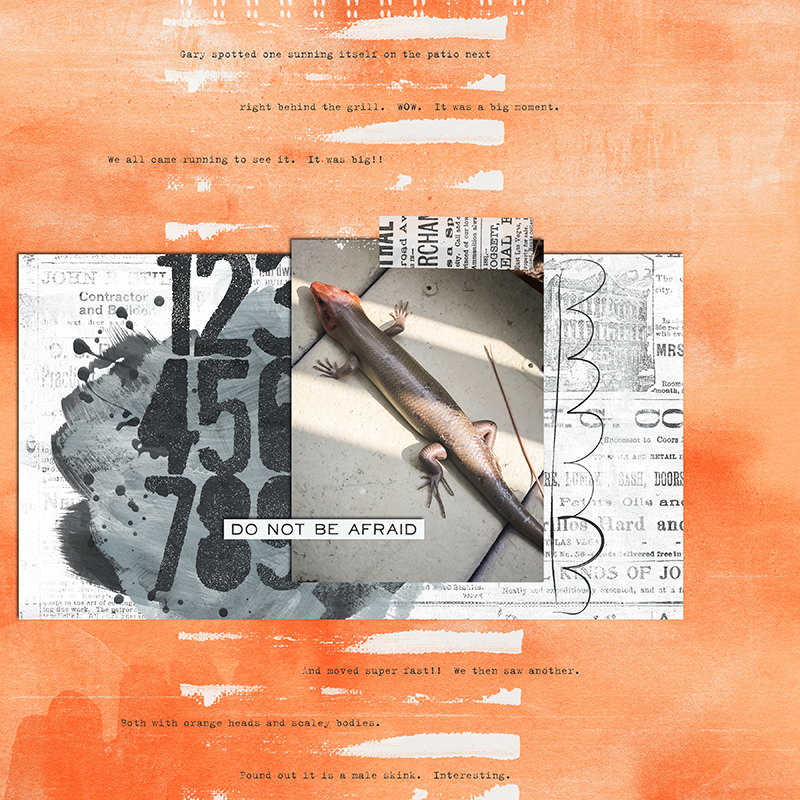
- B&W Photo – When I have a kit I love and I know what photo I want to use and I want to do it quick, I make my photos B&W. It makes it so much quicker to scrap. I don’t do this that often (as I prefer color!!), but I love the contrast with my other album pages and end up loving the effect. Plus, then I don’t have to “worry” about using that orange paper that I LOVE with my son wearing his purple soccer shirt.
- Group Dump the Elements on the Page – I normally pick and choose my elements carefully…but when I have less than half and hour to scrap, I’ll select 10-15 elements and just drag them en masse right on my layout. It’s almost like a puzzle trying to place them in just the “perfect” spot. A lot of times I’ve found an element that I didn’t think I would EVER use that works perfectly once I see it on my layout!!
- Word Art for Title – Next to the photos, titles are my biggest time-sucker. I love playing with fonts (and rasterizing/clipping papers) and alphas. There is some great word art out there and will work perfectly for your layout. I do still subscribe to the principle that every layout needs a title…..but, it doesn’t have to be a big, bold statement….a little word strip could work great.
- Journal Poetry-Style – This is my term for journal in quick, short sentences right on my layout background, almost like a list. I don’t have to find the right size and color of a journaling block that will fit my journaling or spend time crafting just the right words. This way I can jot down my thoughts and space it how I want. I also like how it adds to the flow of the page.
Here are some layouts in my TDP gallery where I used my Speedy Scrapping Steps above.
![]() About the Author: JennV is a lover of history and art (luckily she lives 5 miles outside of Washington, DC) and an accountant by training. She currently stays home with her two boys and is pursuing a career in photography, when she is not busy volunteering for every school and county initiative!!
About the Author: JennV is a lover of history and art (luckily she lives 5 miles outside of Washington, DC) and an accountant by training. She currently stays home with her two boys and is pursuing a career in photography, when she is not busy volunteering for every school and county initiative!!
Hi there, thanks for your fabulous tips! I’m be to digital scrapbooking but I’m really enjoying it and love the no mess element too! (Rather than the paper method)
I have a technical question if you don’t mind, in tip 5 you talk about dragging elements en masse onto your layout. What program do you use and how do you do that? I’m using Photoshop elements 13 and I only know how to place one thing at a time and I’d love to know how to do more to make it faster 🙂 thanks!