When it comes to pocket scrapbooking. I’m an embellisher. I can spend more time looking for that perfect addition to my page than I spend on any other part of the pocket scrapbooking process. It’s probably partially due to this reason that I’m not anywhere close to caught up. I began pocket scrapping in 2012. I am now the proud owner of partially unfinished 2012, 2013 and 2014 albums. And that’s ok. I don’t mind being “behind” because I’m still working toward documenting those memories and to me that’s the important part.
But then something happens and I ask myself…can I do an entire months worth of pocket scrapping in 24 hours? And so I gave it a go. I should go on to explain this was a normal everyday day. My husband went to work, I homeschooled (DD is a teenager so I realize that makes it easier), did some household chores (maybe a little less than normal), and prepared meals. I took phone calls, checked emails, and got lost on facebook more than once.
But I also focused on completing this project.
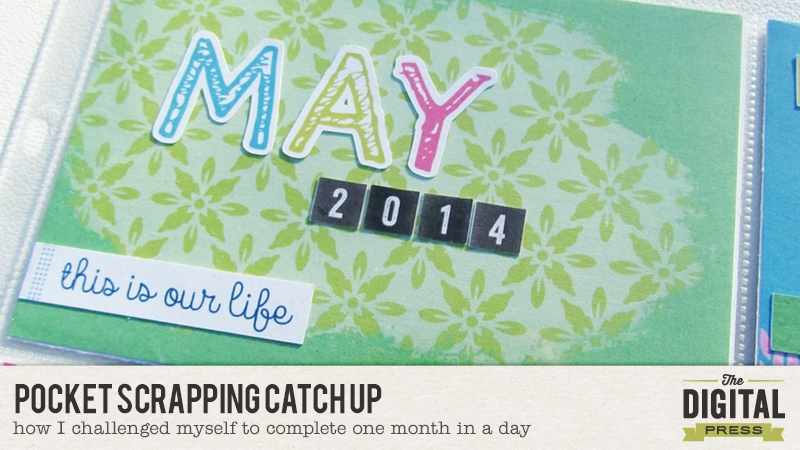
May 2014 has been looming large. For some reason I’ve been scared to tackle it. It was a busy month, with lots of stuff going on but I didn’t have good notes. I decided that this was the month to take on. So finally I loaded up facebook, looked at my status reports from that month and cut and paste the ones that I want to document into a text file. I then quickly went through my photos for the month, jotting down notes on which ones I would use and just trying to get an idea of the types of product I would need.
Then I decided on the product. I went with a selection of items from the January Special Edition releases. The bright colors were perfect for this spring month and I knew there would be more than enough coordinating products to complete an entire month’s pages. I also decided that I wouldn’t embellish my pages with anything other than what I could print from the Special Edition products and a simple office date stamp. My next decision was that I was going to use just the Project Life Design A page protectors. I love variety and typically use different configurations, but this is my favorite and I knew it would take the guess work out of figuring out what journal cards to use where. Since I normally I create one page at a
time looking at an entire month (6 pages in this case) was a bit daunting so I decided to work on it in batches.
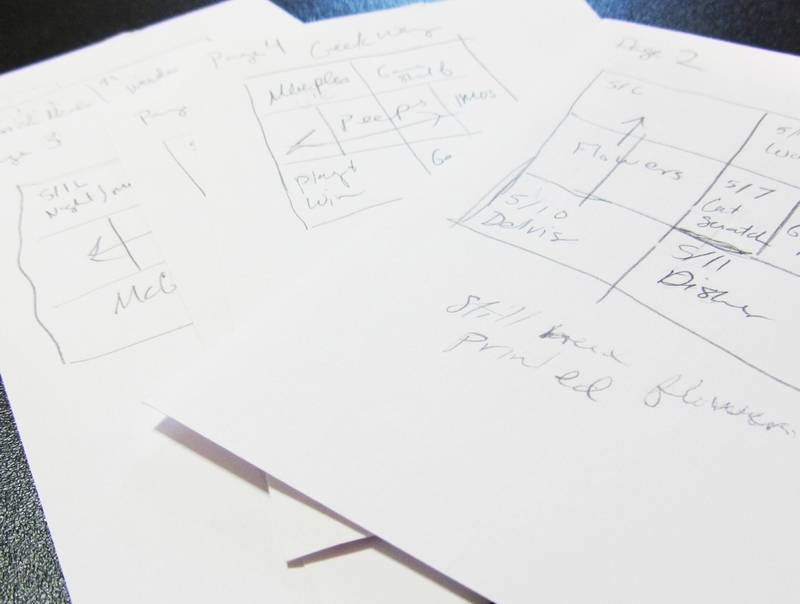
At 11:00 am or so my (imaginary) timer begins. My first step was to go through my notes and photos and plan out where I wanted each story and picture to be. This gave me an idea of what I was working with topic wise before I started printing out my journal cards and embellishments. I used 4×6 index cards and crudely sketched out a diagram for each page. I loved using index cards for this purpose because I could use the blank space below my sketch for notes as I worked on each page.
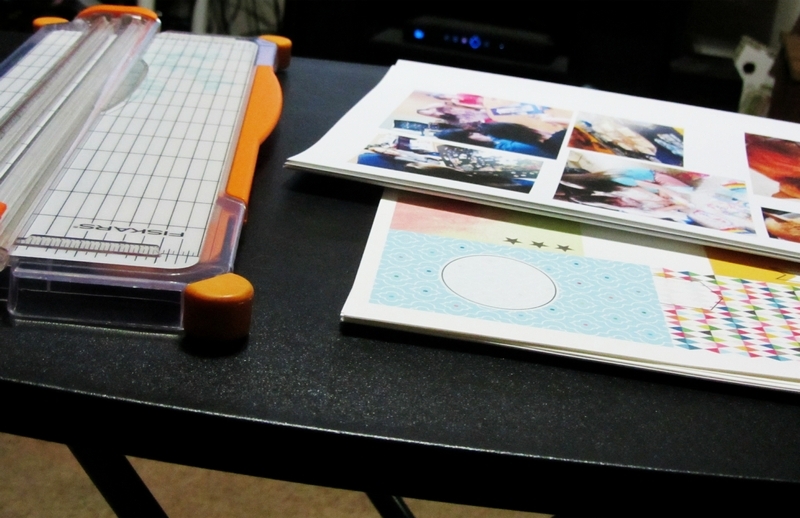
Now that I had an idea of what photos would go in which size spots I began editing and printing my photos. There were a lot of photos and I had to break this step up into a couple of sessions. This break was a perfect time to have lunch, get some laundry going and start my daughter on her afternoon assignments.
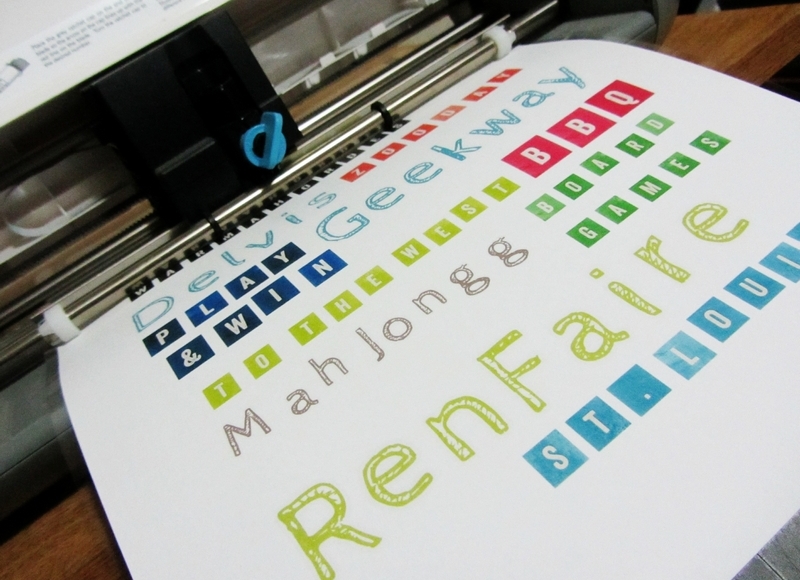
Next I began printing the cards for my pockets. I had a pretty good idea of how many I would need for each size so I kept tally marks as I went, to keep from printing more than I needed. Then I used my Silhouette to print and cut embellishments that I thought I might use. I printed off two pages worth of embellishments knowing that I probably wouldn’t use all of them but also knowing that I could set the unused pieces aside for another page down the line.
By this point my husband was home from work and wanted me to watch some TV with him. Instead of forgoing spending this time with him I set up the TV tray in the living room and set about cutting out all of my photos and journal cards. I typically like doing something while watching TV anyway so this worked out great. It took me about three epsisodes of the sitcom we were watching to get everything cut out and then it was time to prepare dinner.
After dinner I sorted through all of the photos and journal cards and placed the ones I thought I wanted to use together with each page’s index card. I continued working on this project while we watched a few more episodes and I was able to get the photos and embellishments adhered to the journal cards before my husband and daughter went to bed.
I typically stay up for a few hours after they go to bed so this was the perfect time for me to tackle the journaling. I was surprised that it only took me an little over an hour to get most of the journaling knocked out. For my last step of the evening I went through all of the cards I’d put together and made a list of any titles I wanted to print and cut out of the alphabets I’d chosen to use. I grabbed up the stack of cards so that I could make sure I’d get the sizing right and print and cut the titles. At this point I was done and decided to call it a night.
Come morning, the only things I had left to do was adhere my titles, journal on a few of the cards that I was waiting on the titles for and print a photo that somehow I’d missed when I did my initial editing session. I was feeling good. Surely I could get this done by 11 am. Of course, life happens. I’d promised my daughter the day before that I’d make her something for breakfast that was not cereal, homeschool math was a little harder this morning, and I spent 20 minutes searching for my 2 way glue pen that I’d misplaced. Still I was able to get through this and slide my last card into the last pocket at about 12:30. Could I do it in 24 hours? No, but I could do it in 25.5 hours and to me that was just as good.
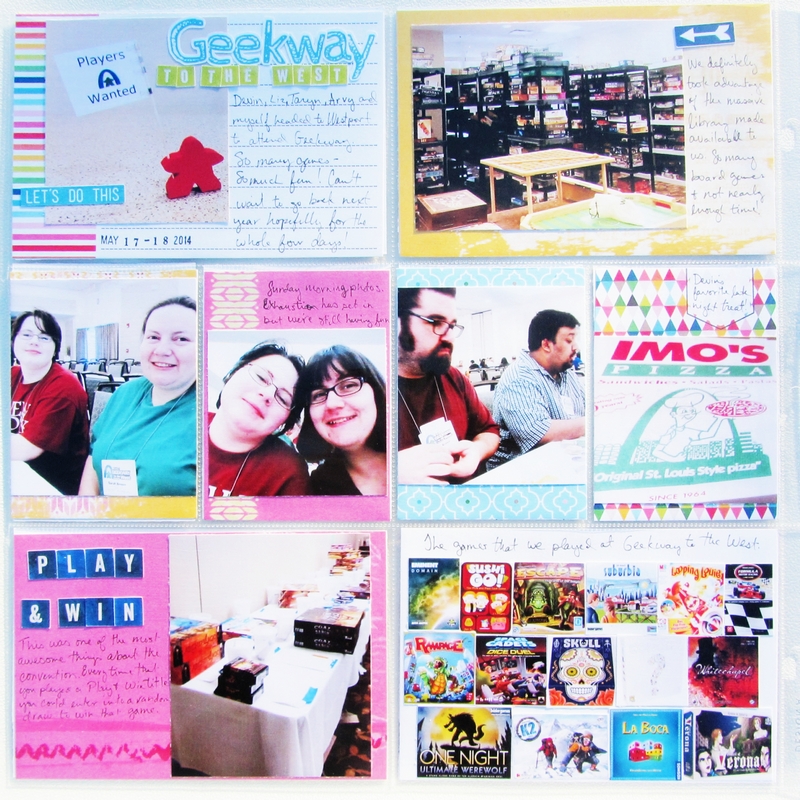
Here is a look at the pages that I created.
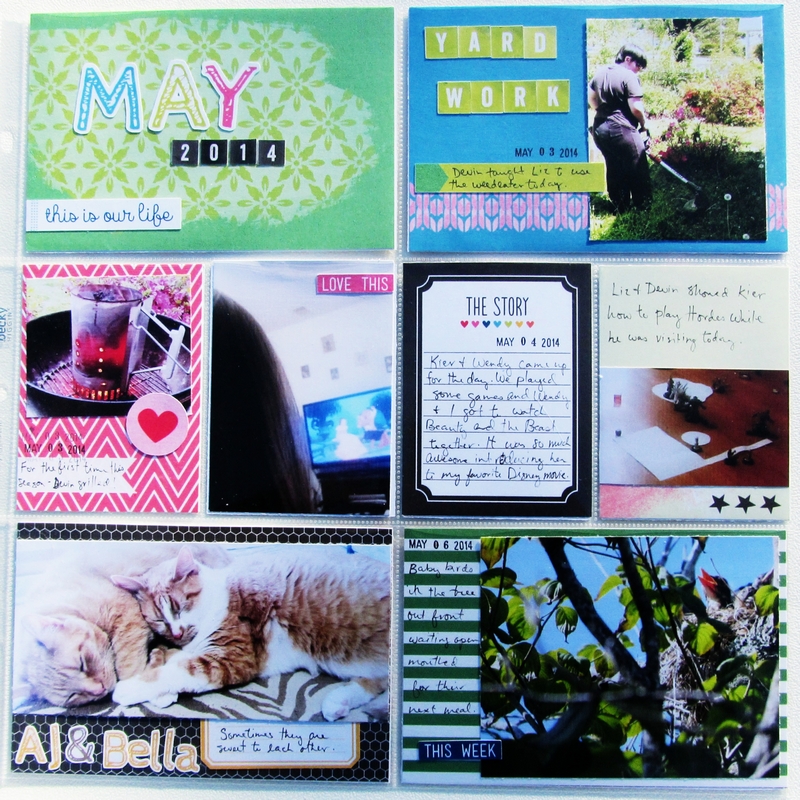
Page 1
Page 2
Using collages is a quick and easy way to get more photos into a small space.
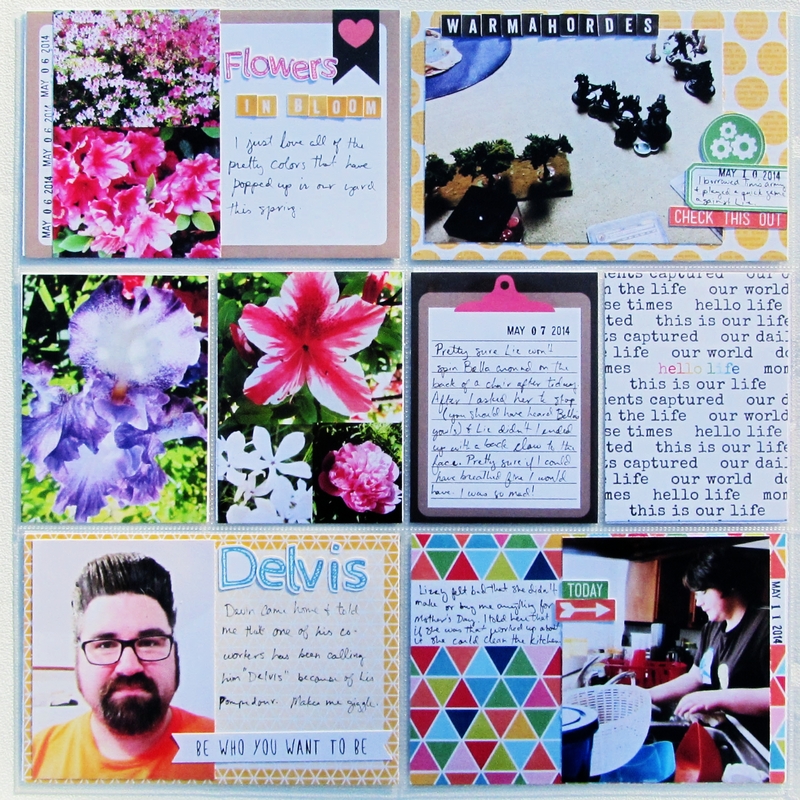
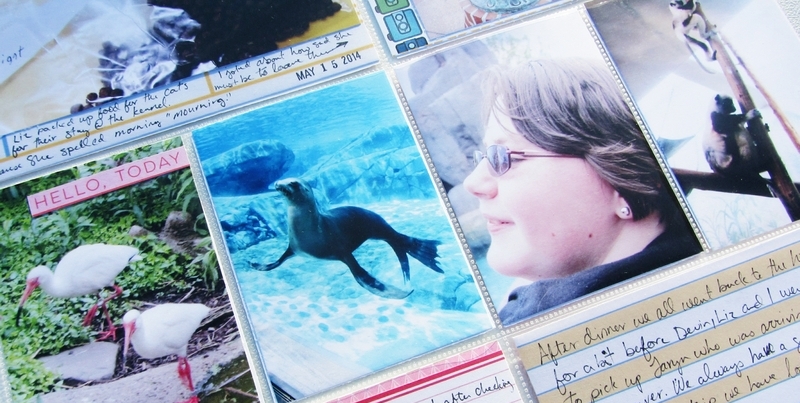
Page 3
I decided not to add much embellishment wise to the 3″x4″ photos on this page. I’d already talked about going to the zoo on this page and so I let the photos speak for themsleves.
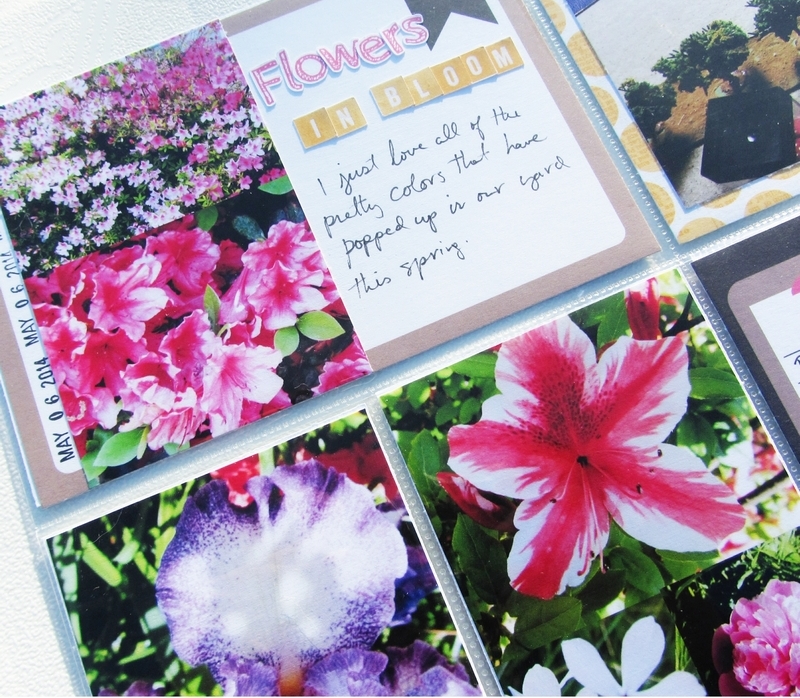
Page 4
I created cards from some of the solid papers by placing paint and stamps on them. These are perfect for matting these photos that aren’t quite 3″x4″.
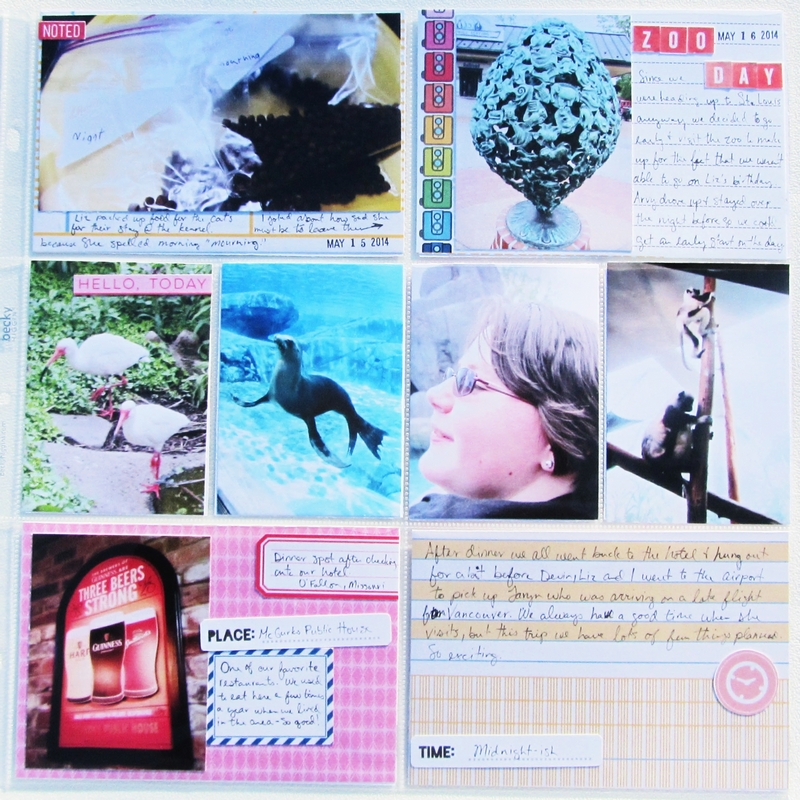
Page 5
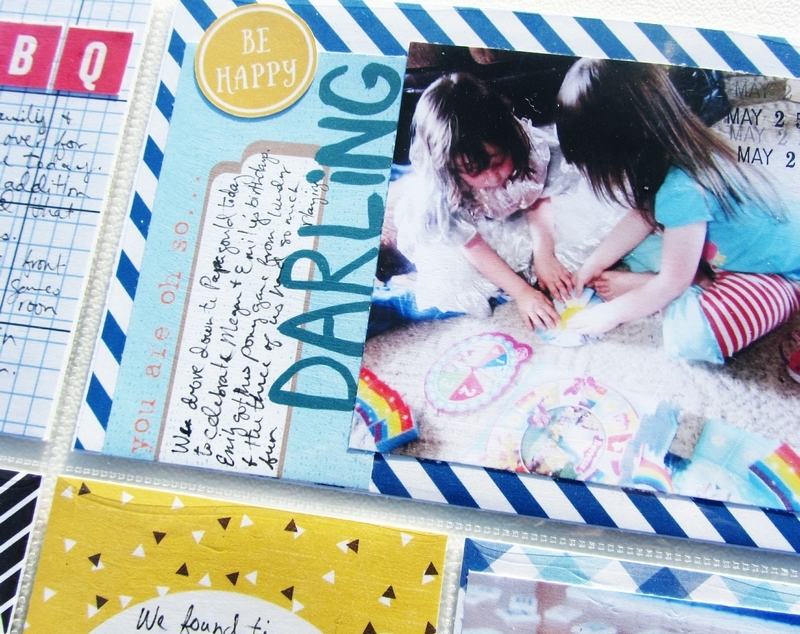
I love using patterned papers for backgrounds as well. I desperately wanted to use the You are so Darling journal card with this photo, but I couldn’t make the photo size work with the card the way it originally was. Rather than taking the time to reprint the photo at a smaller size, I cut up the journal card, placed it on patterned paper and used it as a journal spot.
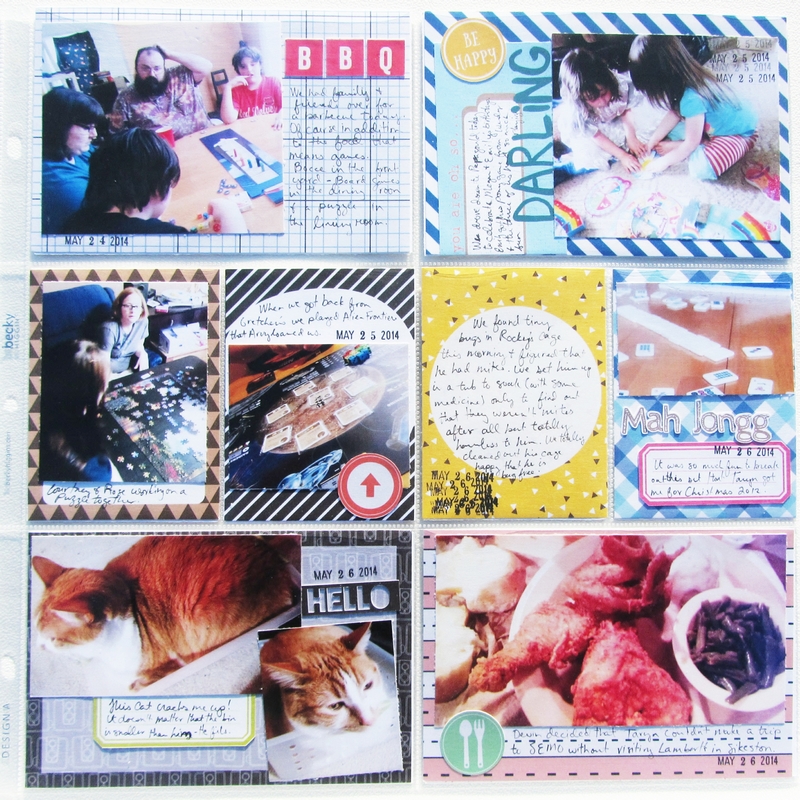
Page 6
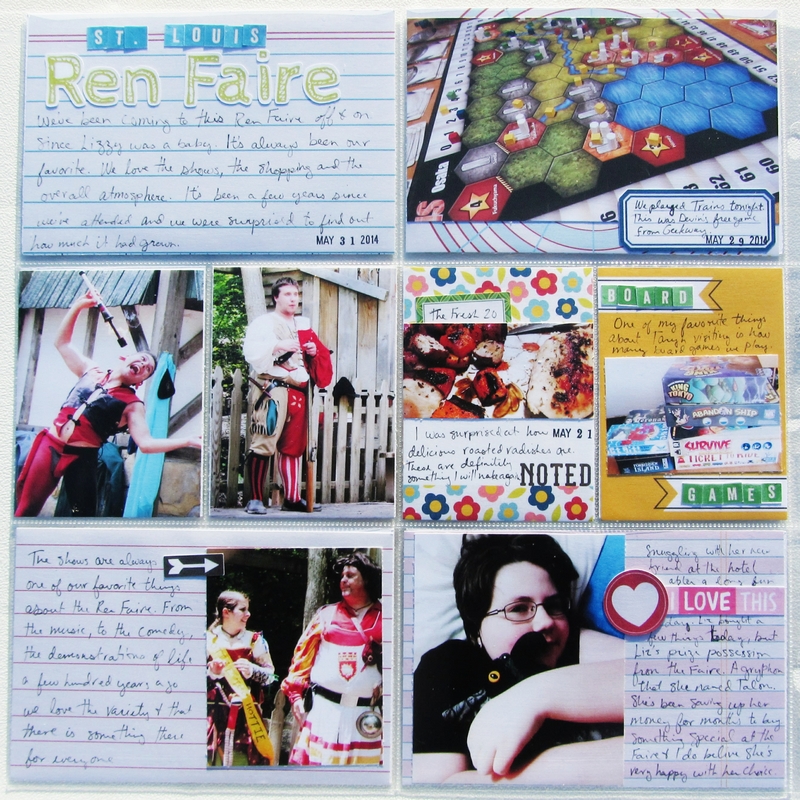
One of my favorite things to use as journal cards is notebook paper. I used Danielle Engebretson’s Graph and Crafts papers for all four 4″x6″ pockets on this final page.
While I don’t think I’ll embrace this as a new way to tackle my pocket scrapping backlog, it was nice finding that I could accomplish all this in a little over a day’s time. I know for my next project I’ll be back to digging through my paper clips and wood veneer looking for that perfect piece to embellish my page, but for me this was an awesome challenge, and in the end I love the pages that I created.
 Sarah is a member of the Hybrid Creative Team at The Digital Press. She is a homeschool mom currently living in rural Missouri. Her passions are tabletop gaming and, of course, hybrid scrapbooking.