
I’m back again with another tutorial based on a question asked on my last post – how do you use a gradient as a clipping mask?
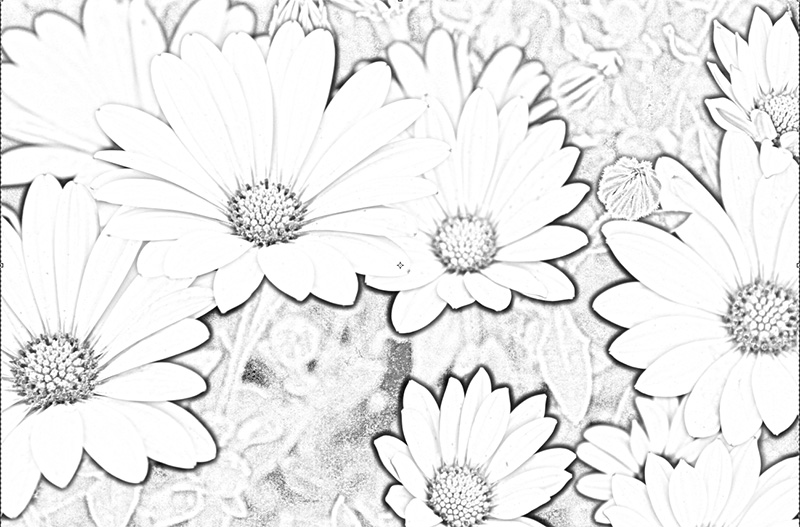
First, I converted a flower photo into a black and white pencil drawing as I showed you in my last tutorial.
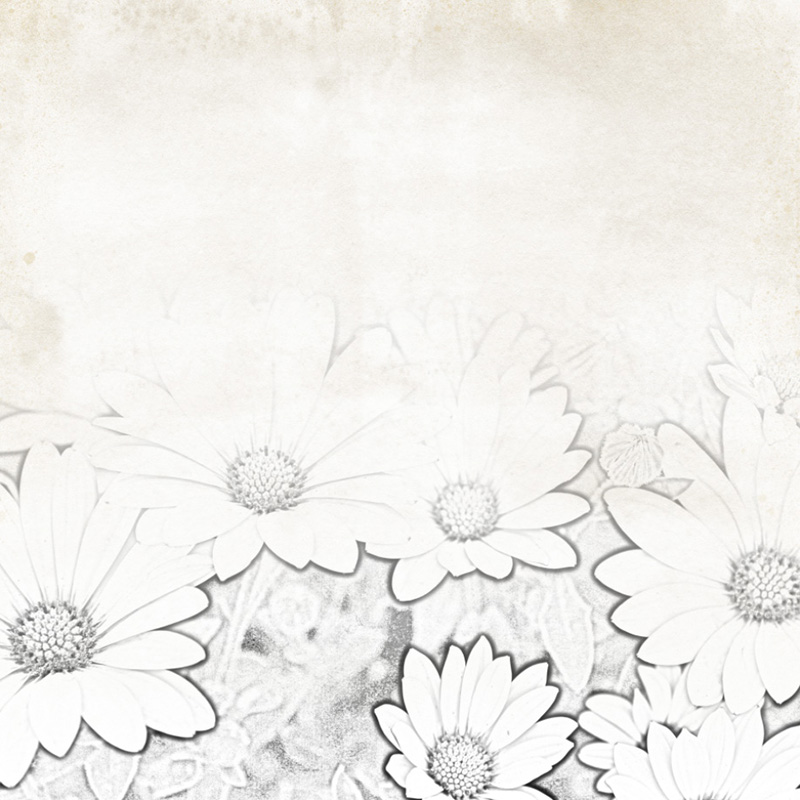
I flattened the flower image and copied it into a new layer on top of this grey background paper I want to use for my layout.
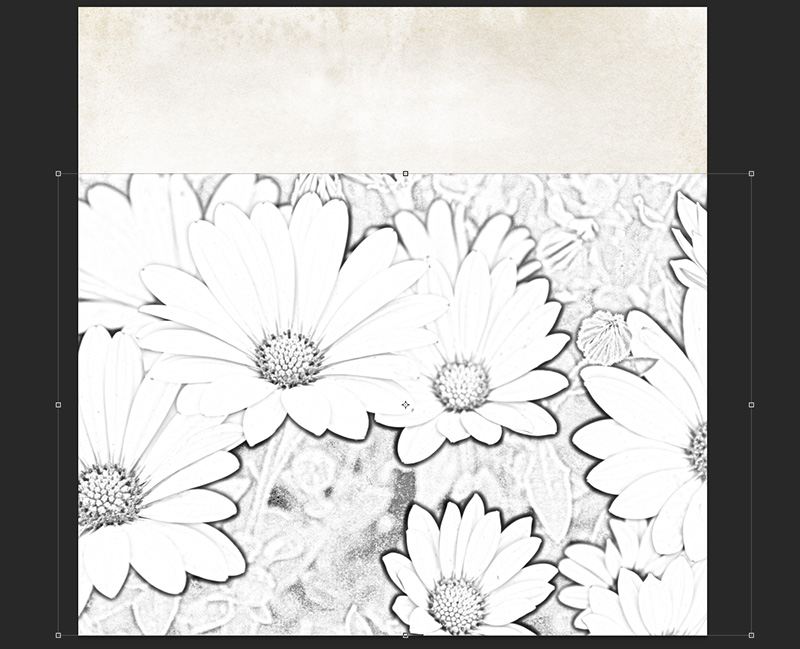
Next, I want the flower drawing to look like it is growing upwards from the bottom of the page, and I want it to be pretty big. After re-sizing, it looks like this:
Then, I want to blend this into my background paper, but I’m a super lazy scrapbooker, so I’m going to use a gradient fill to do the heavy lifting for me on this layout.
First, create a new layer in the layers palette. The new layer should be between the background paper and your pencil drawing.
I don’t want to do a ton of erasing after doing the gradient fill, so I’m going to use the outline of my photo layer to make a boundary for the gradient. With the new blank layer in between your other layers selected, hold your mouse over the layer thumbnail of your pencil drawing layer in the layers palette and ctrl-mouseclick on the thumbnail.
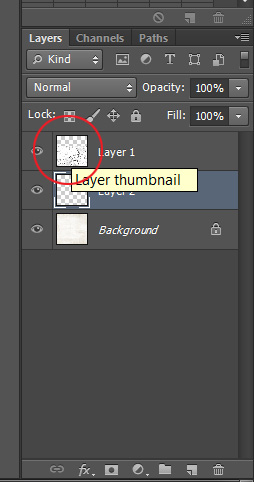
Your pencil drawing layer will have the dotted selection line around it, but in the layers palette, the middle layer will still be selected.
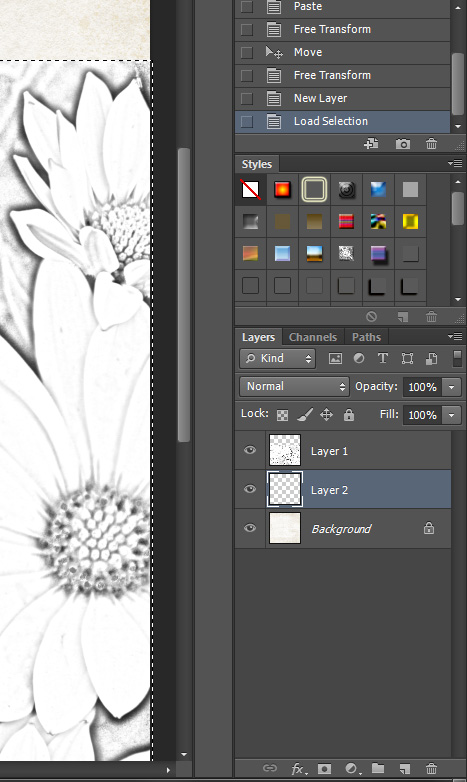
It will be easier to see what you are doing for the next steps if you turn the visibility of your pencil drawing layer off in the layers palette (click on the eye symbol associated with that layer).
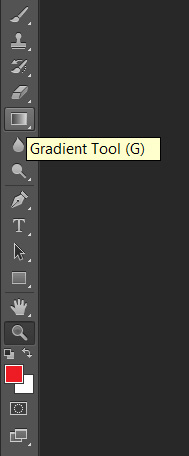
On the left toolbar, select the Gradient tool (or use the ‘G’ key as a shortcut).
In the top toolbar, click the Gradient Picker drop-down box and select the solid to transparent gradient. This will appear as a color on one side and transparent (the white and gray checkerboard pattern on the other).

I’m using red as my main color here so that it’s easier to see. Since the gradient will be used as a clipping mask, it doesn’t matter what the main color you are using is. Make sure the Dither and Transparency boxes on the right side of the toolbar are checked.
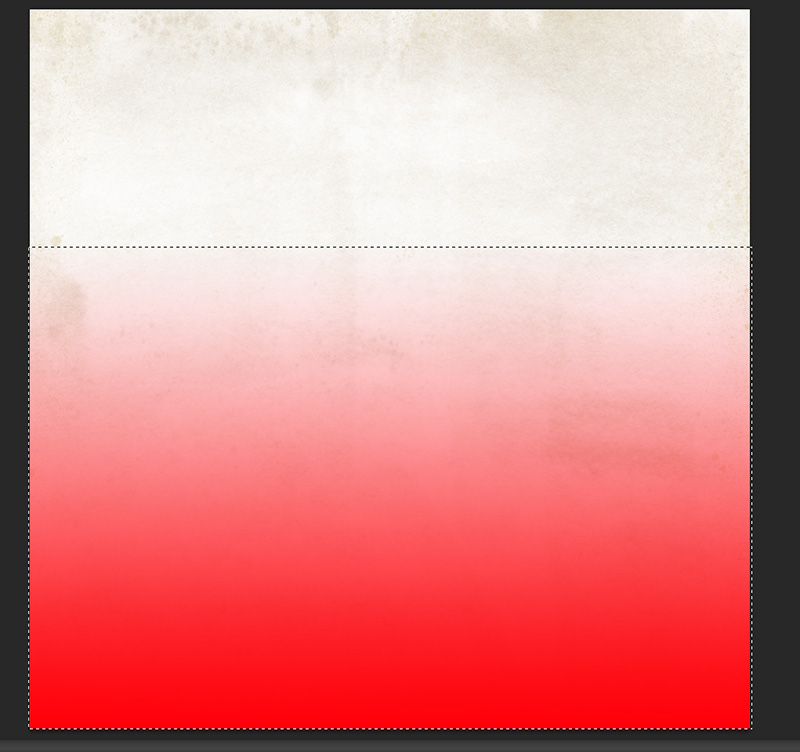
The Gradient tool draws a gradient from solid to transparent (in this case). So click first on the side of your line drawing that you want to be solid, then, drag your mouse in the direction you want the photo to fade. Because we are using the outline of your pencil drawing layer as a selection boundary, it will limit where the gradient ends to inside the selection. My document now looks like this:
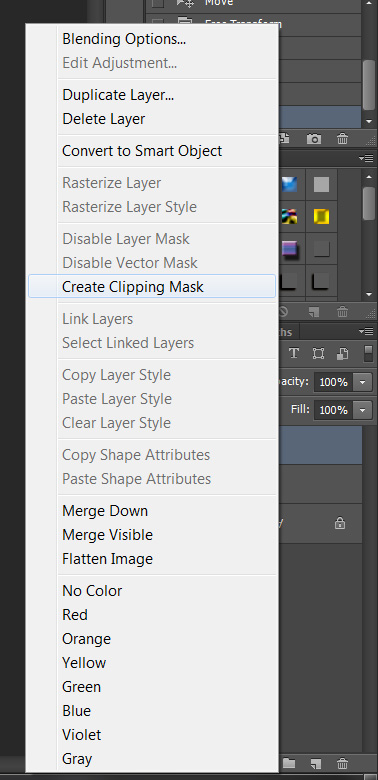
Turn your pencil drawing layer back on (click on the eye next to the layer thumbnail). We are going to clip this layer to the gradient underneath it. You can do this one of two ways:
- Hold your mouse between the pencil drawing and gradient layers and hold down the Alt key. Your cursor will turn into a box with an arrow pointing downward next to it. Click your mouse button and the top layer will now be clipped to the middle layer.
- Right click on your pencil drawing layer and choose ‘Create Clipping Mask’.
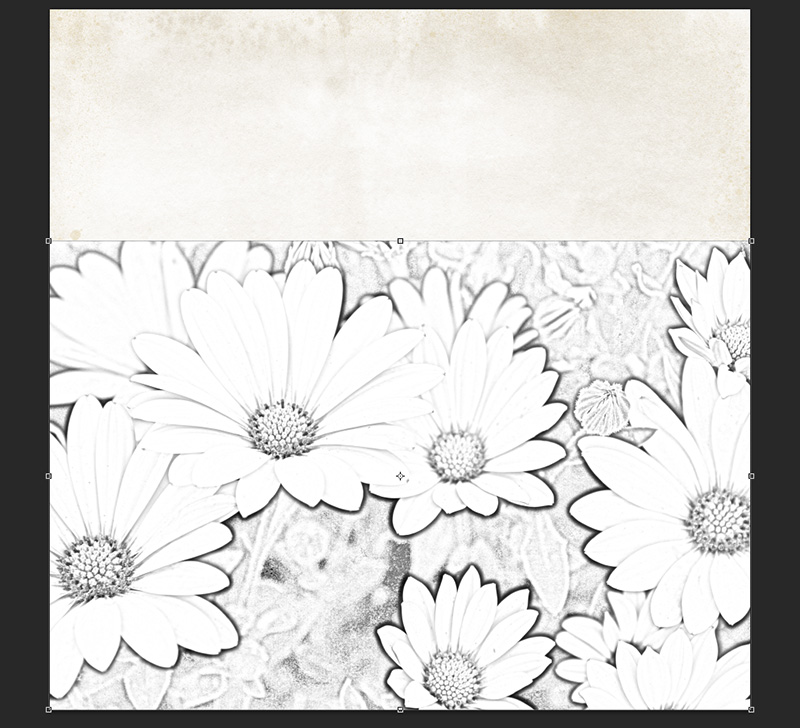
My layout now looks like this:
You can move the pencil drawing and gradient layers around until your layout looks good, and you can also use the eraser tool on the gradient layer to tailor the blending to your liking. For the eraser, I like to use a big brush at 5% flow – this only erases 5% of the area that I move my mouse over for each pass, so this blends well and it’s hard to see where I’ve erased.
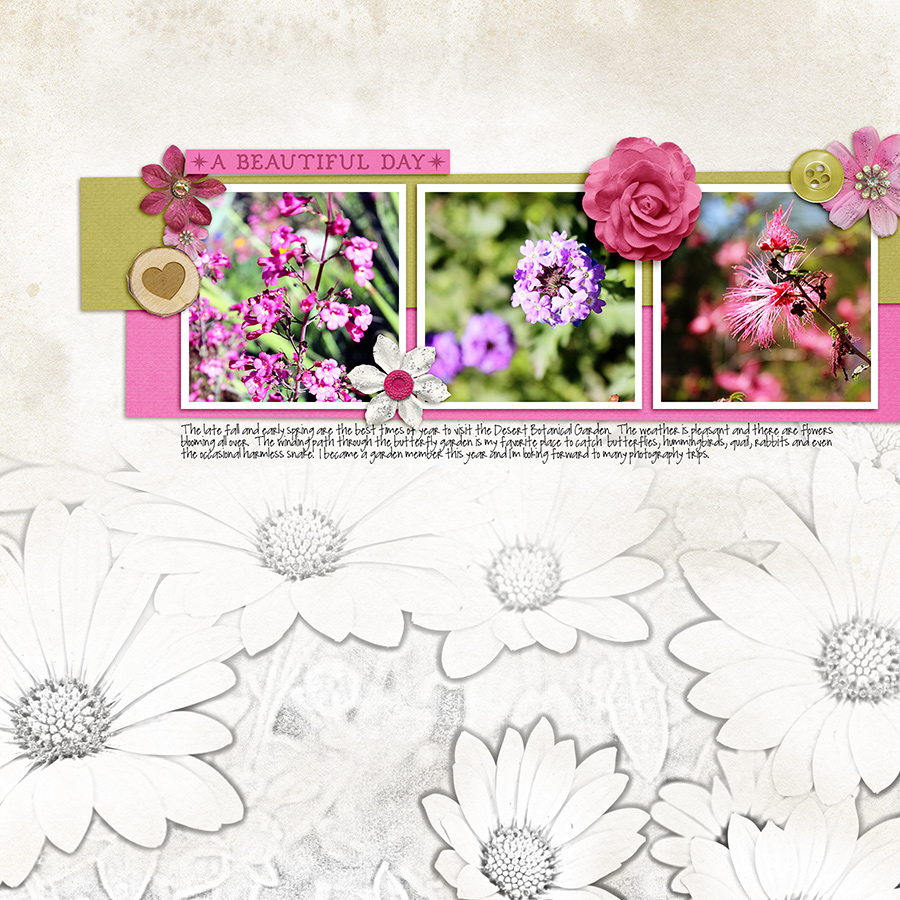
After some erasing at the top, and around each flower (where the flower petals appear to have shadows), photos, elements and journaling, my completed layout looks like this:
I hope this was helpful – happy scrapping!
Supplies Used:
Winter Berries by The Digital Press Designers
A Day in the Life: Solids by Sugarplum Paperie
 About the Author: Kacy is an Environmental Engineer living in Arizona with a elderly, cranky, pudgy, but insanely cute calico kitty. She enjoys scrapbooking, crocheting, dancing awkwardly to electronic dance music, Grumpy Cat, Scottish accents, drag queens, cupcakes, bacon, Stephen King books, smirking, very crude inside jokes, and men in kilts.
Thank you so much for listening, caring, and doing this tutorial. Hope you have a terrific day.