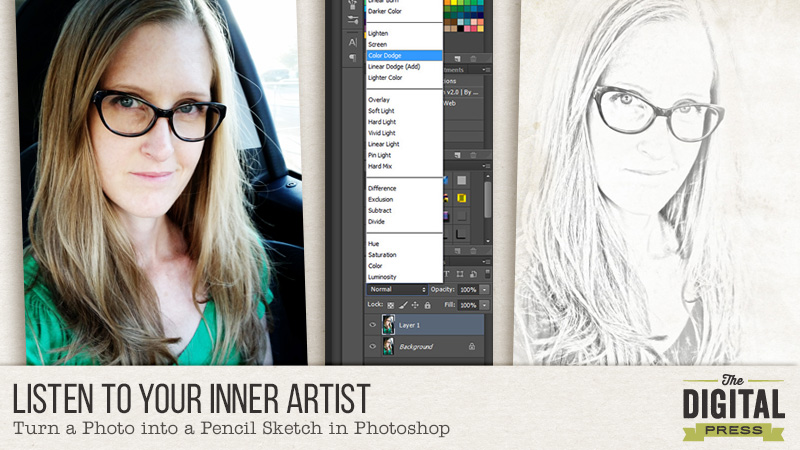
It is good to occasionally step out of your comfort zone and do something different on your layouts, right? Today, I’m going to show you how you can easily turn a photo into a pencil sketch in Photoshop and an idea on how to use the finished sketch on a layout.
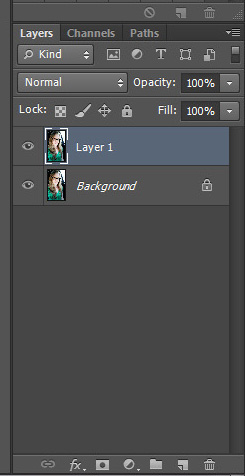
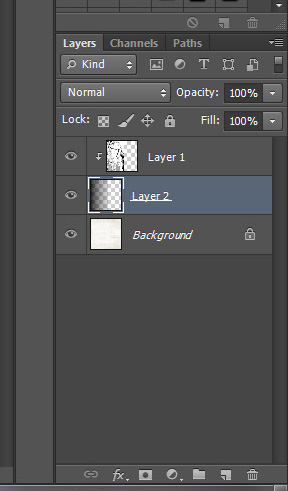
First, open the photo you want to work with – mine is my favorite selfie (it was a fantastic hair day!). Then, duplicate the photo into a new layer. I like to use Ctrl-J (cmd-J on a Mac).
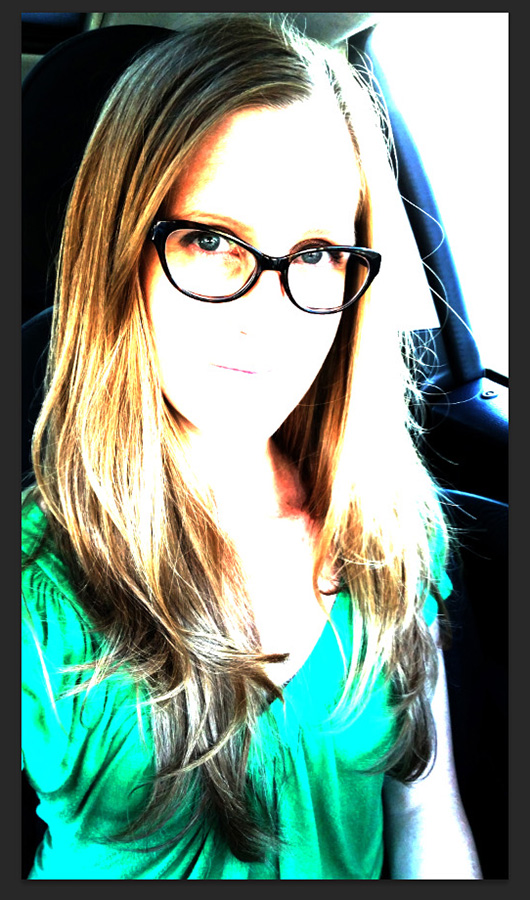
Change the blending mode for the duplicated layer to Color Dodge.

Your photo will look a bit washed out, like this:
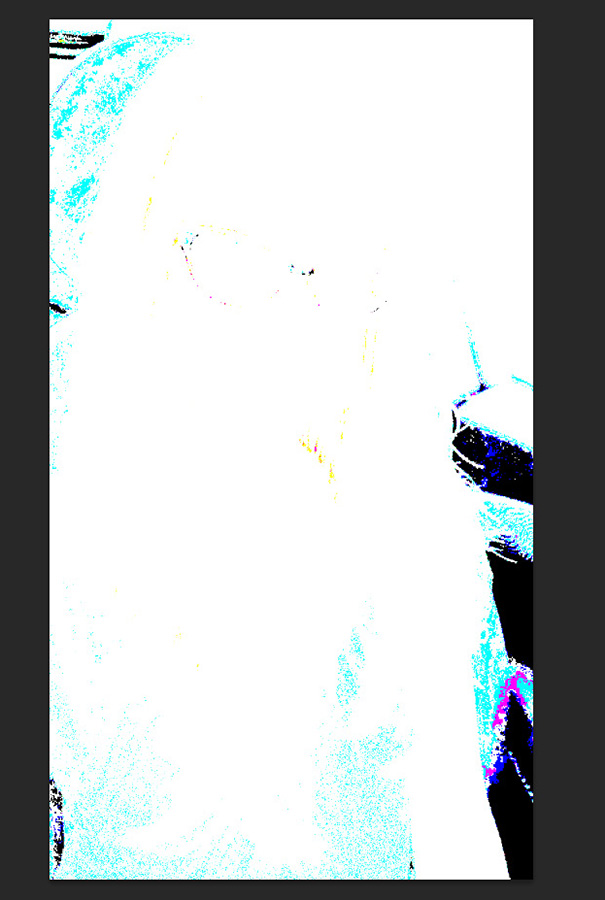
With the duplicated layer still selected in the Layers panel, we want to invert the image (Ctrl/cmd-I). Your photo will now look really strange.
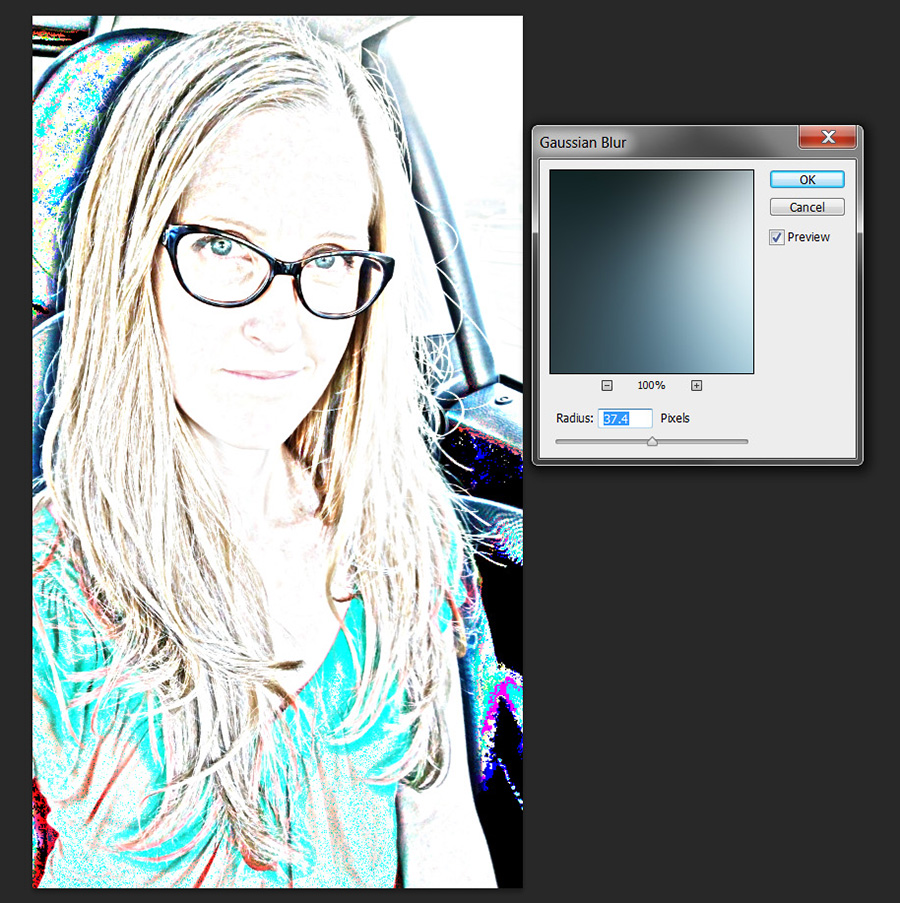
We are now going to blur the layer, which produces the pencil lines. Using Gaussian Blur (from the top menu choose Filter, Blur, then Gaussian Blur). Play with the blur settings a bit until the fake pencil lines on your photo look the way you want. I used a setting of 37.4, but your results may vary widely.
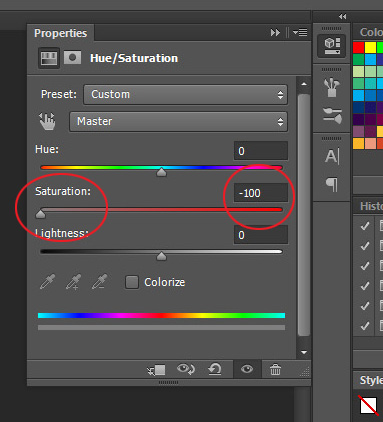
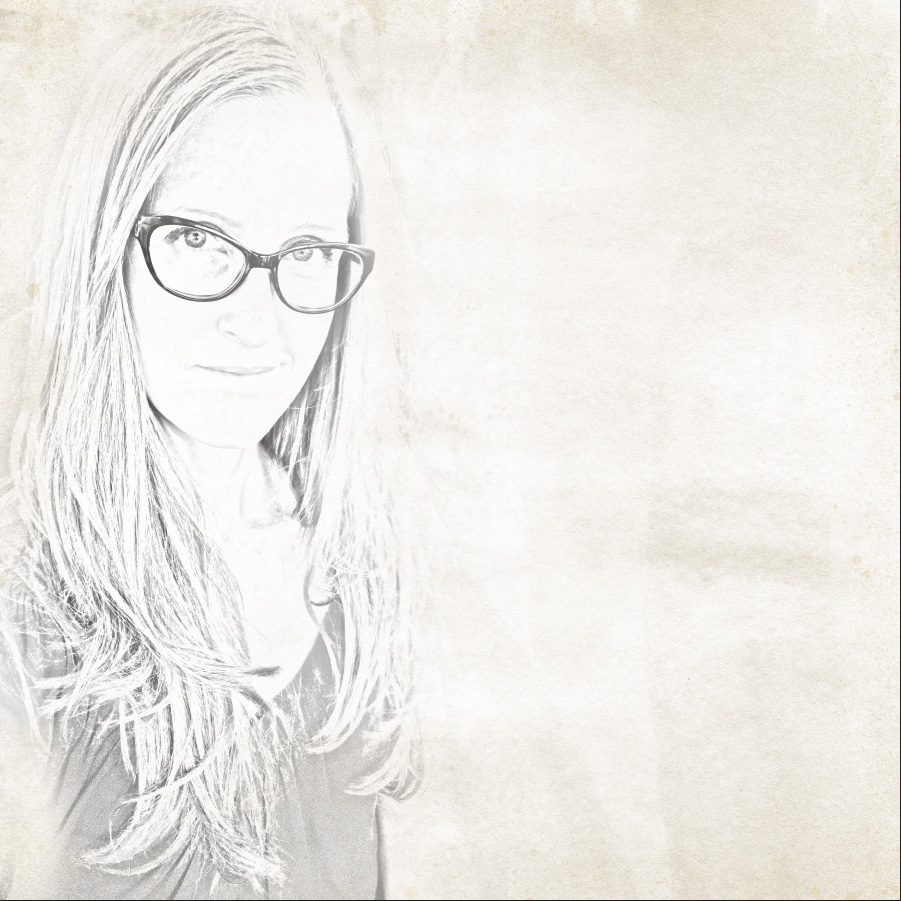
Now, we need to convert the layer to black and white. In the layers panel, choose the half-filled/half empty circle icon at the bottom (Create new fill or adjustment layer) and choose Hue/Saturation. In the panel, turn the saturation down to -100.
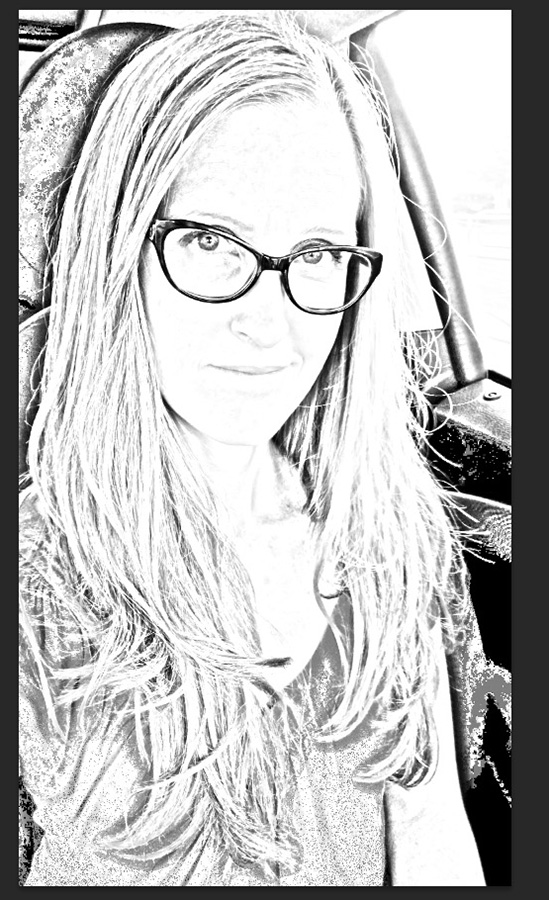
Your photo will now look similar to this:
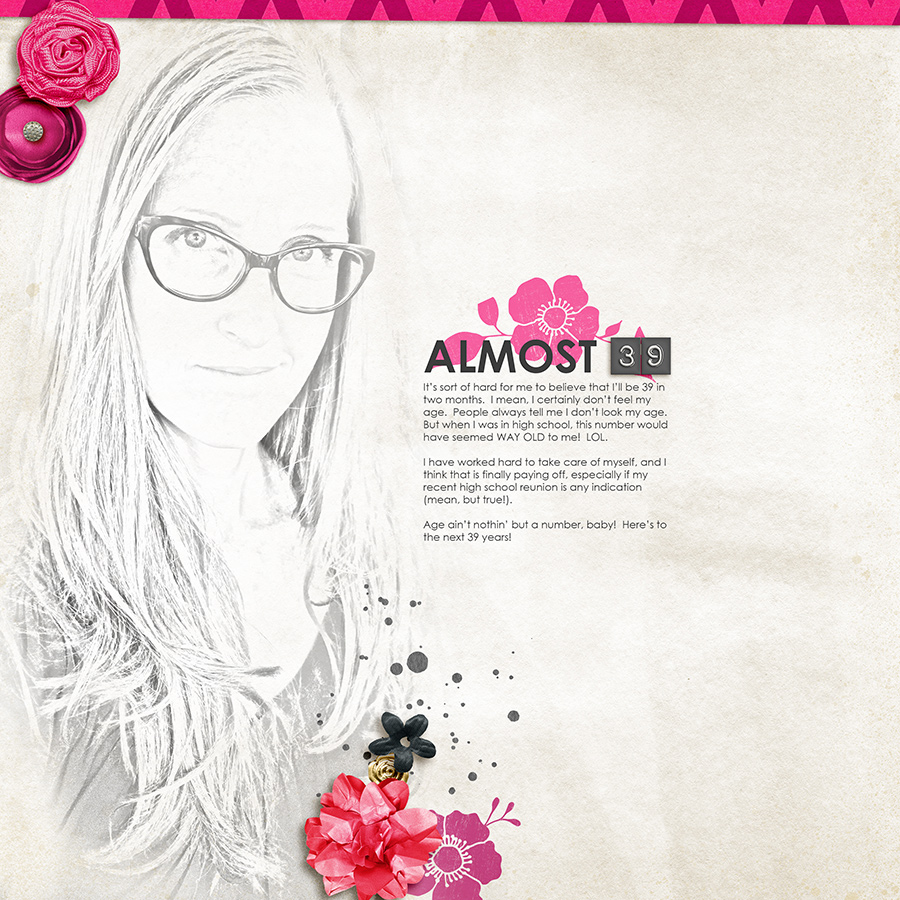
I think this might look good as a drawn-in background on a layout. I flattened the image and copied it over to my background paper (lighter-colored and plain backgrounds seem to work best). I used a gradient fill as a clipping mask behind my photo, and then the eraser tool (brush mode, 5% flow) to blend the edges on the clipped layer to get the photo to blend into the background seamlessly. I use a low flow on the eraser brush because it’s harder to mess it up when you are only erasing 5% for each brush pass. 😉

My photo, blended into the background, looks like this:
I added some journaling and embellishments, and I’m done!
Credits:
A Day in the Life: Solids by Sugarplum Paperie
A Day in the Life: Essentials by Sugarplum Paperie
Hello, I Love You by The Digital Press Designers
 About the Author: Kacy is an Environmental Engineer living in Arizona with a elderly, cranky, pudgy, but insanely cute calico kitty. She enjoys scrapbooking, crocheting, dancing awkwardly to electronic dance music, Grumpy Cat, Scottish accents, drag queens, cupcakes, bacon, Stephen King books, smirking, very crude inside jokes, and men in kilts.
Great tutorial! I’ll give this a try.
I really really like this tutorial and did fine until I got to the part that says, “I used a gradient fill as clipping mask behind photo.” I’m not sure what you mean by this. Can you possibly elaborate? Thank you much.
Vivian – I’m going to do a follow up tutorial to address your question on March 17th. Keep an eye out for it! 😀
Thank you for this awesome tutorial! If I had to figure out how to do this on my own, there would probably be 35 more steps added and it would look about half as good, LOL!
Vivian – a gradient fill is an adjustment layer, and there are two ways(that I know of) you can add one; you can either use the little icon at the bottom on the layers panel and choose “Gradient… ” or, using the menu, go to Layer > New Fill Layer > Gradient… There are a ton of things you can mess with in the options – but I just wanted to give you a quick explanation as to what a gradient fill is so you don’t have to wait another week to find that out, LOL!
I’m definitely looking forward to your next tutorial, Kacy! 🙂
Thanks Kacy. This looks like fun. I love when layouts are deconstructed and tutorials shared that show how a technique is done. I look forward to the follow up on the gradient fill.
Thank you Kacy. I am looking forward to it! And thank you Emily. I will look at that and see if I can figure it out.