Hello everyone! It’s Tanya here for this week’s Hybrid How-To… to show you how to make a fun and easy robot party favor! 🙂
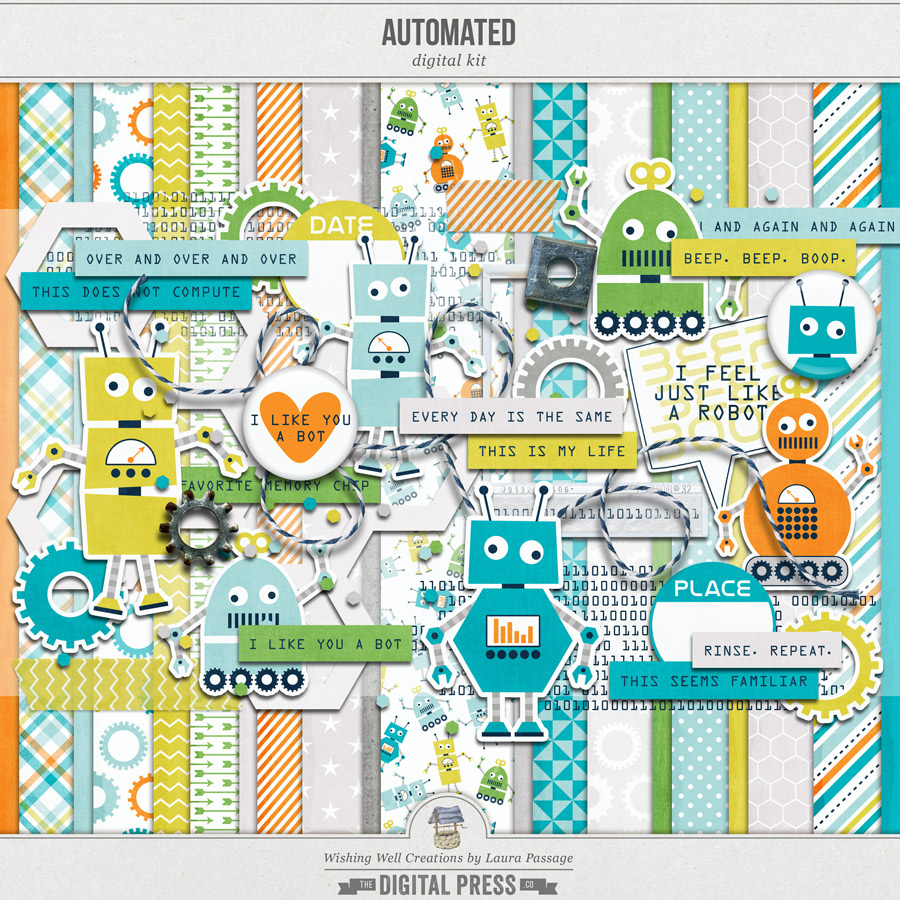
The minute I saw this adorable new Automated | Kit by Laura Passage, I knew I had to do something with it. My friends ask me all the time, “why do you make all these wonderful things and you don’t even have small children?” Want to know why?! It’s because I looooove hybrid crafting and sharing those craft ideas with you. I always hope that it will inspire you to take a shot at hybrid crafting and create something fun.
I don’t think Robot party favors were Laura’s original idea for the kit, but that is one on the reasons I love hybrid crafting… there can be soooo many uses for a single kit!
I used my Silhouette Cameo for this project… mainly because I’m spoiled by it! There are other ways to achieve the same results, however, and you don’t need a cutting machine in order to do this project.
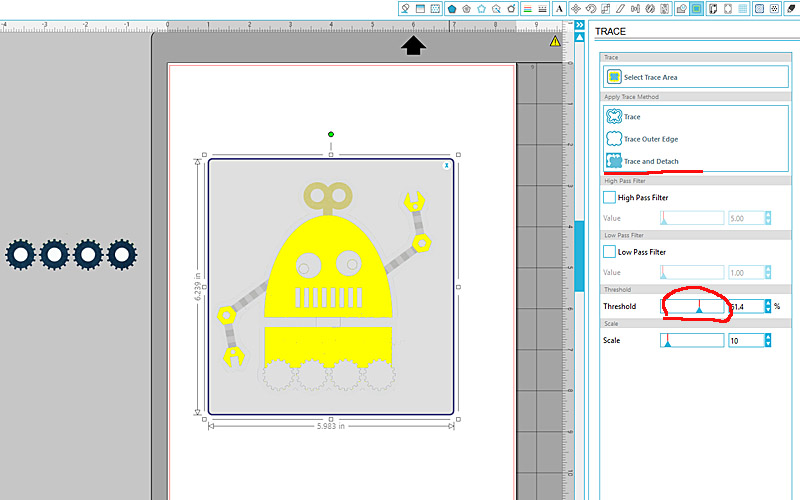
To begin, you will need to separate the pieces of each robot so that you will be able to cut each different piece of the “puzzle.” To do this, open the element you want to use and copy it a couple of times (I do this just in case I need to go back to the original for any reason). Next go to trace, uncheck the high pass filter and then select trace and detach. As you move the threshold slider to the right, you can see the parts that will detach (highlighted yellow in the image, below). I will do this a couple of times, each time moving the slider to highlight more of the image to detach.

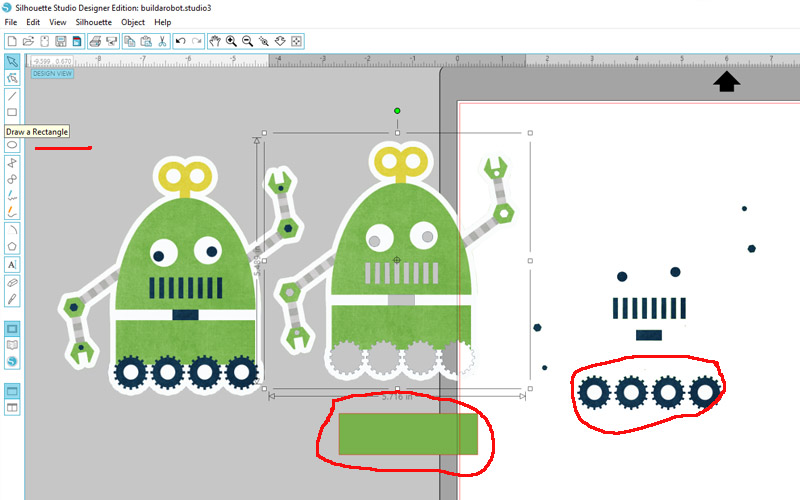
In this next image, you can see the other part of the image that will detach…
To get the rectangle (shown below, circled), I simply picked the rectangle tool and drew it out to the size I needed…
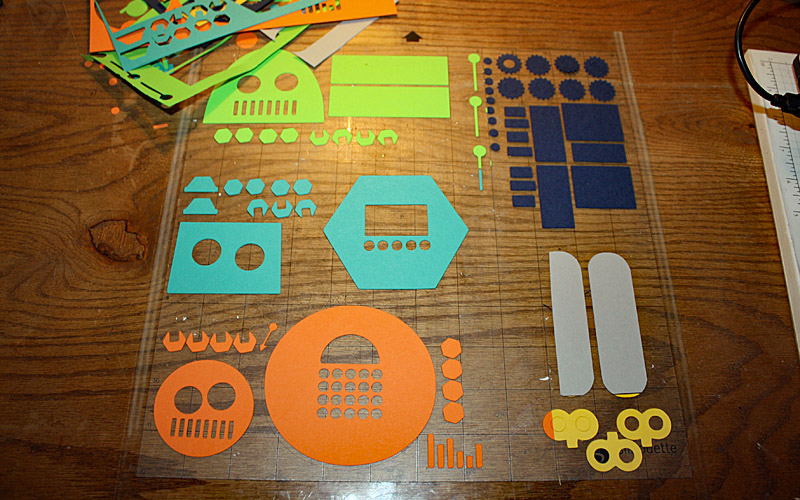
Next, you can see how I organized all my pieces on the mat (this is also how I will set up my scrap pieces of card stock when I actually cut with my machine)…
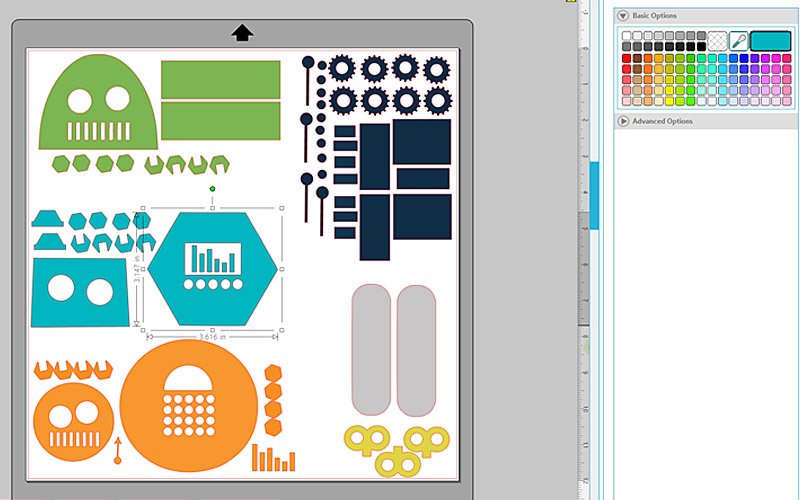
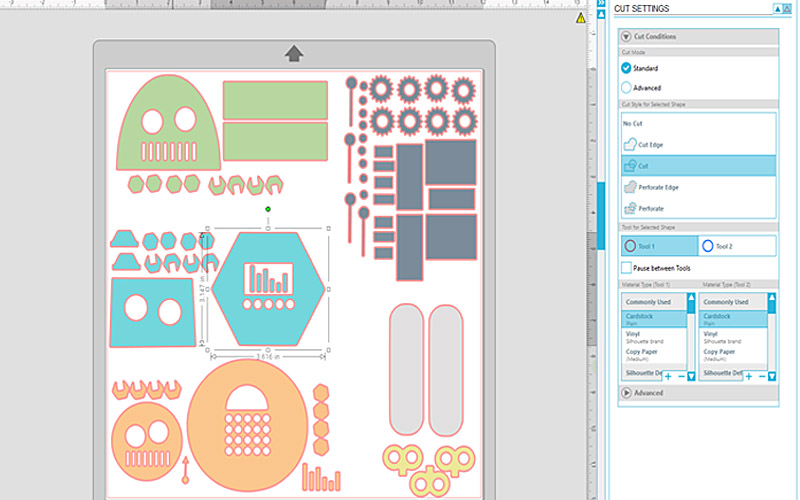
Don’t forget to turn on the cut lines, as shown here…
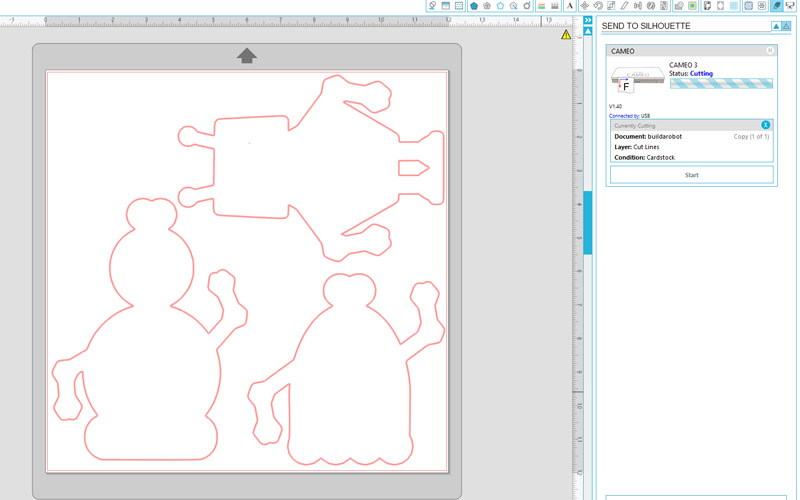
For the base piece, I opened the trace image box and chose the trace outline box…
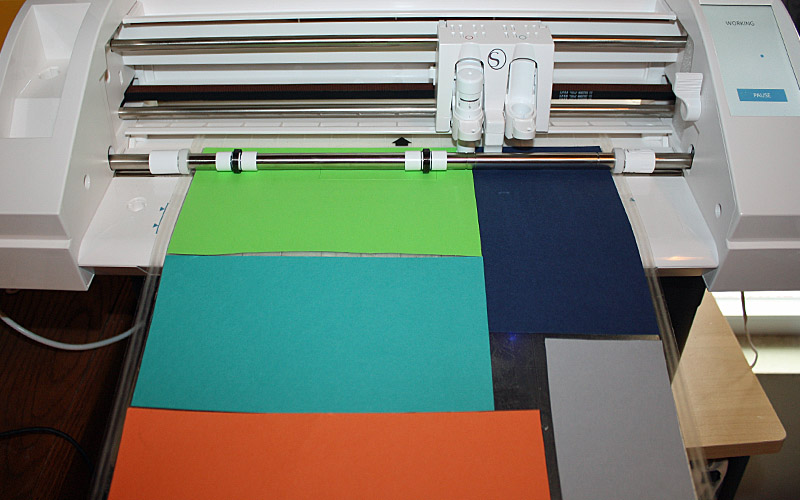
The neat thing about using card stock (as opposed to printing and cutting using digital papers/patterns) is that you can use up all your old paper scraps. As you can see, below, I actually chose the colors that were in the kit… but you can use any color scraps you have on hand. You can see here that I was able to put five different colors on the mat at the same time… and boy, is this a time saver! (also, if you scroll up, 2 images above, you can see how the paper scraps in this next image match the layout of images I created in the software).
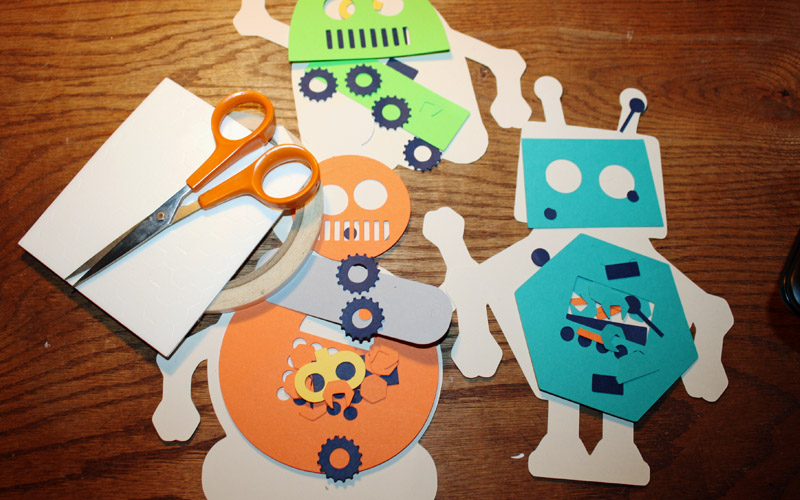
Here’s a look at all of the pieces, once I removed the excess cardstock…
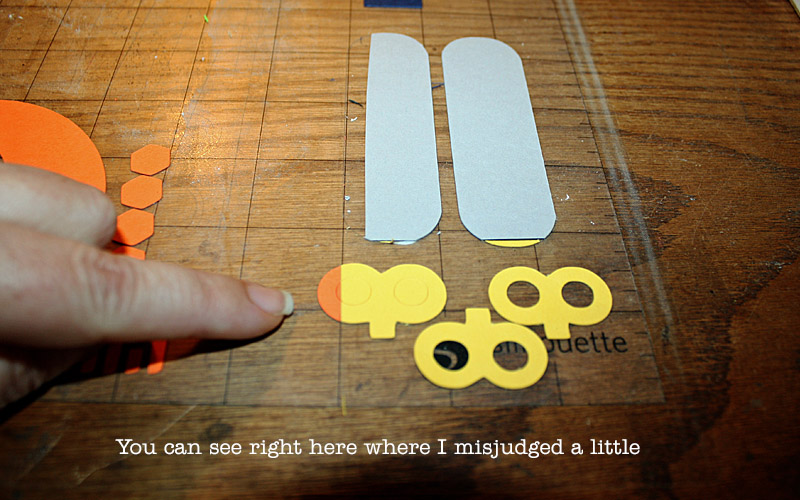
As you can see in the next image, I actually had to re-cut a few pieces because my calculations were off. Oops! (not that I really calculated anything; I eyeballed it!)…
And finally, once you have all of the separate parts cut out… you will simply group them together to put into a cellophane bag (for the end-users to be able to assemble and create their own robots!)…
Here are the tags I created to tie to the gift bags…
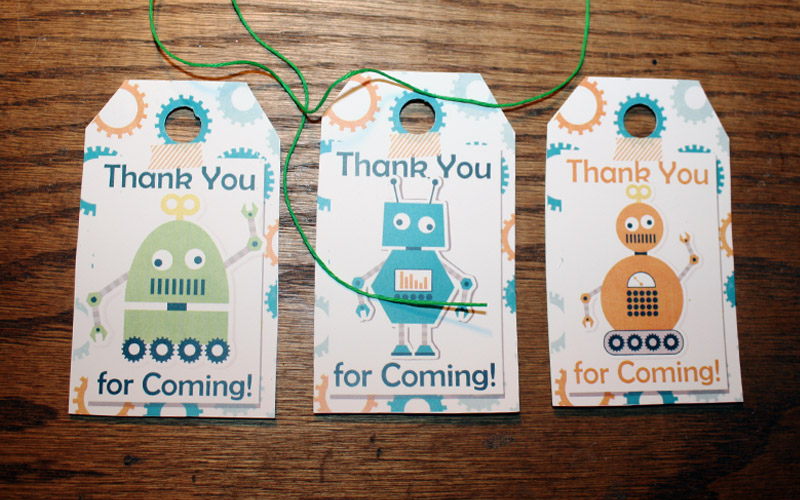
And that’s it! A ready-made party favor to send with your guests, so they can go home and assemble their own robots. So much fun!
I hope that you have enjoyed today’s Hybrid How-To here on The Digital Press’s blog. Now it’s your turn to create something fun (with or without a cutting machine)! If you would like to earn points toward TDP’s monthly challenge system, visit the corresponding monthly Hybrid Challenge in the forum’s CROSSWORD SECTION (you’ll find it stickied up near the top during March 2017). We’d love to see your creations!

About the Author Tanya is a part of the hybrid team here at The Digital Press. She has been hybrid crafting for at least 14 years now, and loves creating and sharing those creations with others. Her all-time favorite tool is her Silhouette Cameo. She has been married for 28 years to her high school sweetheart, Richard and has two sons: Chris, 25 and Chance, 20. She also enjoys crocheting, photography and woodworking
These are so cute😍😍 as always they look amazing. Wish I was this talented