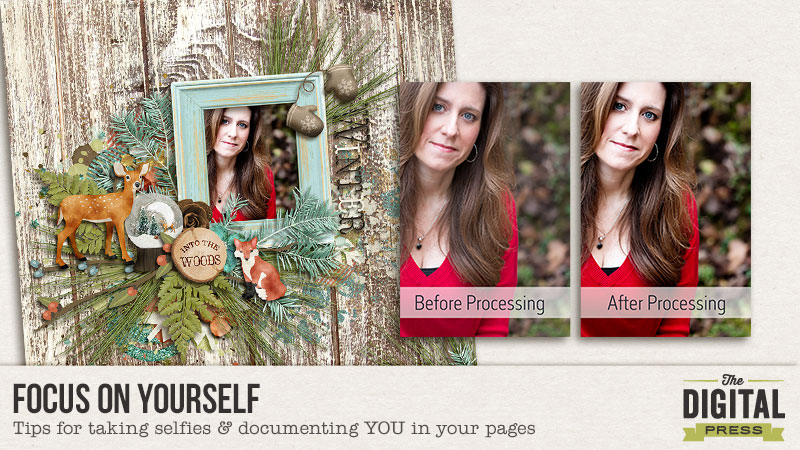
Hello everyone – Judie here with my first blog post and related challenge at The Digital Press! I’m going to be talking about the “oh so dreaded” selfie (well, for some of us, anyway). But it really doesn’t have to be that way – I promise! We all know the importance of documenting ourselves along with our family and friends, but too many of us skip over it because it’s a pain to take selfies, or we don’t want to give up the camera to someone else, or we simply hate taking photos of ourselves. If you’re not one of those lucky people who are naturally photogenic and love snapping selfies, then this post is for you. Even if you are a selfie aficionado, you might just pick up a couple of cool tips along the way. 🙂
I was definitely one of those people (the one who always ran away from the camera unless I was behind it taking the photos), until I decided to make a project of it last year, and now I have a hard drive full of selfies and a gallery full of layouts that document me. So, how did I do it? I was simple really, instead of focusing on taking pictures of myself, I focused on the process of learning about portrait photography. That way, the focus was on growing my photography skills, as opposed to just taking photos of myself. This approach really helped me to get interested in the process of documenting myself and, after a while, I found that I really enjoyed it (both the photos and the scrapping).
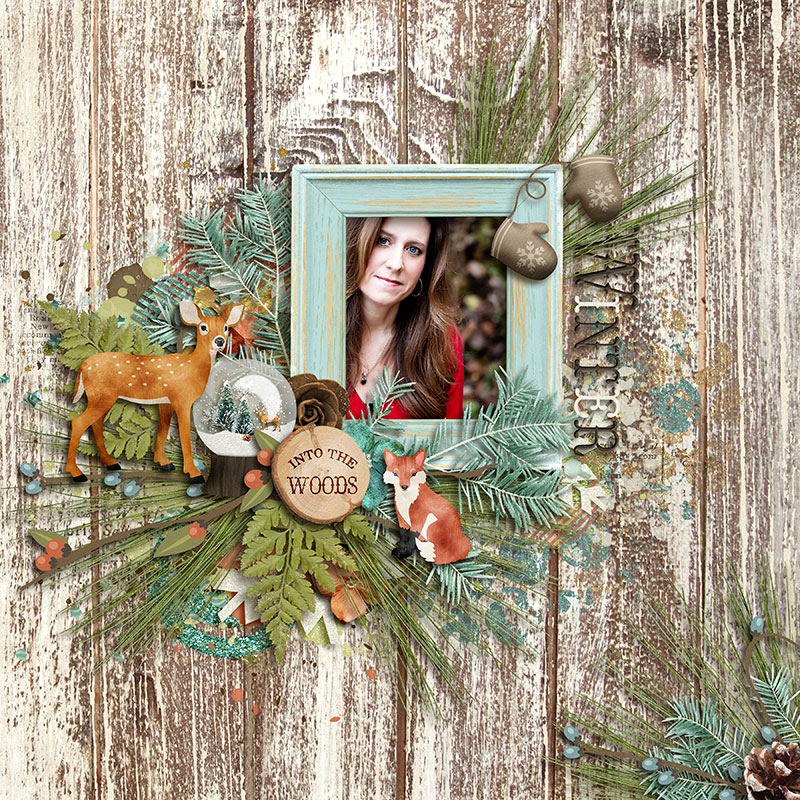
This is one of my favorite selfies (taken in December 2014):
Step One: Taking the Photos
I thought I’d start by sharing my process with you, and then suggesting some other ways to put the photo focus on you. As I mentioned earlier, I encouraged myself to take selfies by approaching the project as a photographic learning experience. There are many online tutorials and tons of books and resources on taking selfies or head shots. If you Google “self-portrait” you’ll find many free articles and videos, but here are some of my favorites:
- Posing 101 with Lindsey Adler (there is a free 45 minute video that you can watch without buying the whole class)
- Tips for Taking Great Self Portraits
- How to Take a Better Self Portrait
- Self-Portraits: Get In Front of the Camera
These are just a few of my favorites, but there are many more resources out there. I’d love it if you’d share your favorites in the comments to this article. 🙂
I used my DSLR (Canon 70D), 100mm lens, tripod and remote shutter release for my selfie project – but you don’t need all of this equipment. I would highly recommend some type of tripod, though. It will give you much greater freedom in terms of your environment and posing if you aren’t limited to the reach of your arm. A camera with a repositionable viewing screen and remote is also optimal because you can see exactly what the photo will look like before you take it. This set up gave me the opportunity to test different poses and determine which ones worked the best (without taking 100+ photos). Of course, you don’t have to focus on the technical photography details. If you’re more comfortable taking arm’s length selfies with your cell phone – go for it! The most important thing is that you get in front of the camera.
Here are some tips from my year-long selfie taking experience:
- Try to take photos in natural light whenever possible (you’ll like the results a lot better).
- Don’t take photos in bright sunlight, though. If it’s a sunny day, take photos in a shaded spot or at sunrise/sunset.
- Try to vary your environment and poses so that you don’t have a group of photos that all look the same at the end of the year.
- Don’t be afraid to include props in your photos (such as a Starbucks cup, football, favorite book, cell phone, etc.).
- Remember that a selfie doesn’t have to be limited to just you! Feel free to include others in your photo to document your relationships.
- If you don’t like yourself in photos, wear sunglasses. Everyone looks cool in sunglasses – seriously.
- Get creative and really let your personality shine through in your photos!
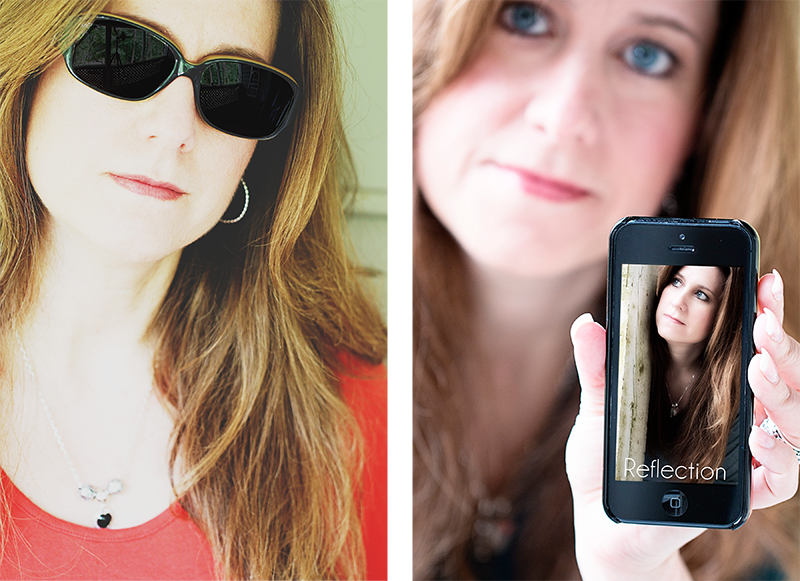
Here are a couple of examples of creative selfies. One that I used several filters on (see what I mean about sunglasses?) and one with my iPhone that I used as a “frame” for another photo:
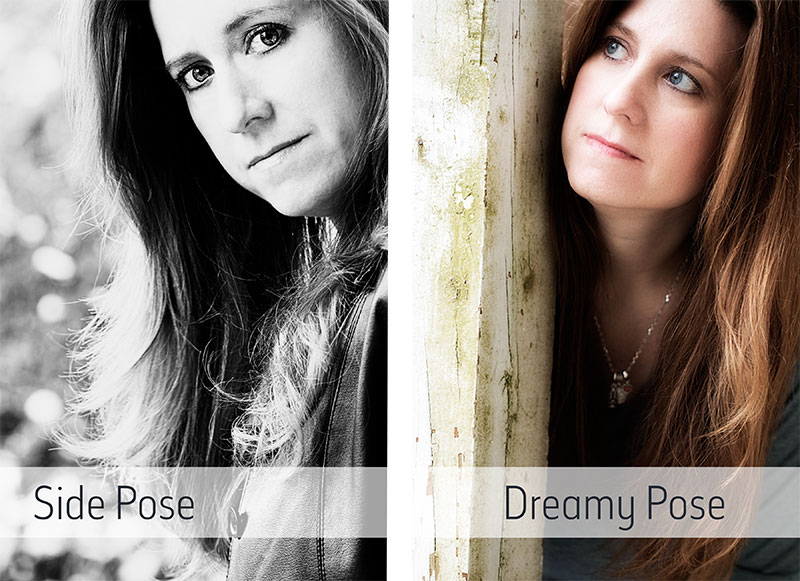
And here are a couple examples of non-traditional (straight on) poses:
Step 2: Getting the Photos Out of Your Camera
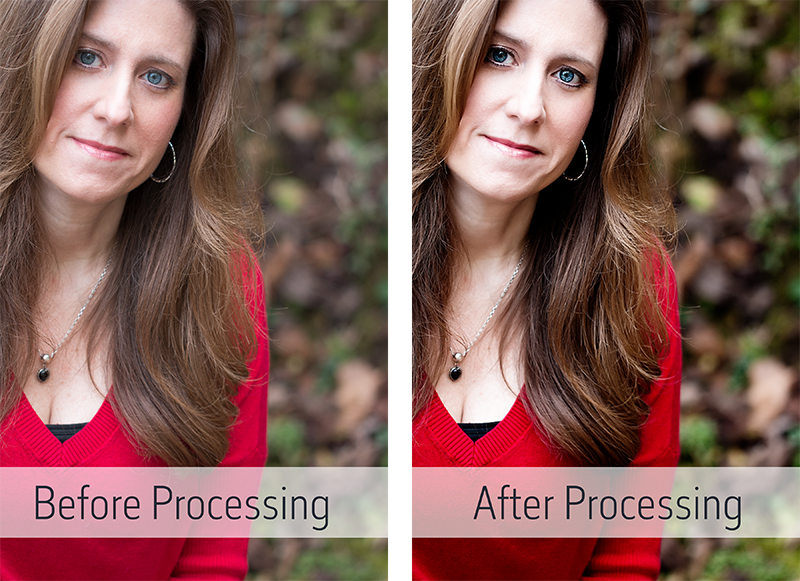
The next step is getting those photos out of the camera and ready to go in your scrapbooks (digital or hybrid). If you are using your cell phone, you may be able to process the photos right on the phone itself, or you can download and process them in your favorite software (Lightroom, Photoshop, etc.). I shoot in RAW and use a combination of Lightroom, Photoshop and RadLab for my photos. I start by doing basic adjustments in Lightroom (white balance, exposure, sharpening). Then I tweak the photo in Photoshop (eye pop, skin softening, etc.). Then I export to RadLab and add my favorite adjustments there. Don’t go overboard with the process though. The whole point of this exercise is to have photos that document you. The last thing you want are photos that look over-processed or nothing at all like you. My post-processing goals are limited to making basic adjustments and adding a pop of color (or converting to black & white). The entire procedure only takes me a few minutes for each photo. Even this basic post-processing can make a big difference, though. Here is an example of a photo straight out of the camera, and after post-processing:
There are hundreds of resources for photo retouching techniques, but one of my favorites for Photoshop is Professional Portrait Retouching by Scott Kelby. If you Google “photo retouching” and your software program you’ll find many free tutorials and YouTube videos on the subject. You can spend as little, or as much time on the post-processing as you like, just make sure the the final result is still true to YOU.
After a selfie shoot, I generally download all the photos onto my computer and pick out my favorites. Then, I delete (yes, I said delete) all the other ones. One disadvantage to shooting in RAW format is that the files are pretty large, so I don’t want a bunch of photos that I’ll never use taking up space on my hard drive (or external hard drive). While we’re on the subject of EHDs, let me take a second to remind you to back up your photos. I don’t delete them from my camera until I have them saved in at least two (often three) different places. Generally, I have a copy on my desktop hard drive, a copy on an external hard drive, and a copy in the cloud. If I do the back up as I download from my camera, I never have to worry about losing anything. After downloading the photos, I put the selfies in their own organizational folder in Lightroom. That way, I have them all in one place and don’t have to go through folders by date to find the one I want. Sometimes, I do the post-processing before I know what digital page I’m going to use the photo on, but most of the time I process them as a scrap. As I mentioned before, my post-processing only takes a couple of minutes, so it’s not a big deal to wait until I know whether I want to use a color or b/w version of the photo.
Step 3: Getting Creative & Documenting YOU
The whole point of this exercise is to document YOU and your life, right? So it doesn’t do any good to take photos and leave them on your computer. As digital scrappers, we document with photos and (sometimes) journaling. So let’s talk about the best part of the process – getting creative with your selfies! I talked about some ways of getting creative when taking the photos, but as you know, creativity knows no bounds with digital art. Here are some of my favorite ways to incorporate selfies into a digital page:
- Include the post-processed photo on a traditional digital page.
- Blend a photo into the background of an art journaling page.
- Apply an artistic filter to the photo and use it on a page.
- Include the photo in a pocket scrapping page.
- Make a review page, including selfies from throughout the month, quarter or year.
- Make a photo shoot page, including selfies from a particular photo shoot.
- Use a photo with you wearing sunglasses and replace the lenses with reflective photos or patterned paper – BE CREATIVE!
Again, the most important part is to get the photos off of the computer and into a page documenting you. If you are uncomfortable scrapping photos of yourself, try doing something creative with the photo such as applying a sketch filter and blending it into the background of the page. Ready for some selfie inspiration? Here are some examples of some of the the styles I mentioned above:
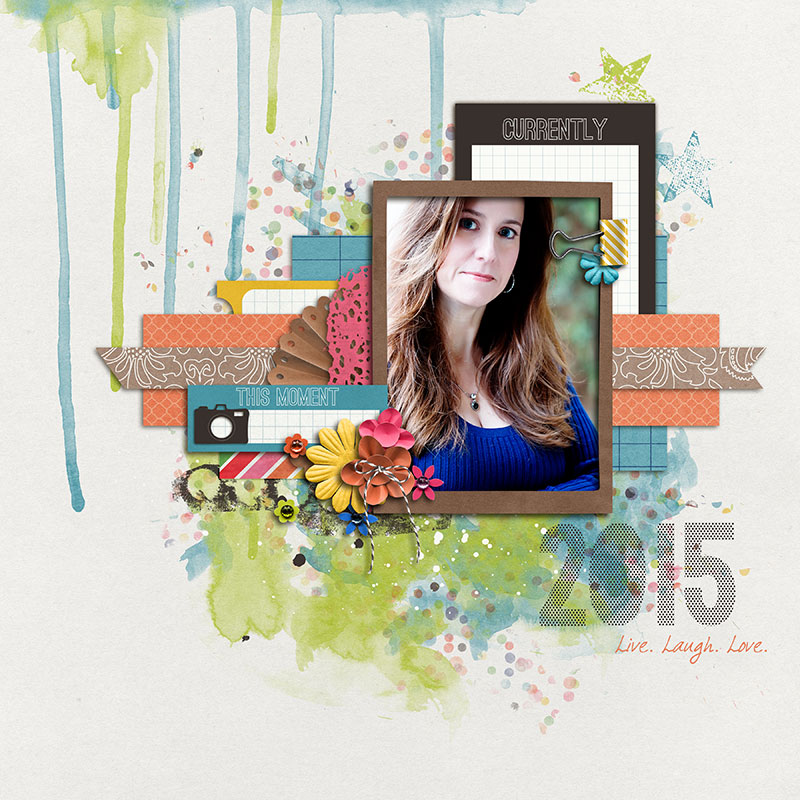
First up is a traditional page with a post-processed photo:
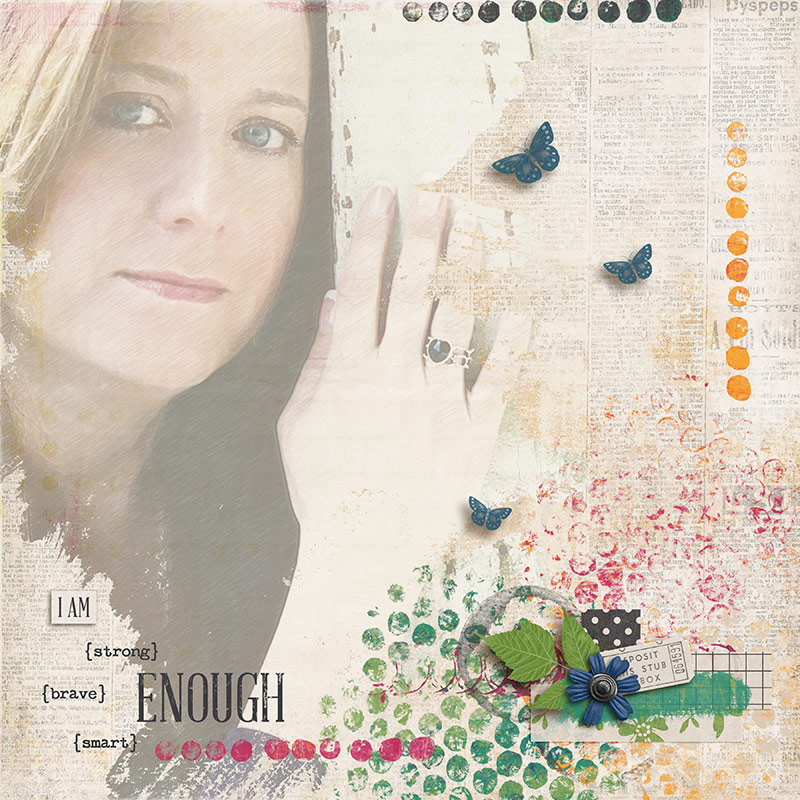
Here is an example of an art journaling type of page with a sketched version of the photo blended into the background:
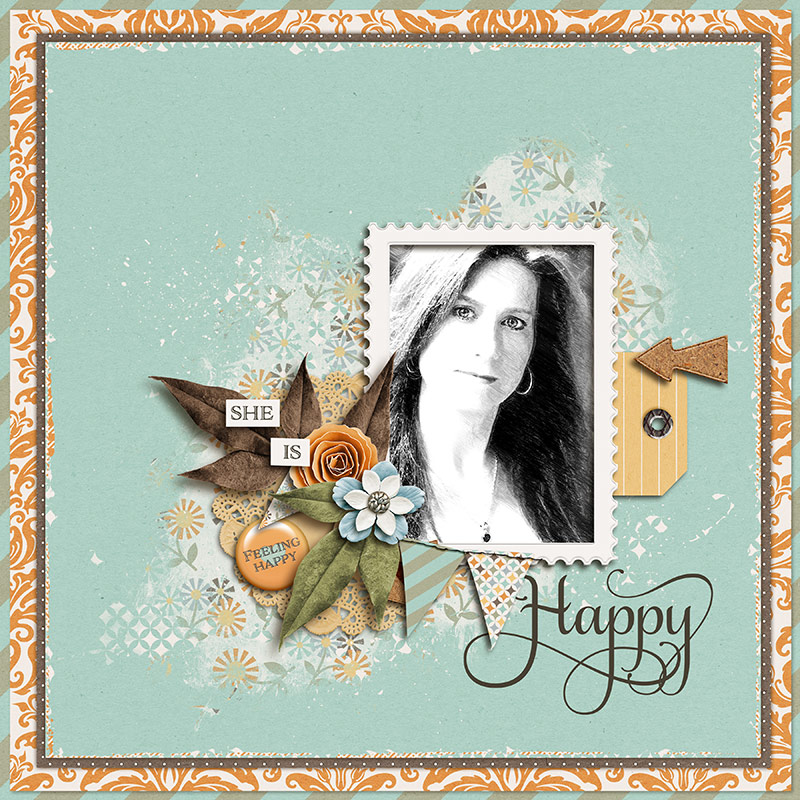
Finally, here is an example of using a photo with a sketch filter applied:
So, are you ready for a selfie challenge? Be sure to check the The Drawing Board forum and join me in the January Focus on Yourself Challenge!
Until next time ~
Judie
 About the Author: Judie is a member of The Digital Press creative team. She spends most of her time engaged in creative endeavors of all sorts. Traveling, Starbucks, football and Harry Potter are just a few of her favorite things.
I struggle with taking selfies, I’m more comfortable behind the lens than in front of it. I’m working on it 🙂 Great article!