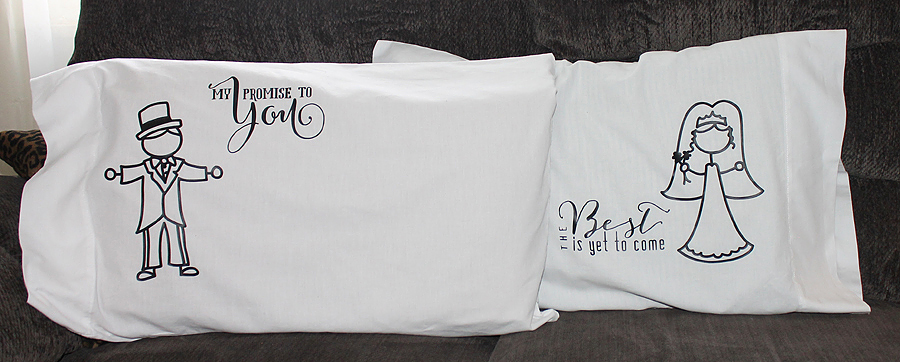
Happy Saturday! A huge hello to you! Today marks the very first Hybrid post here on The Digital Press blog! I am going to show you how to use those digital designs with your Silhouette Cameo to create a one of a kind home decor item perfect for gift giving to newlyweds or for keeping for yourself!
And…. I’m hosting a giveaway where one lucky reader will win this beautiful set of pillow cases simply by commenting on this post! You can receive additional entries by sharing this post. To get additional entries, comment again telling me where you shared this post!
I have had this project on my “to do” list for months and, after seeing Kim Broedelet’s Forever: I DO word art in the shop, I knew it was PERFECT for what I had in mind.
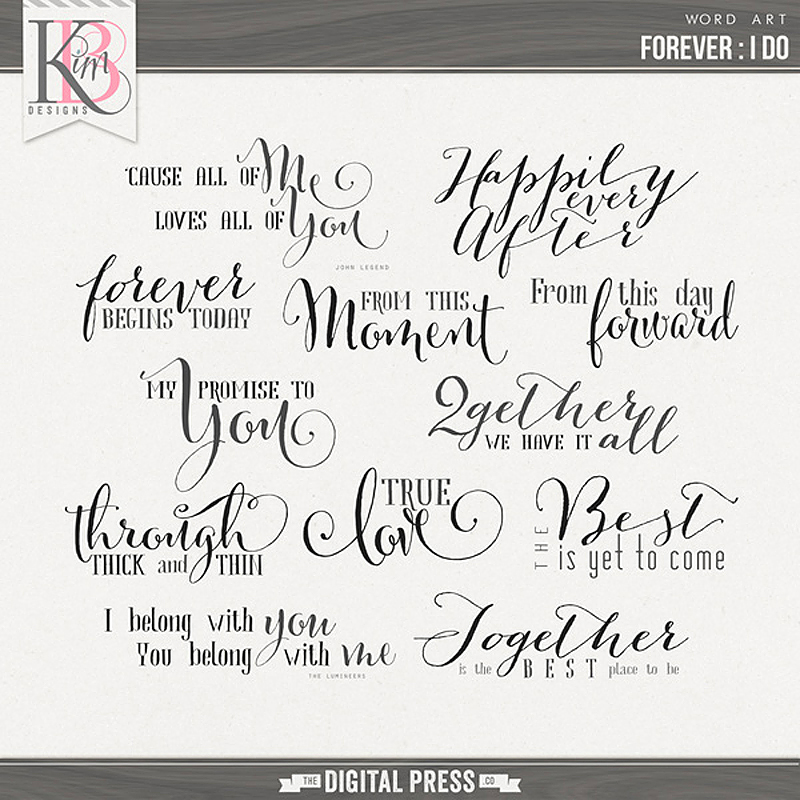
The word art is part of her Forever: I DO: Collection.
Here is what you are going to need to create your own pillow cases:
- Pillow cases, pre-washed without laundry soap or fabric softener
- Siser Easy Weed heat transfer vinyl
- Silhouette Cameo
- Silhouette Studio program
- Bride and Groom stick figures from the Silhouette design store
- heat press (or iron)
I just recently ventured into the heat transfer vinyl (HTV) world with my Silhouette. It has been a learning process with lots of mistakes along the way! Hopefully, I can help you avoid some of the same mistakes I’ve made!
First, make sure that any tshirt, sweatshirt, hoodie, pillowcase, etc. that you are working on is pre-washed. This helps pre-shrink the item so that all your hard work (shhh… it’s not really HARD work) isn’t ruined with the first wash.
Also, I do not use any laundry soap or fabric softener when pre-washing items. Fabric softener can cause the heat transfer vinyl not to adhere to your item.
After washing my pillow cases, I used my heat press to “iron” them so that they were wrinkle free. I then measured my pillow cases so that I knew how large my design needed to be. I decided that my designs needed to be around 9 inches tall.
In my Silhouette Studio program, I opened and resized the bride and groom stick figures. Next, I needed to trace the word art that I chose for my pillow cases. Unfortunately, the Cameo cannot “read” a png file and “cut” it. You have to trace it.
Tracing things definitely takes practice, but since I am cutting images in vinyl, it’s forgiving if it’s not perfect. YouTube has many videos on how to trace.
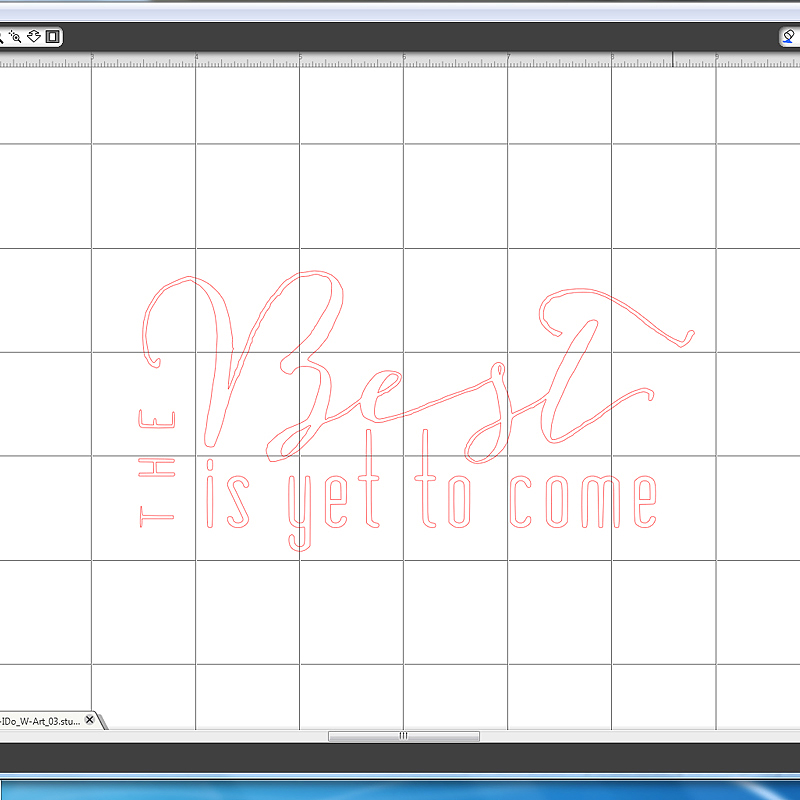
To trace Kim’s word art, I opened the two files that I chose – the “From this day forward” and “The Best is yet to come” png files.
Open the trace window – it’s the little icon in the top right corner of your program that looks like a little blue slice of bread. LOL
Click on the Select Trace Area button. Click and drag a box over the image that you want to trace.
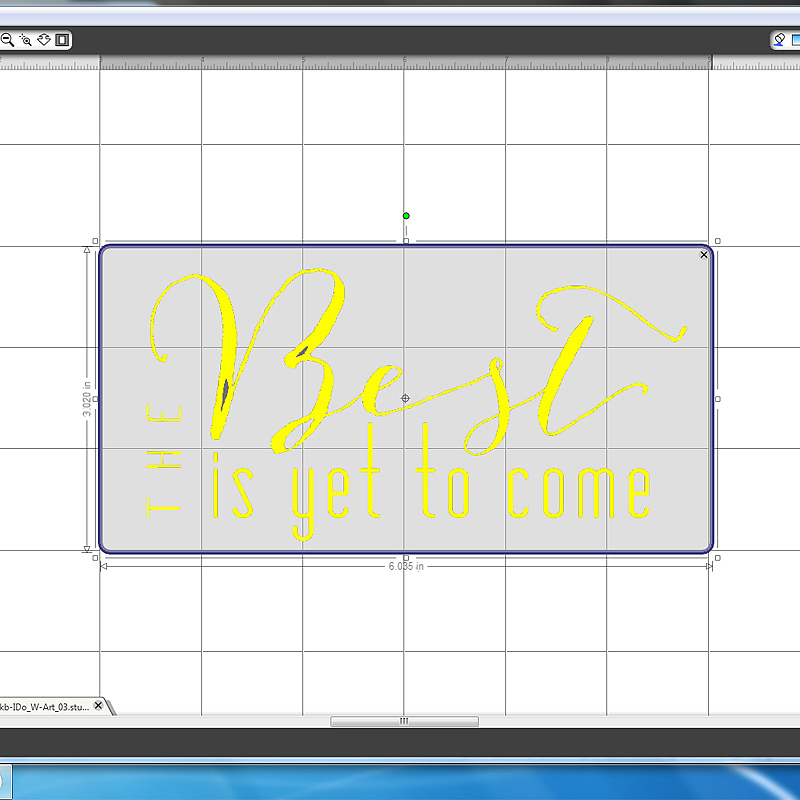
For this particular image, I found that by unchecking the High Pass Filter, decreasing the scale to 1, and increasing the threshold to 100% gave me the best trace. By “best trace”, I mean that it gives me the most detail and the sharpest edges on the small areas of the design – like the word “the”.
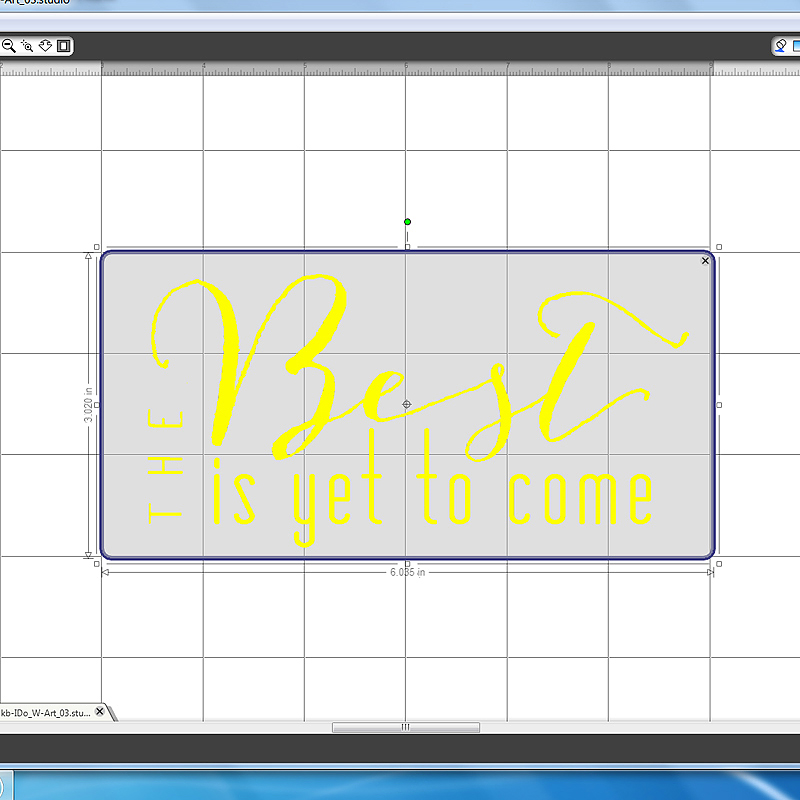
The change of color to yellow is how the program “knows” what to trace. Any areas left the original color won’t cut correctly.
Once I was happy with the trace, I hit the Trace button in the program. By using this option, the program traces (puts red lines) around all the parts of the letters including the inside of the letters. At this point, you can either move the original png file off the mat or delete it. This leaves the red tracing lines that the program will use to cut the heat transfer vinyl.
Copy and paste the word art onto the same mat as the bride and groom stick figures. Resize the word art to your liking.
NOTE: At this point you can position and space the word art where you’d like it to be next to the stick figure which will leave you with pieces of wasted, possibly unusable pieces of HTV or you can position both images very close together so that they are cut with the least amount of wasted vinyl possible.
Once you are happy with the layout of your design, group all the different files together by clicking on one and then while holding down the shift button of your keyboard, click on the rest of the files. Click on the “Group Selected Shapes” button in the lower left corner of the program.
Next, you will need to mirror the image. This cuts the vinyl so that correct side of the vinyl adheres to the pillowcases.
TIP: Much to my dismay, I’ve wasted several pieces of HTV because I did not remember to mirror my image before sending it to the Cameo for cutting. I now have a post-it note taped to my cameo that says “Mirror the image for HTV!!” Another tip I saw online somewhere is to use a sharpie to write “Mirror image for HTV” on the edge of the cutting mat.
Apply the HTV to your cutting mat SHINY side down. The shiny side is very obvious. The shiny clear piece is the transfer sheet for applying the HTV to your fabric. Load your mat into your silhouette and send your design to be cut.
Weed your design. This is the term used to describe the peeling of the excess pieces of the vinyl that are not part of your design. This includes the insides of letters like a, e, o, etc. Your design will be backwards on the clear transfer sheet. Now we are ready to apply the HTV to the pillow cases.
Pre-heat your heating press or iron. If using a heating press, follow the temperature recommendations for the brand/type of HTV you are using. For my heat press, I use the setting of 305 degrees F. My heat press has a digital display. If using an iron, I use the hottest setting on the iron and lots of pressure when adhering the HTV.
You will need to “warm” the area where you are applying the vinyl. This helps draw out any moisture that may be in the fabric as well as helps improve the transfer process.
Position the HTV on the pillow case and cover with the teflon sheet or a piece of lightweight, cotton fabric to protect the HTV.
Using the heat press, I did a press of 10 seconds using medium pressure, allowed the design to cool a bit before performing another press of 10 seconds.
TIP: I recommend doing some trial ironing when using HTV and an iron. Cut some small pieces of HTV and play around with the settings on the iron, the pressure, and the amount of time it takes for the HTV to adhere to your fabric. I used one of my husband’s old white undershirt to practice with both the iron and the heating press.
Siser Easy Weed vinyl is designed so that you can remove the clear transfer sheet while the vinyl is hot or cold. I like to start to slowly remove the transfer sheet while it’s still warm. While doing this, I check to make sure the vinyl is adhered to the fabric. If it’s not, I replace the transfer sheet and press again (not usually necessary if using a heat press).
After removing the clear transfer sheet, I once again cover the pillow case with the teflon sheet (or lightweight piece of fabric) to protect the vinyl and press it again for another 10 second cycle.
I then let the fabric cool and turn the tshirt/sweatshirt/pillow case inside out and press again on the reverse side of the design. This pulls the HTV further into the fibers of the fabric for an even better transfer.
Here are the pillow cases side by side.

and again, the finished pillow cases on the pillows.
I hope you enjoyed my project! If you have any questions about my project, please don’t hesitate to ask!!!
And remember, if you’d like to be entered into the giveaway, comment on this post! And don’t forget that you can receive additional entries by sharing this post. To get credit for additional entries, comment again telling me where you shared this post!
I will stop taking entries on Friday, 1/16/2015 at 11:59pm EST. I will announce the winner here on the blog on 1/17/2015. Good Luck!!!
 About the Author: LuAnn Spang is a member of the Hybrid Team at The Digital Press. She lives just outside of Pittsburgh, PA with her husband, 2 adult sons and a teenage daughter. She manages to find time be creative as a way of relieving stress while working full time as a LPN in an assisted living facility and attending RN school part time.