Category: Inspiration

Harmony That Only Music Can Bring

blogtemplate_Harmony Music

When I saw this month’s word ‘Harmony’…I instantly knew that I wanted to do a post about music. Music has played a central part in my life growing up. I’m from India so that isn’t really a surprise, right? I have been bought up with a wholesome dose of Bollywood music 🙂 MTV and ChannelV were launched in India when we were in High School….and that just meant more music became part of my life. The language didn’t matter…the music did.

This is specially so when living with my husband now. Everyone knows how limited a couple’s time can be when you have a child in the house. Even in that limited time, when we fight ….then it just destroys my mental peace. I generally just leave the house at the time, go for a walk and just put on my favorite music or whatever the mood calls for. It takes some time but after a while I can really feel the negative thoughts leave my mind. I at least become open to conversation. Once that happens….I know I’m ready to meet him half way and harmony  is restored in our house 🙂

Music has given me motivation many a times. Many times I have had the opportunity to tread paths that haven’t been walked on before. Like pursuing my MBA from a reputed University in US. That really was a pretty big dream for a regular girl from India. When you are preparing for something like that, you have your family and friends as your supporters of course. But you also have the naysayers who snicker at your high goals. Who question your abilities for achieving it. Their words would distract me and I would lose the focus and harmony inside of me. Thats when I would listen to this one song that really helped me – ‘I Believe I can Fly’ by R.Kelly. The words really resonated with me when I needed it the most!

Therefore, I naturally gravitate towards music in my pages too.  Whenever I have had troubles expressing myself in words, I’ve looked to music to help me. Once again, this is specially so for pages with my husband. He is camera shy and we do not have too many nice pictures together. And of course, when I do find a nice photo, I want to make a special page. I really love the guy….but come on…how many different ways are there to say I Love You ? 🙂 I look to music to help me express my sentiments in these pages …in different but meaningful ways…bringing harmony to my pages ….in a way that only music can!

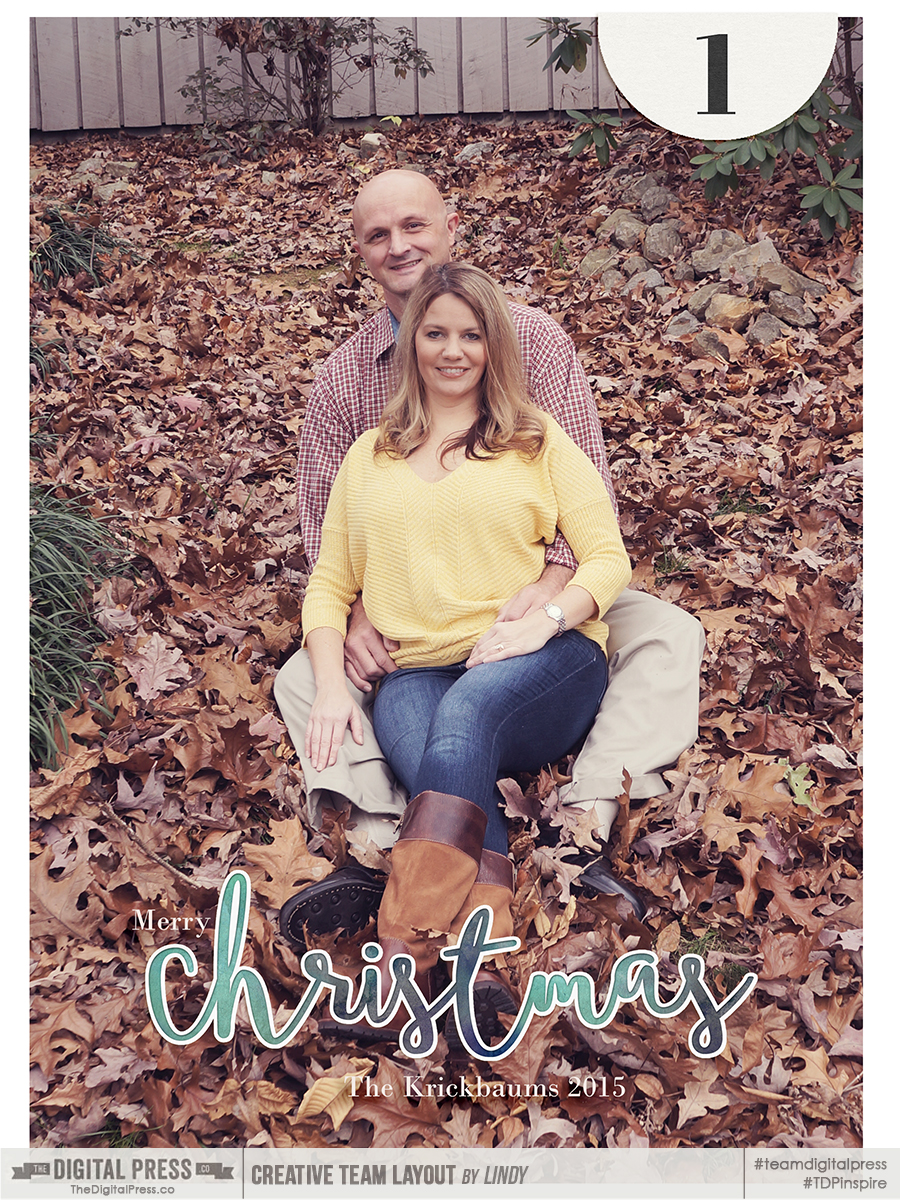
Like this page below. The photo is one of my favorites. The song is just perfect for expressing what I wanted to say but didn’t have the words to –

Together1_with-banner

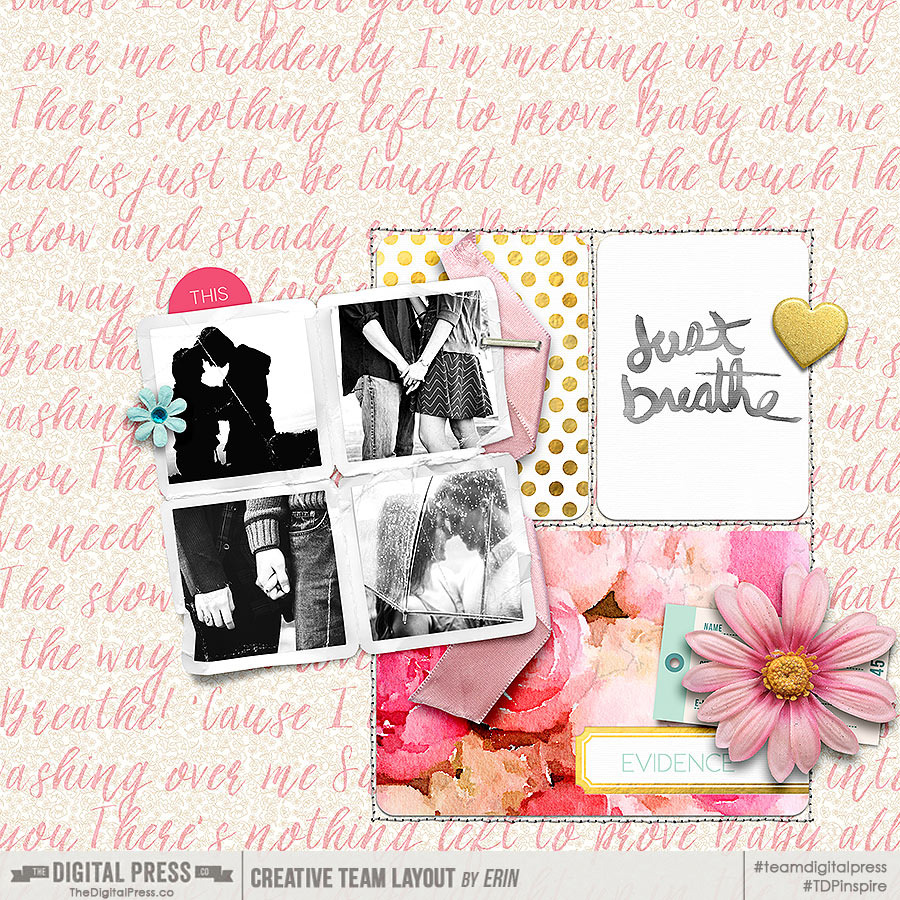
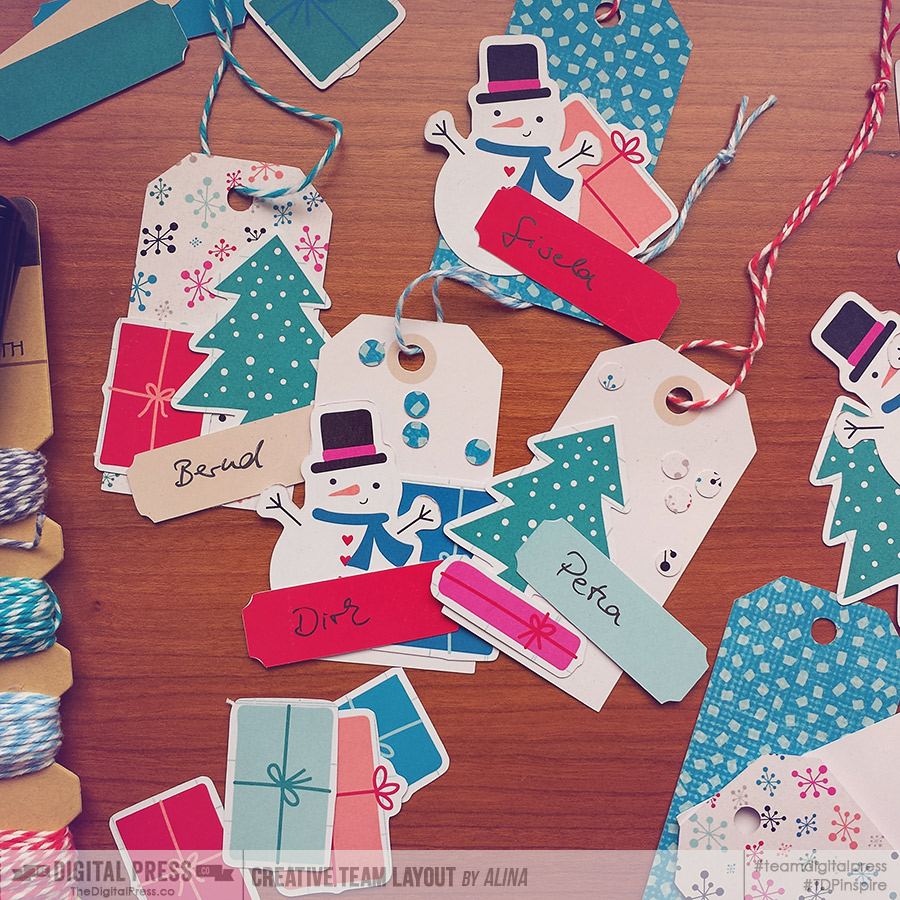
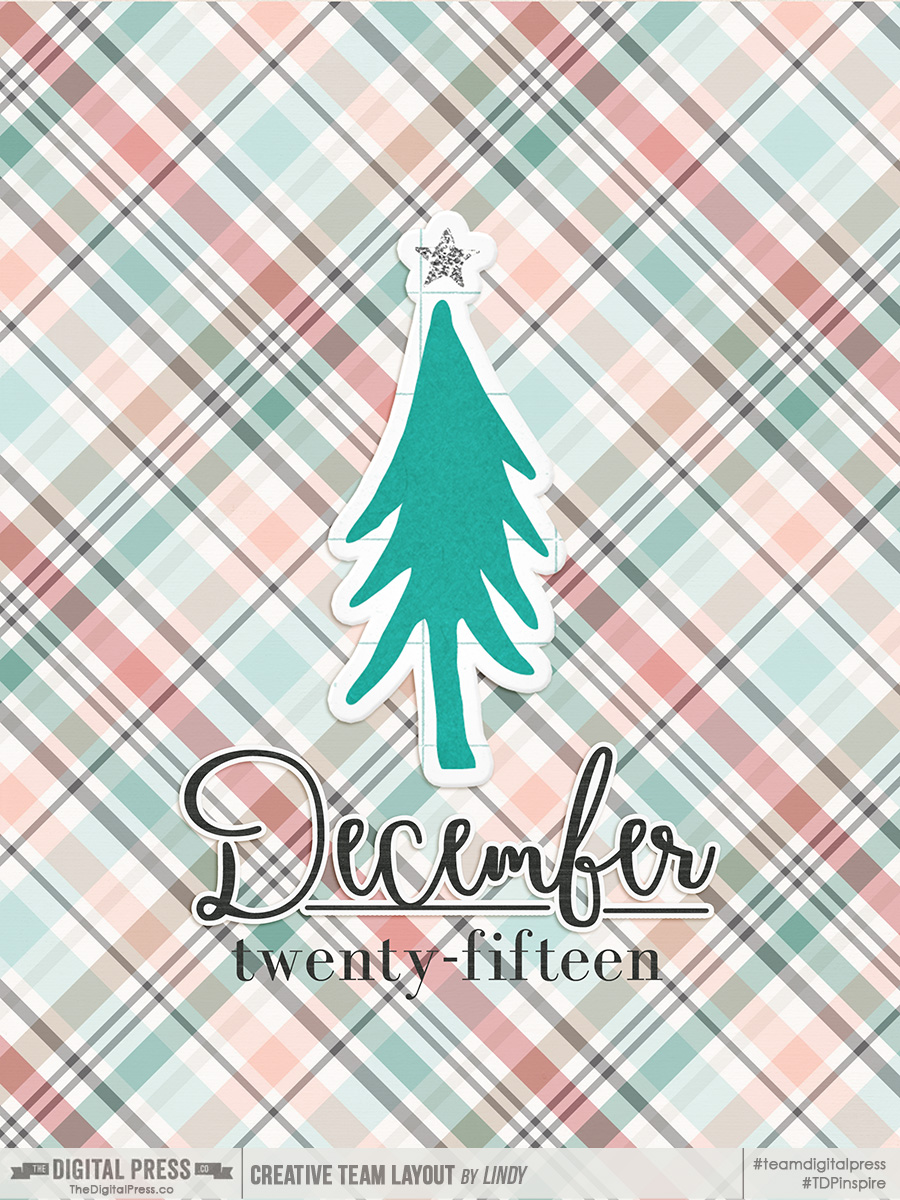
Here’s another inspiration from CT Erin. I love the way she’s used the lyrics as a background. Definitely something I would like to try!

just-breathe-900b

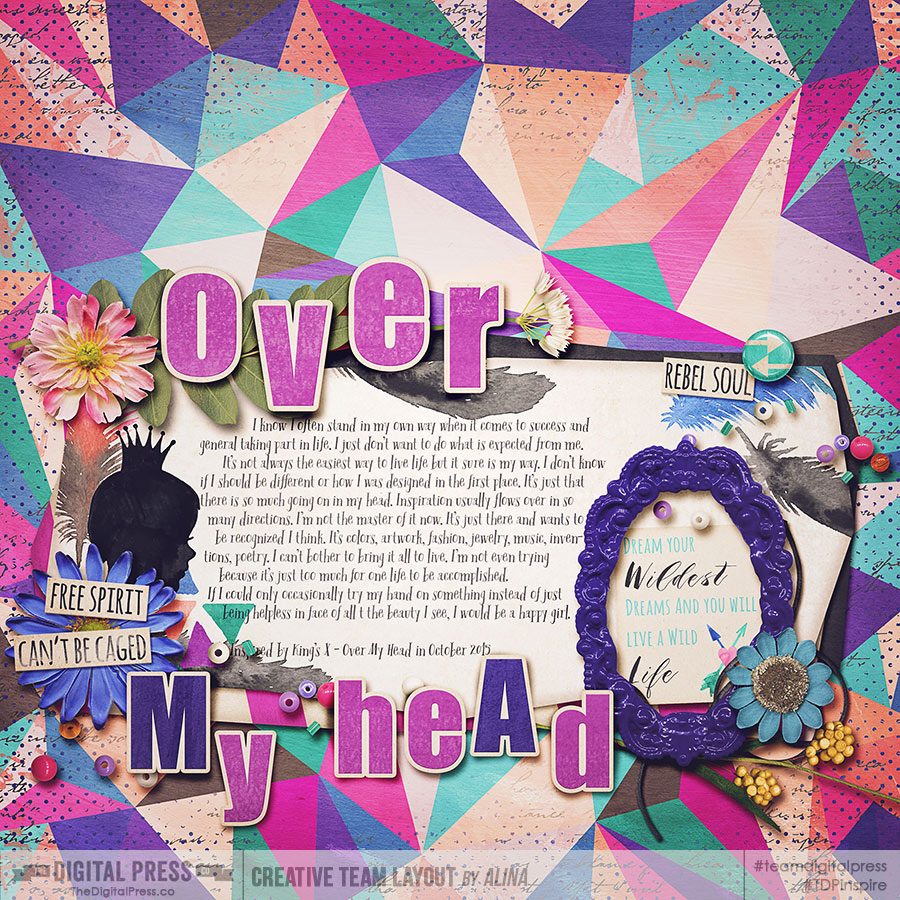
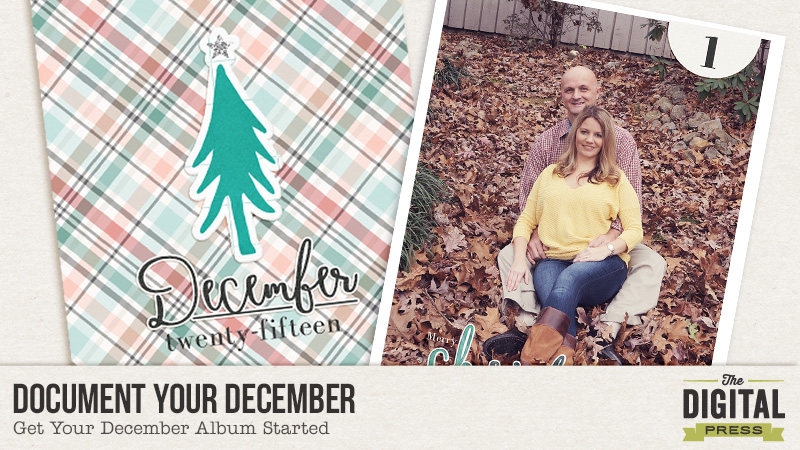
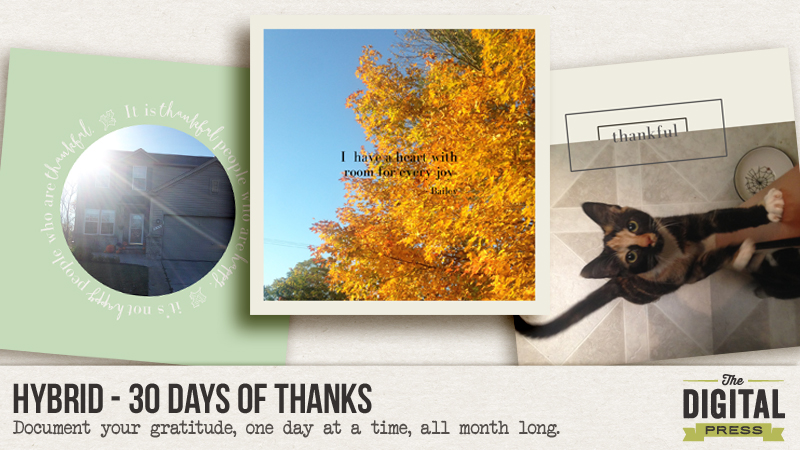
Finally, there’s this inspiration from CT Alina. Where she’s used the song title as the title of her page. What a perfect way to set the mood for the layout!

22589357762_6d4c2b4c14_o

I’m sure you have similar stories to share too! I am hosting a challenge over at the challenge forum here. Do join me there and share your musical pages 🙂

Pallavi

Pallavi resides in Mexico City with her husband and her ever growing little son, Rajveer. She has previously lived in Calcutta, Pune, San Francisco, Chicago and London. She reflects all these places in her pages as she captures her everyday stories. She is an alumni of Northwestern University. Currently she is learning photography and Spanish as a new language. Her days are full and she loves it that way!

Tracing with Print-and-Cut Made Easy – A Silhouette Tutorial


Did you ever struggle with the Trace tool in your Silhouette software? I did and sometimes I just failed, especially with white edges. I played with filters as hard as I could but still didn’t get it to work.

The last time I was using my Cameo, I saw that the sticker sheets in Let’s Plan: December by Mommyish and Mari Koegelenberg had an additional black mask. I wondered if that would make anything better. So I used them. And suddenly tracing was easy breezy! And the cuts came out perfectly. Most perfect cuts ever, to be honest. I was hooked and created several sheets for Print-and-Cut and they were all traced fast and cut with precision, even on the edges.


Click on the image to see what I used.


I thought the easiest way to show you how to create a black mask and to use it for tracing was a video tutorial and here I go!


I hope you learned something new for your Silhouette fun and it made your day like my day was made while Printing and Cutting those tags!

If you have any further questions, go ahead and post them in the comments, I will do what I can to answer them.

Have a great time and take care!


AlinaAbout the Author: Alina enjoys sitting in front of her large computer screens too much. Apart from that she loves walking her dog and watching sunsets while being amazed of life in general. She is married to her best friend. Tries to manage the needs of her two cats and her dog and badly fails when they all want their cuddle time at once. Everything else is scrapping, taking photos and currently crafting. Having said that, she needs a bigger craft room.


Document Your December

Document Your December

It’s that time of year again and the Holidays can so be so busy, I want to make sure I make time to capture all the special moments of the season.

This year I am being proactive and going for a simple approach to My December Daily Album. I’ve created a list of 25 photo prompts (that I am sharing with you below) to make my scrapping simple. There are 25 prompts, one for each day up to Christmas Day. I am using this list along with 6×8 Templates and numbered cards to create a 25 page Mini-Album. I have already created my album cover and the 1st two pages.

Document Your DecemberWoodland Kit by Little Lamm & Co, Believe – Date Overlays & Stamps by Little Lamm Co., Let’s Plan – December Stickers  By Mari Koegelenberg Creations

Document Your December

Woodland Kit by Little Lamm & Co, Believe – Date Overlays & Stamps by Little Lamm Co., Let’s Plan – December Stickers  By Mari Koegelenberg Creations01_Christmas Cards2_With Overlay

Numbered Journal Cards by Scotty Girl Designs, 6×8 Photo Template Set 1 by Little Lamm & Co. Believe Elements by Little Lamm & Co.

Document Your December

Numbered Journal Cards by Scotty Girl Designs, 6×8 Photo Template Set 1 by Little Lamm & Co. Believe Pattern Papers by Little Lamm & Co.

So, How will you Document your December? You are welcome to use my prompt list or create your own!

I’m hosting a challenge over on the forums at The Digital Press to help you get your December Album started, so come play along! Check it out at The Drawing Board: Challenges. See you there!


LindyKrickbaum

About the Author: Lindy Krickbaum is a Creative Team Member here at the Digital Press. She is a happily married wife and best friend to her twin sister. She currently lives in Johnson City, TN.  Lindy is a self-admitted scrapaholic, rarely missing a day to scrap. She also enjoys designing jewelry, reading and traveling every chance she gets.


Hybrid: 30 Days of Thanks Mini Album

30 days blog header

Hello everyone! Jennifer here to get you inspired with a quick & easy hybrid project.

The month of November is all about being Thankful. The Thanksgiving holiday is fast approaching, here in the US. What better way to share your gratitude & what you are thankful for than a fun little mini album! I love this project because you can focus on the big picture like family and friends, or you can use it more to document the day to day. The delicious coffee a coworker surprised you with or the awesome pizza you made at home. Giving thanks for all of the big things and even those little things that make up your daily life! There is no right or wrong way to create a 30 days of thanks mini album, you just need to record one thing each day that you are thankful for!  You can take the photos one day at a time throughout the month of November or collect 30 of your favorite photos from throughout the year. Either way it works, lets just get those photos off of your computer and into the hands of those you want to share your gratitude with!

First, gather your materials.

Hybrid 30 days of Thanks

I printed my photos out at home, by creating a 8 1/2 x 11 document in photoshop and dropping 4 of the 4×4 pages I created, onto the page. You can also create your pages digitally and upload them to a photo printing service where they will print and cut them to 4×4 for you! I love that!!

hybrid 30 days of thanks

I used the Grateful 4×4 photo templates to gather my photos and thoughts. I love the simple prompts the templates give you to help express your gratitude. The top 5 reasons card is one that I used quite a bit throughout the album! It makes a statement to repeat the design and it gets right to the point, to share the simple reasons you are grateful.

hybrid 30 days of thanks

I added the numbers of the days & digital stamps right onto my photos, before printing out.

hybrid 30 days of thanks

Each day can be either one or two pages. Some days I had more to say and others I just had a photo and a simple quote. Mix up the pages and make it fun! This is your album, your story. You can do what you want, and guess what? No one will no that you didn’t finish two pages per day, they will love that they get to see your memories and read your words!

hybrid 30 days of thanks

To make this month long project a little easier, make sure to jot down a few thoughts each day as you collect your photos. Keep a notebook handy or use social media to record & share your 30 days of thanks. I have been using Instagram to share my 30 days of thanks. I love instagram because of the awesome #hashtag feature. Once you create your own personal hashtag, it collects all of your posts/photos in one place, sort of like your own virtual mini album!

I hope you give it a try! Get those photos off your computer and into your hands. It is so rewarding, you will not be disappointed, I promise!! Please join us in the challenge forum for a fun challenge inspired by this.

JenniferHignite About the Author: Jennifer Hignite is a mom of three boys and new homeowner with her fiance in the mitten state. When she is not scrapbooking she enjoys photography, decorating and shopping at Target.


Creating Harmony in your Pocket Pages

creatingharmonyinyourpocketpages


Hi! Krista here, back on the blog to give you 3 simple ways to create Harmony in your Pocket Page digital scrapbook layouts.

1. Choose an all inclusive Collection or Collaboration. Many digital scrapbook kit designers make it really easy for you to create layouts that have a cohesive feel to them. Choose a kit or collection that includes enough papers, elements, cards, and alphabets to complete your layout. That way, you only have to use one product on your layout and you don’t have to take time to make multiple products match.

Here are just a few of my favorite all-inclusive collections:

Project Twenty Fifteen | October Collection

Cute As A Button | by Laura Passage and Scotty Girl

folder-all-01

.

2. Change the color of your photo(s) to match the tone and feel of the kit you use. Photoshop Actions make it super easy to change the feel of your photos in just 1 click! Many action creators/designers give away a free action or two on their site for you to try out (some of my favorites are Totally Rad Actions, Florabella, One Willow, and The Pioneer Woman).

.

3. Use a pocket template. With a template, the designer has done all the hard work for you — perfectly aligning the digital “pockets” for you, etc. Some have also already added shadows and stitching, as well.

Here are just a few of my favorites from the shop here at The Digital Press:

Everyday Life 5 by Sabrina's Creations

Project Twenty Fifteen | Template Bundle

Stitched Pockets by Sahin Designs

.

Here’s a look at a pocket layout I created, using some of the supplies shown above and the steps I outlined to simplify the process and make the page harmonious…

Creating Harmony in your Pocket Pages

.

Materials Used:


Now that you’ve read through the simple steps I’ve outlined above, I invite you to CLICK HERE and come over to the forums to join us in this week’s challenge! You can earn points toward monthly discounts in the shop if you participate (and you’ll get a page done for your album… easy peasy!).

.

Krista About the Author: Krista Lund is a mom of 3, married to her High School Sweetheart living in the San Francisco Bay Area. Some of her favorite things are brownies, chips ‘n’ dip, taking pictures, and documenting her family’s story.

Tutorial Tuesday: Add a “zing” to your photos

blogtemplate

Hello everyone! Hope you are recovering well from the DSD celebrations and looking forward to some quiet time now? Well, I certainly am. Its seems like I have been working in overdrive trying to get so much done this past couple of weeks that I must have had my auto-pilot on!

One of my favourite things to do when I feel like I’m scrapping in the same old style is to look around and spot any new techniques other people may have been using. I also look back at my old layouts and style. One of the things that I noticed was how I used to extract a lot of photos either fully or partially and try and add some effect to them.

As a reminder and a refresher for me (bonus!) as well, I decided to share one of my favorite effects with you – the pixelated photo (i.e. creating an effect that will seem like your photo is breaking up). There are many advantages to it – I like to do this with really candid or animated shots so it helps to add even more movement and energy to the expression. Don’t know what I am talking about?… Here’s the what and how.

My steps are all on Photoshop Elements  but should be easily reproducible on Photoshop.

Select a photo you want to work with. These kinds of effect work better with large photos but you can try with smaller formats as well. I selected my photo, placed it on the canvas and processed it a bit (brightness, contrast – the usual). I then added a layer mask (very important to preserve the original image and ensure there aren’t any OOPS moments!).Then selecting this layer mask and using  the rectangle marquee tool, I started to draw out various square and rectangular sizes and shapes. You will need to make sure the “add” option is ON within the marquee tool options to allow you to make multiple selections at the same time. I continued to pepper the entire photo with these.

Screen-Shot-1

Next we want these selections erased but non-destructively. So I selected a black brush and painted over the selection. We are still working with the layer mask so make sure this is selected.

Now to reveal the actual pixels from the photo, select the photo layer (you should see that the marquee selections are still showing – blinking lines) and duplicate the photo. This will duplicate just those little bits.

Screen-Shot-2

Now move this layer to the top most on your canvas and duplicate it couple of times. Start to position these various layers on the space above and beyond the photo. You can rotate, resize and delete or cut and paste the pixels as you feel. Overall it should give the effect of pixels flowing away from the photo.

Screen-Shot-3

Add embellishments and journaling and voila you have a transformed and eye-catching photo!

Final-LayoutCredits: My kind of day kit by Dunia (our guest designer this month)

There are numerous other possibilities with this technique. I tried another one with a big Title. Here I have used a feather shaped element to select pieces and break them away from the alpha.For added effect, I have also included the actual feather elements in the flowing away shapes.

Let-them-take-flight-copy-for-webCredits: In fine feather alpha by Kim Broadbent, Elements from Blink by Little Lamm and Co.

Hope you liked this effect and found the tutorial useful. Please share any layouts you create using this or any other modification and I would love to see your interpretation.

That’s it from me then. Till next time…


Profile pic avatar small

About the author: Shivani Sohal is a donner of many alter-egos. A finance professional by day in busy London, she morphs into a seemingly normal mum of two in the evenings and weekends. She is constantly found with her fingers in too many pies and juggling the metaphorical balls. That is living on the edge for her; aided by the two ankle biters and a darling hubby who define the warm and mushy for her. She is ferociously dedicated to memory keeping – almost immune to any nay-sayers (or equally disruptive crying children or annoying house fires!!!);keeping her head down and forging ahead at all times.