Author: The Digital Press

Celebrate Romance: Seven Ideas for Relationship Focus

celebrate-romance

I’ve been married for ten years now. We’ve been together for almost fourteen years. And some days, it feels like much, much, MUCH longer. Hahahaha. There are days/weeks/months when we get so wrapped up in daily life and all of the little dramas that go on with family and friends, we end up not focusing on romance or even putting effort on our relationship. We coast. And we get crabby. And distant. And tired. There are times I feel like we must be the only couple in existence who don’t focus on romance. But I know that isn’t true. I think everyone goes through it at some point. My husband has never been a big romantic. That is just who he is. I would like to be romantic. But lately it is hard to try to whip up a mood of romance when life is crazy and/or the attitude isn’t reciprocated.

So celebrate romance… where does that come in?

  • I believe that if you shift your focus, you shift your energy. That energy, in turn, attracts similar energy. I’m sure there is some sort of physics lesson I could point to so I could prove my theory, but I never took physics in school, so you’ll just have to trust me.
  • A few months back, I started a Love and Romance board on Pinterest. When I feel like our relationship is in auto mode and we’re losing focus on each other, I skim through the board and find romantic images, quotes, or date ideas. That little nudge shifts my attitude, and I feel like celebrating romance. Catching glimpses of romance, puts it into my mind, and I feel like I shouldn’t take our relationship for granted. Start a Pinterest board or a mood board in your home where you can focus on all things romantic.
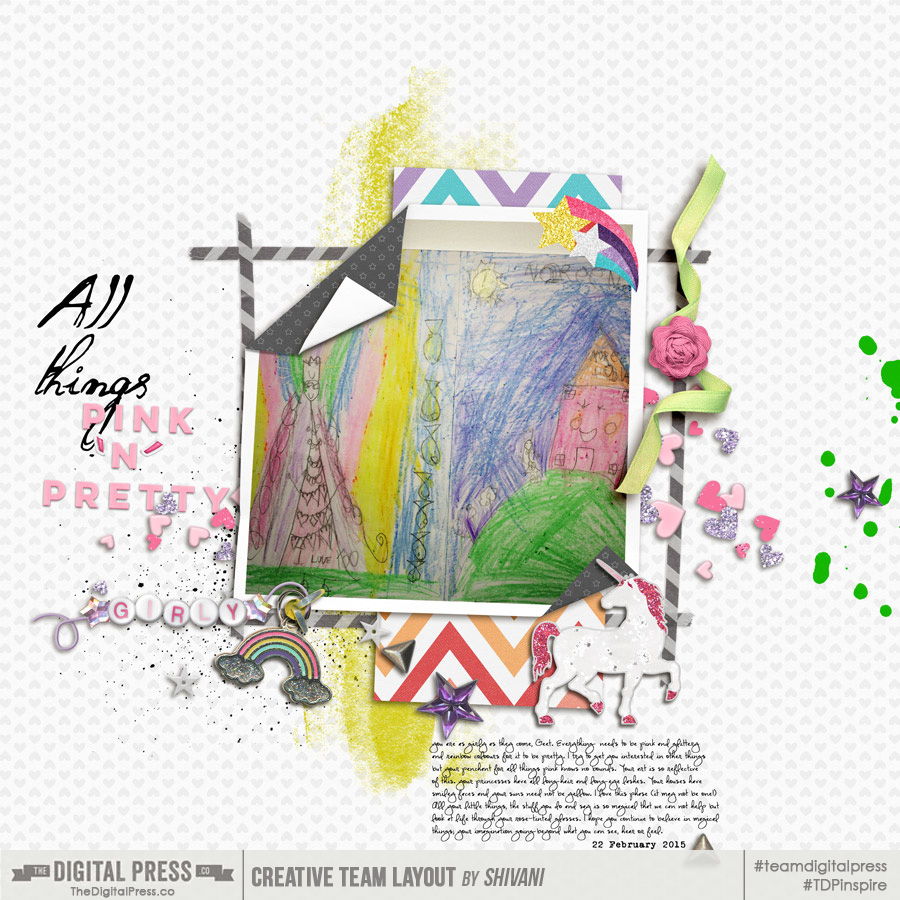
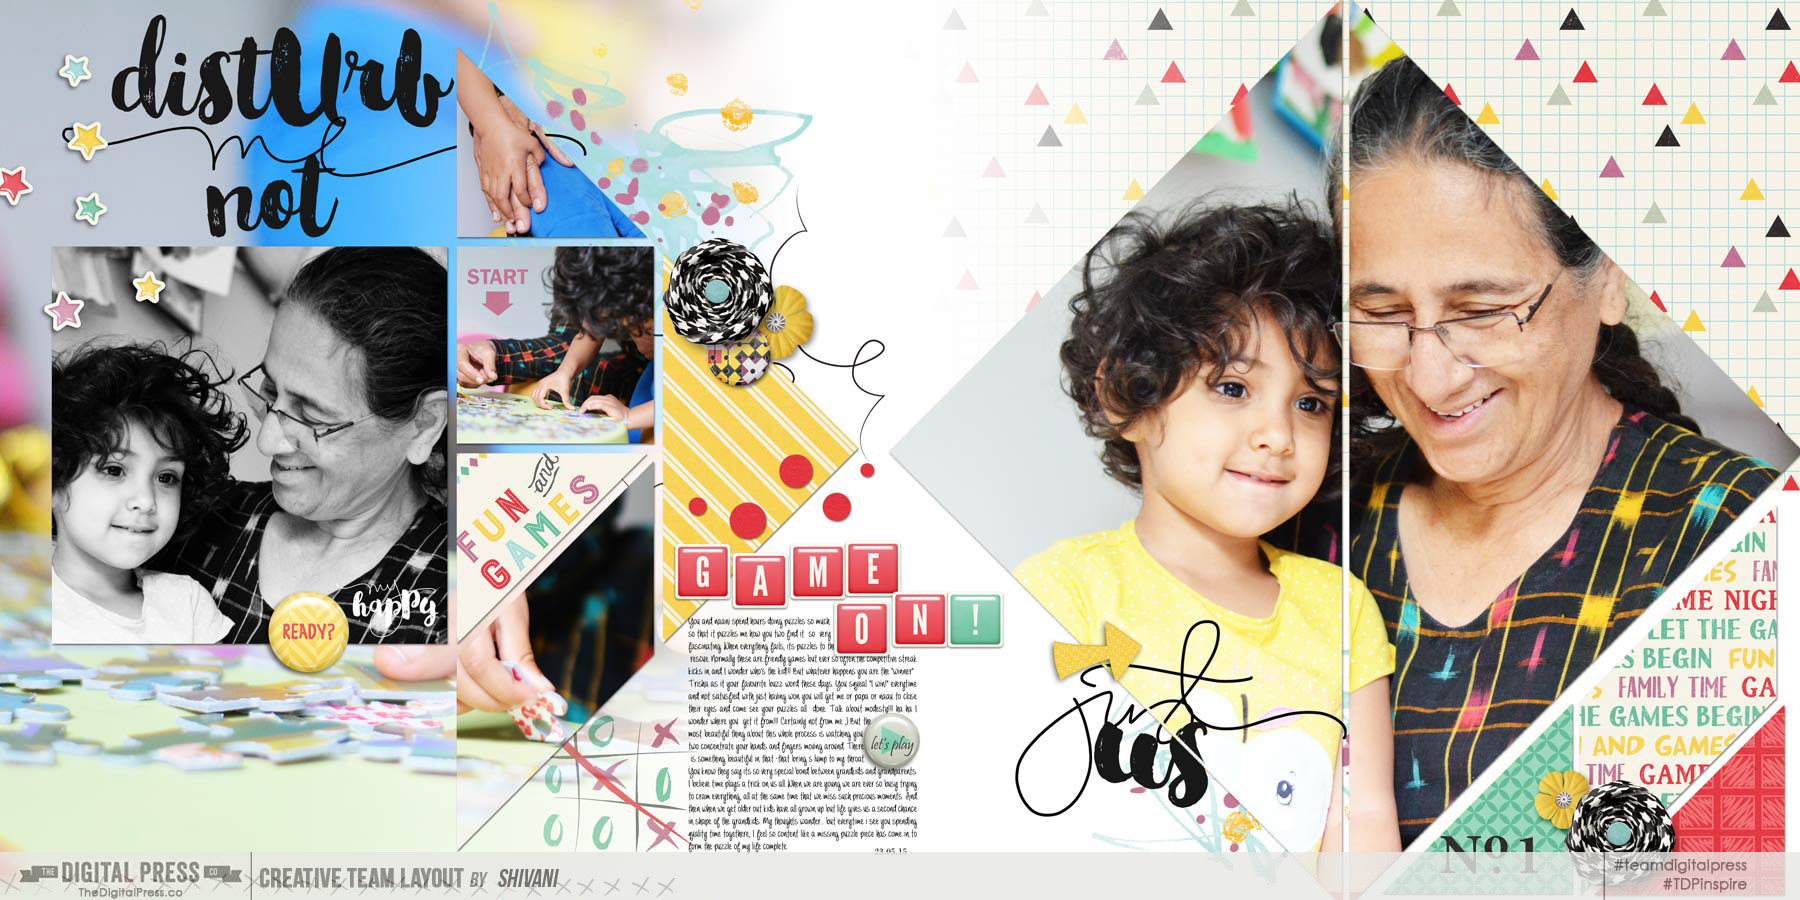
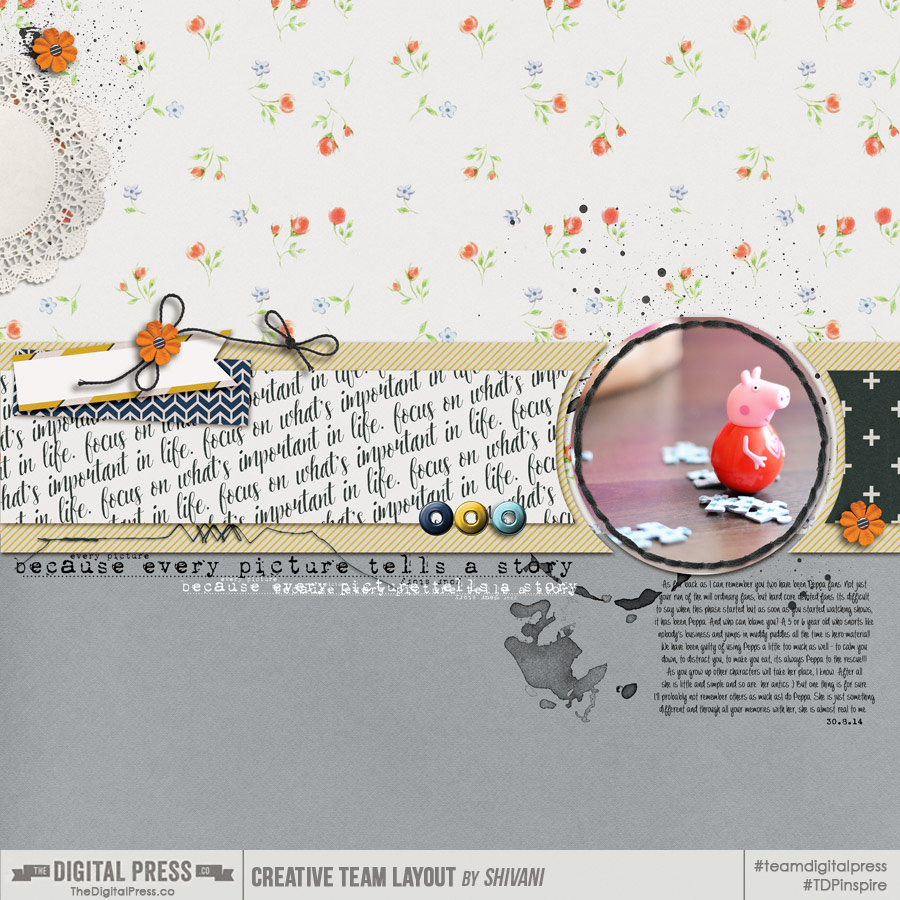
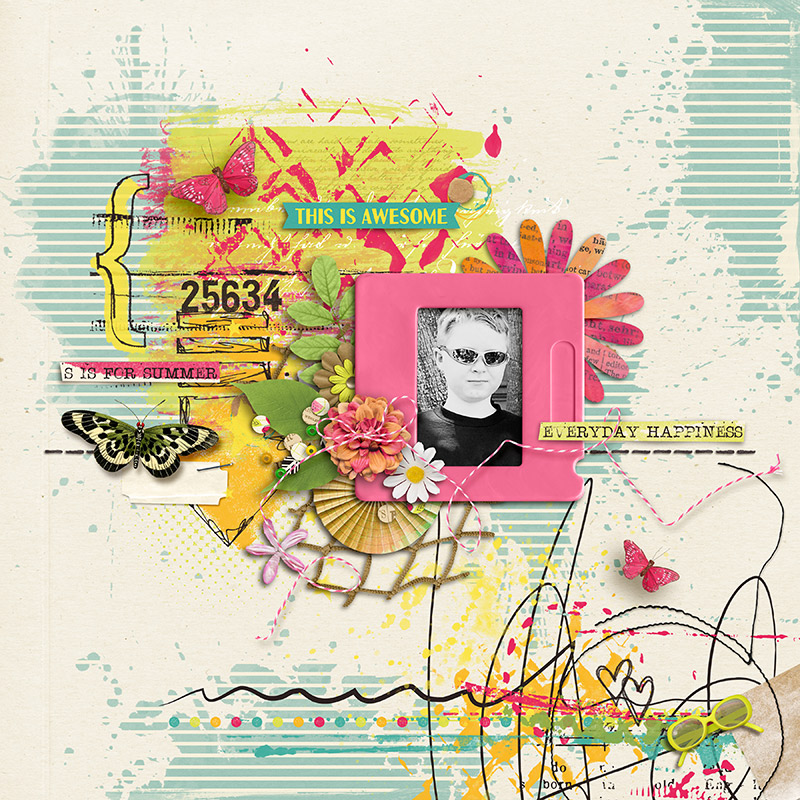
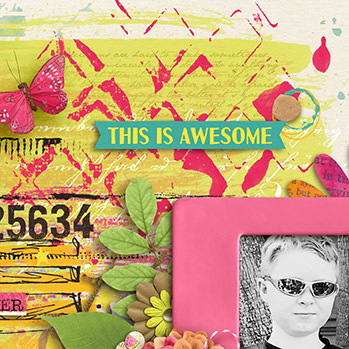
  • Obviously another way to celebrate romance is to take a picture of you and your sweetheart. Scrap a page about it and add some heartfelt journaling. Celebrate your love. Celebrate your romance. Celebrate your story. Print it out (or do a hybrid page) and put it in a prominent place where you can see it on a regular basis.
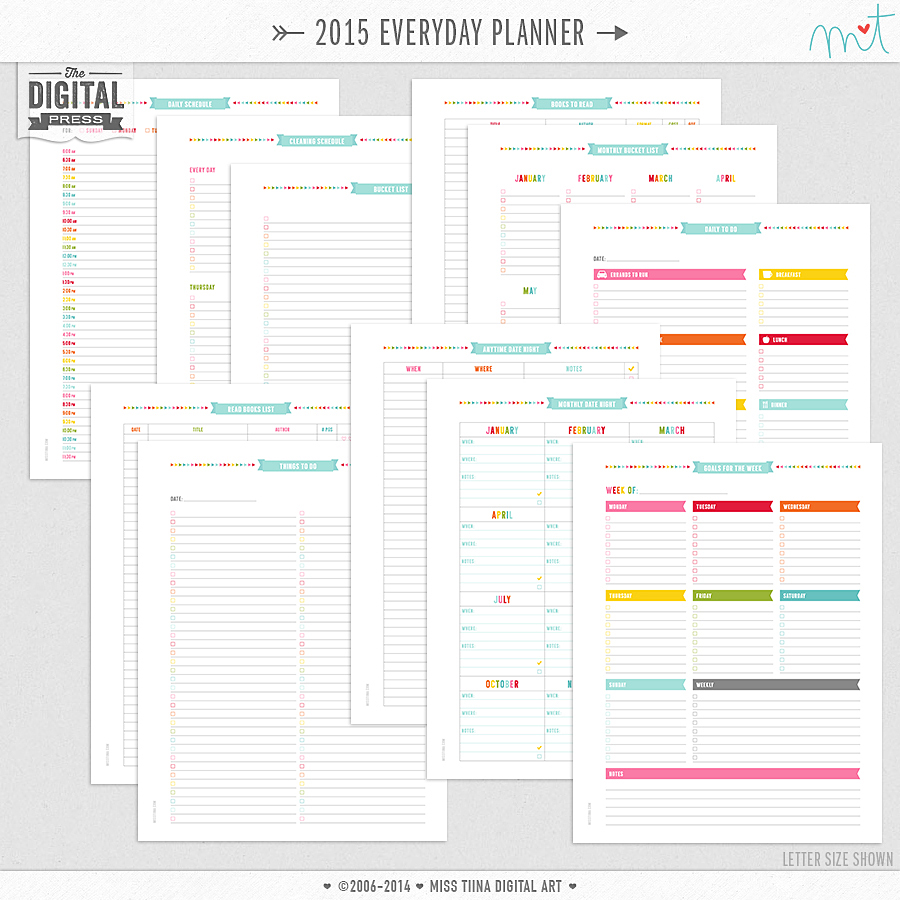
  • Check out Miss Tiina’s planner. She has a great section for planning/organizing and scheduling date nights. Yet another way to focus on/celebrate romance.
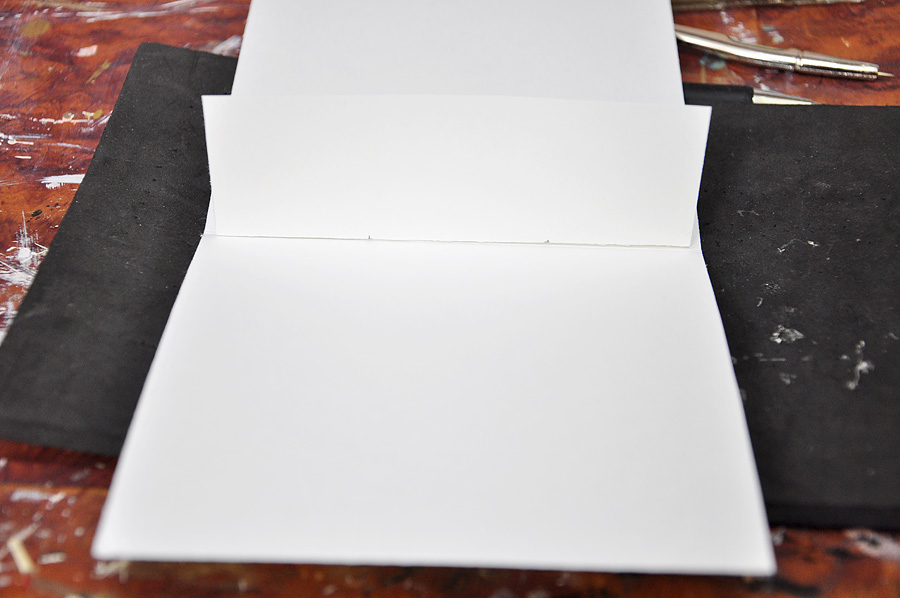
  • Get a blank journal (or start a hybrid project like this) and write notes to each other, passing it back and forth. Celebrate your relationship. Ask questions in your journal or document special moments.
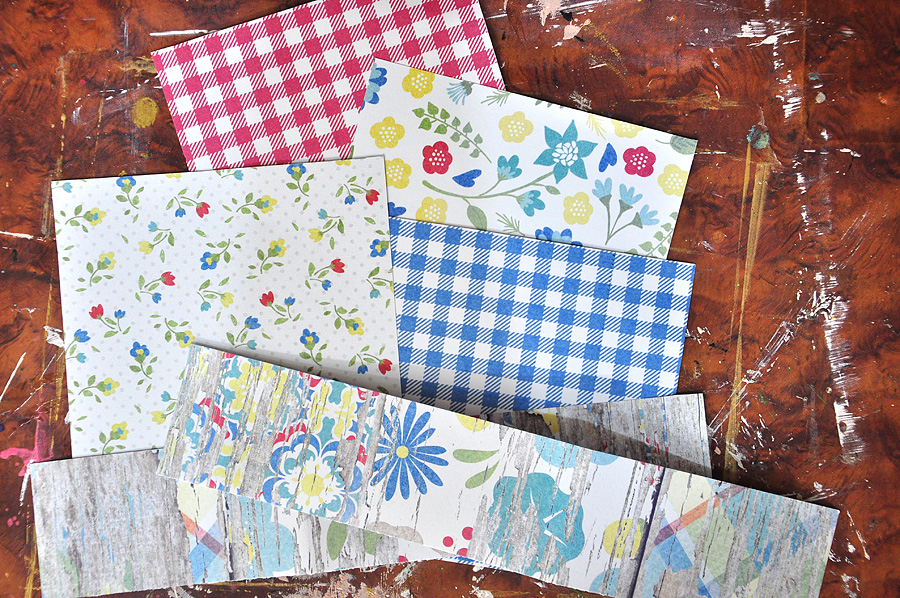
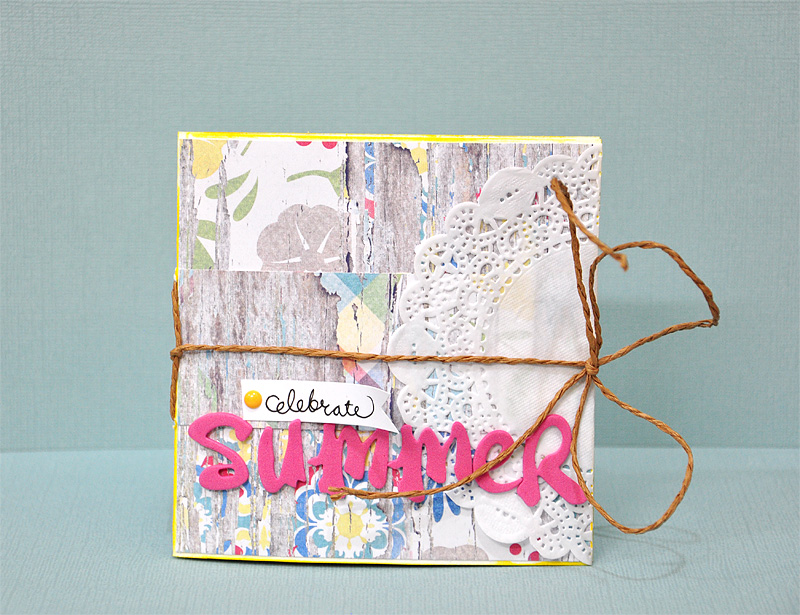
  • Use a pocket scrapping model to create a mini album about your relationship. If you don’t have all of the photos you need, go back and do some of the activities over, taking photos. Or use stock photos or fun quotes in place of pictures.
  • Spend just a few minutes a day, holding hands with your sweetie. Even if you are pressed for time, sitting together and focusing on each other for even a couple of minutes, can make a big difference.


celebrate your story


summer bucket list for couples

celebrate romance


misstiina_plannerS2-03


Now it is your turn.

How do you celebrate romance?

Jump over to the forum and check out the challenge.


Kimberlee

About the Author: Kimberlee is a lover not a fighter; a stay-at-home gran, a poet, and a lifelong learner. She grooves on saturated colors, Tuesday dance parties, optimism, glitter and sunshine. She colors outside the lines.  She is a dreamer. She is a collector of moments.  She is all about the story.  Kimberlee completed her MFA in Creative Writing and is currently working toward a M.Ed. in Instructional Design.


Get Familiar with the History Panel

HistoryPanel Header


The History Panel is an often overlooked tool in your Photoshop arsenal. But used to it’s potential, it is quite a handy ally. Let’s take a closer look at how it can help you.


You can find the History Panel on the right side of your workspace where the tool icons are located. The History Panel icon looks like 3 small boxes stacked on top of each other with a  swooping arrow next to it.


History Panel - 1


When you click on it, a panel flies out showing you the last twenty “states” or steps you performed on your layout. In the example below I had only opened the layout, so there is only one state showing. However, if I had worked on this layout a bit, everything I had done would have been recorded and would be listed in the area I have marked below.


History Panel - 2


The number of states it shows you can be customized. You can change this under Preferences. Photoshop > Preferences > Performance.


History Panel - 3


Clicking on the down arrow, brings up a slider that you can adjust all the way up to 1,000! However, keep in mind that keeping that many states will bog down Photoshop’s memory, so you want to keep that number as low as possible, while still being useful to you.


Instead of bogging down your memory by holding onto multiple states, a better practice would be to make use of Snapshots. This is where I find the history panel to be most useful. When I am close to completion on a layout, but would like to move some things around or try some different papers or a different title effect, I take a snapshot. Taking a snapshot allows you make a copy of any state of the image you are working on. You can take a snapshot by clicking on the camera icon at the bottom of the history panel.


History Panel - 4


Once you make a snapshot, you can make whatever changes you would like to make to your layout and then compare it to the snapshot you took to decide which version of your layout you like better. If you decide you like the original snapshot better, you can just click on it in the history panel and save it or continue working on it from there.


If you take several snapshots during the course of creating your layout, it’s a good idea to customize their names. By default, Photoshop names them, “Snapshot 1,” “Snapshot 2,” etc. To rename it, just double click on the name and enter your custom name.


There may be times when you want to create a new document from an image state. For example, if you were working on a photo and wanted to show the before and after, that would be a great time to create a new document from the image state.


History Panel - 5


In my example above, I opened my image. Then, I made some adjustments to it to convert it to black and white. Next, I took a snapshot of it and then dragged it onto the create new document icon seen below. This allowed me to place the two images side by side very easily to create the before and after diptych above.


6


I find the History Panel most useful whenever I am trying to correct an image using the clone or healing brush tools. Inevitably, whenever I am performing this type of task, I always seem to reach a point where I overdo it. As a result, I have trained myself to take snapshots along the way. This way, if I get to a point where it starts to look too artificial, I can just go back to my most recent snapshot and try again.


And finally, for those of you that create process videos, snapshots are a MUST! Prior to recording, I create a series of snapshots showing each of my steps along the way. For example I will open my layout. (There is no need to take a snapshot because by default, Photoshop always keeps a snapshot of the first state of the document.) Next, I will hide the items that “finished off” my page, like paper strips around the edges or confetti and then I will take a snapshot. Next, I may hide my journaling and then take a snapshot. Then I may hide my title and take a snapshot. You get the idea.


Once I have all of my snapshots and they have been renamed for easy reference, I am able to begin recording my process, showing where the page started and discussing in stages what was added on top of what to create my page without having to recreate it from scratch. It makes the process really smooth.


So there you have it — the History Panel in all its glory. So now you know how I use it to make my pretties. How about you? How do you use it?


Jen Flaherty

About the Author: Jen is a member of the Pocket Team at The Digital Press. Having scrapped digitally for many years, she has come to embrace the simplicity of Pocket Scrapping since it fits more easily into her busy lifestyle of shuttling her three children from field to field. When she is not on the computer, you will find her working out or really doing anything else she can besides cooking, cleaning and doing laundry.

Celebrating the “not so obvious”


A few days earlier Barbara wrote a post here about celebrating the little, everyday moments in life. My idea was something similar to begin with but then as I sat thinking, I could see certain patterns in what I document and what probably gets missed. My type A brain couldn’t help putting bullets down!

  • The big, standout events  – yes of course!
  • The little moments inconspicuous in their omnipresence – yes depending on what pictures I might have
  • A snapshot of time – interviews with my kids – yes or just writing them a letter – yes

So what’s left???!!you might ask and a little idea started forming in my head which I thought I will share here.

If I look at our lives there seem to be themes of daily life that run like an undercurrent. There is no obvious reason to celebrate these or indeed take much note. But maybe, just maybe, there is something in there to explore. Those unmistakably scraps that so define who we are, what we do, what we like and don’t like and how the days go generally. I realised I often didn’t have photos for these nor do these necessarily have a start and end date. Without such prompts, they would never get on to my “scrap-list” But there are many ways around it and I now make a point to challenge myself to take more pictures, put my thoughts down and tell my story, my way.

Take for example my elder one’s inclination to art. She draws every day, without fail!  My house is bursting with stuff. I do want to capture it without going overboard. So I picked a little piece of art that is so her and used it to tell a story about what she likes and her personality.

All thing pink and pretty
All things pink and pretty

In the same vein, my younger is obsessed with sunglasses, she can put one or two or tens at the same time and look at herself in the mirror giggling away! 🙂

Live Colourfully
Live Colourfully


My other example is the ritual my mom and my little one have almost every day. They make jigsaw puzzles – sometimes first thing in the morning, sometimes just before bed and almost all other times in between. I tell you they are obsessed!!! – having races to see who finishes first. LOL!


Pieces of our daily puzzle

And I just want to leave with you another person who’s played a really, really important part in our lives. She is 6 years old, snorts and is a champion puddle jumper. She is a British sensation and goes by the name of Peppa Pig!!! I’m not sure we have outgrown the phase yet but I couldn’t help but document an ode to Peppa.

peppa
peppa

So next time, you are busy making pages and racing to get it all done, STOP! take a breath and think about what’s getting missed. I’m sure you’ll be able to glean out some little gems 🙂 Challenge yourself to put these down and if you need some practice, the monthly challenge I’m hosting here just does that!


Profile pic avatar small

About the author: Shivani Sohal is a donner of many alter-egos. A finance professional by day in busy London, she morphs into a seemingly normal mum of two in the evenings and weekends. She is constantly found with her fingers in too many pies and juggling the metaphorical balls. That is living on the edge for her; aided by the two ankle biters and a darling hubby who define the warm and mushy for her. She is ferociously dedicated to memory keeping – almost immune to any nay-sayers (or equally disruptive crying children or annoying house fires!!!);keeping her head down and forging ahead at all times.

Celebrate summer hybrid mini-album

DonnaEspiritu-TDP-Junetutorialpinterest


Donna here to show you how to make a hybrid mini-album for some of your summer photos

DonnaEspiritu-TDP-Junetutorial900


1. Print and cut papers from your chosen digital kit. I used the paper pack from Kim B Designs’ “Simply The Best”. Since I will be adhering my printed papers on cardstock, I used a 120 gsm photo paper. The size of the square pieces were a little less than 4 inches by 4 inches and the strips were approx. 3inches by 8 inches (I cut them in two before taking this photo).

DonnaEspiritu-TDP-Junetutorial-1


2. Cut 1 piece of 4.25 inches by 10.5 inches cardstock, 2 pieces of 4 inches by 8 inches cardstock and score in the middle as seen in the image below.

DonnaEspiritu-TDP-Junetutorial-2


3. Punch holes in the middle of these scored cardstocks. I use my compass to do this and a piece of paper scored in the middle as guide where to punch the holes.

DonnaEspiritu-TDP-Junetutorial-3


DonnaEspiritu-TDP-Junetutorial-5


This will ensure holes will be aligned when the pages are assembled.

DonnaEspiritu-TDP-Junetutorial-4


4. Use some twine (or in my case, a brown paper twine) and tie around the album. Decorate the front cover. I used a doily, some thickers, handwritten sub-title and an enamel dot. The edges were inked with distress stain.

DonnaEspiritu-TDP-Junetutorial-6


Hope this mini-album get you inspired to create one. I would use this with Instagram photos, perfect for it’s square size.

Thanks for dropping by!

Happy crafting,

Donna


About the author: Donna Espiritu is a mom to a little girl who just turned 8 months and wife to a very supportive husband. She is currently living in the Kingdom of Saudi Arabia with them. When she is not scrapbooking, she likes to read books/e-books (sci-fi/romantic/time-travel) or watching old episodes of some of her favorite TV shows.

Celebrate Life – The Good & The Bad

Hello fellow digital artists!  I’m happy to be back to talk about celebrating life – the good and the bad.  So often, we want our pages to reflect bright happy memories and we shy away from scrapping the bad stuff.  After all, who wants to remember the negative?  However, it is amazing how therapeutic it can be to get the bad stuff out of your mind and onto a page.  I have a cool trick for those of you who want to scrap the bad stuff, and like to share your pages with others – but don’t necessarily want to do both.  One of my favorite artsy techniques is to journal about whatever is bothering me and then incorporate it into a bright, happy page in a way that disguises the journaling from view.  This technique symbolizes the act of letting go of the negative stuff that is weighing you down and replacing it with positive, happy things.


There are several ways to accomplish this technique:


1.  Go for the obvious and journal away on the base layer of your layout and then totally cover it up with background paper.  This technique is similar to writing on a canvas and then painting over it (something I love to do).


2.  Incorporate journaling into the design of your page by using a sketchy or hard-to-read font and then erasing parts of it with a grungy brush set at varying opacity levels.


3.  Use a dingbat font to journal.  That way you don’t have to worry about covering things up because no one will be able to read it anyway. 🙂


4.  Cover the journaling up with “painty” elements and digital stamps.


5.  Use the blending options panel in Photoshop to blend the journaling into the background paper.  This technique works especially well on high contrast and wood papers.


Do you have to coordinate the happy with the bad?  Absolutely not!  Of course you could if you wanted to, but feel free to mix completely different subjects.  For example, in this layout I journaled about some negative work issues but scrapped a happy page highlighting my nephew to remind me about what matters most in life.  After all, work issues fade with time, but family is forever.  Two completely different subject matters, but the technique still works.


Everyday-Happiness


Can you see my hidden journaling?  I’ll give you a hint:  digital paint covers it well.  Still can’t see it?  Here is a close up . . .


Everyday-Happiness-Crop


If you weren’t looking for it, you’d never know it was there.


So the next time you want to get something off your chest, but not necessarily show it to the world via the Internet, try this technique out.  I think you’ll find it artistically and emotionally liberating. 🙂  And be sure to check out my Challenge this month in The Drawing Board forum HERE.


Until next time ~
Judie

TDP-Blog About the Author:  Judie is a member of The Digital Press creative team.  She spends most of her time engaged in creative endeavors of all sorts.  Traveling, Starbucks, football and Harry Potter are just a few of her favorite things.

Tutorial: Adding a Vignette

Adding Vignettes in Lightroom

In photography, a vignette means adding a (usually) darker border which fades into the photograph. It draws the eye in to the center of the image where the subject is by framing it.

I normally add vignettes in Lightroom. There are two ways to go about this – first the vignette tool and secondly by using a radial filter.

The Vignette tool is found in the ‘lens corrections’ section of the develop module. This is because it can be used for removing optical vignettes that we don’t want as well as adding them.
The options are :

Amount – how dark or light the edges are.
Midpoint – how far towards the center the vignette appears, effectively the size of the vignette.

The post-crop options are used if you’ve already cropped the image, otherwise you might not be able to see the effect.

Adding Vignettes to Images

I actually much prefer to use the radial filter tool as it is much more flexible. It is also found in the Develop module, right at the top of the sections and it has lots of options. The reason I much prefer it is because I can decide exactly where I want to center the vignette and I can easily change it’s size and proportions.

Vignette-Screenshot-2

To add a radial filter, select the tool – it looks like a circle. Set the effect to ‘Burn (darken), then click where you want to center your effect and drag it out until it’s the right size. Once it’s in place, you can drag the edges around to change the proportions of the circle (or oval!) until it’s perfect.

Depending on the image, it’s easy to adjust the darkness of the vignette by increasing or decreasing the exposure change.

Here you can see the final effect:

Creating Vignettes in Lightroom

JudeAbout the Author: Jude Toone is part of the Creative Team at The Digital Press. She lives in the UK with her husband and two fantastic girls. She’s loves travelling and would be off in her campervan every weekend if she could get away with it and loves time spent exploring new places and trying new experiences – and photographing them! She also spends too much time on the computer and still doesn’t go running as often as she says she’s going to.