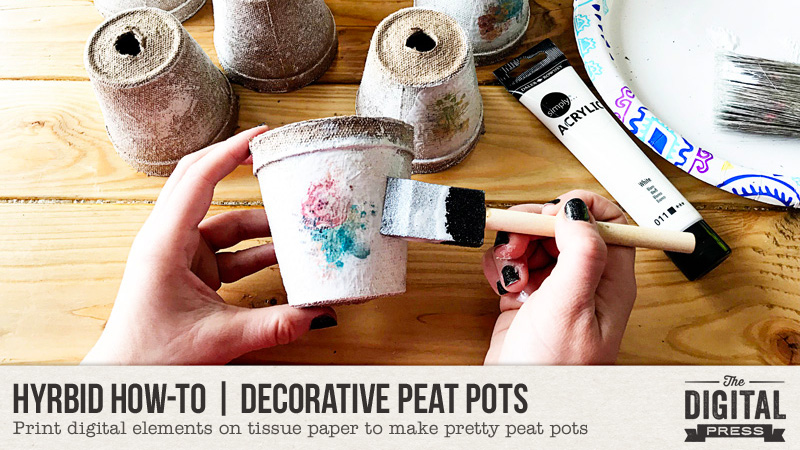
Hello, everyone, and welcome to another edition of our Hybrid How-To series here on The Digital Press blog! Today I am going to show you how to print digital elements on tissue paper to make these pretty peat pots.
This tutorial is about making the peat pots, yes… but really, it is going to teach you the trick for printing on tissue paper — a skill which opens up a bunch of new crafty possibilities. Peat pots are the object I chose for this, but you could use the tissue paper on lots of other mediums — from those cute metal buckets, to the glass inside a picture frame, to bowls or plates, etc. So many options!
Supplies Needed
- Digital elements of your choice (I used Starting Fresh | Blendable by Calista’s Stuff)
- Photo-editing program such as Photoshop or Photoshop Elements
- White tissue paper
- Cardstock
- Tape
- Peat pots
- White acrylic paint
- Mod Podge
- Paint brush & foam brush
Instructions
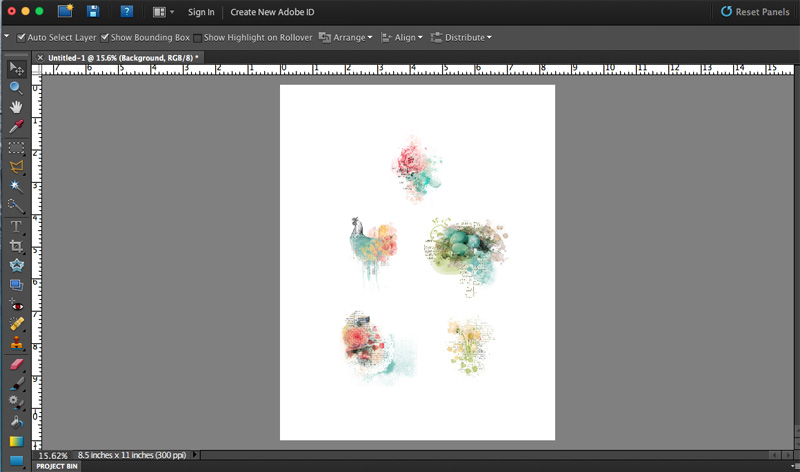
- First, we need to size the elements for the peat pots. Mine needed to be about 2.5″ in height (but it didn’t matter how wide)…
2. Next is the printing. Cut the tissue paper down to about 1″ smaller than what your printer will allow. The trick to printing on tissue paper is to tape it to a piece of cardstock and send it through the printer that way.

Here’s a look at my tissue paper after I’d sent it through the printer, with the painty elements printed onto it…
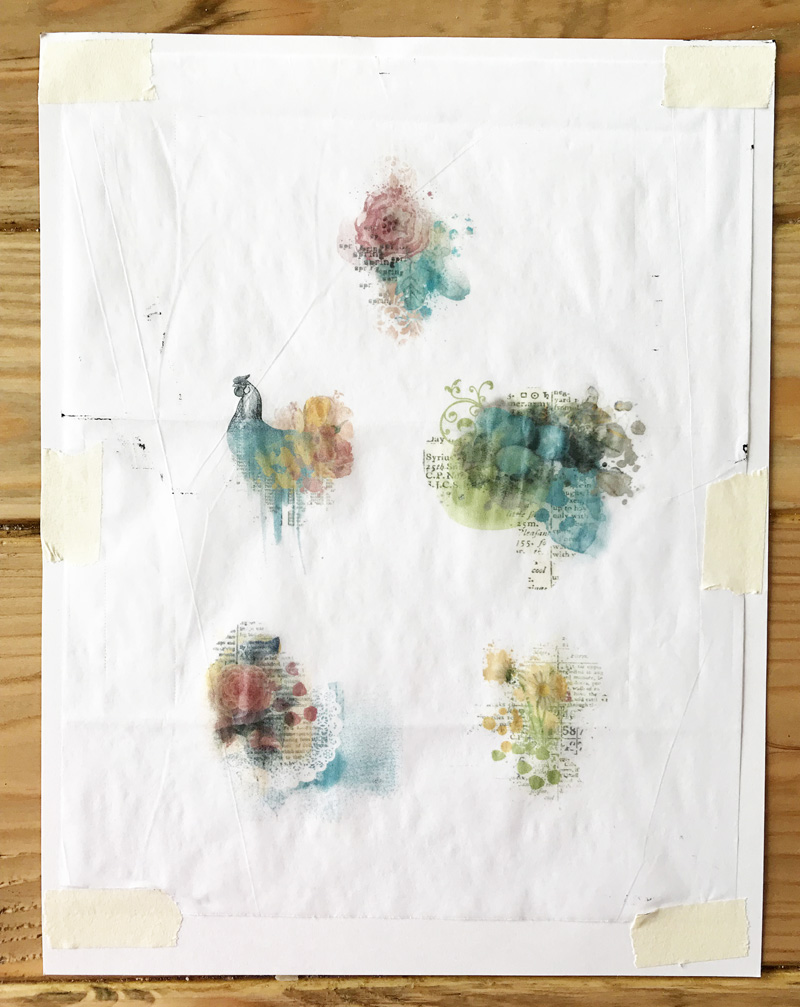
You’ll note that I had a little ink spray on my page, but it didn’t matter because I knew I’d be cutting all of that away.
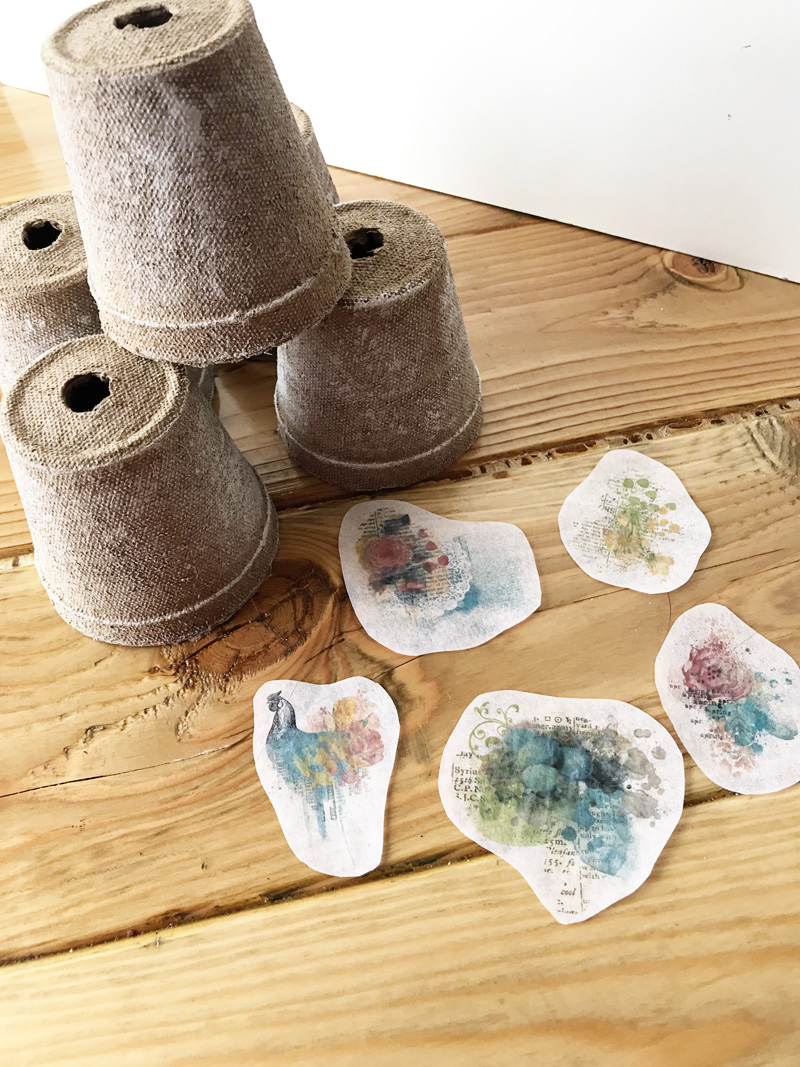
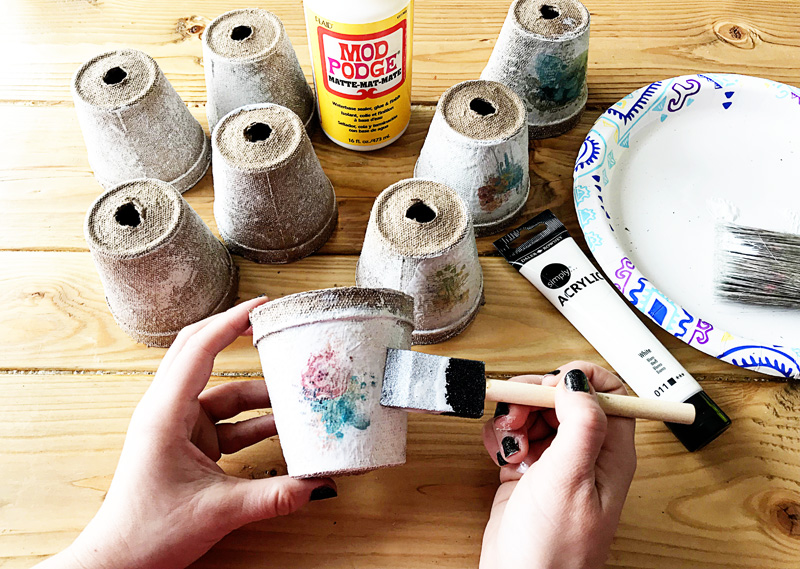
3. The next step is to paint the peat pots. The white acrylic paint will help hide the edges of the tissue paper. I just used a big paint brush and criss-crossed a pretty thick layer all over the pots, leaving some of the brown color showing.
4. Next, cut the images out of the tissue paper. Nothing precise, just follow the basic shape of the image…
5. After that, we’ll Mod Podge the tissue paper images onto the peat pots with a foam brush. Once the tissue paper is wet, it will rip easily… so make sure you brush carefully.
That’s it! So easy, right?
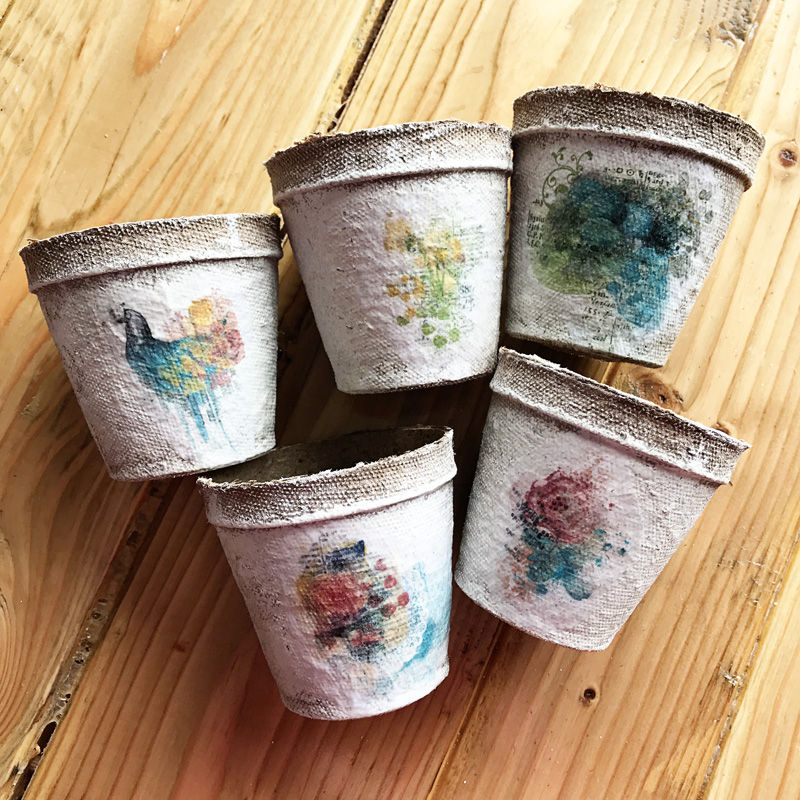
Here’s a look at the final project. The Mod Podge finish makes them shiny and so pretty…
Another look…

These peat pots took me less than an hour to make, and they will make a perfect addition to my spring decor. I think I’m going to fill mine with some fake nests and eggs. 🙂
I hope you’ll give this project a try!
 About the Author Kate is on the hybrid team here at The Digital Press. She lives on the Utah/Colorado border with her husband, 5 kids, 10 chickens, a dog named Gracie, and a cat named Kit. She’s a city-born girl who found she’s really a country girl at heart. She can be found outside, barefoot, and probably in her garden.