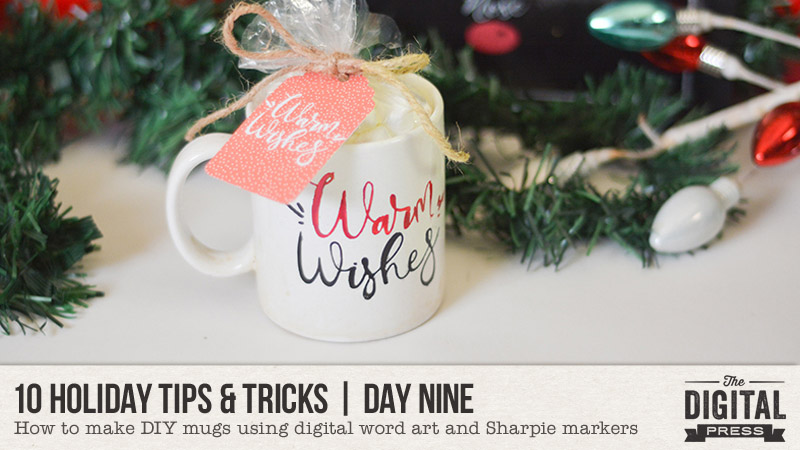
Hi everyone! Welcome to Day Nine of our annual 10 Holiday Tips & Tricks series here on The Digital Press blog! I’m here today to show you a really easy way to use some of your digital scrapbooking supplies to create a fantastic, artsy, customized mug!
If you’re like me, you always have a few last minute Christmas gifts to pull together, and you need something quick and inexpensive. You can use some of that fabulous word art you have in your digital stash to make some great personalized coffee mugs! If you admire those beautiful mugs you’ve seen on Pinterest and know you just can’t freehand something that looks so perfect, then why not take advantage of the gorgeous word art you have in your stash?! This will seem a little long, but once you try it and get the hang of it, it’s super simple!
Let’s start with what you will need:
- Sharpie markers – specifically the Sharpie Paint Marks because they will last longer
- Rubbing alcohol to clean the mug before painting
- White coffee mugs – I get them at the dollar store or you might find them at a thrift store cheaper. I have heard, the cheaper the better because the Sharpie holds better on a cheaper glaze.
- Vinyl for the stencil and transfer tape – You could use paper or even sticker paper, but it’s a bit trickier
- Cutting machine
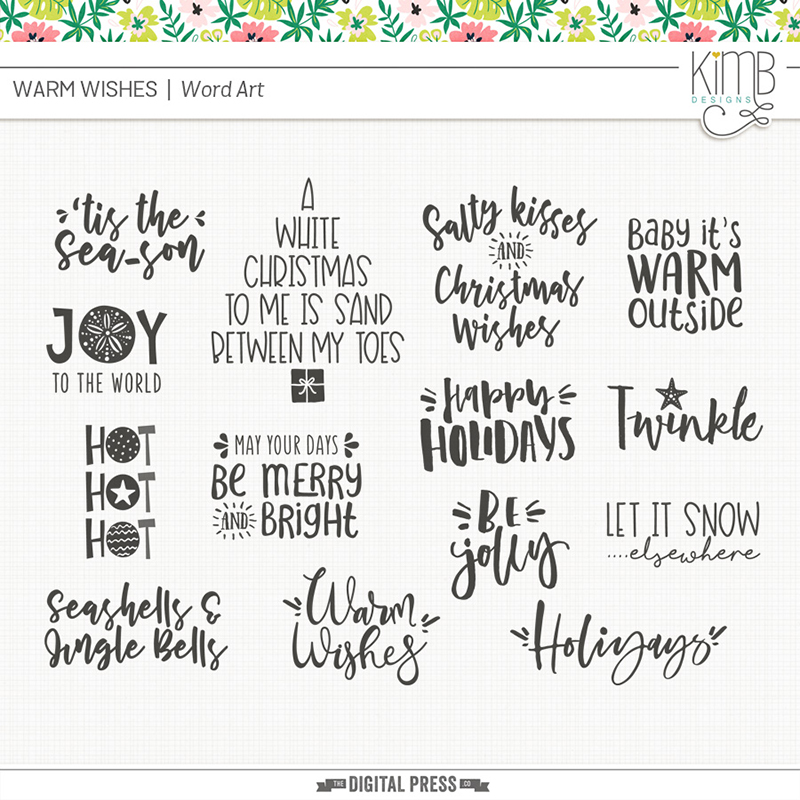
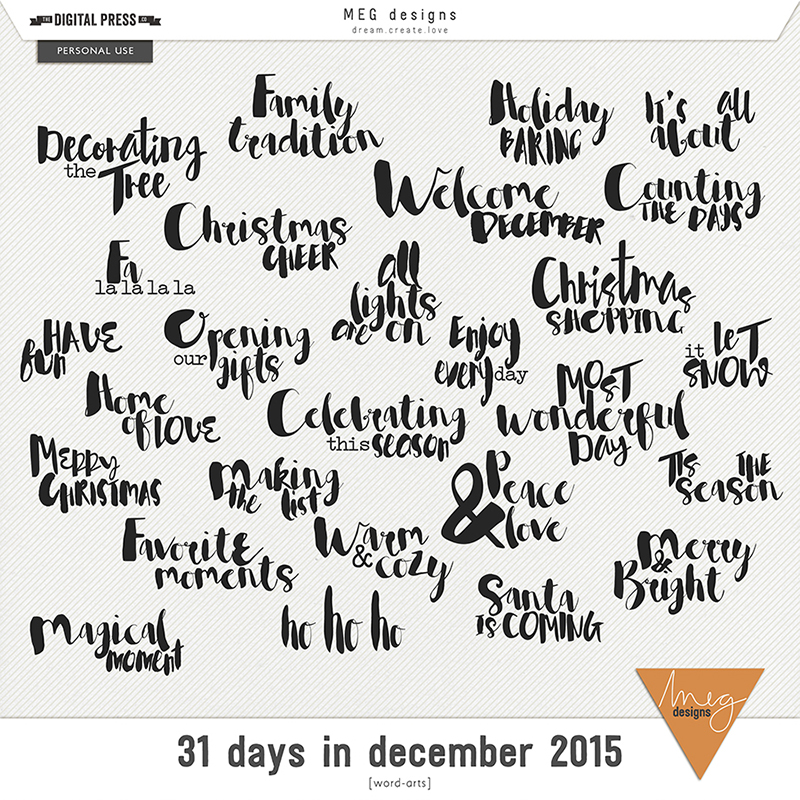
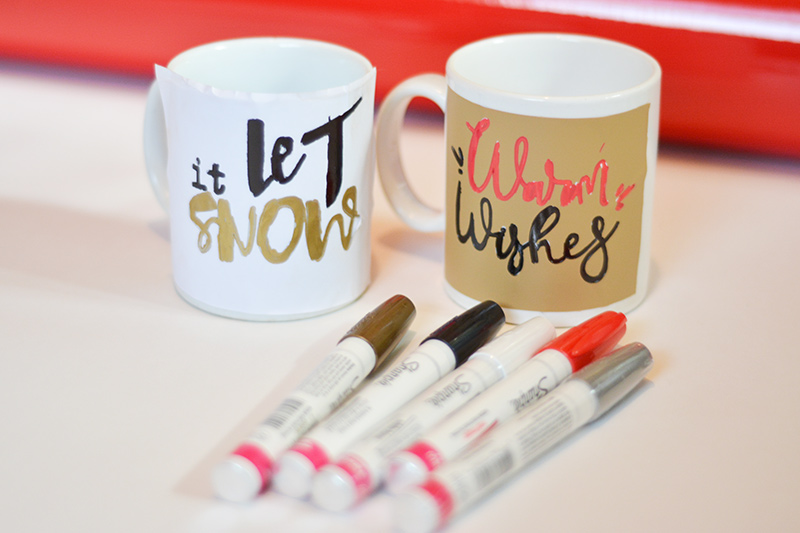
The first thing you will need to do once you have your supplies together is to choose the word art you want to use on your mug. Keep in mind that for this technique the fancier the word art, the more difficult it will be to position and work with. I chose these two word art sets from the shop at TDP…
Next, you will wash your mug and wipe it down with the rubbing alcohol to get any dirt or fingerprints off the surface. Measure the size of the area where you want the word art to go.
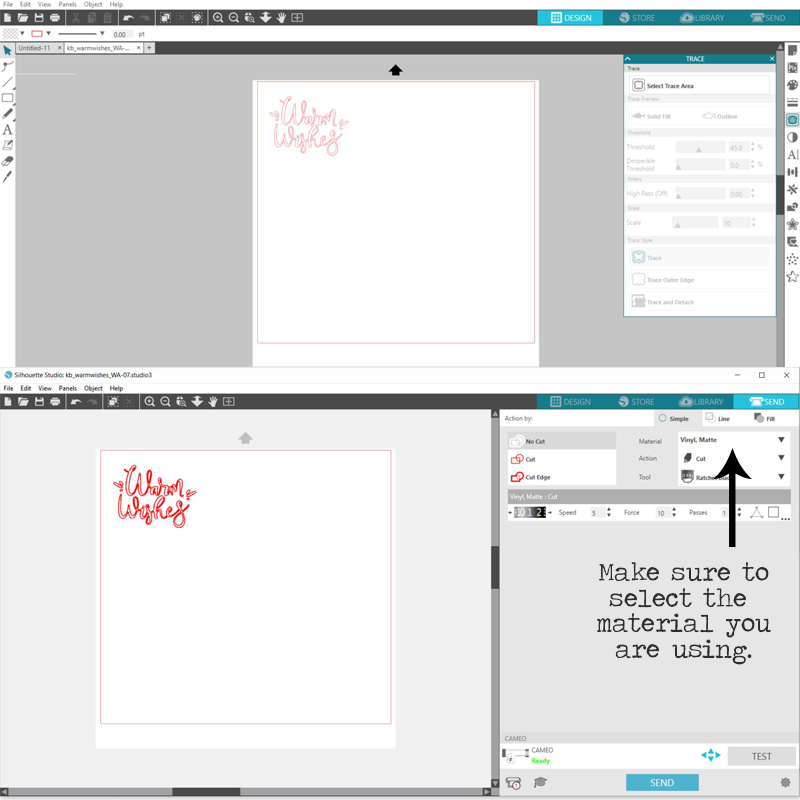
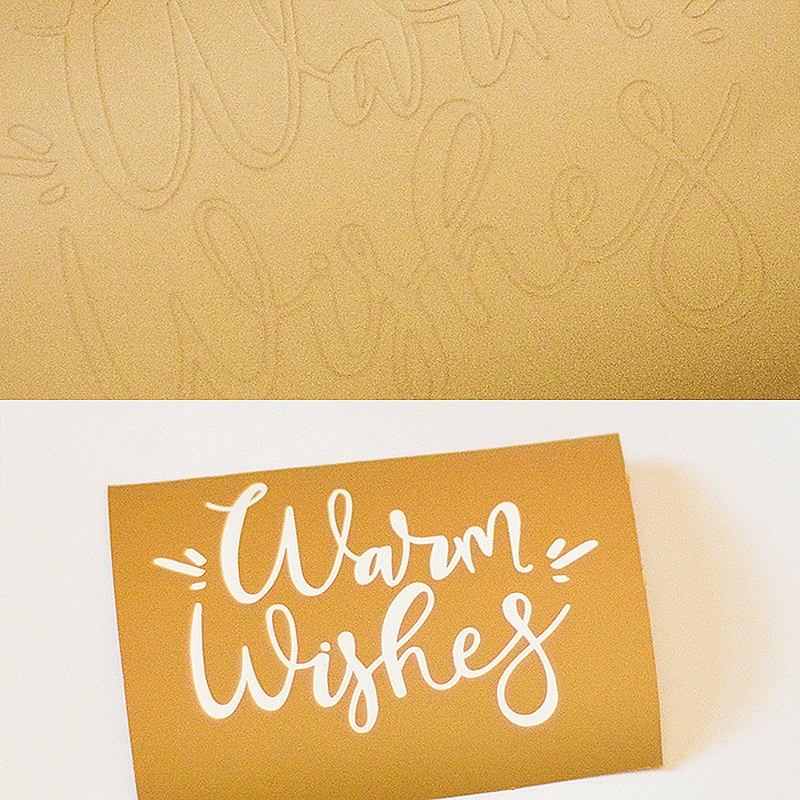
Next open the word art in your cutting machine software and scale it to the size that you measured on your mug. Select the trace area and trace all of it.

You can delete the word art so that you are just left with the outlines and you are ready to send it to be cut.
If you are using the vinyl/transfer tape method, once it is cut, you’ll want to trim the vinyl fairly close to the word art. Then weed out the letters of the word art.
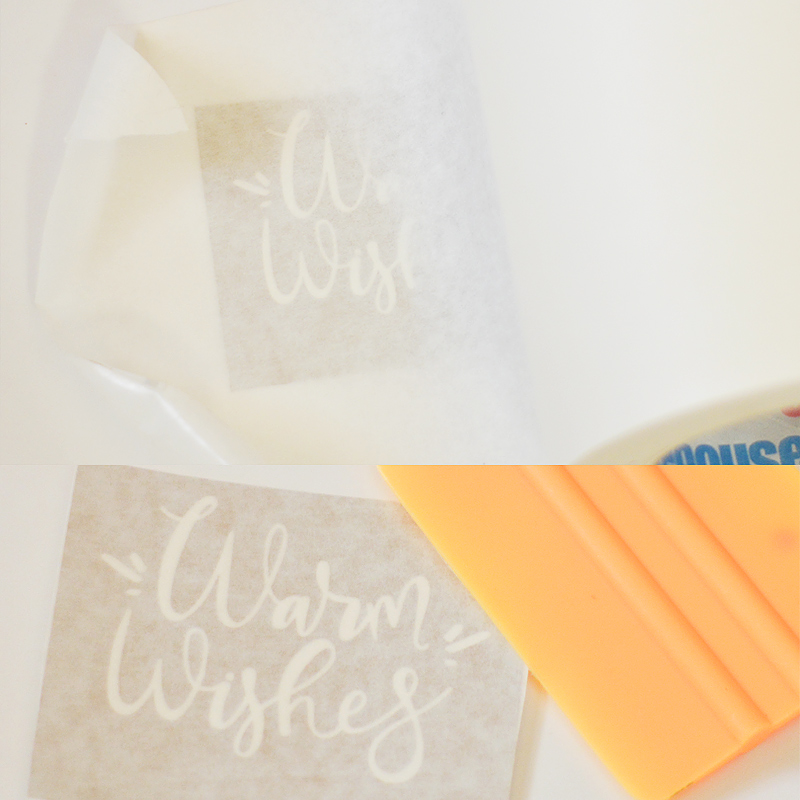
Now you’ll apply transfer tape to the stencil. You’ll want to use a squeegee or plastic card to really stick it down. Then peel off the backing. If you are not using mask, you can still peel it carefully off the backing, not letting it get stuck together.
If you don’t have any vinyl on hand and you are using sticker paper: Gently peel the background from around the lettering to create a stencil. You may have to hand place the insides of any of the letters, or free hand them, which is not too difficult.
If you are using paper, you will need to tape it or glue it down to the mug. This is a bit trickier, but it works in a pinch. I used the knife tool in my Silhouette to make cuts through the letters that had inside pieces. This makes sure they stay intact when you lift the stencil.

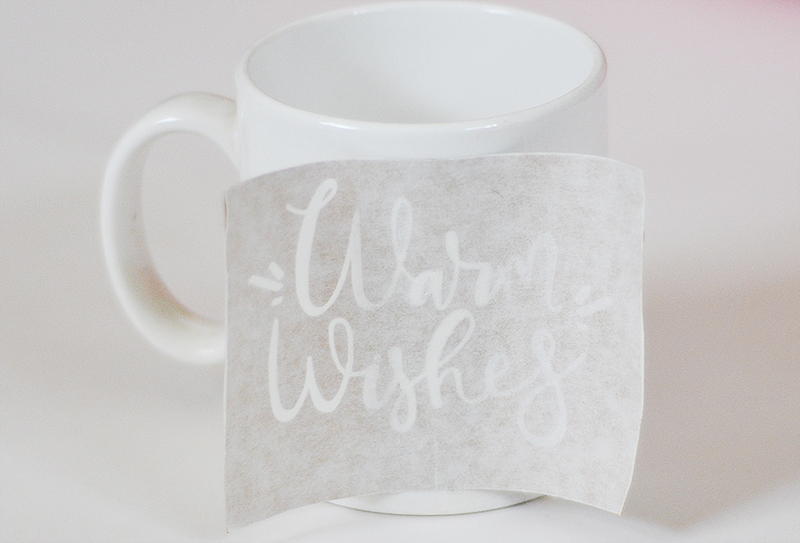
Apply your stencil to your mug, smoothing it out. I am really bad at getting things straight, but it doesn’t have to be absolutely perfect. I find it easier to lay the middle first and then go out. If you do get a little bubble or wrinkle, don’t worry too much about it, it won’t be noticeable. If you’ve used masking tape, peel that off now.
Now it’s time to paint! Simply fill in the areas inside the word art. The nice thing about vinyl is that it lays perfectly flat against the mug, so you don’t have to worry about accidentally getting it underneath.
Let the marker dry completely before you try to lift the vinyl or paper. I will admit that the sticker paper was a little more difficult to remove and I did have to do a little scrubbing and touch up on that one. It didn’t turn out as neat, but I could have worked on it a little more.
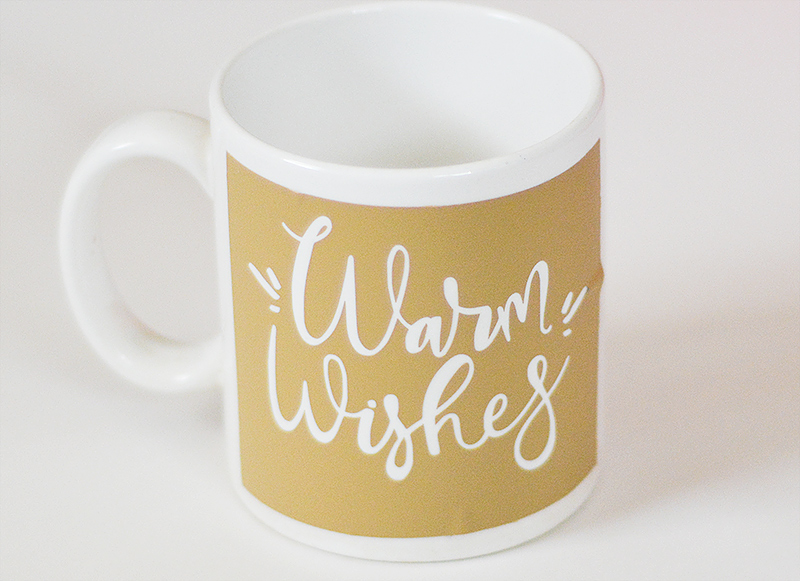
Continue to let it dry for about 24 hours. Put your mug in a cold oven and then turn the temperature up to 425 degrees and bake for 30 minutes. Turn off the oven and leave the mugs for 15 more minutes. Crack the door, but leave the mugs in there for awhile longer, preferably overnight.
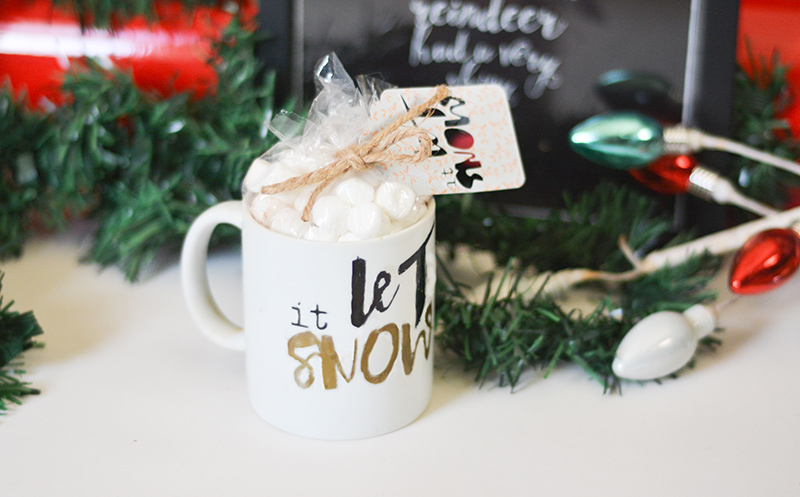
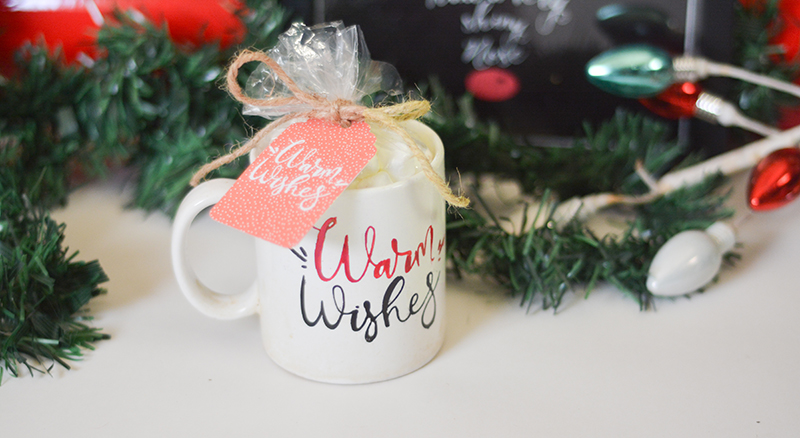
And there you have it! A beautiful gift idea… and you can top it off with hot chocolate ingredients and a cute tag to make it even better.
Tips:
- Hand washing the mug is best. It may hold up in the dishwasher, but it may not. You could note that on the card, if it’s a gift.
- Make sure you let the mug heat up and cool down with the oven to avoid breaking it.
- Allowing 24 hours before baking will help the colors hold better.
Using word art for making personalized gifts is a lot of fun. Some other tricks I’ve tried are:
- Placing the cut word art on a glass mason jar, spray painting the whole thing, and then peeling the vinyl.
- Placing the vinyl word art on a water tumbler like a Yeti or similar and leaving it as is. It holds up better than you would think.
There are so many uses for vinyl stencils and vinyl word art in crafting. If you haven’t played with vinyl and your cutting machine, you really should. It’s a lot of fun!
If you’re thinking of giving this project a try… head over to The Digital Press’s challenge forum and get the details about how you can earn challenge points for December 2018 at TDP if you try any of our “Holiday Tips & Tricks” throughout the month as they appear here in this blog series! Also, we’d love to see any photos of your holiday projects using TDP goodies in the gallery this month, so link us up after you’re finished creating and uploading!
 About the Author Jan is a high school teacher, wife, mom, and grandma who spends most every little bit of free time she gets documenting her family’s memories through digital scrapbooking. She is a summertime sunshine and beach lover who gets her energy from being outdoors. She is currently looking forward to retirement and a beach chair with her name on it and someone bringing her fruity drinks on command!