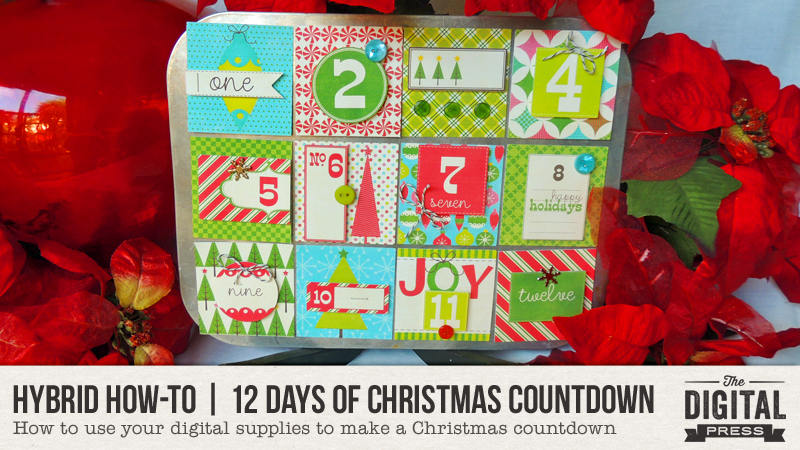
Hybrid How-To | 12 Days of Christmas Countdown

Hello everyone! It’s Donna here, and I’m excited to share another edition of our Hybrid How-To series with you here on The Digital Press blog! Today, I am going to show you how to make a 12 Days of Christmas Countdown calendar, using digital supplies and a muffin/cupcake tin.

The idea behind the muffin tin is quite simple: on a daily basis, uncover the appropriate day’s lid to reveal a treat or small toy hidden in the cavity below. The little ones in my family love any type of advent or countdown calendar and this will be no exception, I am sure!

It’s a really easy project, too… so let’s get started!

The first thing you’ll want to do is choose a digital collection that you would like to use for your project. For my example, I decided to use pieces from 12 Days | The Collection by Mari Koegelenberg Creations (edited to add: a product which has since retired), as shown here…
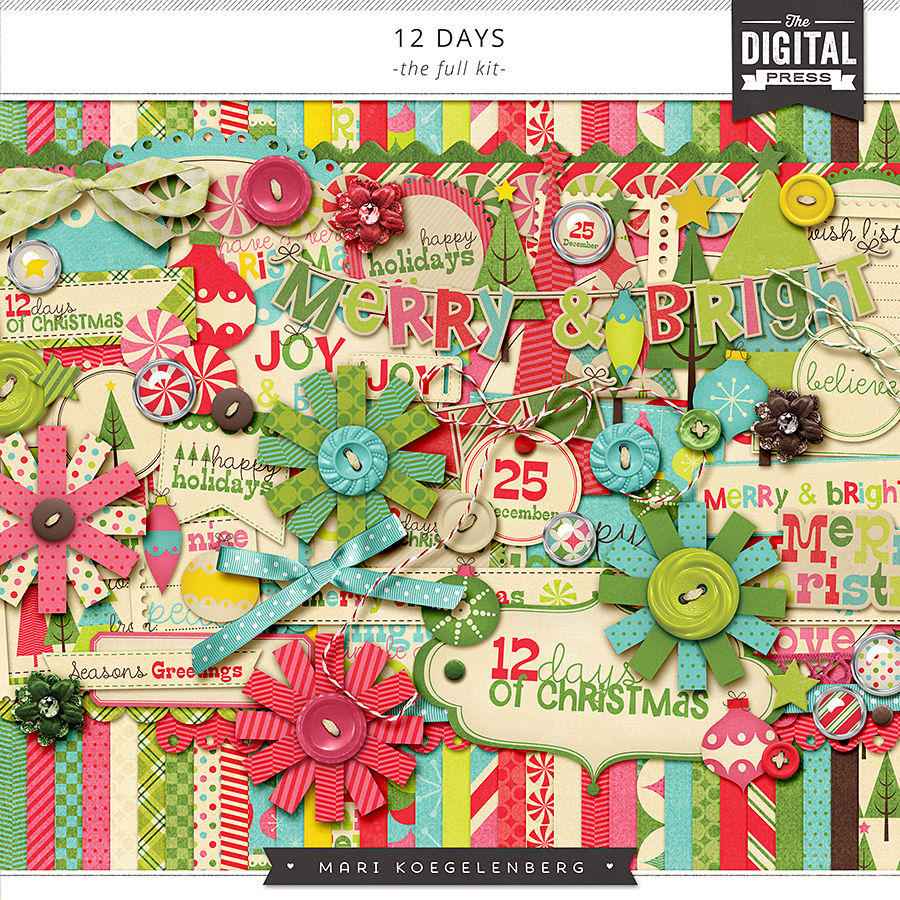
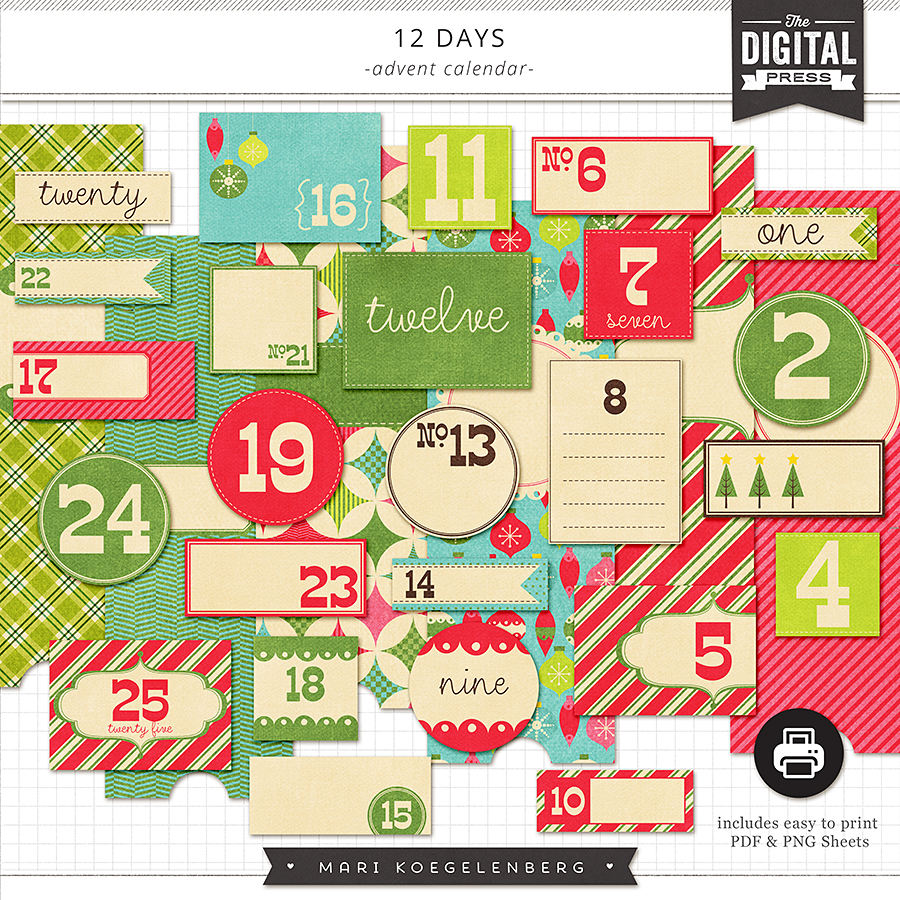
I love the fun, whimsical feel and the bright colors of this collection… and a bonus is that the countdown numbers are simply perfect for this project!

OTHER SUPPLIES NEEDED:

  • photo editing software (I used Photoshop Elements, i.e. “PSE”)
  • empty muffin tin
  • matte photo paper
  • scissors or a paper cutting machine (I used my Silhouette Cameo)
  • magnet strips or double-sided tape
  • adhesive (I used white glue)
  • pop dots (optional)
  • buttons, string and brads (optional)

The first step is to design the lids that will fit over every cavity of the muffin tin. My tin cavities are 2.50 inches wide with .50 inches between each opening…so my finished lids will need to be 3 inches square. I used a 12 cavity muffin tin, but you could always use one with 24 cavities to create a full advent calendar.

Fun Fact: The 12 Days of Christmas begins on December 25 (Christmas) and runs through January 6 (Three Kings’ Day)… whereas, an advent calendar countdown begins on December 1 and runs through December 24 (Christmas Eve).

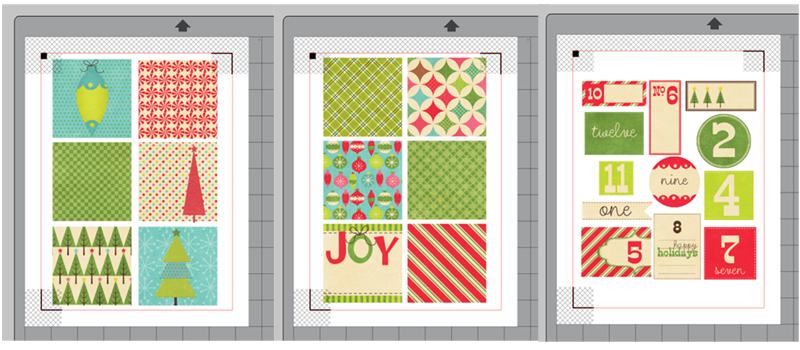
I always design my hybrid projects completely digitally, first, so as to get a visual feel for what the final project will look like. Once I am satisfied, I then pull apart all the layers onto separate pages for printing/cutting. After that, I will be replacing some of the digital elements shown below by using real buttons, strings, and brads… but in order to determine their placement, I used digital ones in my initial design. Here’s what I came up with…
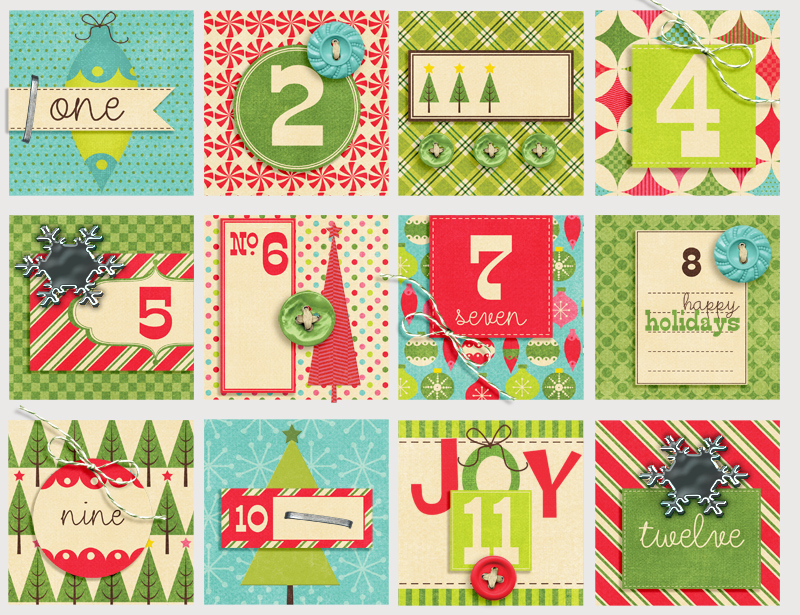
 

The next step is to pull apart the layers onto separate pages for printing/cutting. I did this in my Silhouette Cameo software since this is what I will use to cut everything out.

Here’s a look at my  papers after I printed them out… once they were ready to be run through my Silhouette Cameo for cutting…
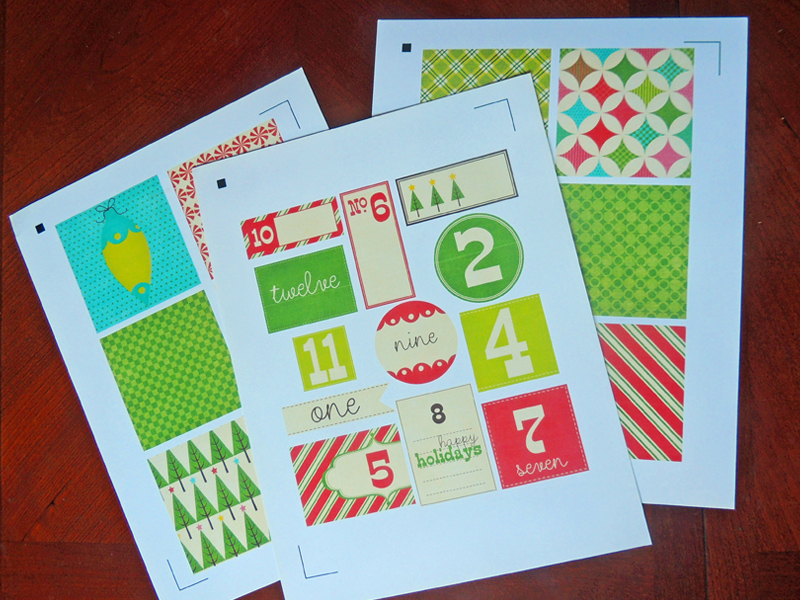
After cutting out all my elements, it was time to assemble each lid. To add some dimension, I used pop dots to attach the daily numbers to the lids, and white glue to attach the buttons and bows. I then attached a magnet to the inside corners of each lid to make sure they each stay put on the muffin tin (you could also use double sided tape if you don’t plan to use this year after year).

Here’s a look at the finished project, once I had it all assembled…
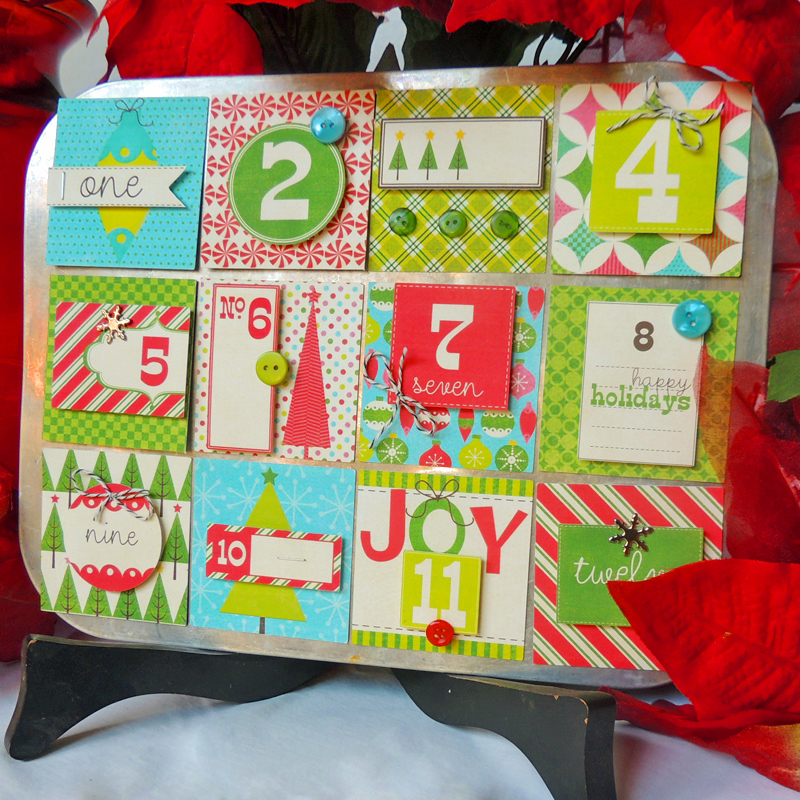
I hope this tutorial will inspire you to create your own countdown calendar this year, using your own favorite digital collections from your stash! If you decide to have a go at it, please let us see it! You can load your project into the hybrid gallery at TDP and leave a comment on this post, below, with a link to your project… etc. We would love to see what you come up with!


DonnaAbout the Author Donna is a member of the hybrid team here at The Digital Press. She has been a digital scrapper and hybrid crafter for over 10 years, and loves the flexibility digital products provide. When she’s not scrapping you’ll find her in front of the TV, at the computer, or in the kitchen  cooking up something scrumptious. She has been married for 40 years to her husband, Sonny, and they live in South Florida with their sweet little dog, Roxy, and kitty siblings Cashmere and Velcro. She also enjoys swimming, gardening, traveling, and chocolate (of course!).

Friday Favorites | November 22, 2019

Happy Friday, and welcome to another edition of our Friday Favorites series on The Digital Press blog! I love browsing through the gallery and seeing the amazing talent of our community members. So much inspiration to be found! I am very excited to share with you another showcase of the many amazing pages that can be found in our gallery! We have a wonderful community of scrappers here at The Digital Press, and it’s always fun to see what they are creating with the amazing products found in The Digital Press shop.

Below you will find just a handful of the many fantastic pages I’ve seen in TDP’s gallery this past week (each image is linked up to the original post in the TDP gallery, which means you can click on the layout artist’s name or the image and check them out yourself, leave some love, etc.).

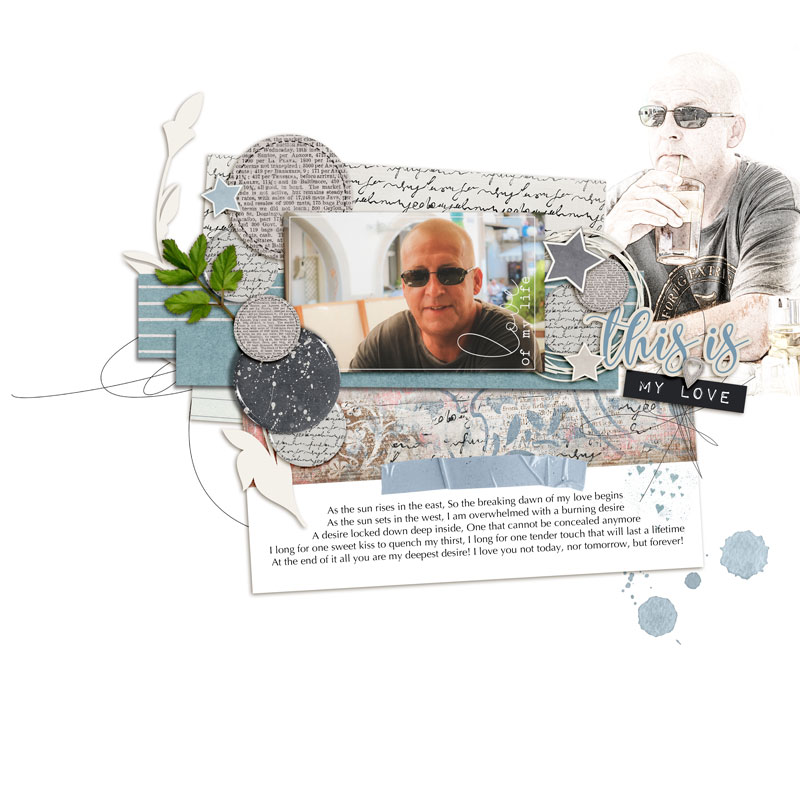
First up is this amazing page by Renate. I absolutely love all the white space, and her masking is superb! Those stacked pieces coordinate so well with her photos, too, and don’t distract from them whatsoever. This is such a bright and breezy page!

Next… here’s a great page by Margie. How can you not just love that sweet face and perfect smile?! I love that she has the frame cut from newspaper… and I love the way she used that lace flower in the corner. What great shadowing! Her brushwork is spectacular, as well.

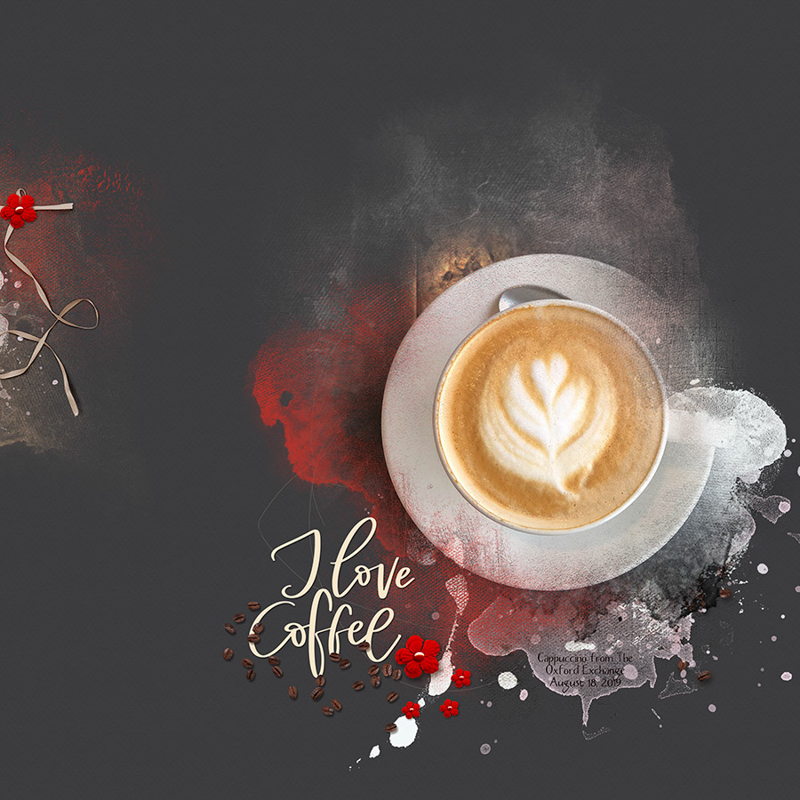
Additionally, here’s a fantastic layout by DivaMom96. I am in complete awe of her extractions. You feel like you could pick that cup and saucer right off the page. And she, too, has gorgeous brushwork. Additionally, who doesn’t love any layout with coffee beans scattered throughout?!

Next, I found this awesome page by sucali. I just love her book, and you really have to look closely to realize it’s not 3D! Her shadowing is superb, and I love her split title work, too. Such a great page!

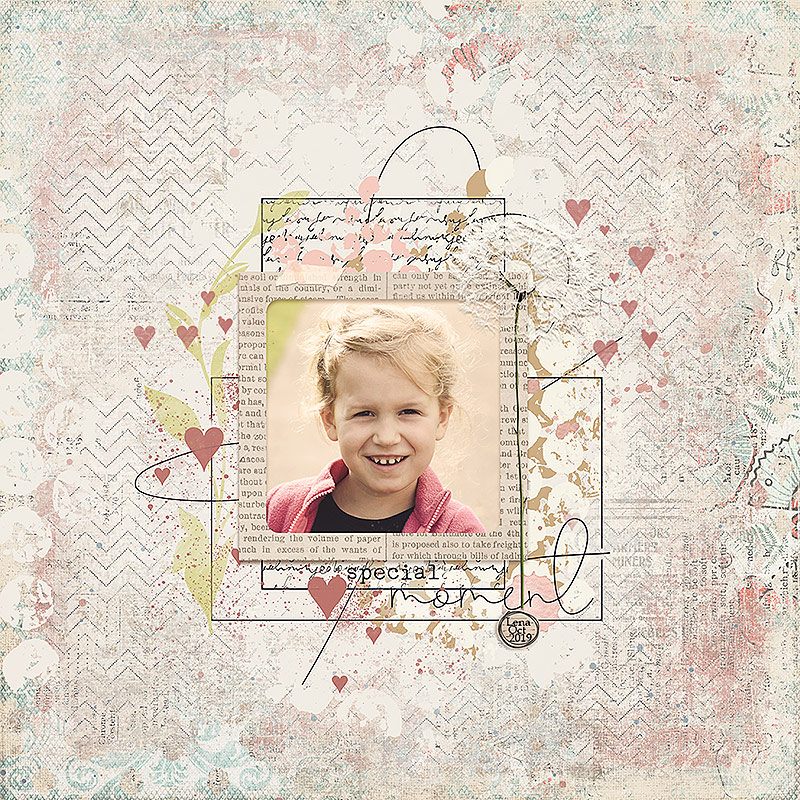
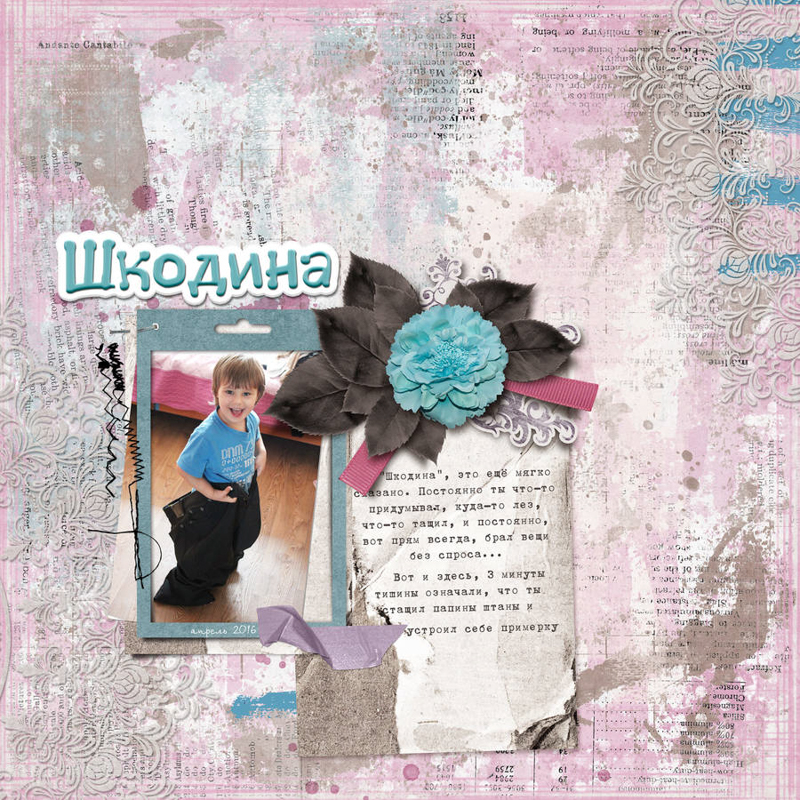
And finally, I came across this beautiful fun page from Angelle. You can just see the mischief in those eyes and the adorable smile! I love the way she secured her frame to the page in multiple spots, and the textures on this page are breathtaking. I just love everything about this sweet page!

These layouts are only a sampling of the many, many amazing pages to be found in The Digital Press gallery. I hope that you will take some time to take a look for yourself, and/or upload some of your own crafty creations!

Don’t forget each week our fantastic designers add lots of new products to the shop, so don’t forget to take a look and see what you need to finish your pages so you can upload them to the gallery. Maybe one of your pages will be featured in an upcoming edition of Friday Favorites, too!


Robin

About the author  Robin is a member of the creative team here at The Digital Press. A wife of 26 years and a mom of 4 crazy children (3 in college and 1 still at home), she says that her life occurs mostly in the car as she transports said crazy kids to their many, many homeschool activities. When not driving, Robin loves to make her family cringe by pulling out her camera again (and again, and again…).

Tutorial Tuesday | Using Masks and Overlays

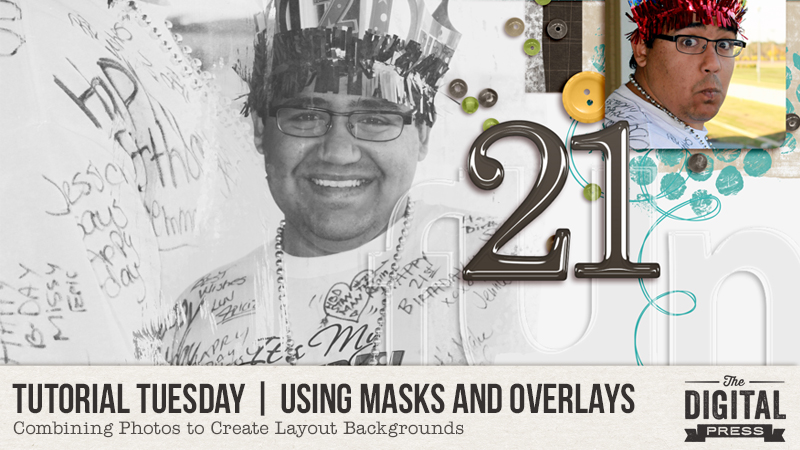
Welcome to another edition of our Tutorial Tuesday series here on The Digital Press blog! Today I’m here to share tips for using masks and overlays on your digital scrapbooking pages.

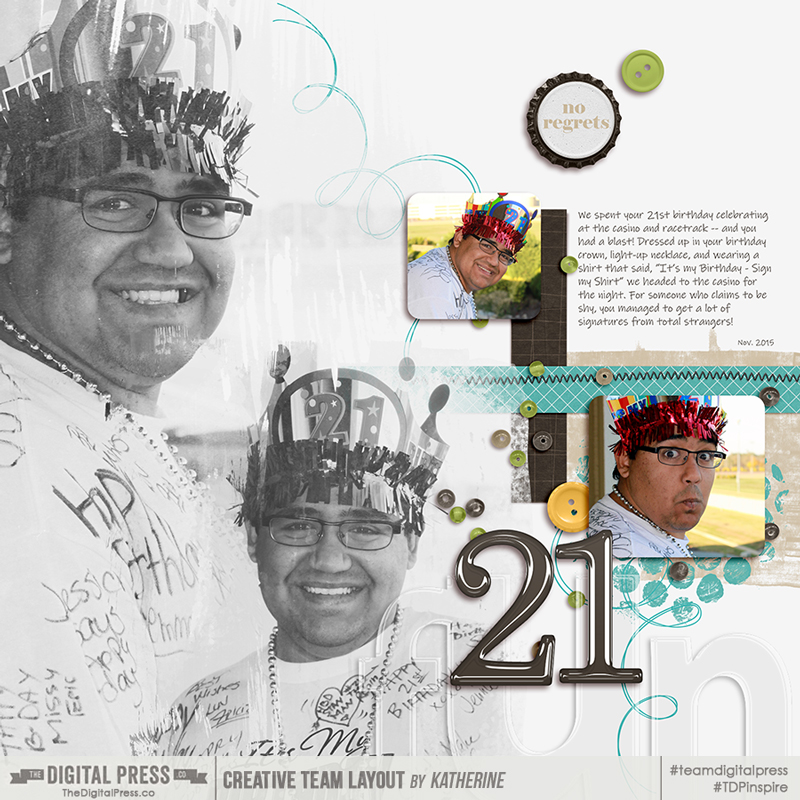
We all love those big-photo layouts, right, such as my example page just below this paragraph? You know… the pages which have that one spectacular picture that deserves all the accolades of being front-and-center on a page. But what happens when you want to create a collage, of sorts, and blend photos together? It might seem like a challenging task, but it’s not. Let me share with you a few quick and easy tips on combining photos to create a background for your scrapbooking layout.

When I posted this layout (above) in the gallery, I received some love with a request for instructions on how I created the look of the overlapped black and white photos. Well, here we are! What I’m going to share are my own tips on how I achieved this look. As many of us know, there is often “more than one way to skin a cat” and the world of digital scrapbooking offers a multitude of ways to achieve a specific look or outcome. I’ll be using Photoshop CC for this tutorial, but the same or similar results can be achieved in Photoshop Elements, or any other program that allows for layers and masks.

Tip 1: Start with a neutral foundation

I typically start my pages with a white or off-white color. This allows for a more seamless blending of the photos (although I will note here that sometimes I don’t want the images to just fade away and the harsher edges are good to see). If you use a kraft paper or a darker color, you may need to play with Blending Modes a bit to get the right effect. But that’s the fun of digital, playing around to find what works for you! Personally, I would steer away from patterned paper unless it is neutral tone on tone and almost not visible.

In my layout I used a simple layer filled of a light grey, knowing ahead of time that I was going to convert my photos to black and white.

Tip 2: Select photos that work with each other

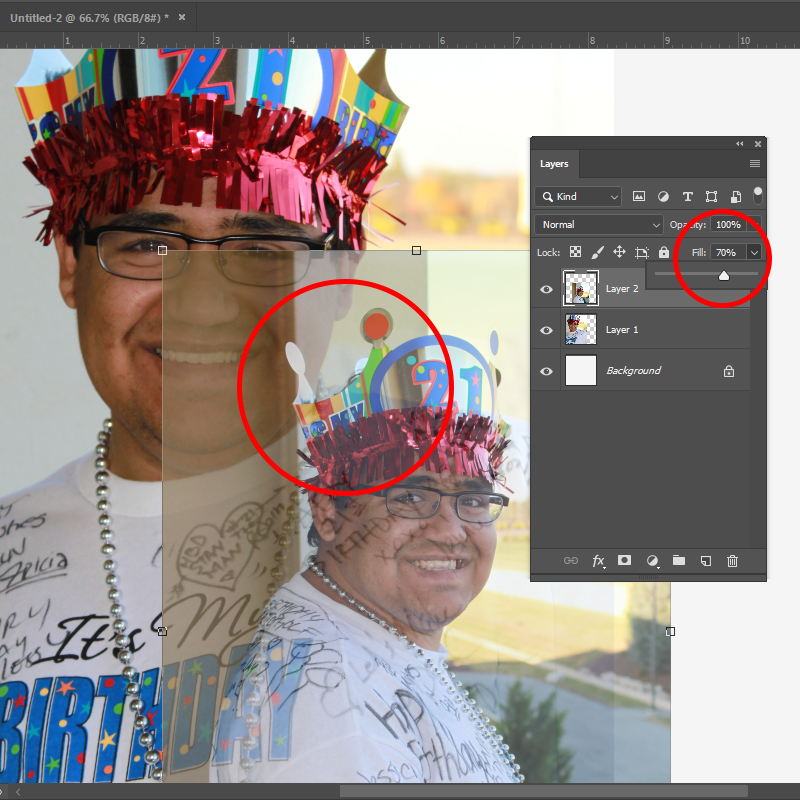
Easier said than done, right? How do you determine if the photos “work” or not? Grab two or three images and place them on your layout. Lower the fill percentage on the top photo(s) to make it slightly transparent. This will allow you to position the pictures into an arrangement that will work. Look for areas where the images naturally seem to fit together.

Here’s an example of how the photos I chose for my layout, when reversed, do NOT work (vs. the placement I ended up with for the final scrapbook page). The crown in the smaller photo is too close and overlapping with the face on the larger one … nope.

What you are looking for are natural lines where things like shoulders, heads, faces blend together. It’s a bit like putting a puzzle together.

Tip 3: Make it easy for yourself and use masks or overlays

With the foundation laid of where you’d like the photos, it’s a quick step to throw some masks or overlays under them (there are plenty of options in the shop). I’m usually looking more for a general shape of what I’m looking for, i.e., circular, rectangular, etc. and will seek that out. Some masks have ‘hard’ edges to them, but many have the softer, faded edges, which are perfect when you’re layering photos in the way we’d like to in this example.

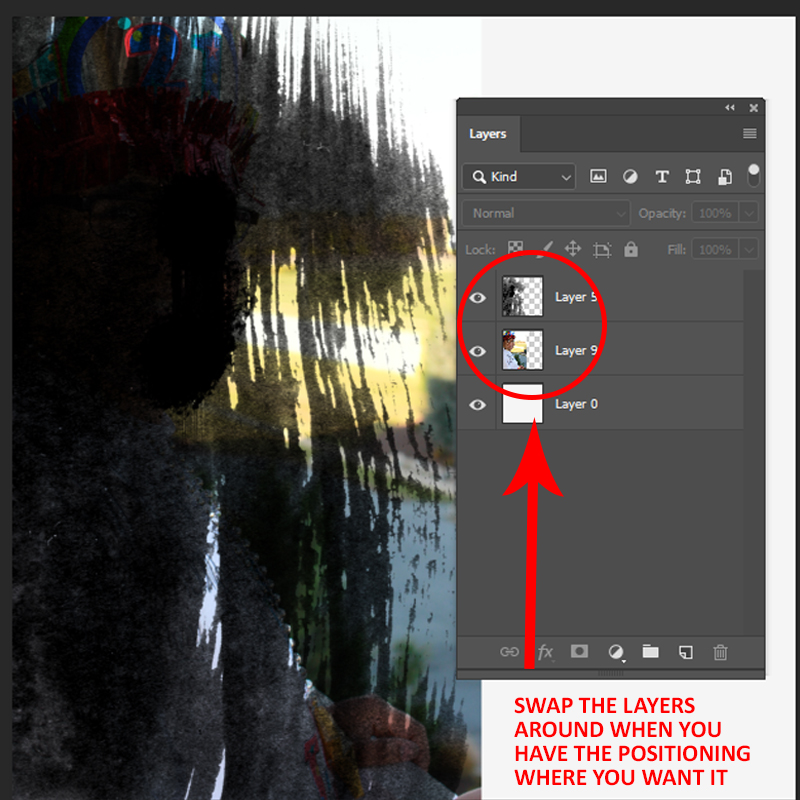
Start by adding the masks over the photos.

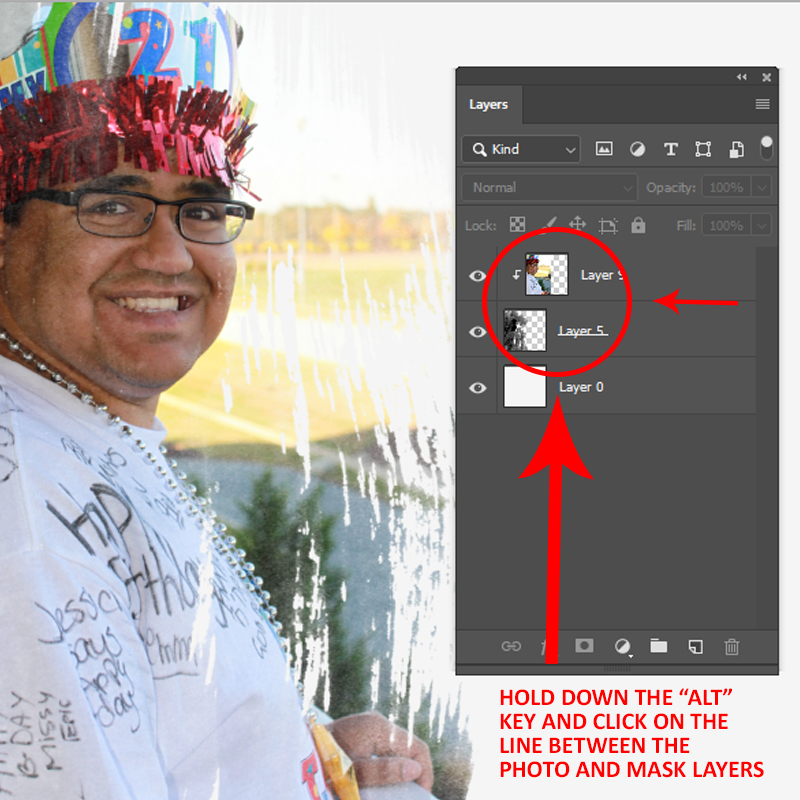
You may be reading this and thinking I’ve done things backwards. Surely you would do the masks or overlay first and then add the photos? Yes, you could. However, for my workflow with this kind of layout, I like to initially put the mask over the photo so I can see what will show through when I reverse the layers and clip the picture to the mask.

Sometimes through use of this process of line, I find a mask that just isn’t right or needs some resizing. In this example, the mask for the larger photo will reveal almost all of my son’s face, with other sections of the photo just showing through in bits and pieces — exactly what I was looking for!

Repeat for all photos.

Tip 4: Don’t be afraid to “mask the mask” 

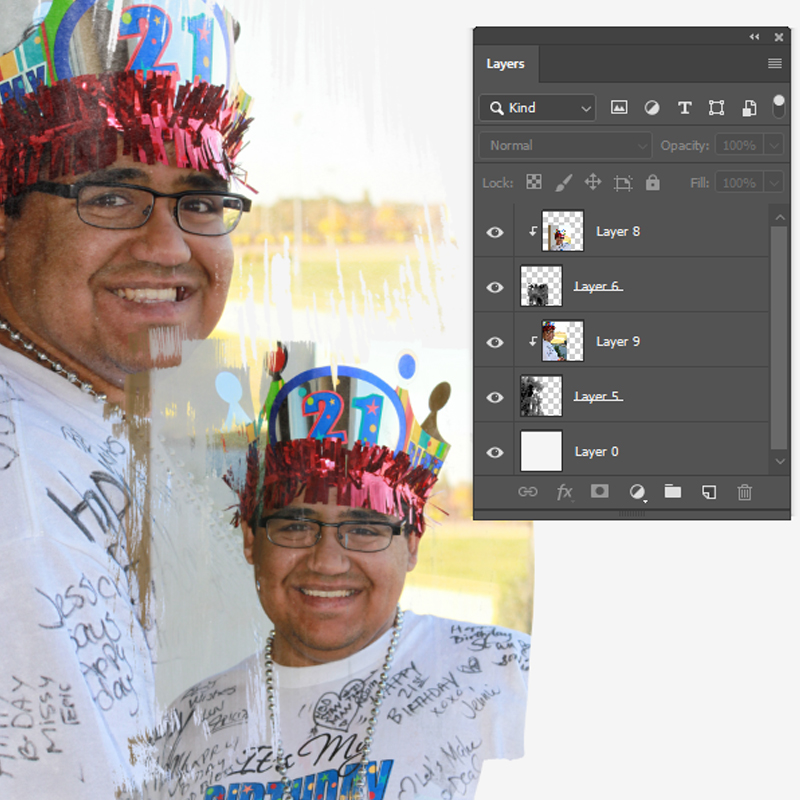
Sounds a bit strange, doesn’t it … “mask the mask”. We’d all love it if a scrapbook page came together 100% perfect 100% of the time. Yeah. No. Doesn’t really happen that way. Even in selecting what seems to be the ideal masks or overlays for layering your background photos, there might still be a need to adjust a few edges.

You’ll see here that the upper left and lower right corners of my smaller photo still need a bit of refinement.

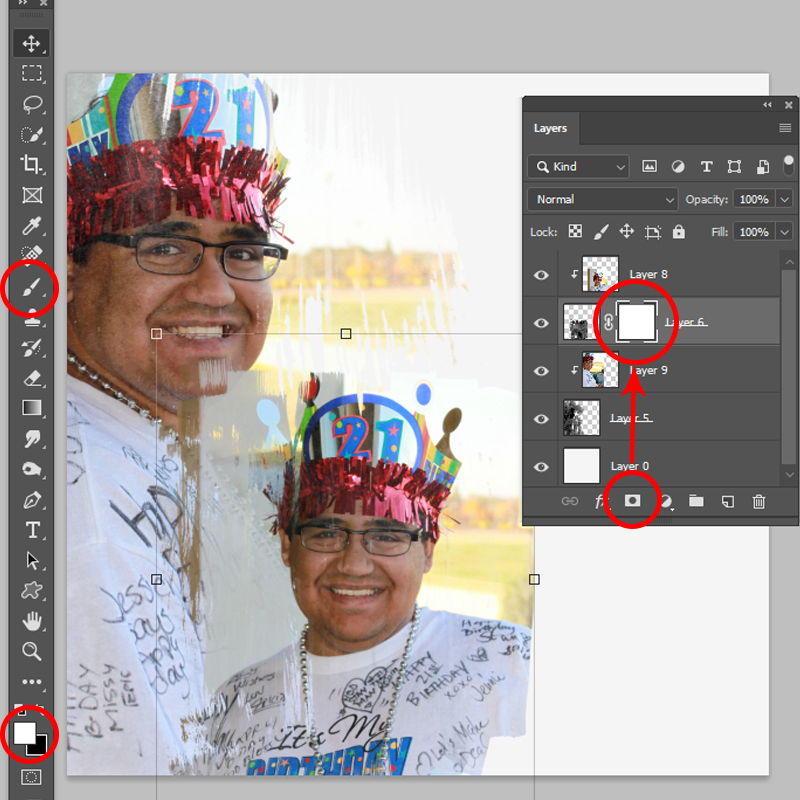
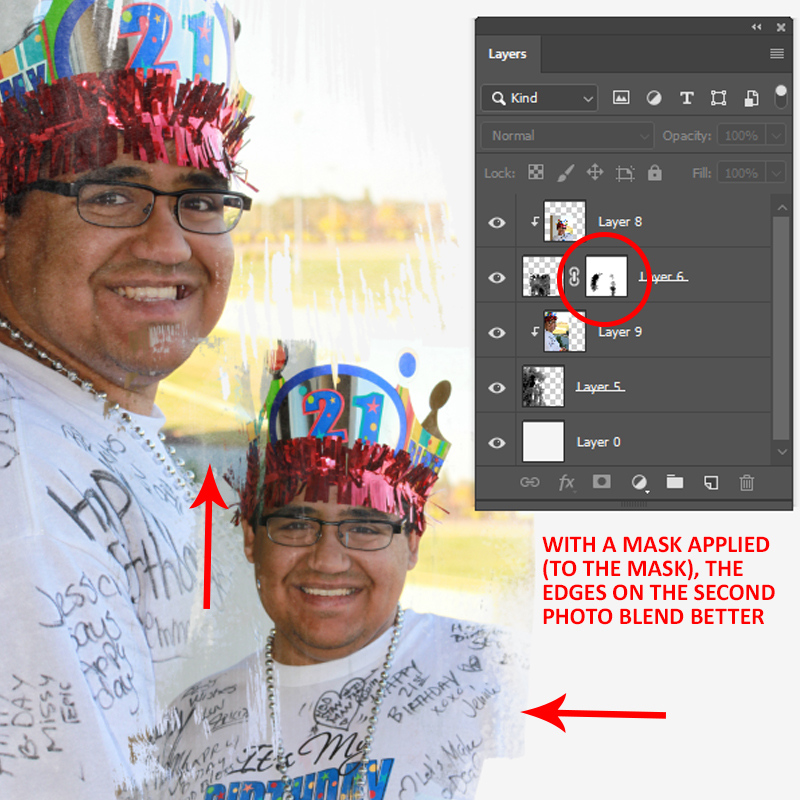
Making sure you have the mask layer selected, click on the “add layer mask” icon in the Layers Palette. A white square will be added to the layer – this is the one you want to work on. Select a brush from your palette (soft round, artsy – whatever you like), and using black or white, “paint” the areas of the mask you’d like to adjust. Remember, when using masks, a black brush will conceal or hide things, while white will reveal (great if you accidentally hide too much).

As you can see here, just a few small changes helps soften the edges and assist with blending the two photos. With my background now complete, I can layer in other photos or, as I did in my layout, add a template to the page.

While this might seem like a complicated process, it’s really only a few steps and then some artistic playing around to get the look you’d like – and with so many paint-like masks available at The Digital Press, why not give this technique a try?


About the Author  Kat Hansen is a creative team member here at The Digital Press. A HR Manager in the real estate industry by day, she loves the opportunity to spend a few hours each evening being creative. Vacation memories feature pretty heavily in Kat’s scrapbooking pages, as well as her health and fitness journey. Kat has quite the sense of humor (she “blames” her father for this), which she incorporates into her journaling and memory-keeping.

Friday Favorites | November 15, 2019

Happy Friday and welcome to another edition of our Friday Favorites series on The Digital Press blog!

Today, I am super excited to share with you a few of the amazing pages that can be found in our gallery!  We have an awesome community of scrappers here at The Digital Press, and it’s always fun to see what they’ve been creating with the amazing products found in The Digital Press shop. There is always so much inspiration to be found!

Below, you will find just a handful of the many fantastic pages I saw in TDP’s gallery this past week (each image is linked up to the original post in the TDP gallery, which means you can click on the layout artist’s name or the image and check them out yourself, leave the artist some love, etc.).


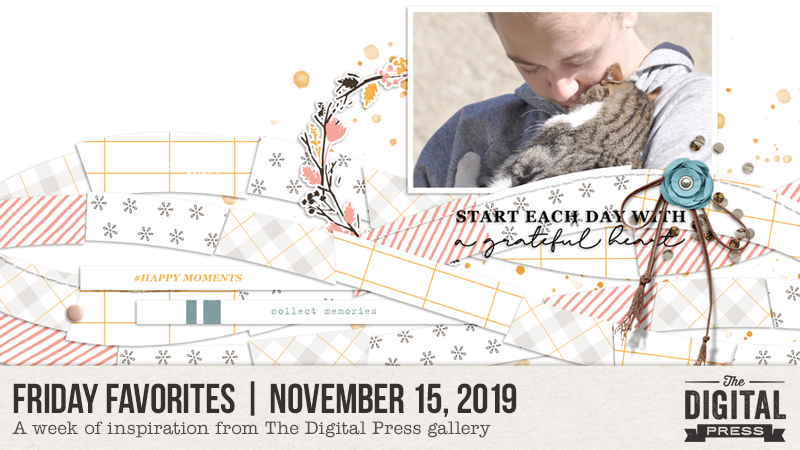
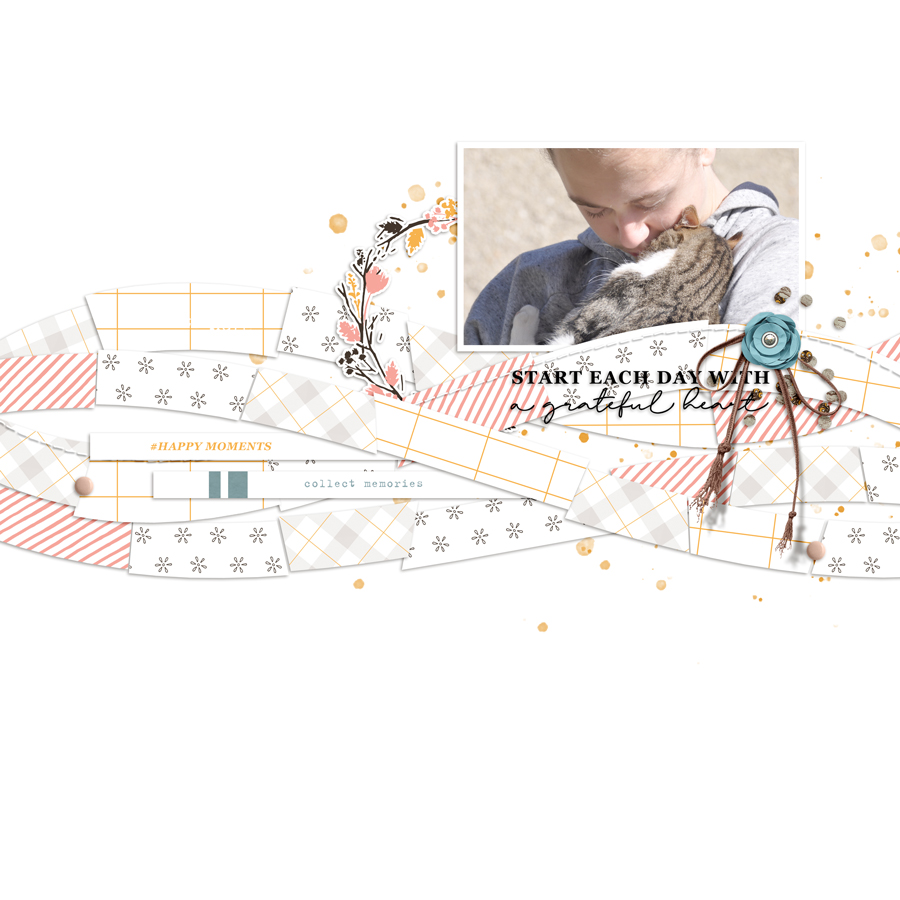
The first layout I’d like to share with you today — Grateful Heart — was created by the talented Anne PC. I just love her wonderful use of white space, the soft color palette, and the wavy, overlapping pieces for patterned paper that draw your eye to that sweet photo. I love the little paint spatters she’s got in the background and the little flower and string cluster on the side of the photo…

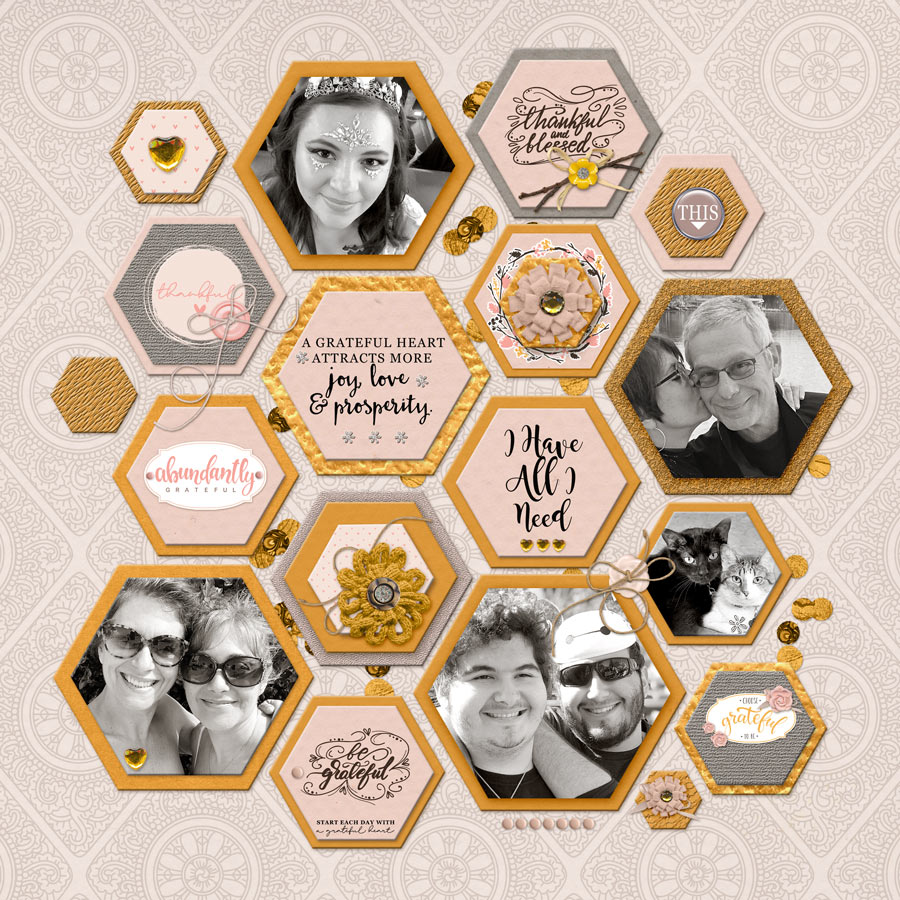
This next layout — I Have All I Need — by DivaMom96 is just so different from the first layout I shared with you; there’s a lot more going on in this page, and I love this too! I love the varied size of the hexagon shapes, the collection of black and white photos, and the fact that she’s matted each shape with a different paper. The oranges and grays and pinks work well together. I also like looking through her page and seeing the varying elements she’s tucked behind the shapes and placed on top of the shapes!

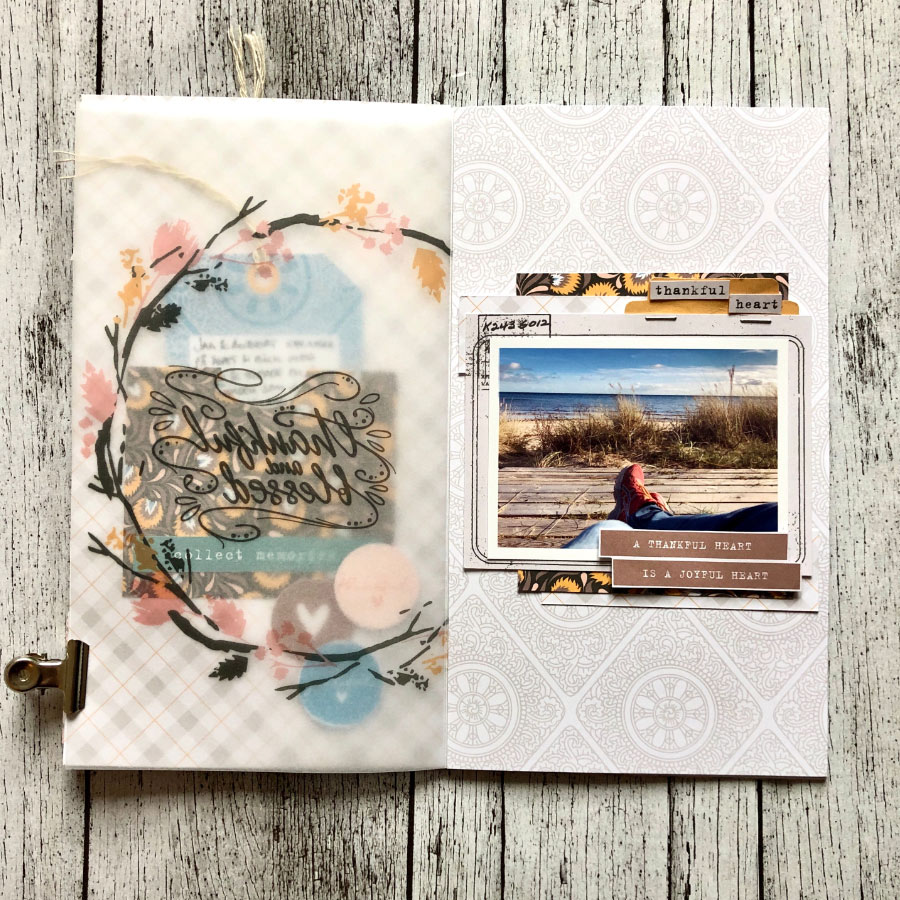
Next is this page — Thankful Heart — by Ann-Sofie. I am always in awe of people who make beautiful hybrid projects. For some reason, it’s never been something I’ve done. These journal pages are absolutely beautiful! I love the vellum paper she stamped her word art onto, and the way it overlays the photo (check out the other photos she shared of this page in the gallery — here and here). I love the fall colors and her choice of patterned papers and the stamped frame on the paper piece behind the photo. It’s simply a lovely, lovely page!

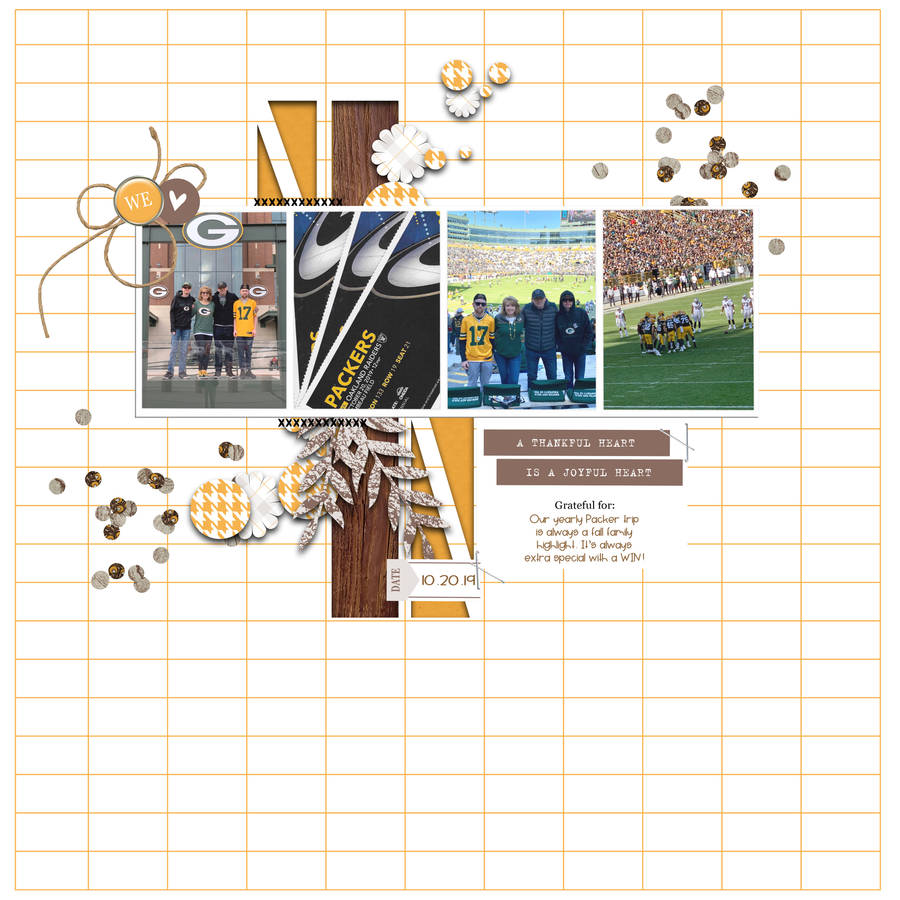
Next, I really like the color scheme appscrapper used in this page — Grateful Heart Green Bay. I like the shadowing she used to make it look like she cut into the grid paper, and the way the patterned papers are set back behind. I like the horizontal strip of equally-sized photos on top of the vertical strip of set back papers. The confetti tucked behind the photos frames them so nicely. I love the collection of photos … from the detail of the tickets, to the group, to the game itself. What a fun page!

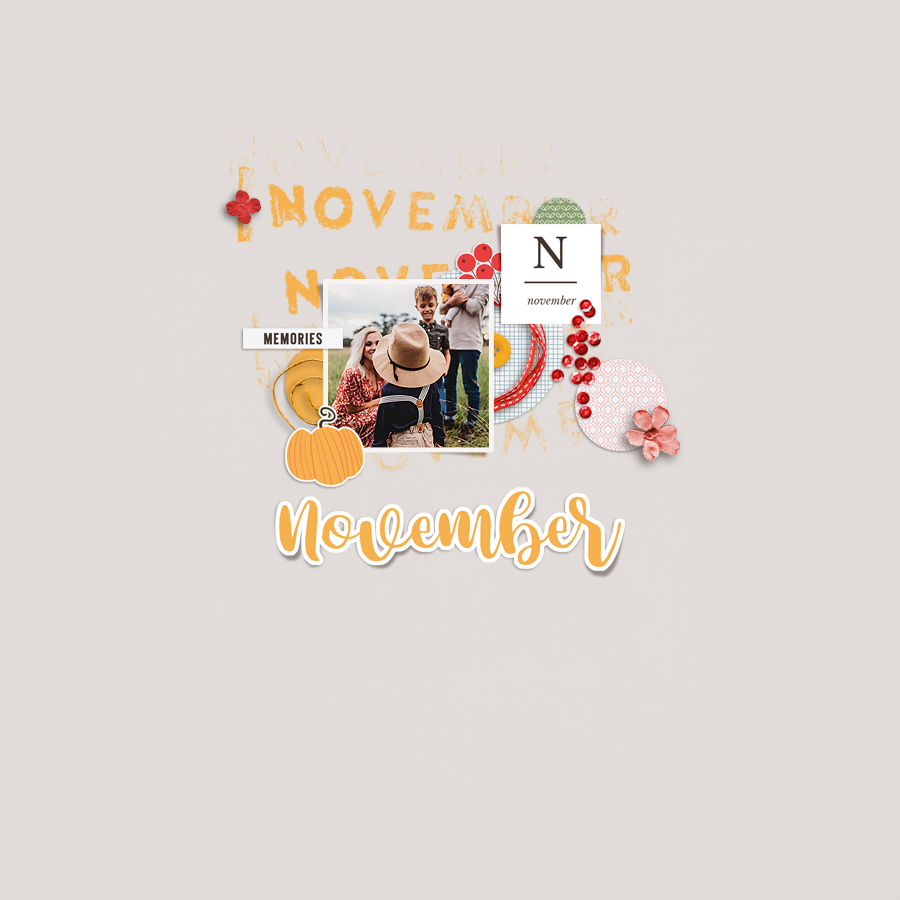
And finally — November — by Sylvia. This layout is so very clean and simple and beautiful! I love the bold yellows and reds set atop the clean background paper. Her shadow work is amazing; I always appreciate great shadow work! I love the flowers and the sequins and the cute little pumpkin atop the photo. Beautiful!

These layouts are just a small sampling of the amazing pages you can find in The Digital Press gallery. If you’ve got some time, take a look for yourself, and/or upload some of your own creations! Each week, our amazing designers add a bunch of new products to the shop, so take a look and see what you need to finish your scrapbooking pages… and perhaps one of your pages will be featured in an upcoming edition of Friday Favorites, too!


About the Author  Barbara is a member of the creative team here at The Digital Press. She lives in Minnesota, is married (she is celebrating her 25th wedding anniversary this week!) and has two great kids (can she call them kids when they’re 20 and 22 years old?!) and a super sweet 12 year old Soft Coated Wheaton Terrier. In her free time she loves to “play” and create in Photoshop and Lightroom, take photos, binge watch her favorite shows and cook healthy dishes. Life is good!
Tutorial Tuesday | Digital Quilting

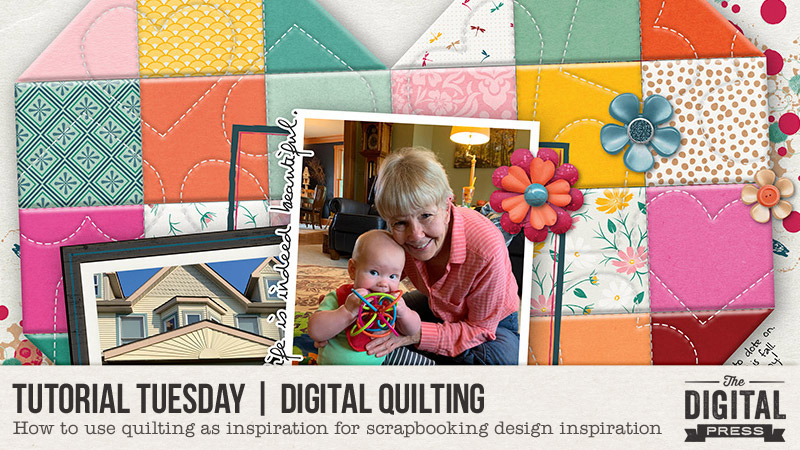
Hi scrappers, and welcome to another edition of our Tutorial Tuesday series here on The Digital Press blog! Today, I’m here to show you how to create a “digital quilt” for your next scrapbook page!

I’m sure I’m not the only scrapper who also enjoys a variety of other crafting methods — right? I mean I love anything having to do with crafting; I love using all kinds of tools and supplies to make all kinds of things from home decor, to gifts, to (of course) memory books. I must have gotten the crafting bug from my mother (pictured above) because she, too, has had her hands in a huge variety of crafting hobbies over the years.  And thus, I thought to myself… “mashups are all the rage, why not mashup a couple of my craft hobbies?!”

To do so, I played around in Photoshop for a while and created a “quilt” as the background for my layout. I’ll share what I did here but I’d really love to encourage you all to mashup whatever other crafting hobbies you might have with your digital scrapbooking. There’s so much room for creativity; I’d love to see what others come up with!

OK here goes… the quilting / scrapbook mashup!

Step 1:

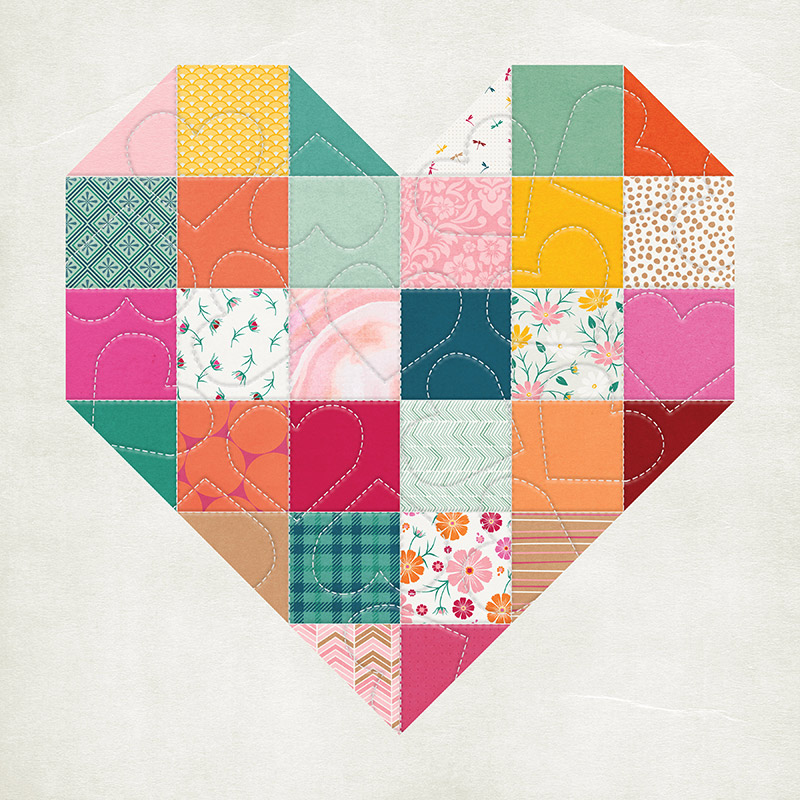
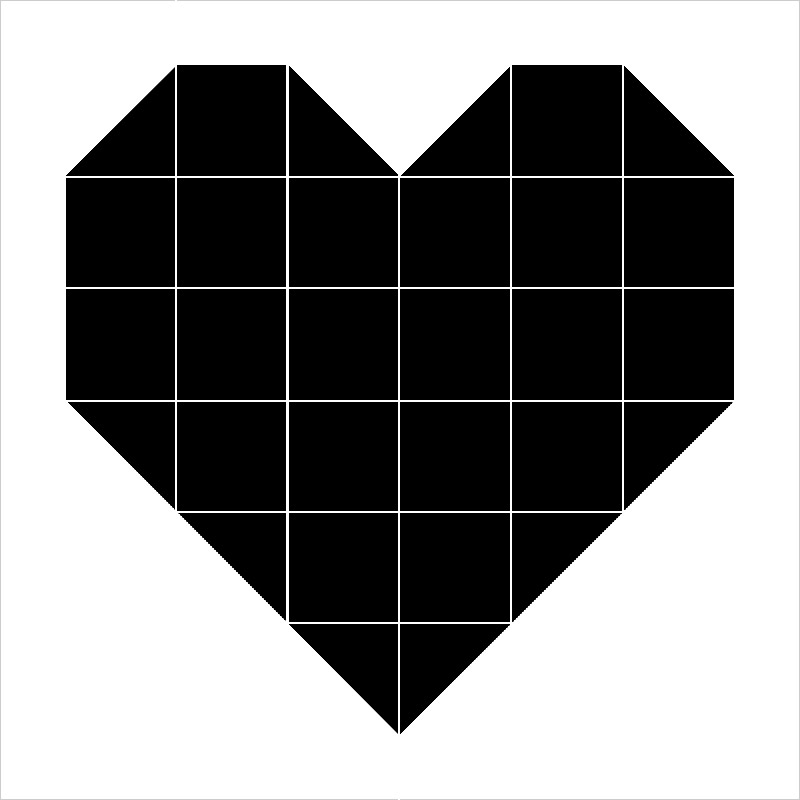
In Photoshop, using various shape tools (squares, triangles, etc.), I created the following pattern to use as masks to help build my quilt…

*TIP* Make sure that each shape is on its own layer so you can use it as an individual clipping mask.

Step 2:

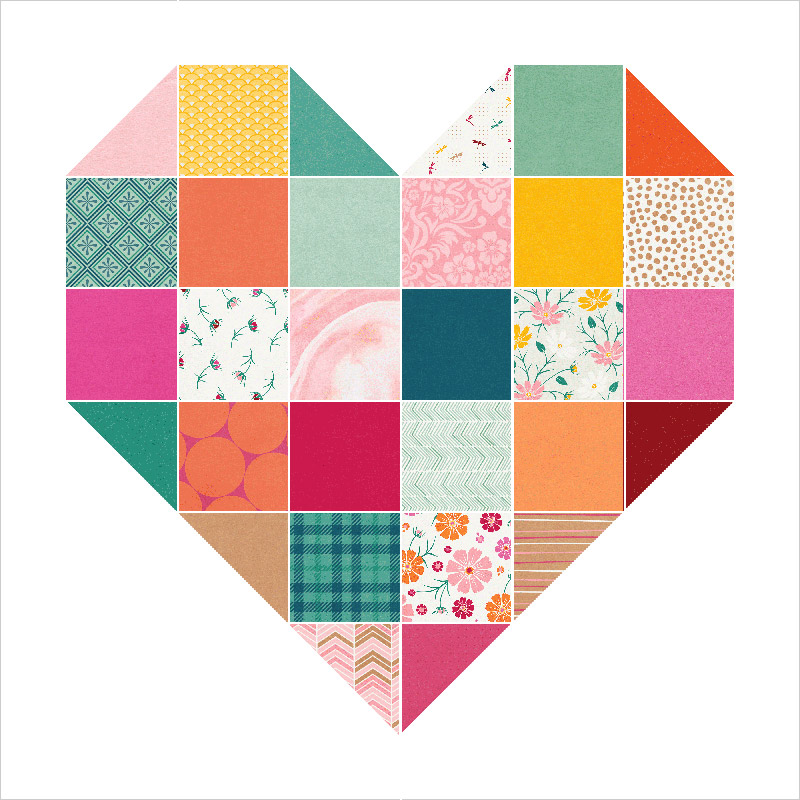
I used each of my shapes as a clipping mask and used a different paper for each shape to create the look of a hodge podge sort of quilt (which is one of my favorites kinds!)…


Step 3:

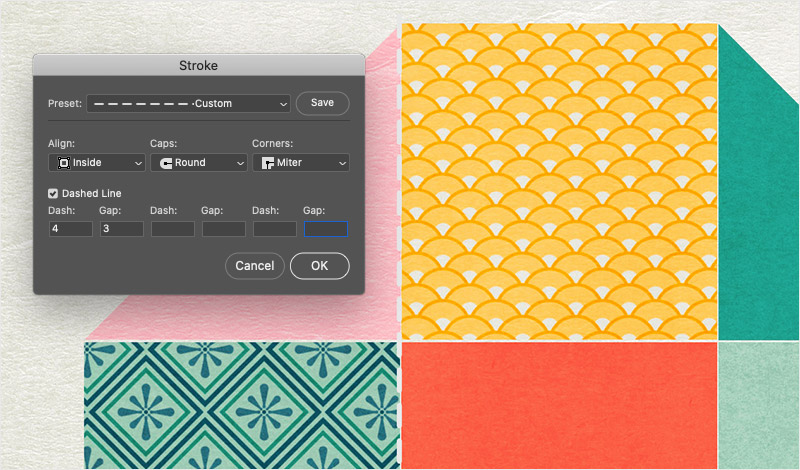
Next, using the line tool, I created “stitching” between each of the shapes using a dashed line. For the stroke, I made sure to change the “Caps” to “Round” (see next image)… and I bumped up the default “Gap” to be 3. In the picture below, you can see my dashed line (in white) between the pink and yellow shapes…


Step 4:

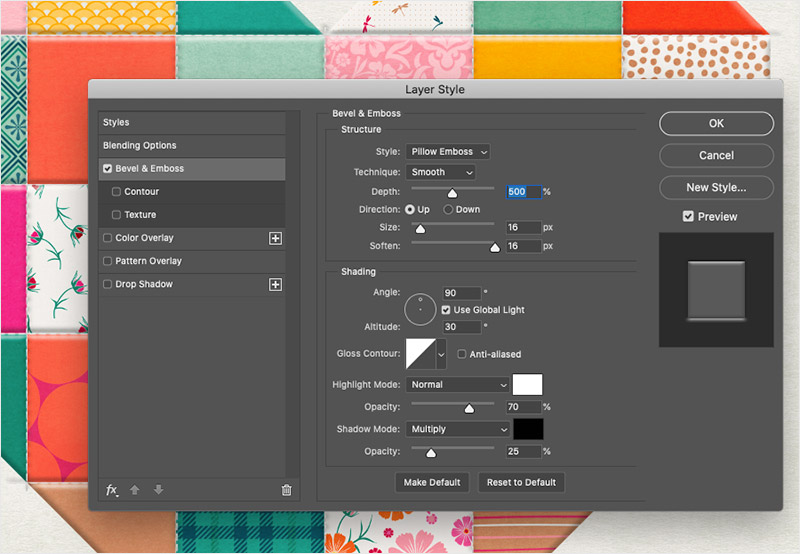
Once I had all my “stitches” added between the shapes (this is where they would be sewn together in quilting) I applied a Bevel & Emboss Layer Style to all layers of stitches.  This was to make those dashed lines look more like 3D rounded thread. You can certainly play around with the settings (I did!) but the image below shows the settings that I found to work best for the look I, myself, wanted to achieve…

  • Style = Pillow Emboss
  • Technique = smooth
  • Depth = 500
  • Direction = Up
  • Size = 16
  • Soften = 16
  • Angle = 90
  • Attitude = 30
  • Highlight Mode Opacity = 70
  • Shadow Mode Opacity = 25


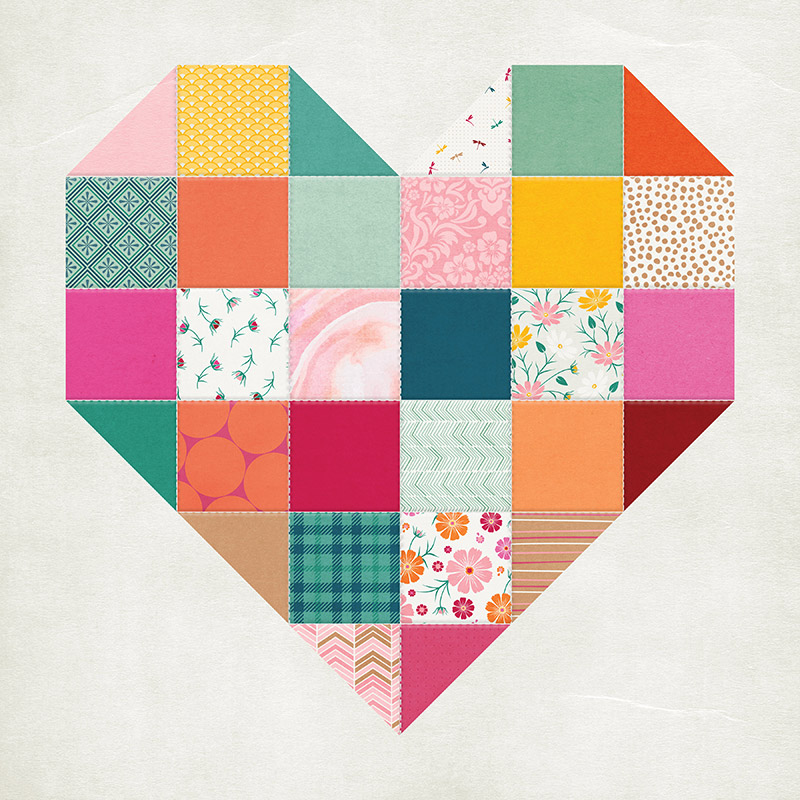
After that was all said and done, it looked like this…

I found that I didn’t need to do any embossing on the quilt pieces themselves, since the effects I put on the stitches made the whole thing look just about right as it was (or at least how I wanted it to look!).


Step 5:

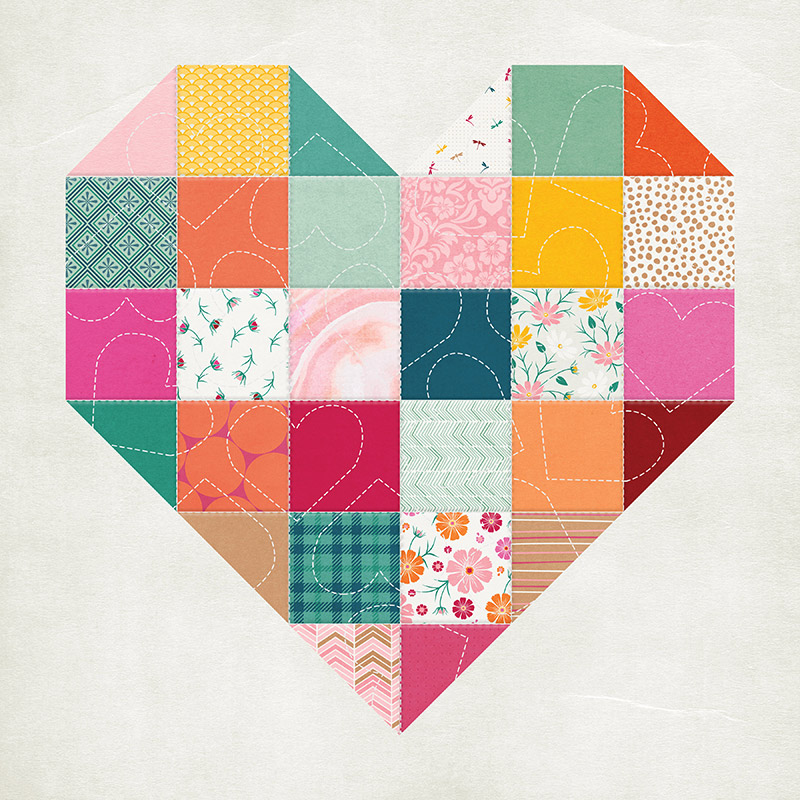
Quilting is not only about sewing pieces of fabric together. Once that’s all done, the quilter will also usually stitch a pattern of some kind — sometimes shapes, sometimes just wavy lines, sometimes hashed lines, etc. – across the entire surface of the quilt to bind it together with the backing and also create more texture and give it a really cool finish.  So… that’s what I did here! With the pen tool, I created heart shapes (to go with the overall shape of my quilt) using the same stroke settings as the first stitching I created.  It turned out like this…

*Special Note* I did put the stitching on its own layer and then used a clipping mask to “cut off” any stitching that extended beyond the “quilt”.

Step 6:

Next, I applied the same kind of embossing settings to my new hearts stitching to make it all look the same as the stitching between the blocks (to do this, you can just copy what we did in Step 5 for the straight lines)…


Step 7:

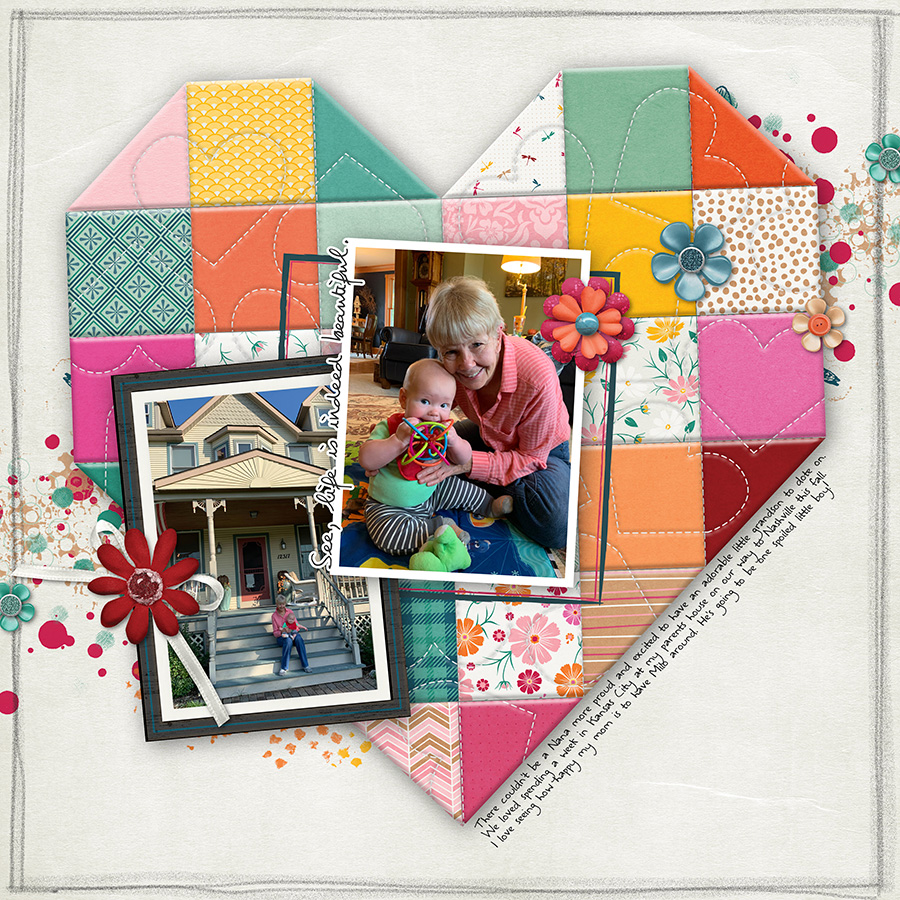
And then… all of a sudden I had a quilted background ready for my layout! All that was left to do after that was to add photos, embellishments, and borders… and I had completed the quilt / scrapbook mashup project! Here’s how the final page turned out…

I hope this inspires some of you to either try the quilting technique or think about how you can mash up your favorite crafting hobbies too!  Can’t wait to see what everyone creates! Happy scrapping!


About the Author  Shannon has been completely addicted to digiscrapping since she began in early 2016 (though she’s been a scrapper since 2000). She is a part time web designer but since 2019, she’s now the proud mama of her son and loves to have all kinds of adventures with him and her husband. Her family has currently adopted a digital nomad lifestyle and lives in a different city each month by renting AirBnBs.  
Hybrid How-To | Custom Holiday Place Cards

Hello, and welcome to another edition of our Hybrid How-To series here on The Digital Press blog! Today, I am excited to show you how I made some quick, simple personalized place cards for my Thanksgiving day table!

We don’t have a huge crowd for Thanksgiving, but everyone likes to feel welcome and know where they’re sitting… so these place cards are both pretty and functional. And of course, you can use your digital kits for any type of celebration, but with Thanksgiving right around the corner I thought I would get these ready to go in hopes it will motivate me that this is happening in just a few weeks!

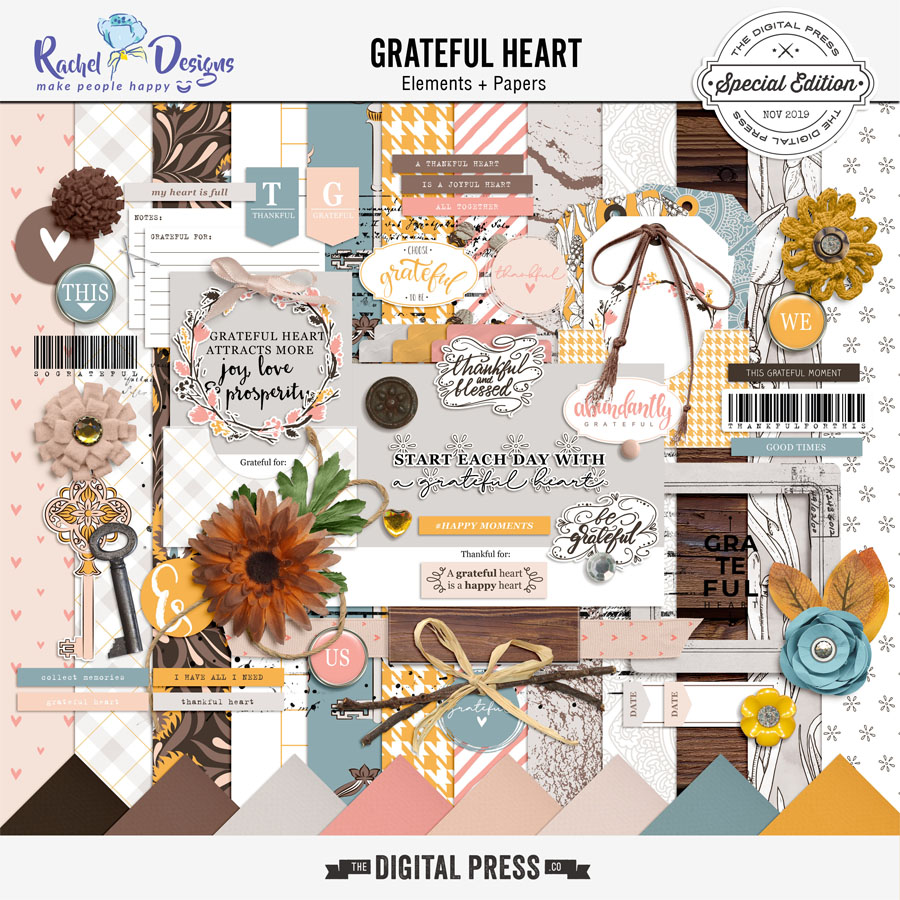
My first step was to select a digital kit to work with; I chose this beautiful kit from Rachel Etrog Designs called Grateful Heart

I was drawn to the colors of this kit, as I knew they would work with my tablecloth and dishes. I also loved that sweet winter wreath, and the tags, and the flowers… and so on.

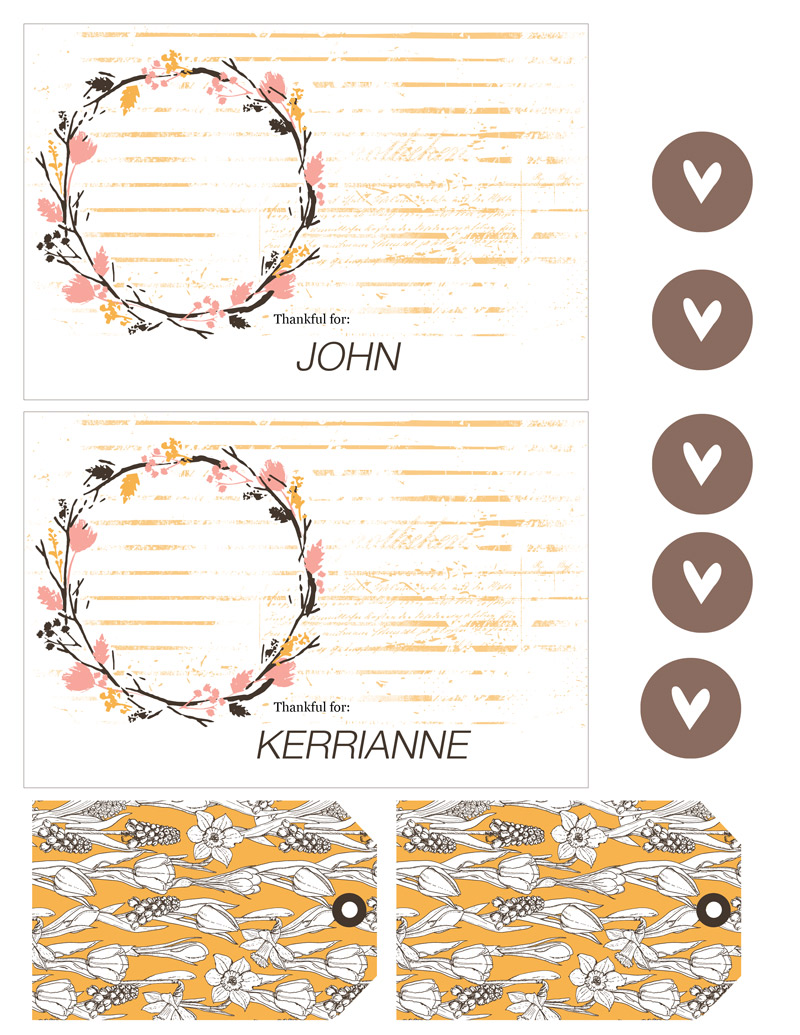
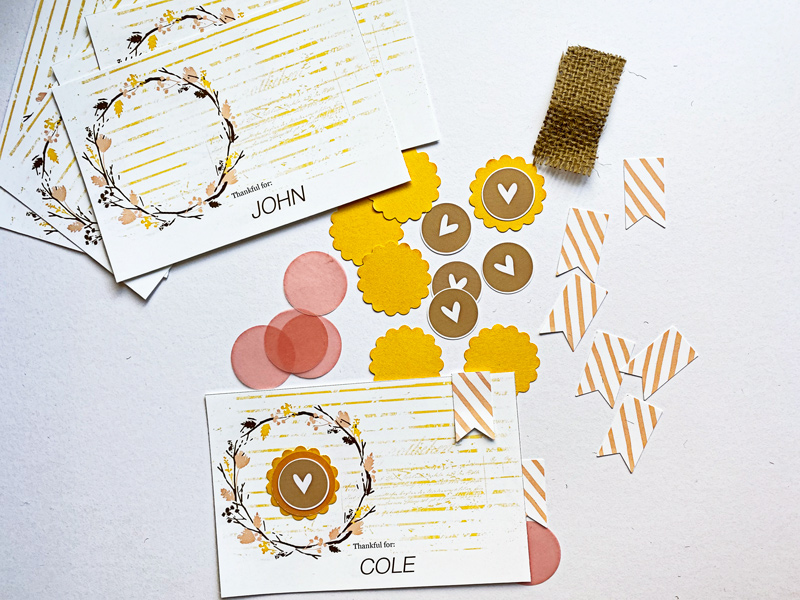
Once I had selected a kit to work with, it was time to decide upon on a basic design for my place cards. Using the wreath element along with some digital paint and solid colored digital papers, I drew out a 4 x 6 white card in Photoshop Elements (PSE). Then I applied the wreath and the “thankful for” word art to each card. I used the blank spaces to print some of my favorite printed papers and elements.

You can see how my pages looked in PSE (below). I then printed them as an 8.5″ x 11″ sheet on my Canon Pixar printer using matte presentation paper.

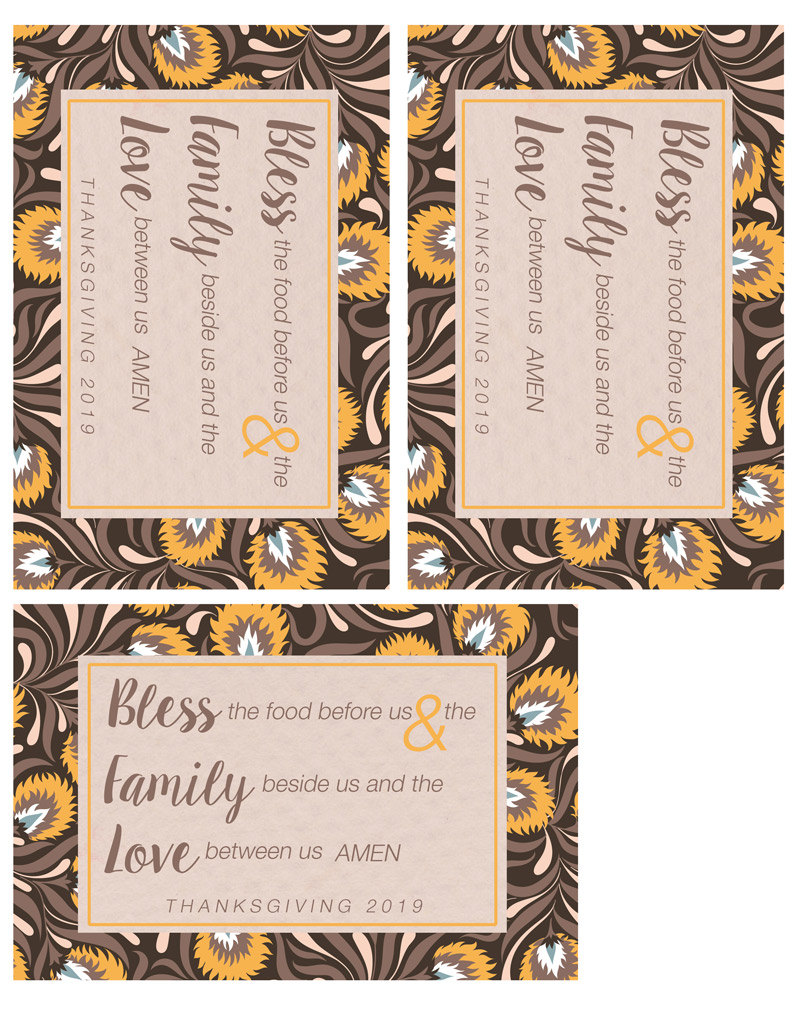
I also decided to add a simple blessing to the back side using more of the pattern papers. To do so, I just made a rectangle template inside the 4 x 6 card and added the solid paper… and then I typed in my words in PSE. I made a stroke around the inside rectangle, using one of the colors in the paper….I then cut and punched out all my cards and elements. I used different sizes of circle and banner punches with solid papers, patterned papers, and some vellum…


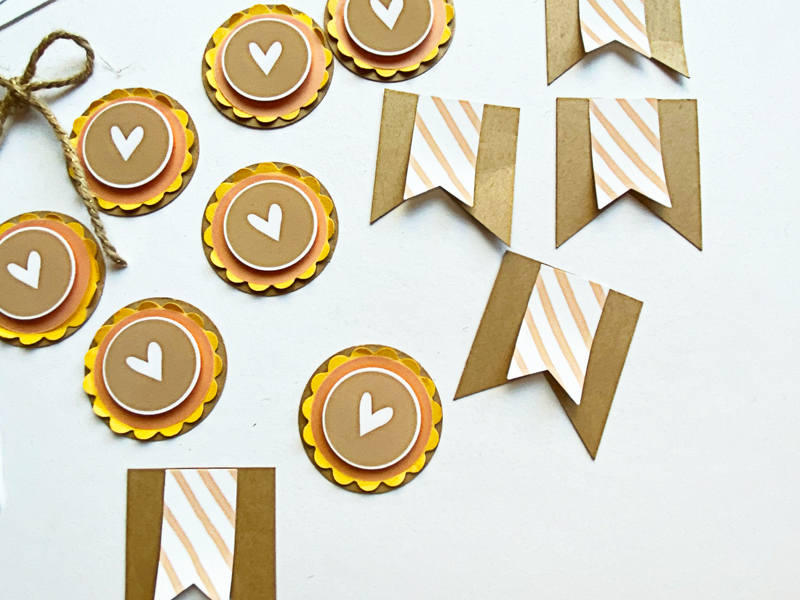
I basically played with the elements, putting the different shapes and sizes together until I got something I liked…

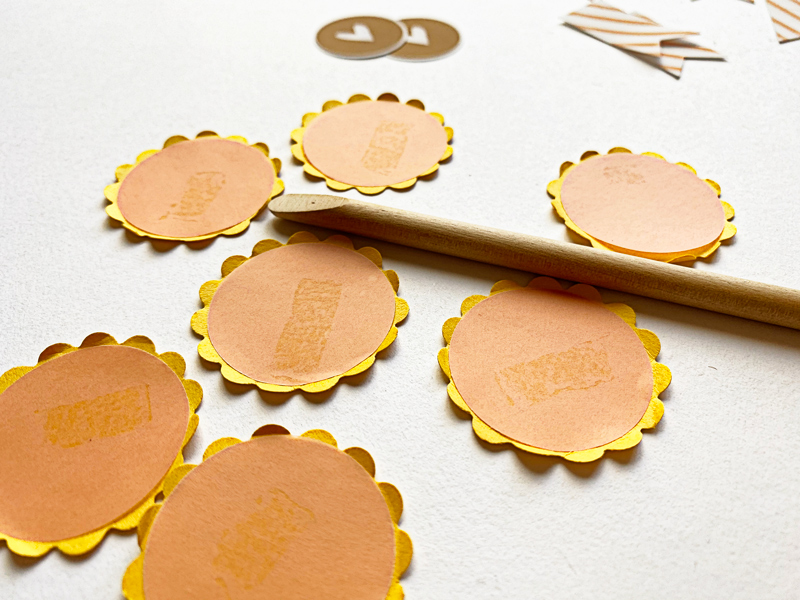
In using these layered embellishments, I was trying to give the cards some dimension… so I used a small tool and my fingers to “ruffle” the edges of one of the layers of paper in the flower, as shown here…

After securing everything on the front side with glue, tape and pop dots, I put the front and backs together. I secured them with a piece of scotch tape on the wrong side, and some pretty gold striped washi on the right side. Then I rounded the corners on the front of the card and attached a bow made out of string…

Then I cut out a few stars from my left over paper and found some sequins and glued them on the front for more interest and added dimension…

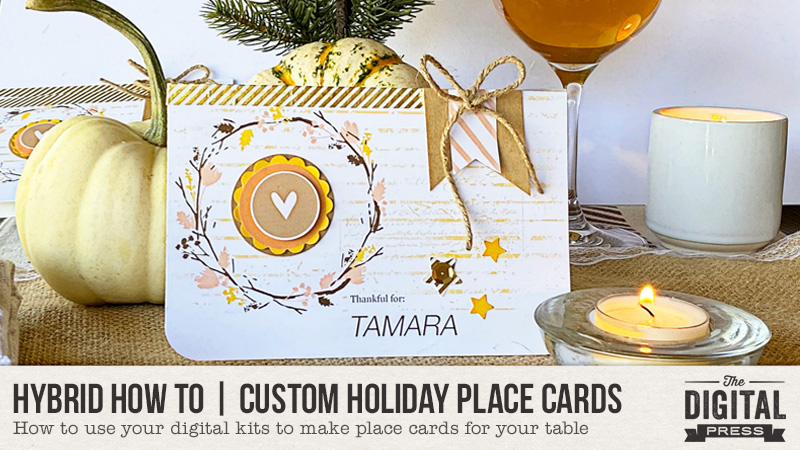
Here’s a look at the finished project on my table…

And that’s it! Super cute, and fun to make!

I hope I’ve inspired you to use your own digital products to make some holiday place cards! If you give this project a try, we would love to see pictures of your completed projects in the Hybrid Gallery at The Digital Press!

Happy crafting, everyone!


About the Author  KerriAnne is a homebody who resides in the desert southwest. She started scrapbooking when her kids were little, and hasn’t stopped despite the teenagers rolling their eyes and sticking out their tongues! When not scrapping or being a chauffeur, she can be found consuming large amounts of iced coffee.