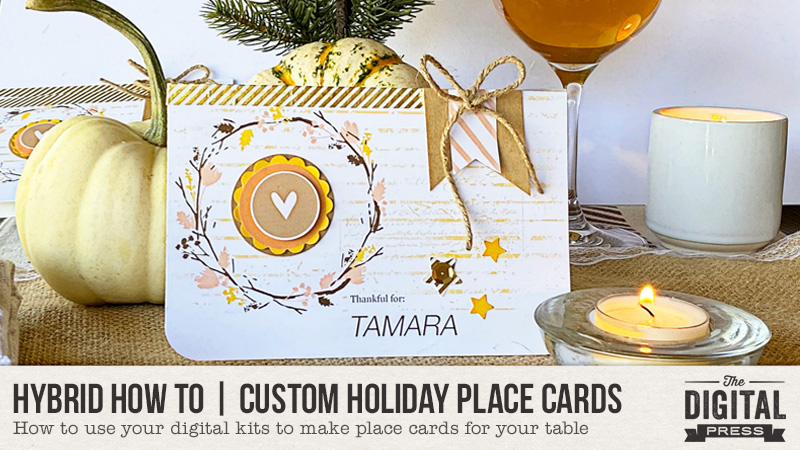
Hello, and welcome to another edition of our Hybrid How-To series here on The Digital Press blog! Today, I am excited to show you how I made some quick, simple personalized place cards for my Thanksgiving day table!
We don’t have a huge crowd for Thanksgiving, but everyone likes to feel welcome and know where they’re sitting… so these place cards are both pretty and functional. And of course, you can use your digital kits for any type of celebration, but with Thanksgiving right around the corner I thought I would get these ready to go in hopes it will motivate me that this is happening in just a few weeks!
My first step was to select a digital kit to work with; I chose this beautiful kit from Rachel Etrog Designs called Grateful Heart…
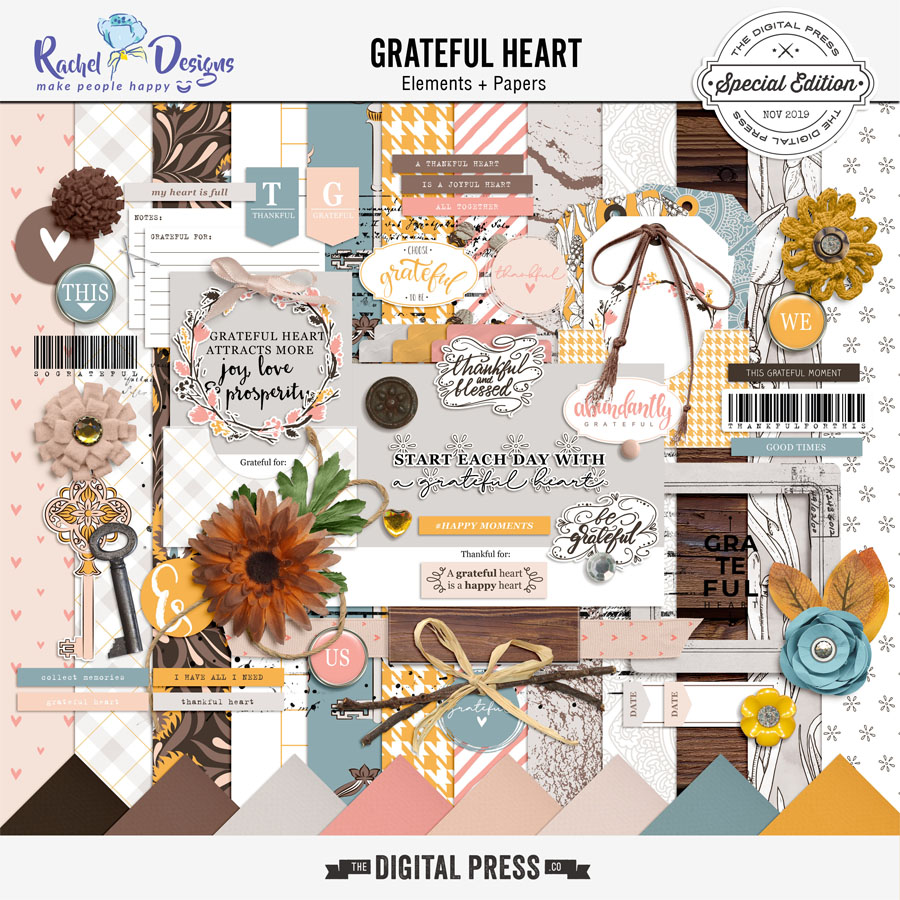
I was drawn to the colors of this kit, as I knew they would work with my tablecloth and dishes. I also loved that sweet winter wreath, and the tags, and the flowers… and so on.
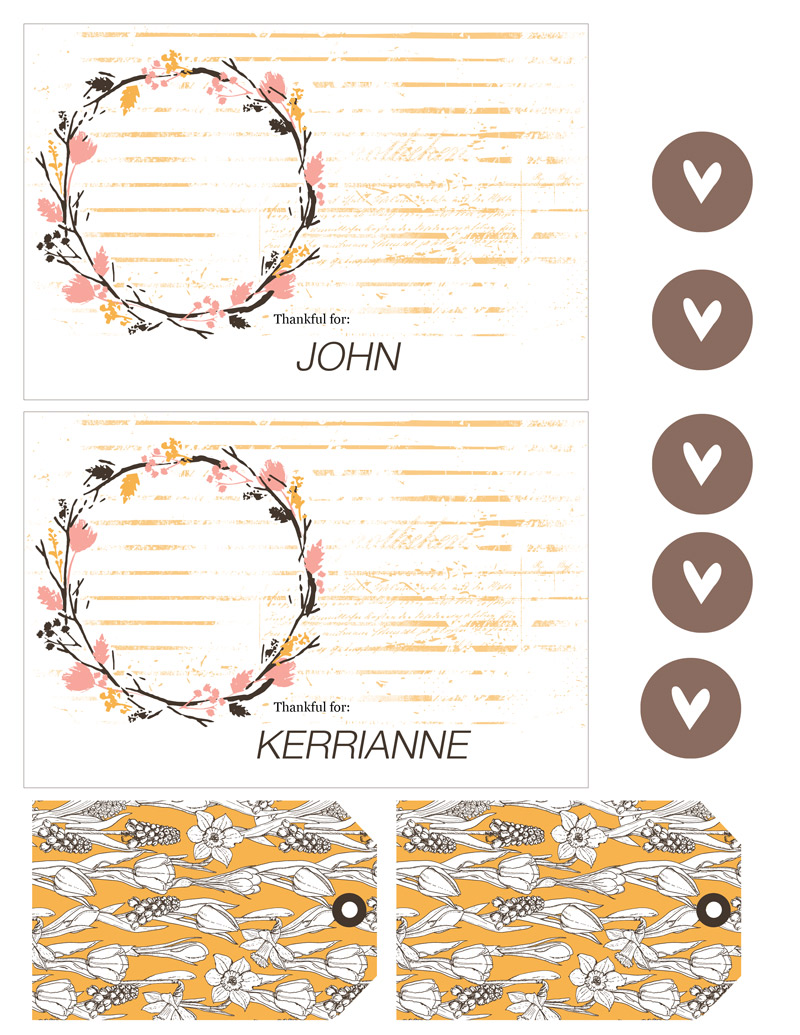
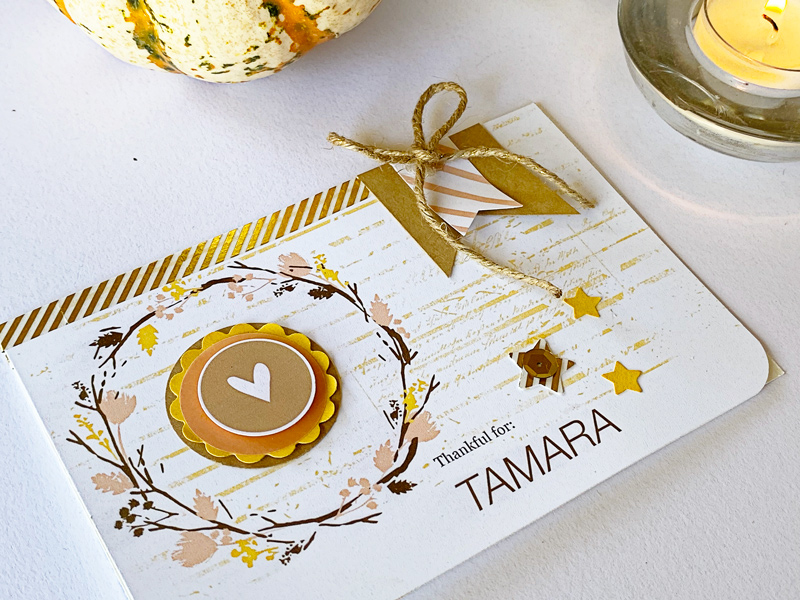
Once I had selected a kit to work with, it was time to decide upon on a basic design for my place cards. Using the wreath element along with some digital paint and solid colored digital papers, I drew out a 4 x 6 white card in Photoshop Elements (PSE). Then I applied the wreath and the “thankful for” word art to each card. I used the blank spaces to print some of my favorite printed papers and elements.
You can see how my pages looked in PSE (below). I then printed them as an 8.5″ x 11″ sheet on my Canon Pixar printer using matte presentation paper.
I also decided to add a simple blessing to the back side using more of the pattern papers. To do so, I just made a rectangle template inside the 4 x 6 card and added the solid paper… and then I typed in my words in PSE. I made a stroke around the inside rectangle, using one of the colors in the paper….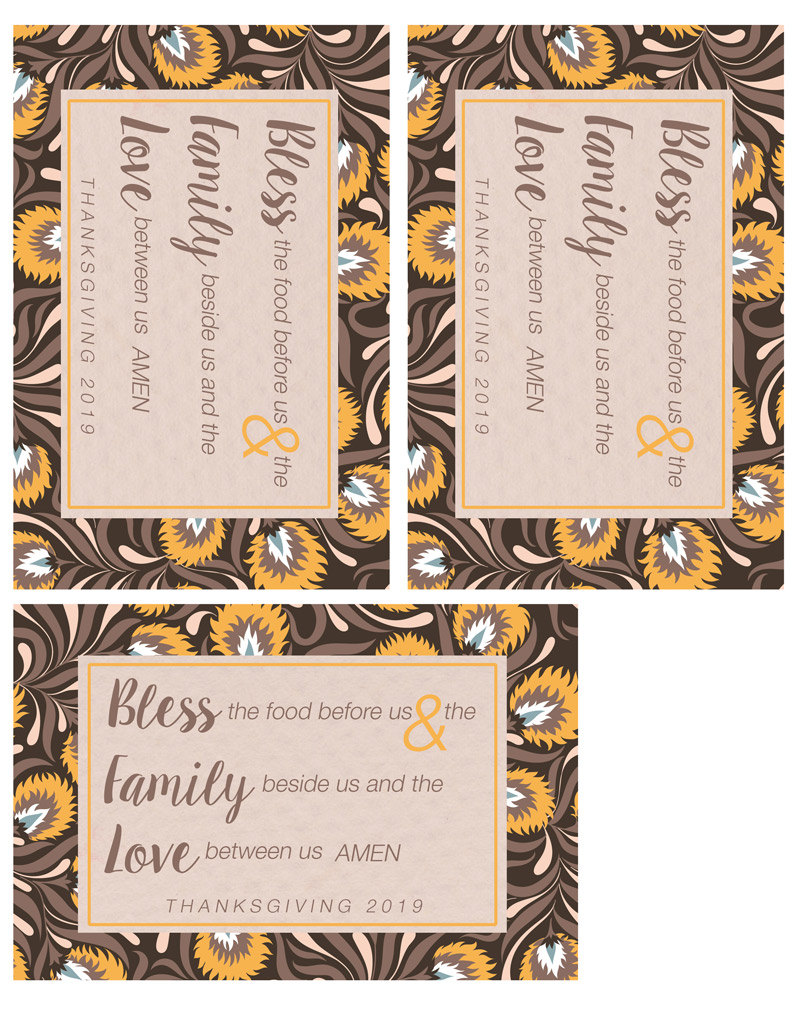 I then cut and punched out all my cards and elements. I used different sizes of circle and banner punches with solid papers, patterned papers, and some vellum…
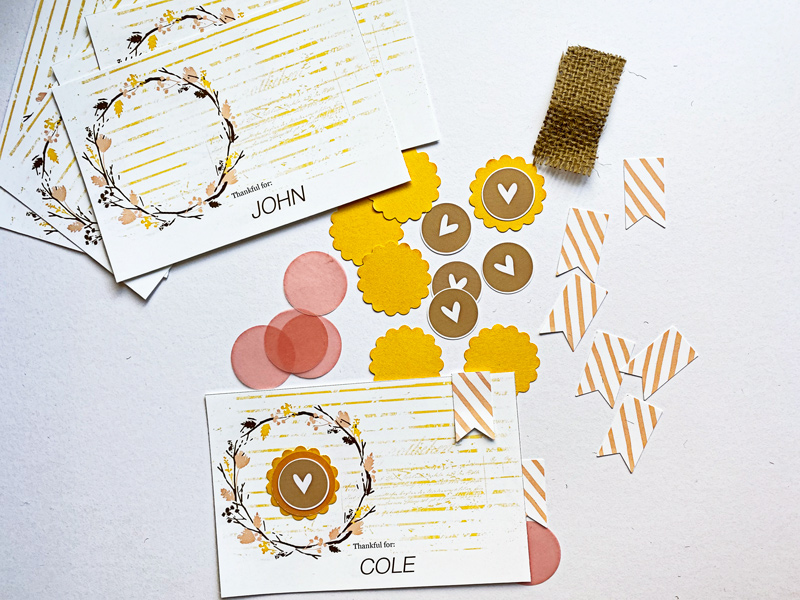
I basically played with the elements, putting the different shapes and sizes together until I got something I liked…
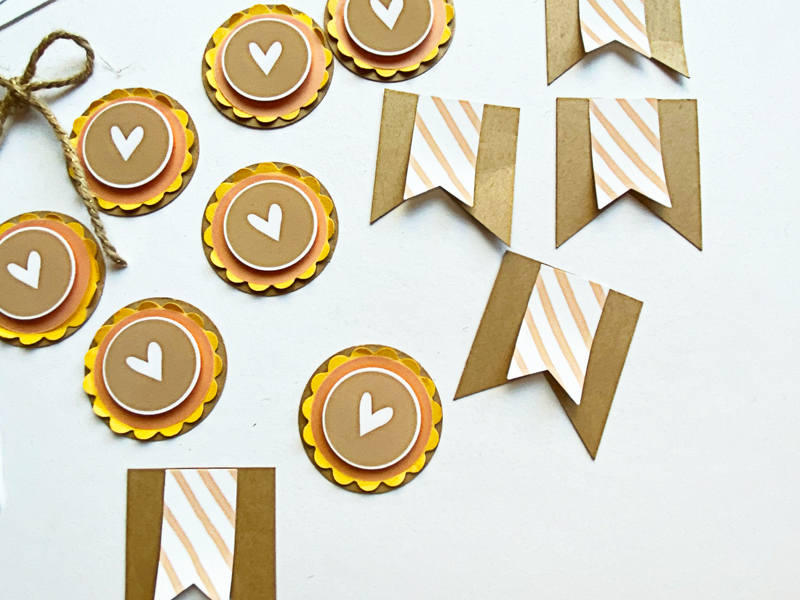
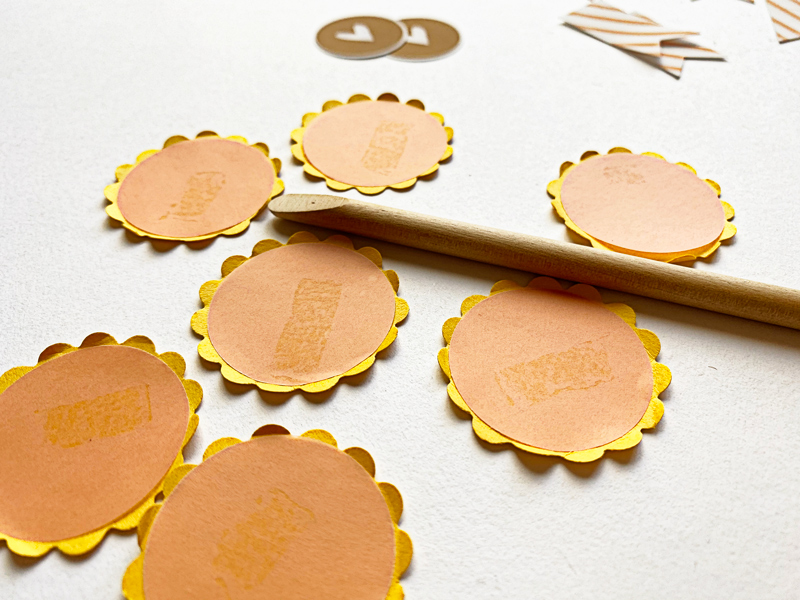
In using these layered embellishments, I was trying to give the cards some dimension… so I used a small tool and my fingers to “ruffle” the edges of one of the layers of paper in the flower, as shown here…
After securing everything on the front side with glue, tape and pop dots, I put the front and backs together. I secured them with a piece of scotch tape on the wrong side, and some pretty gold striped washi on the right side. Then I rounded the corners on the front of the card and attached a bow made out of string…
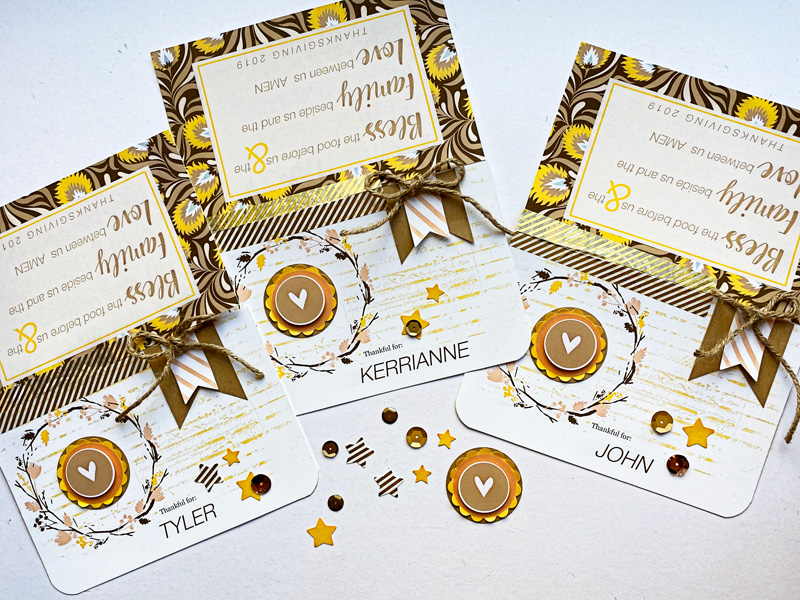
Then I cut out a few stars from my left over paper and found some sequins and glued them on the front for more interest and added dimension…
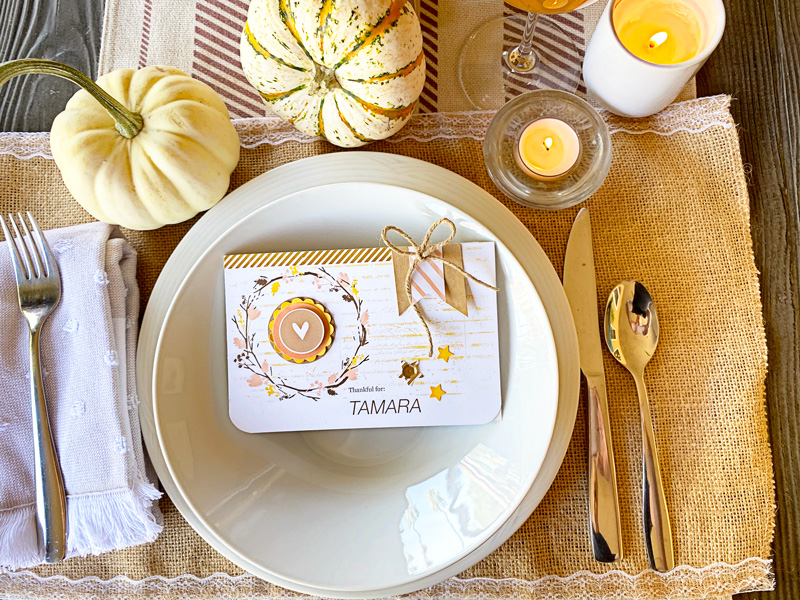
Here’s a look at the finished project on my table…
And that’s it! Super cute, and fun to make!
I hope I’ve inspired you to use your own digital products to make some holiday place cards! If you give this project a try, we would love to see pictures of your completed projects in the Hybrid Gallery at The Digital Press!
Happy crafting, everyone!
 About the Author KerriAnne is a homebody who resides in the desert southwest. She started scrapbooking when her kids were little, and hasn’t stopped despite the teenagers rolling their eyes and sticking out their tongues! When not scrapping or being a chauffeur, she can be found consuming large amounts of iced coffee.