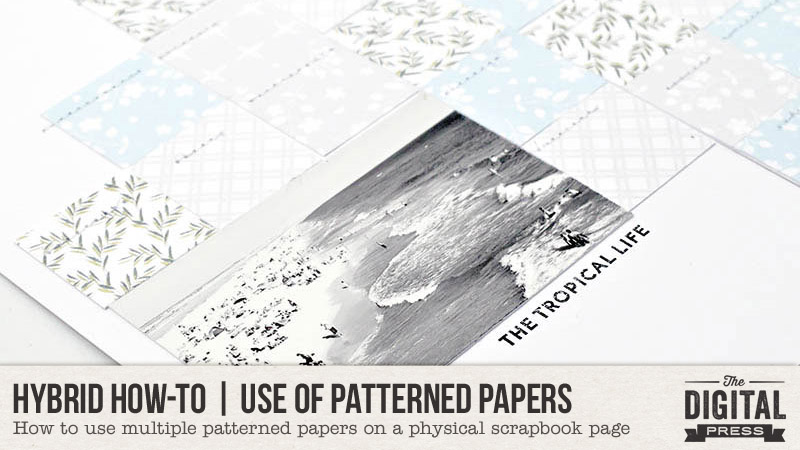
Hello everyone, and welcome to another edition of our Hybrid How-To series on The Digital Press blog! Today I am here to show you how to use multiple patterned papers from your favorite digital kit(s) on your next hybrid scrapbook page.
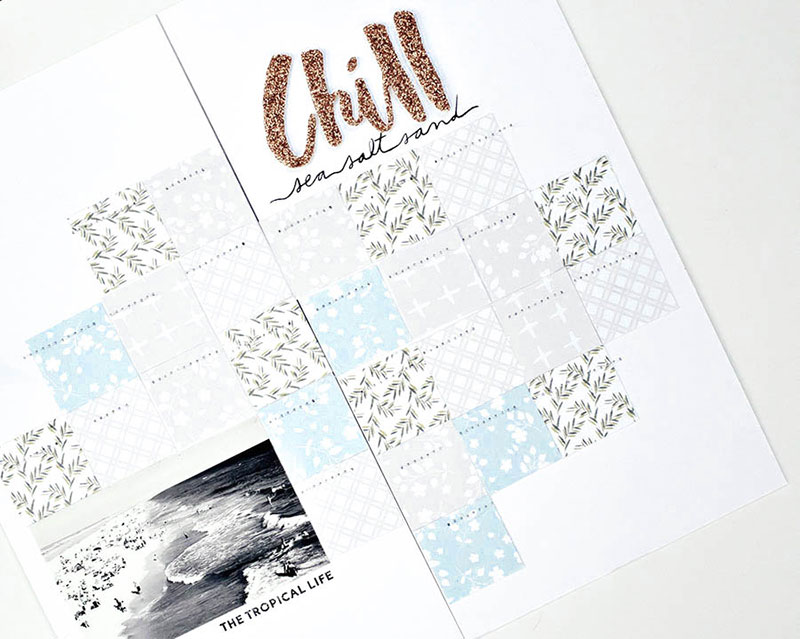
For the purpose of this tutorial, I added my patterned papers onto a Traveler’s Notebook spread. You can see the final result here…
If you are a lover of patterned papers, then this post is a shout out to YOU!
How many times do you find yourself completely in love with more than 1, 2, 3 (or more!) patterned papers in a collection… and wanting to use ALL of them on your layout? Decisions, decisions… right?! Well, let’s dive into how you can please your palate for all of your patterned paper dreams.
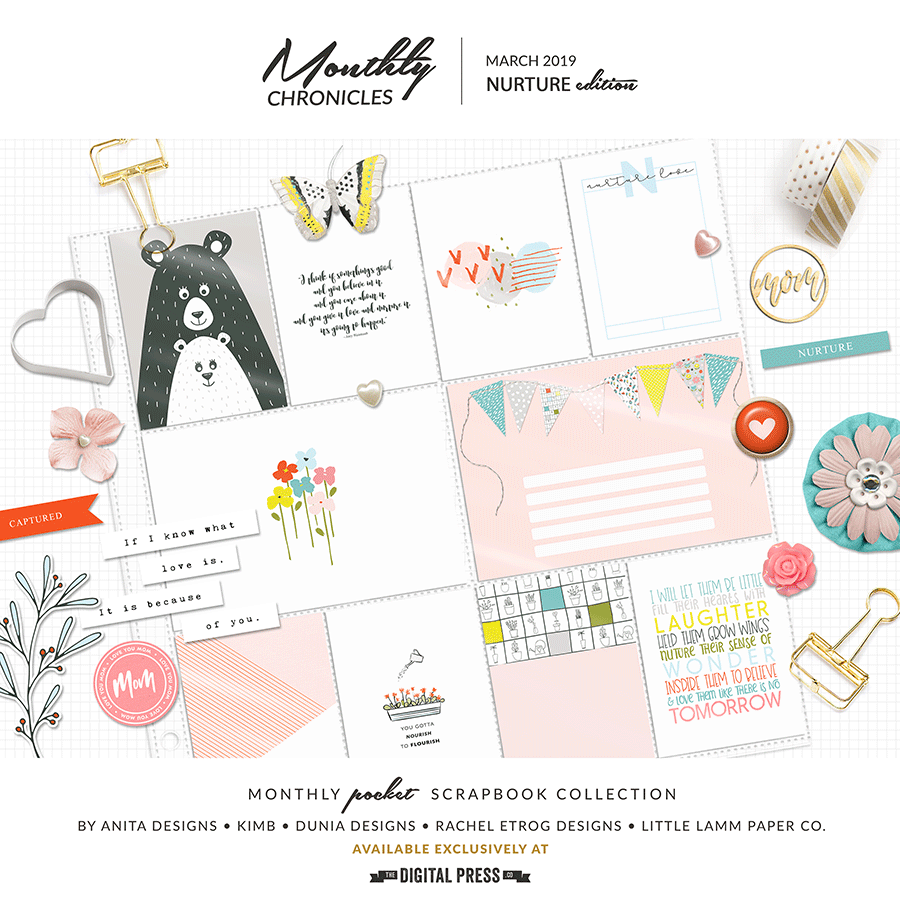
For my layout, I decided to use the Monthly Chronicles March 2019 Nurture collection, shown here…
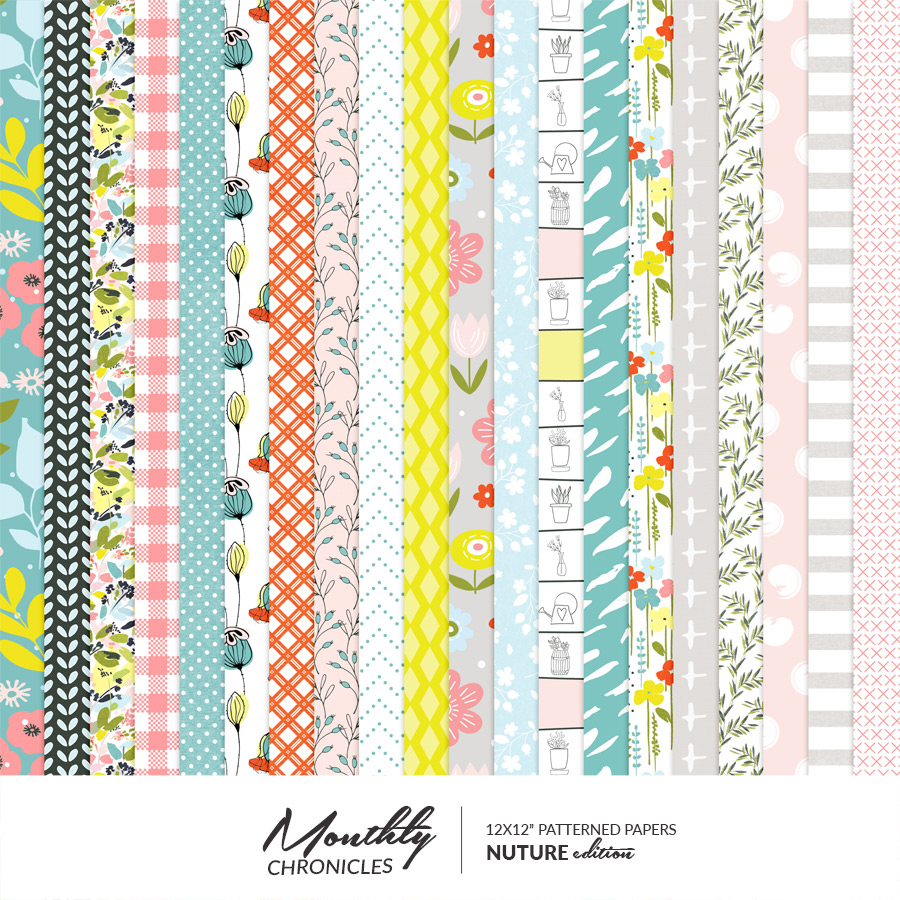
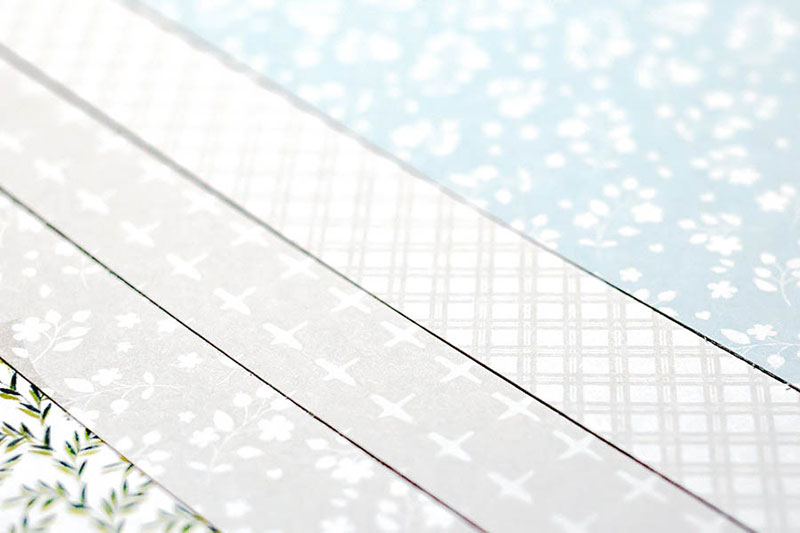
Here’s a better look at the papers that were available for me to choose from, within this collection…
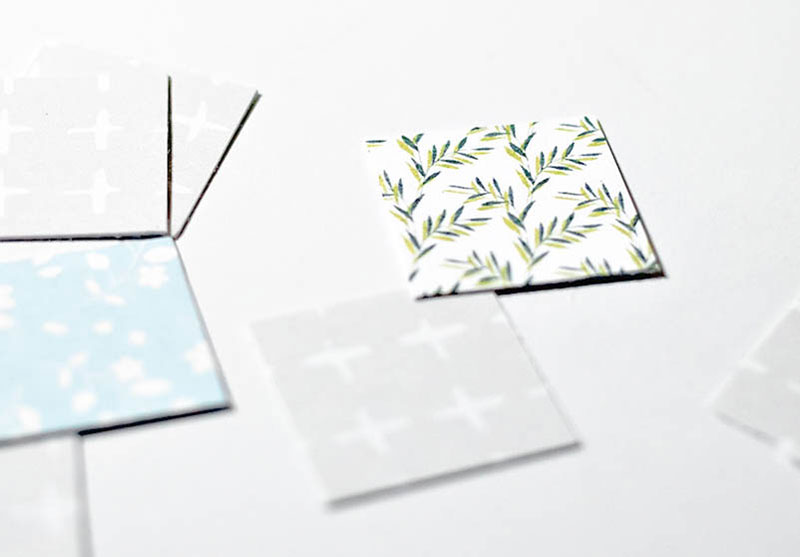
To begin my project, I used my paper trimmer and cut 1” strips of paper, as shown here…
Then, I turned each stack of paper strips 90 degrees and used the trimmer again to cut the strips into 1″ x 1” squares.
The reason I love using small pieces in this way? You’ll find that you can maximize using multiple patterned papers on a layout by using a shape punch (i.e. square, circle, triangle…) to really spread the love to all your chosen patterned papers. You can also use your die cutting machine (i.e. Cricut Explore Air, Silhouette Cameo, Sizzix Big Shot, etc.), or even freehand with scissors to evenly cut out your preferred shapes.
Sprinkle Patterned Paper Mini Bits Here and There…
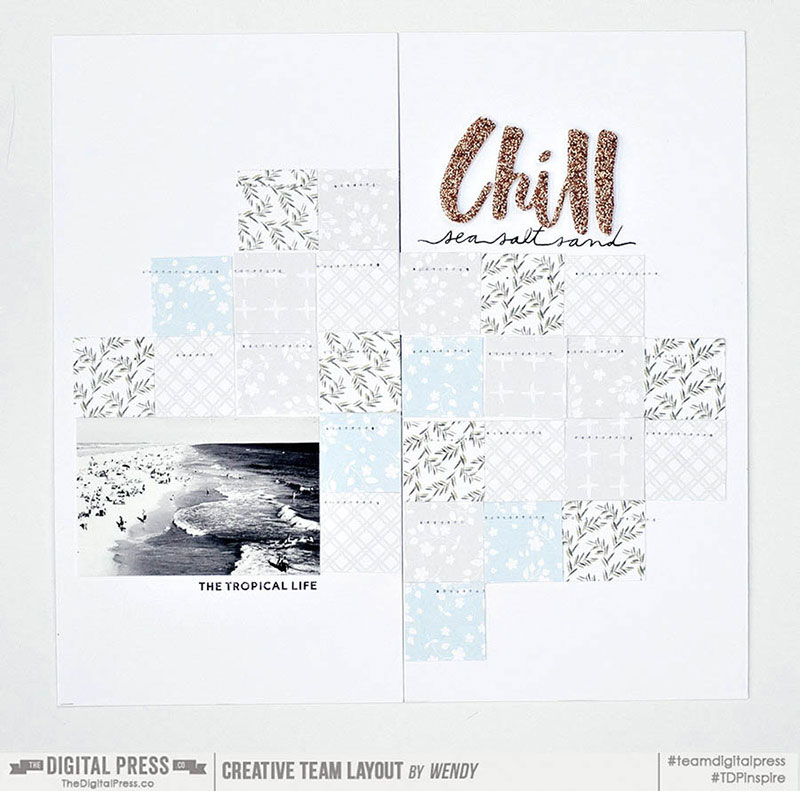
Once I had a sampling of paper pieces to work with, I staggered my patterned papers for a smooth flow in which the overall design is not in a block or predictable square format, if that makes sense (scroll up to my layout example image, above, and you’ll see what I mean). I prefer the eye to flow to different levels throughout the layout for interest and pop.
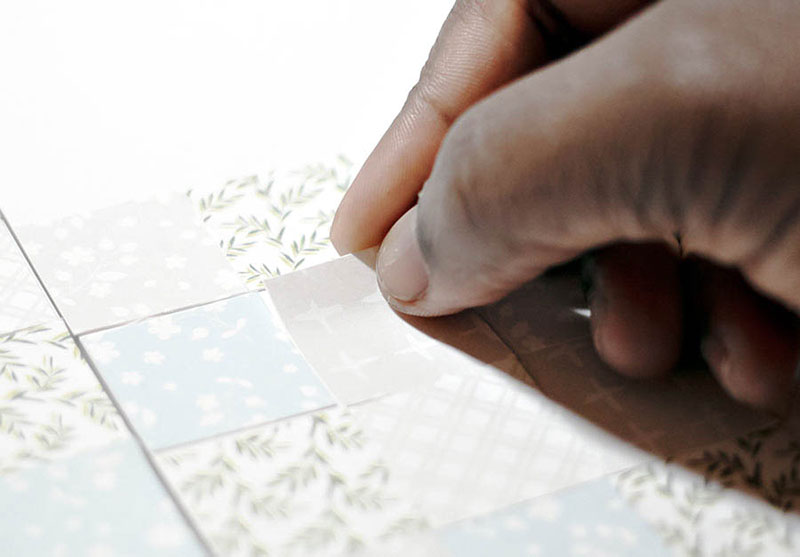
One important recommendation — I think it’s best to lay out your design FIRST, instead of immediately gluing down your papers with a permanent adhesive. You might want to change around a few squares or so here and there. Once you have permanently glued everything down, you are committed. 🙂

Choose a Dominant Patterned Paper as Your “Showcase” Paper…
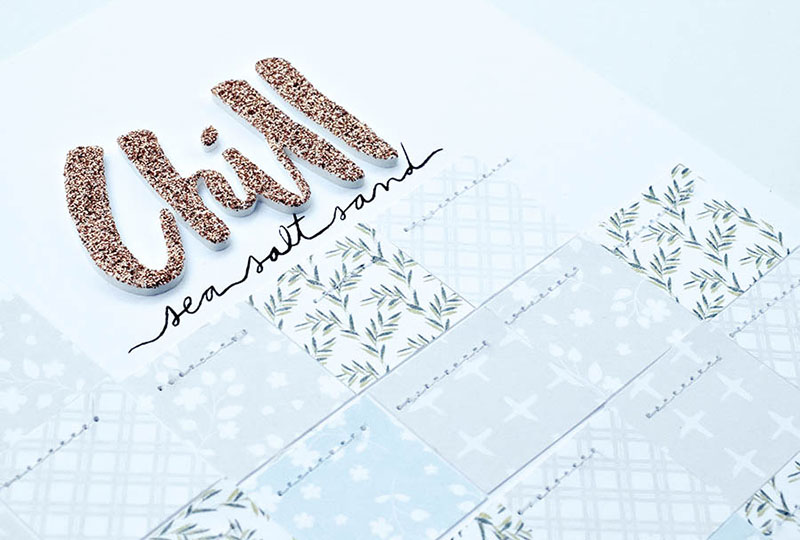
A dominant paper would be one that has a busier, bolder or stronger pattern than the others you’ve chosen to use on your layout. For example, on my layout, I chose my dominant pattern paper as the fern/leaf paper. It was a bit bolder in color and pattern than my other papers, which were all more toned-down in neutrals or pastels and design flow. If you look at the final project image, up above, you’ll see that the squares of paper with the fern pattern just stand out as a tiny bit bolder/more noticeable.
You’ll want to be careful with your dominant paper so that you don’t use it too often in your layout. I like to design in “odd” numbers for balance and eye flow. So, I cut 7 squares for my dominant paper that would not overpower my other choice of papers.
Mix and Match Your Patterned Paper With Photo(s) and/or Journaling
I chose a minimal flow for my overall design, and decided to have one photo as the focal point of my layout. Also, I toned down the photo by printing it in black and white for a smoother transition into the multiple patterned papers (as they are various colors within themselves).
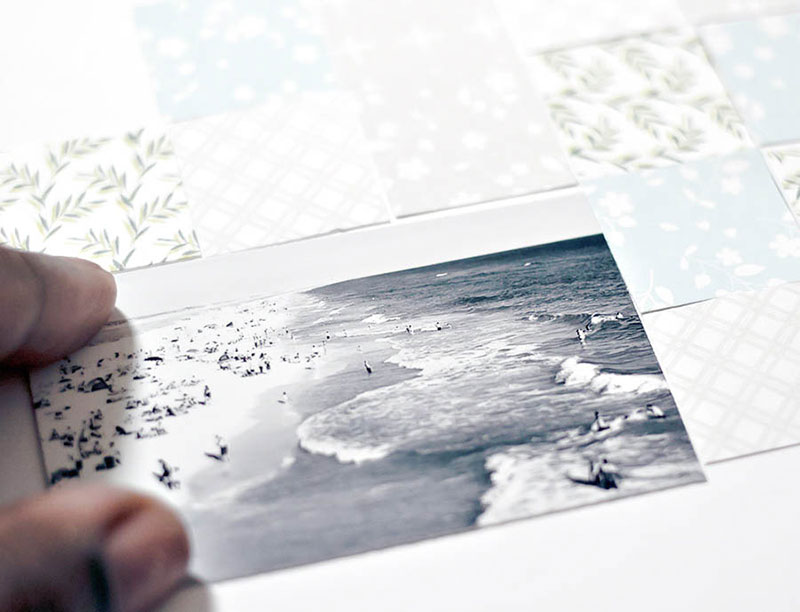
If you add a color photo, you want to be careful with your dominant pattern paper choice, as well as the rest of the coordinating papers of choice on your layout. Otherwise, things can end up being too bold and overpower the photo itself.
Finally, you’ll see in this next image that I planned my layout design out ahead, in order to leave a space at the top for my title work in addition to the space for a photo at the bottom left…
Here’s one more look at the finished project…
Hopefully these ideas will be helpful the next time you consider printing out a few of your favorite digital papers to add to a physical project!
I challenge you to choose 3-4 of your favorite pattern papers from over in The Digital Press shop on your next layout! We can’t wait to see what you come up with after you try out my tips for inspiration. Load up some projects in the gallery and link us up in the comments, if you do!
 About the Author Wendy has a strong passion for the arts, lots of creative spirit, and is fearless in working with new products and techniques. During the day, she works full-time as an Audit Manager. Wendy and her family live on the Gulf coast of emerald waters in Navarre, Florida. Her husband is from Italy and is an amazing Executive Chef at an Italian restaurant in Navarre. Her daughter is a Yorkie named Principessa. Wendy has over 20 years of experience in the scrapbooking industry. She has been published several times in print and online scrapbook magazines, and has designed for several manufacturer’s creative teams. Wendy is currently designing for The Digital Press as a hybrid artist. Also, Wendy is on the Creative Teams for Feed Your Craft, Sahin Designs, Everyday Explorers and Creative Memories.