Hello, and welcome to another edition of our Hybrid How-To series here on The Digital Press blog! Today, I am so excited to be sharing my very first post with you after joining TDP’s team a few months ago — and with Halloween right around the corner, I thought I’d show you how to easily use your favorite digital supplies to create a fun Halloween banner.
I knew I wanted to make some cool, spooky, Halloween decor… and this project was actually so easy to complete, my 6 year old son helped me out (and then claimed the finished product for himself… which means I might have to make another one!).
First, I found the artwork that I wanted to use in the shop at The Digital Press. I wanted a banner of monsters (cute ones though, not too scary!)… and I found the perfect product in Julia Makotinsky’s Wee Bit Spooky 3×4 Cards, shown here…

Next, I made 2 banner shapes in my Silhouette Studio software by simply altering the bottom of a 3×4 rectangle (see next image). Once I had my shapes the way I wanted them, I dragged the pocket card artwork from the folder and dropped it into the middle of each shape, as shown here…
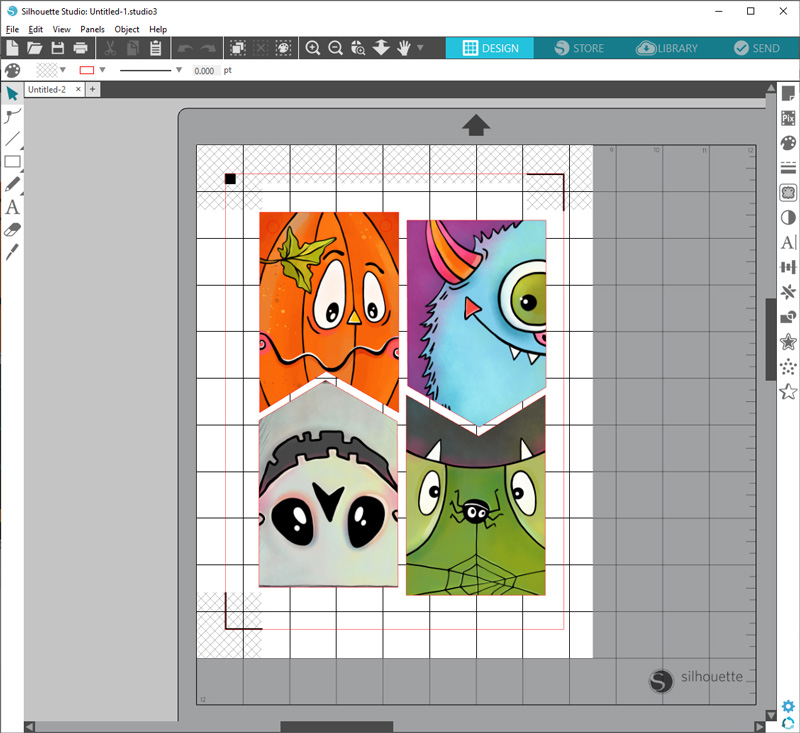
*NOTE* You could definitely do this in a photo editing program like Photoshop (PS) or Photoshop Elements (PSE) using clipping masks — but — because I copied & pasted the bottom two shapes and simply turned them around to nest with the top ones, the Silhouette software automatically rotated the artwork for me so that the monsters were facing the right way. This is why I didn’t do it in Photoshop with a mask; I would have had to manually rotate them! Instead, Silhouette Studio did the work for me — but it would certainly be easy enough to use another program, too.
Next, I printed them with registration marks so that I could print and cut, but once they were out of the printer my son wanted to cut them out, so I actually ended up giving him half of them and a pair of scissors… and just cut the rest out myself.
Once they were all cut out, I used my WRMK hole punch to punch a 1/4″ hole in each top corner (see next image)… and then we carefully strung them onto some yarn to hang up with our other Halloween garlands…
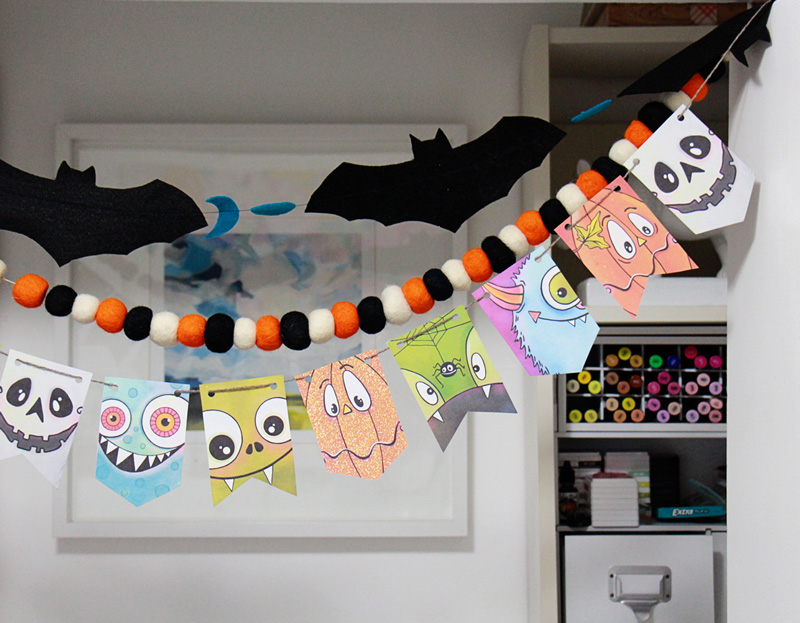
You can see from the close up image, above, that I strung them onto the yarn in opposite ways (some from back-to-front… and others from front-to-back). This helps them stay in place a little better, and they don’t end up in a bunch at the bottom of the string because each one will stop the next one from sliding down the whole string.
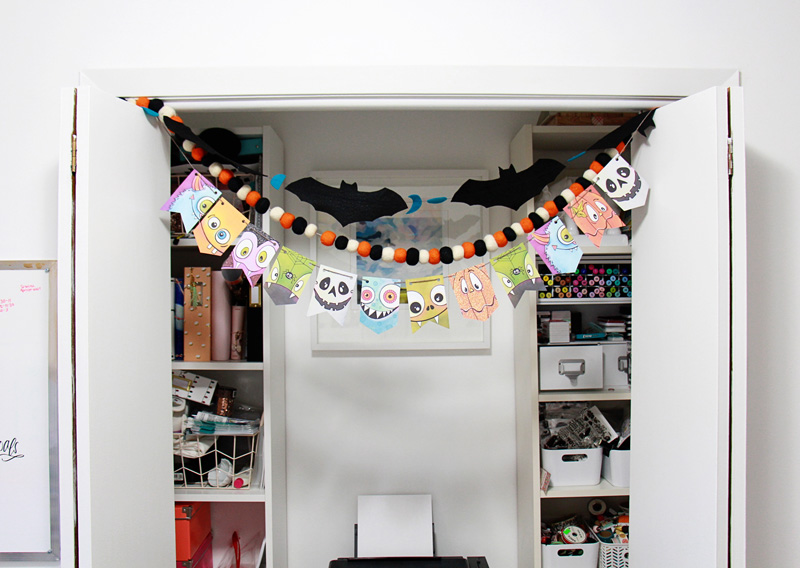
Here’s a look at my finished project, decorating my crafty office space…
I hope this inspires you to create one of your own for some holiday decorating this weekend! I know excitement for Halloween is very high in my house right now, and this was a really fun and easy project to do with my child!
Thanks for checking it out!
 About the Author Amy Jo Vanden Brink is a Canadian mom, wife, music teacher, and scrapbooker who always takes on too many projects and loves to craft. She is terrible at baking cookies, but great at eating them… and loves having a clean house, but hates cleaning the house! She lives in Edmonton with her husband, her son, and their pup Farley.