Have your ever looked at an artsy scrapbook page and thought, “Wow, I wish I could do that!”? I’m here to tell you that you can! If the thought of tackling a full 12″ x 12″ layout seems daunting, however, then my advice is to start on a smaller scale. Let’s talk about digital Artist Trading Cards!
What are Artist Trading Cards, or ATCs? ATCs are small pieces of art, only 2.5″ x 3.5″ in size, that are usually traded or swapped with other artists. They are like the creative version of baseball trading cards. Although you might think that ATCs lend themselves more to traditional scrapbooking because you exchange them with others, digital swaps are fun, too! Imagine opening your email and finding a handful of cards waiting for you. By allowing yourself to just “go with the flow,”ATCs might give you an artistic outlet that you had not considered — and they’re easy to do!
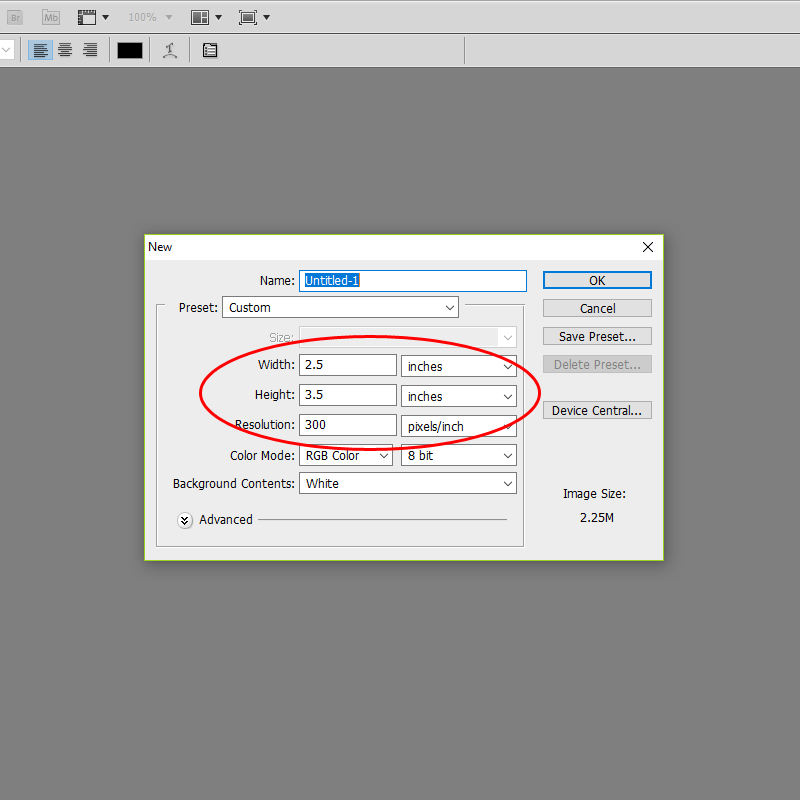
Step 1
Open a new canvas, 2.5″ x 3.5″ in size. I like my ATCs to be vertical, but you can also do horizontal, if desired…
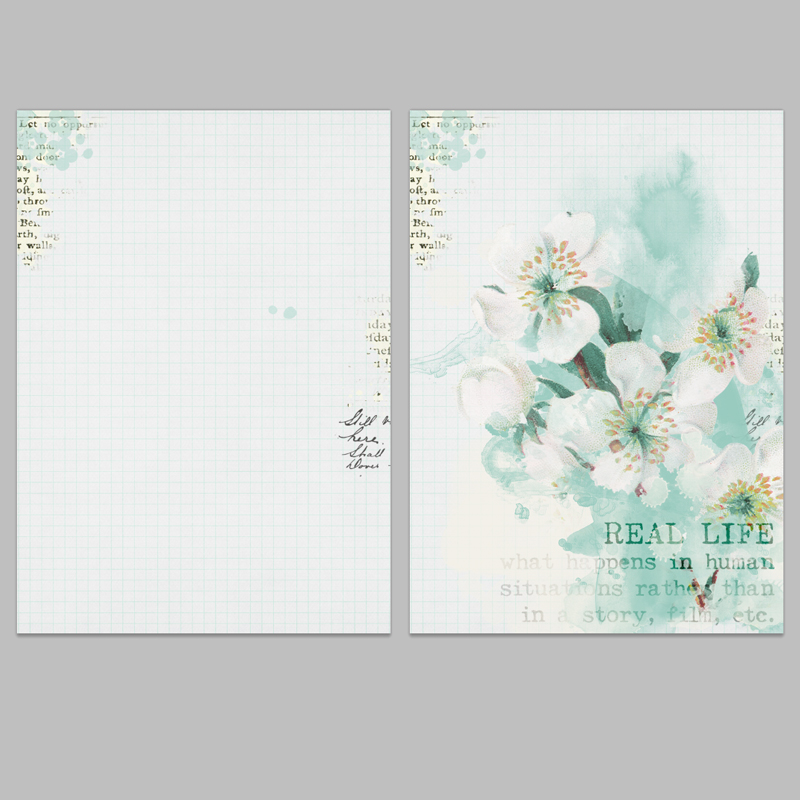
Step 2
Pick a background paper (this sounds a lot like building a regular scrapbook page, doesn’t it?). I like the look of chipboard, so I’ll often reach for a kraft paper. For this card, though, I’ve selected a grid paper from Real Life by Calista’s Stuff.
**TIP** If you’re thinking of adding brushes, stickers, stamps, etc., to your ATC… then you might want to start with a neutral or more-solid-colored paper to give yourself somewhat of a blank canvas to work on.

Step 3
Now you can start layering digital stamps and brushes onto your background paper. You can choose one, two… as many as you like! Keep in mind that most digital designers create with a larger canvas in mind (for scrapbooking), so you might have to re-size a few things as you go. What I have here are two brushes — one placed just on the edges, and then another placed over the top…
Step 4
Finally, you can add some dimensional elements, if you wish. Just as was the case, above, with regard to re-sizing brushes and stamps — you may need to re-size elements, as well, so their proportions are in line with your smaller canvas size. Also, watch for shadows, especially if you are using pre-set shadow styles…
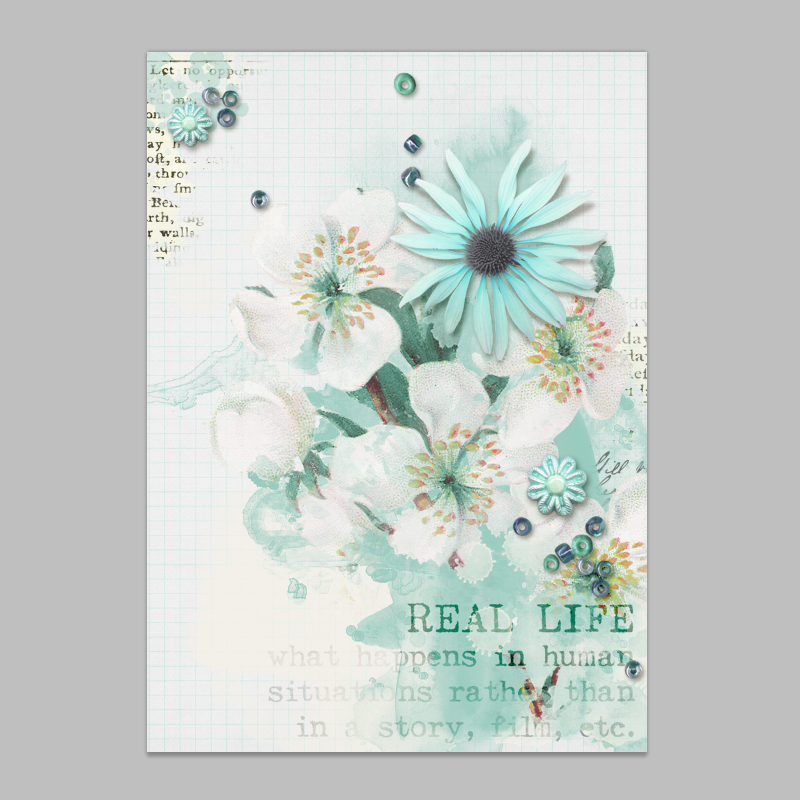
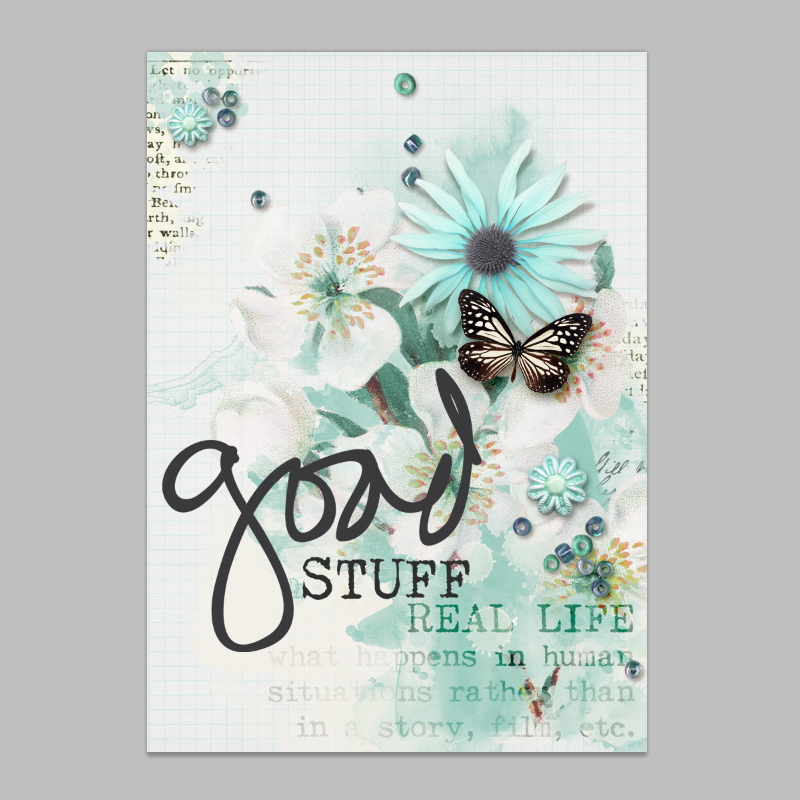
Step 5
Finally, add finishing touches like a title, word strips, or a favorite quote. I could have stopped at the previous step, but I wanted to add some word art. What I found, however, was that the black of the word art really jumped out at me because I didn’t really have anything else of that color on the ATC. I was left with one of two options: recolor the title, or add some black to the card elsewhere. I went with option 2, and voila! I added a butterfly to help tie everything together, and my trading card was finished…
Just like with any other creative outlet, how or what you design is really a personal preference. ATCs are unique to everyone, and can mean different things to different people. You don’t have to do any journaling or add photos, if you don’t want to. Your ATCs can be 100% digital, or you can print them out to create a hybrid project. Creating in an artistic style is something everyone can do. Why not give ATCs a try and see what you come up with!? Give yourself permission to play! 🙂
![]() About the Author Kat Hansen is a creative team member here at The Digital Press. A Director of Human Resources by day, she loves the opportunity to spend a few hours each evening being creative. Vacation memories feature pretty heavily in Kat’s scrapbooking pages, as do her son and “daughter” (of the four-legged furry kind). Kat has quite the sense of humor (she “blames” her father for this), which she incorporates into her journaling and memory-keeping.
About the Author Kat Hansen is a creative team member here at The Digital Press. A Director of Human Resources by day, she loves the opportunity to spend a few hours each evening being creative. Vacation memories feature pretty heavily in Kat’s scrapbooking pages, as do her son and “daughter” (of the four-legged furry kind). Kat has quite the sense of humor (she “blames” her father for this), which she incorporates into her journaling and memory-keeping.