
Hello everyone! It’s Saturday, and time for another edition of Hybrid How-To… and today I’m going to show you how to use digital stamps to create customized tags (and/or other projects).
Supplies Needed
- Digital stamps (I used stamps from Speechies and Love This by Rachel Hodge, and also This Life March Stamps from the Juno Designs shop)
- Digital Kit (I used In Living Colour by KimB Designs)
- Watercolor paints or distress inks
- Laser printer
- Optional — Minc foiling machine
Instructions
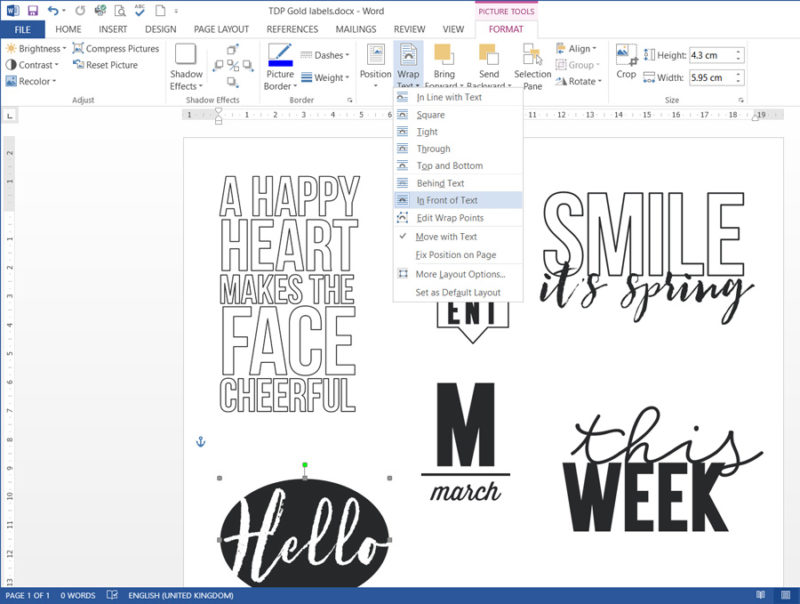
I used Microsoft Word to create my project… but of course you can use just about any word processing or image editing software. You will need to arrange your elements (stamps, etc.) on the page in a way that is conducive to printing. Don’t forget to leave some white space around each element (and around the outer edge of the page as a margin).
*TIP* In Word, I set the ‘Wrap Text’ option to ‘In Front of Text’ so as to be able to easily move the elements around on the page.
If you have access to a laser printer, then you can print your document before painting. However, if you only have an inkjet printer, you must decorate your page first before printing or your images will run.
Once you have your stamps printed… you can let your creativity run wild! Use watercolor paints (or similarly-styled inks) to create unique backgrounds. Here’s a look at what I did…
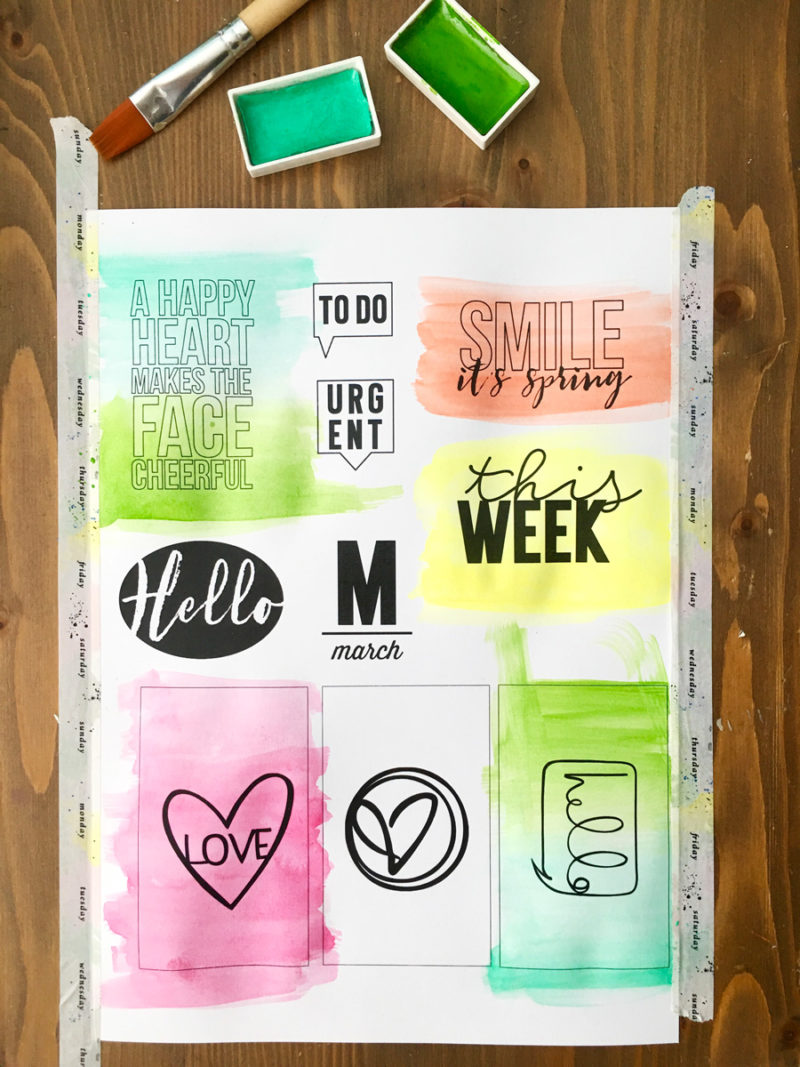
*TIP* Use washi tape or masking tape to secure your page to a board or desk. This will help the paper stay flat (rather than curling).
Color your tags as you wish — use ombre effects, splotches, etc. — it’s up to you. I even left a few of my images blank so that I could color them in after I had cut out the pieces.
When you’ve finished, carefully remove the tape and allow to dry. It’s a good idea to place a heavy book on top to keep the paper flat.
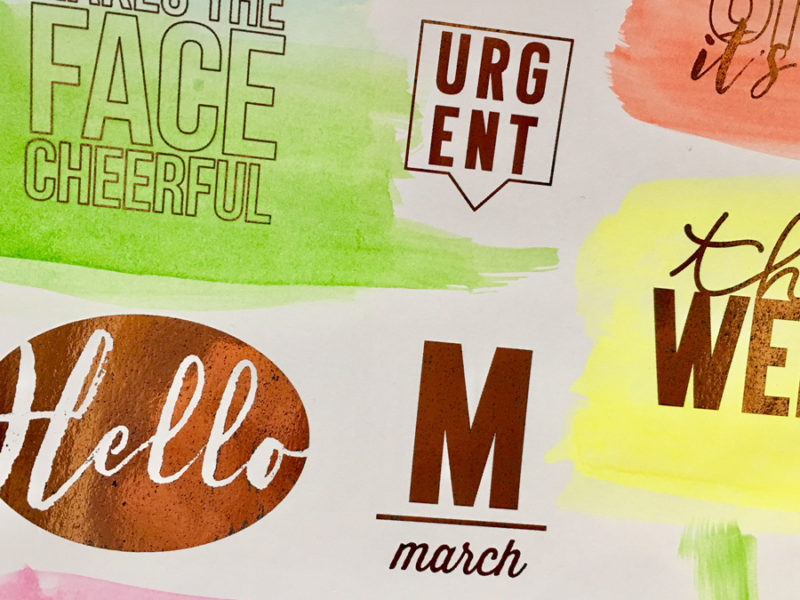
OPTIONAL EXTRA STEP — Because I used a laser printer, I could add foil to my pieces using a Minc machine. To do this, you place the foil on top of the paper and feed it through the machine. The foil reacts with the toner… which melts and grabs the foil. Foil is available in a rainbow of colour and adds a real luxury to your pieces. Check this out…
Finally, you will cut out your pieces (adding extra color or ink as you wish). You can die cut or use a cutting machine to get really creative if you wish.
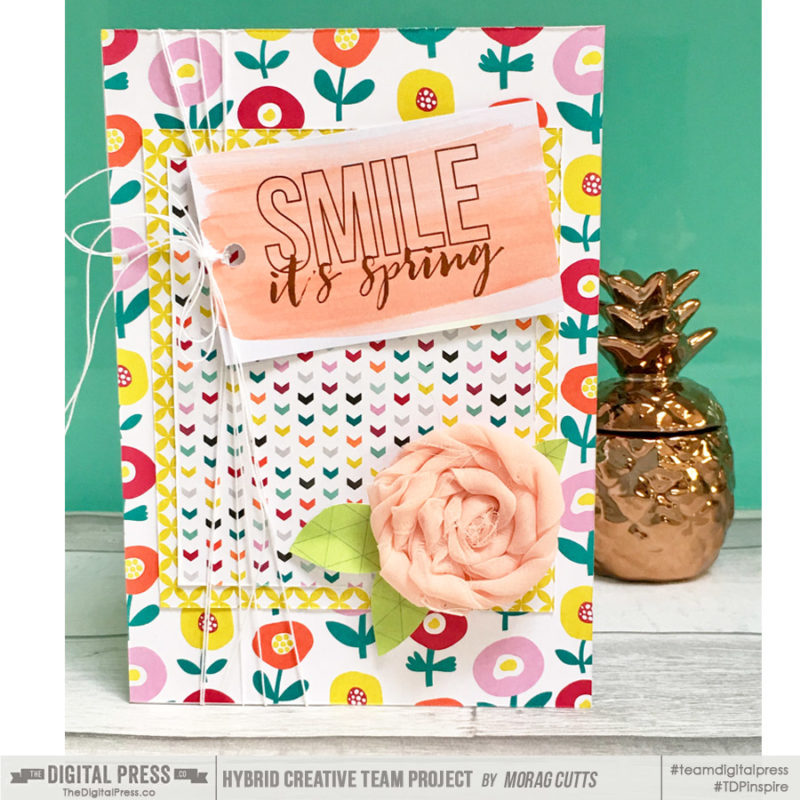
Here, you can see that I created a card with one of my tags…
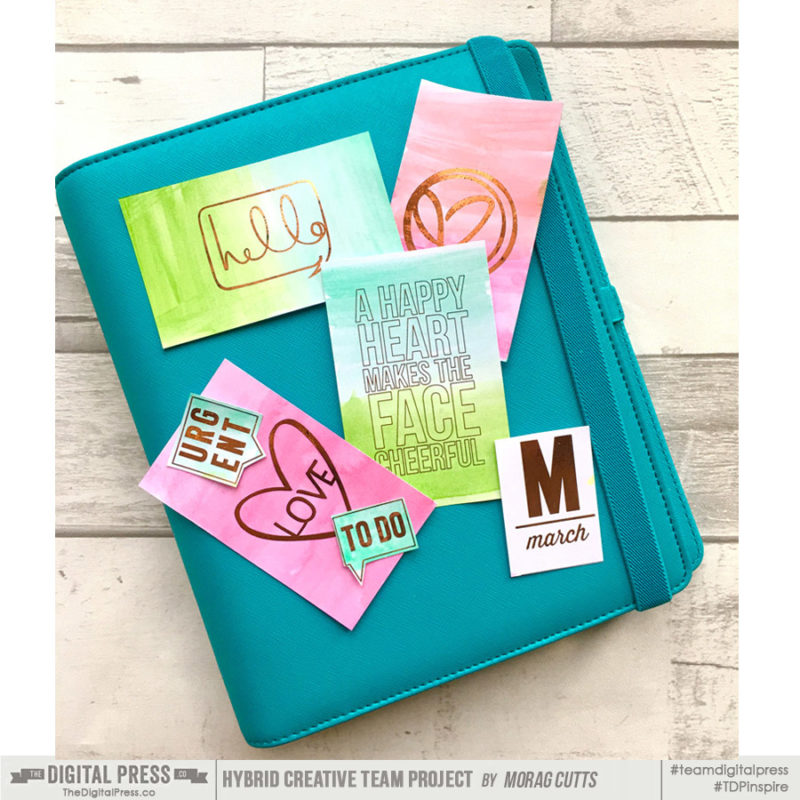
You can also add them to scrapbook pages, pocket scrapping projects, or even planner pages! Here’s a look at a few pieces I thought could work well in a memory planner…
Isn’t this easy and fun? Now you can create something unique with your digital stamps, and hold the end-product in your hands!
Want to give this project a try? You can earn challenge points towards the April 2017 challenges here at The Digital Press if you share your finished projects with us. Check out our monthly challenge information in the CROSSWORD SECTION of the forum.
 About the Author Morag Cutts is part of the Hybrid Creative Team here at Digital Press. Morag has been an avid scrapper and photographer for ten years. Although she adores the flexibility and creativity of digital, Morag can’t resist playing with paper and embellishments – so hybrid scrapping is the perfect medium for her! Morag lives in the UK with her hubby, two kids and recently adopted puppy.
Great post! Your directions are very clear and the photos are very helpful. Thank you!