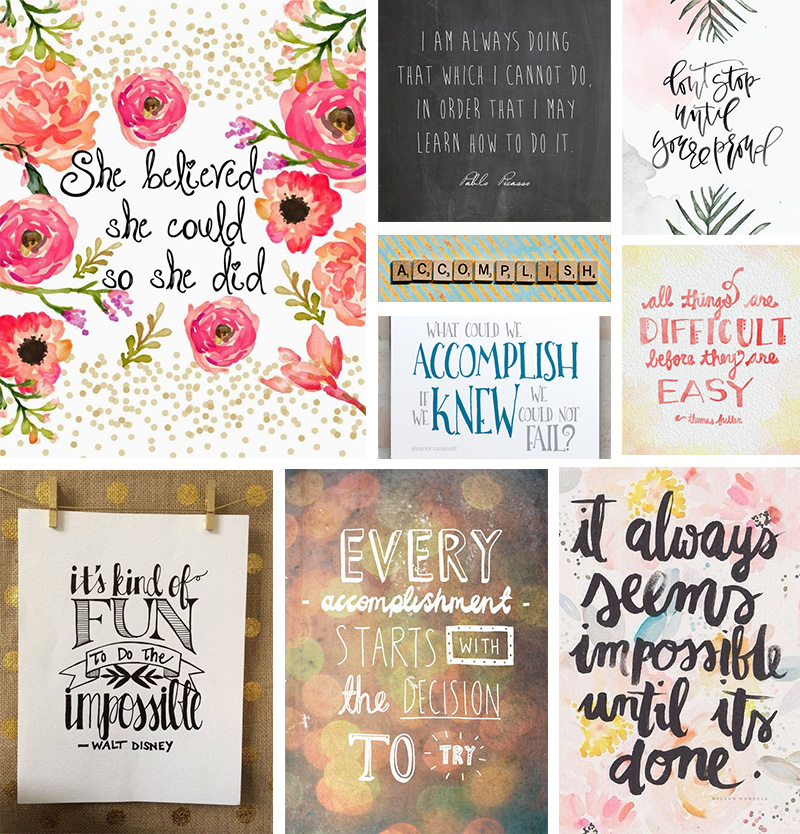
Hey there, scrappers! As we say goodbye to winter and welcome spring, it is the perfect time to learn something new!
I love learning about new techniques and tools that will help me in my scrapping journey, and this time of year seems like the perfect time to break out of my scrapping rut and try something new. So, I decided to peruse The Digital Press Blog for some new ideas.
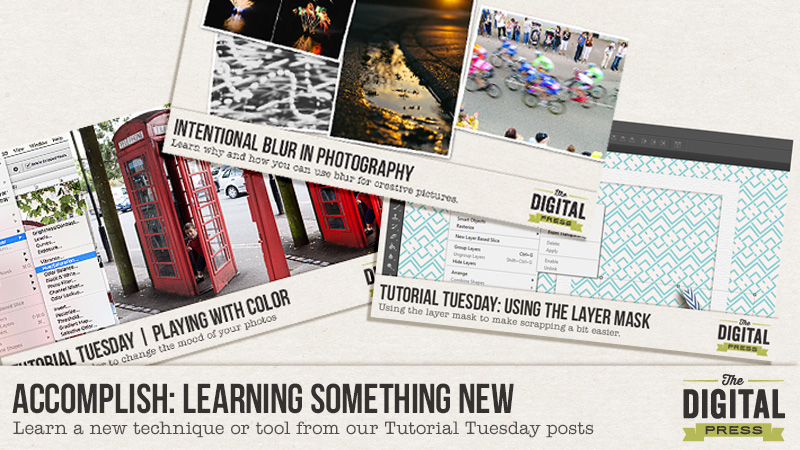
If you haven’t checked out any of the site’s amazing Tutorial Tuesday posts in a while, you are missing out! There are some really fantastic posts with techniques from color editing, to photography, to hybrid projects, and more. I am blown away by the awesome ideas shared in these posts. So, I decided to highlight a few fabulous tutorials that you might be able to incorporate into your next project or layout.
Photography Tips
First, if you’re hoping to improve your photography skills now that the weather is nicer and you can get outside with your camera… TDP creative team members Farrah and Chloe have both shared great tutorials recently.
Check out…
- Chloe’s post Intentional Blur in Photography — great for the outdoor photos you might be wishing to capture this spring.
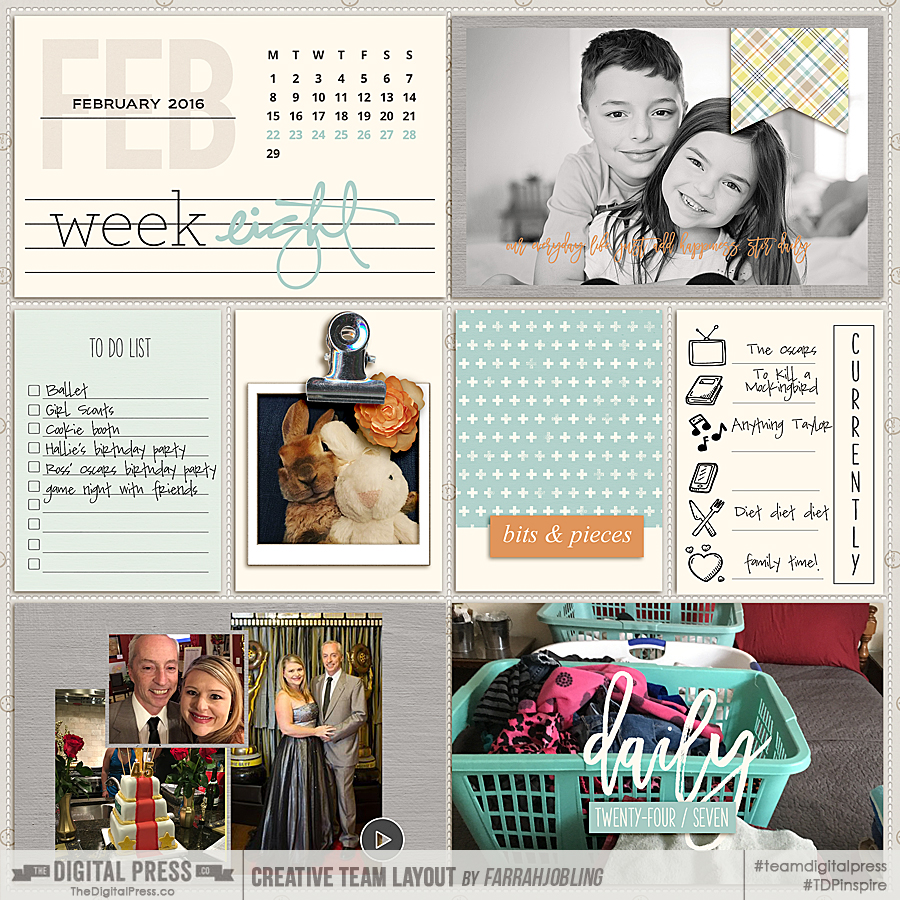
- Farrah’s tutorial Playing with Color to Change the Mood of Your Photos, which will have you adjusting color in your own images in no time!
Here’s an image I created using Farrah’s color tutorial….

I don’t usually use selective color with my photos, but I am working on a layout about my son Will’s favorite stuffed animal. I love this photo because it captures how he is always carrying “Raffi” (his giraffe) around, however, the colors and background were quite distracting. By using selective color, I was able to eliminate the conflicting colors and put the focus on his favorite toy.
Scrapping Techniques
If learning a new scrapping technique is on your to-do list, The Digital Press Blog has you covered with a few really great recent articles by team members Pallavi and Biancka.
Check out…
- Pallavi’s Wave Shadowing Tutorial. I had never used this method of shadowing prior to reading her tutorial, but when I tried it out I was really impressed!
- In Tutorial Tuesday: Using the Layer Mask, Biancka shares a tip about using layer masks to work with shadows.
Hybrid How-To’s
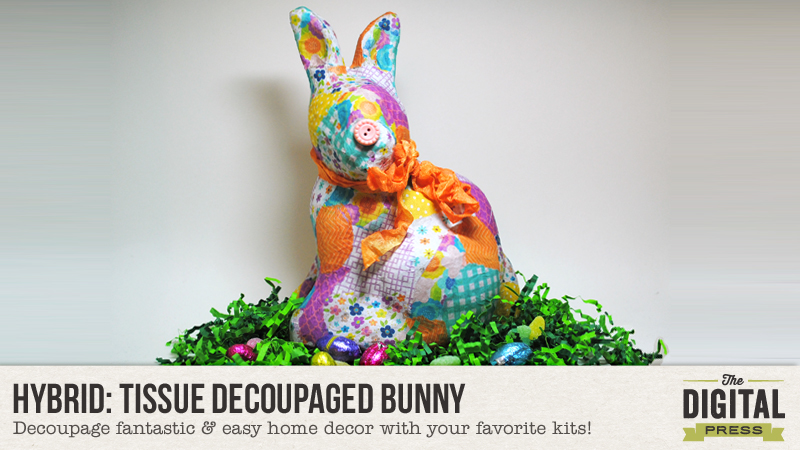
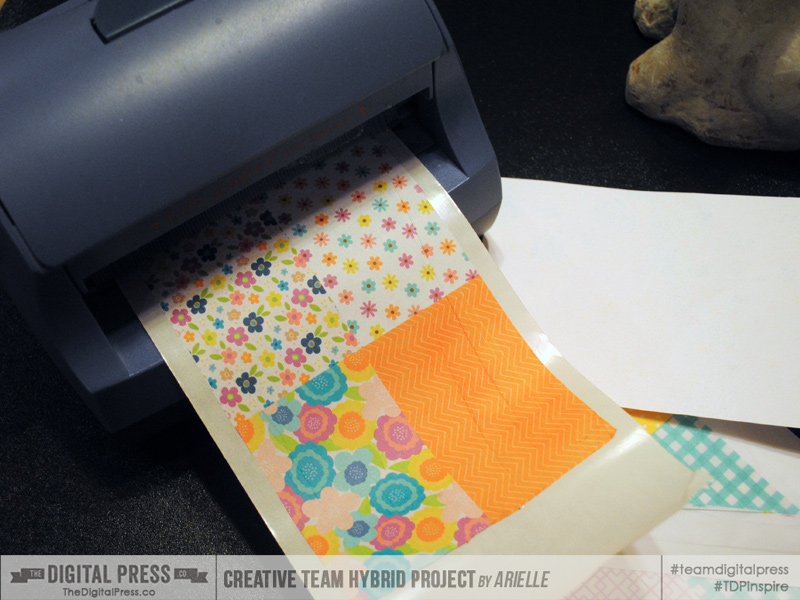
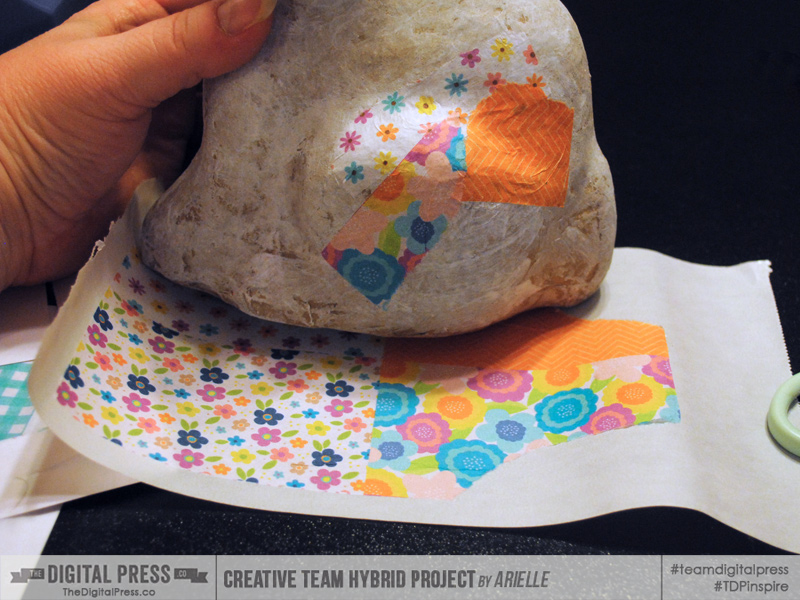
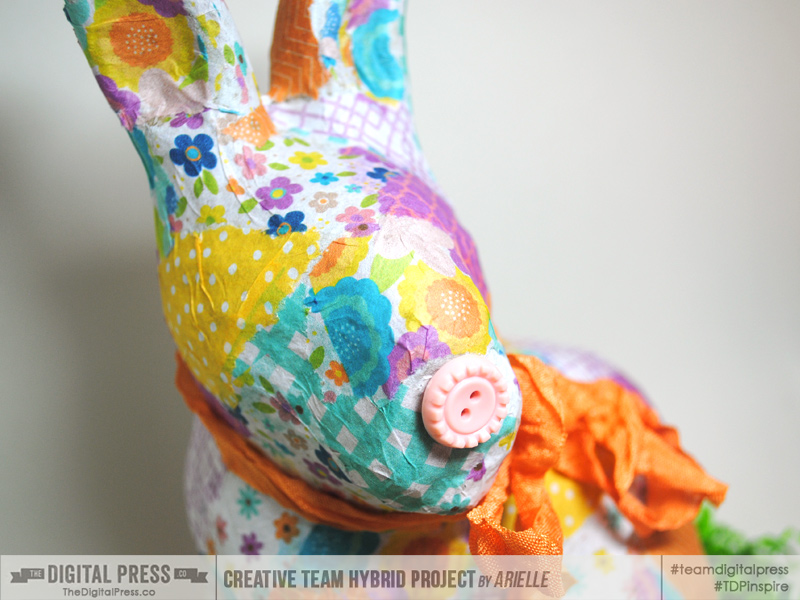
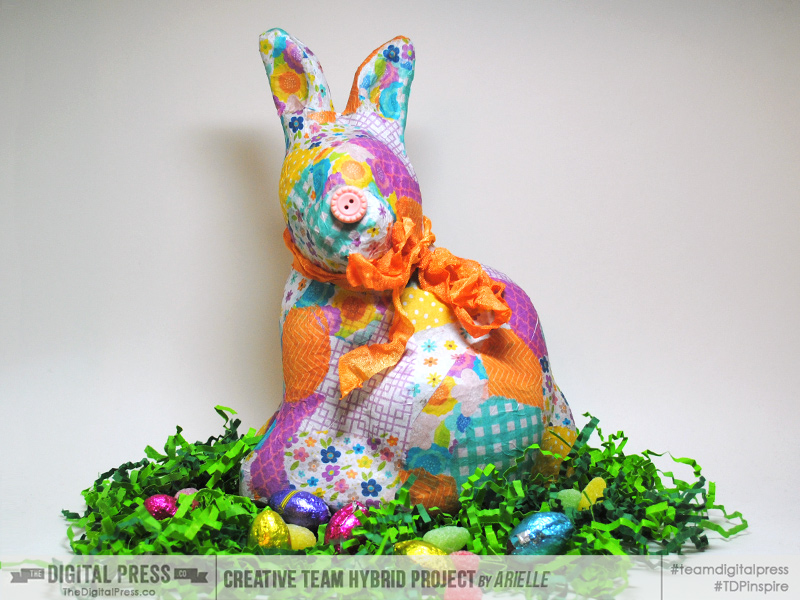
Finally, The Digital Press blog is also overflowing with hybrid goodness. A lot of us digital scrappers get nervous when we see/hear the word “hybrid” because it looks… well, just so complicated and difficult! But some of these recent articles really simplify the process and make it seem like an attainable goal for anyone!
Check out…
- Alina’s recent post Prettify Your Pantry, in which she uses hybrid techniques to organize and beautify her pantry while up-cycling containers that she already had laying around the house!
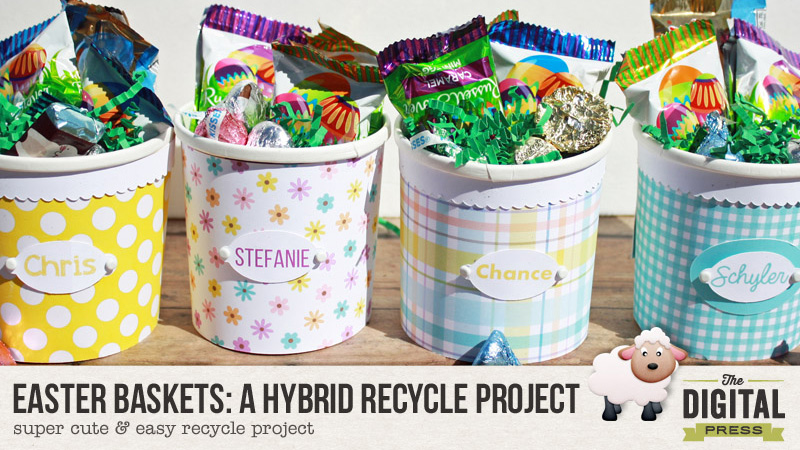
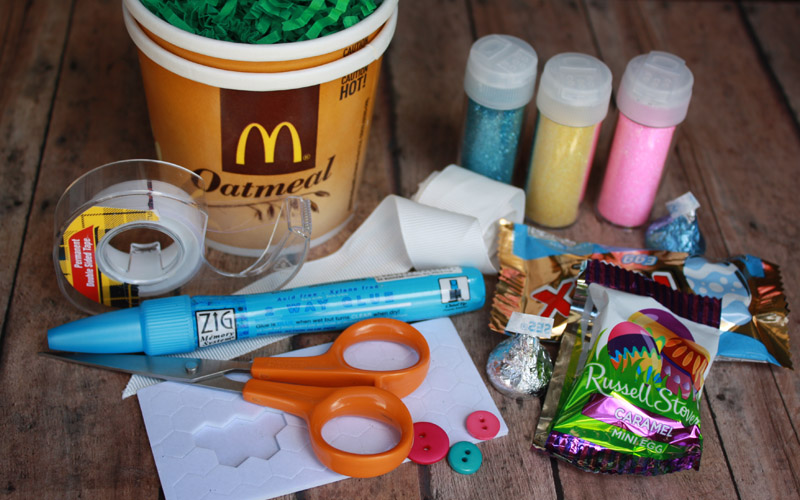
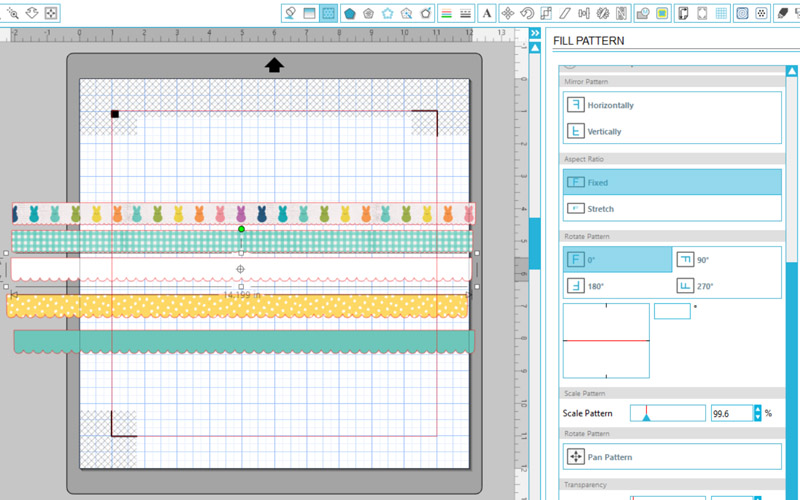
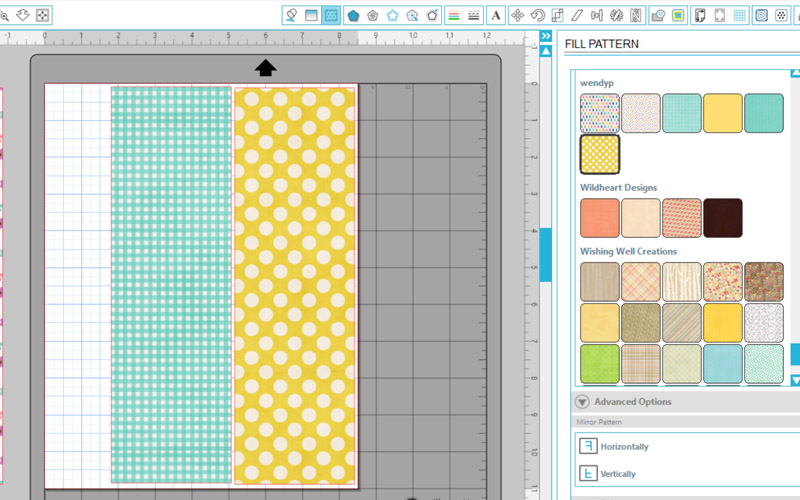
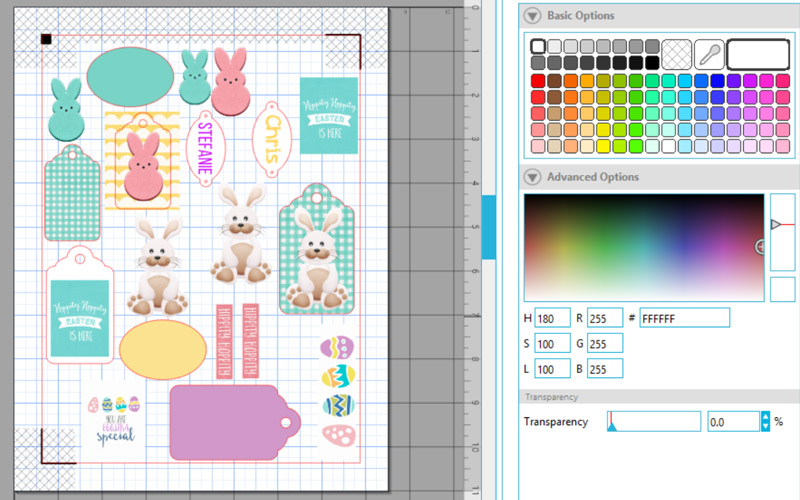
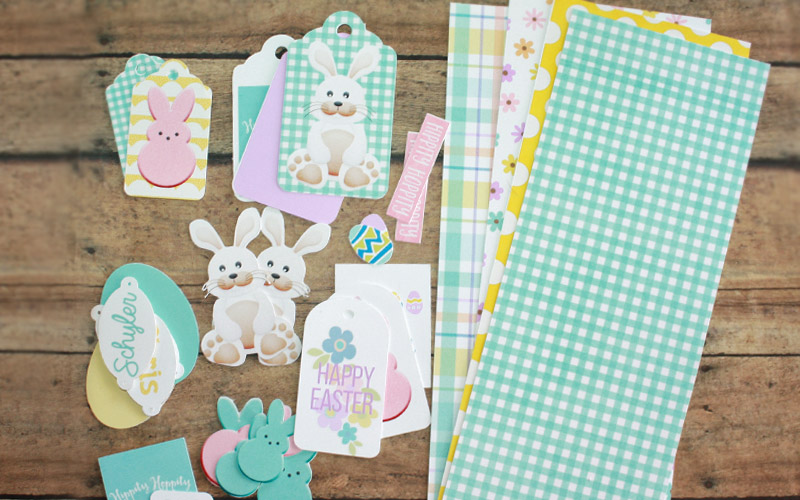
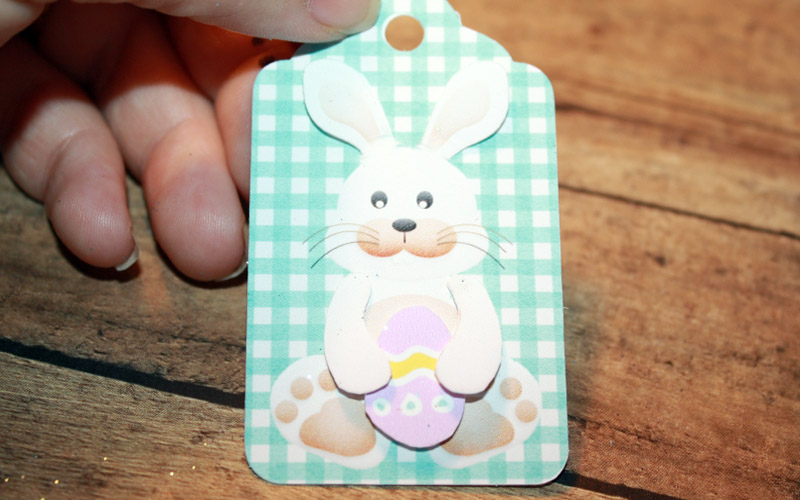
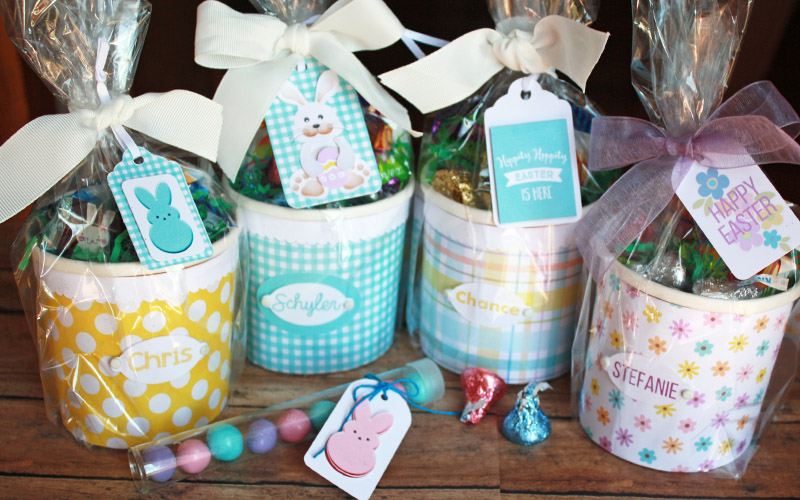
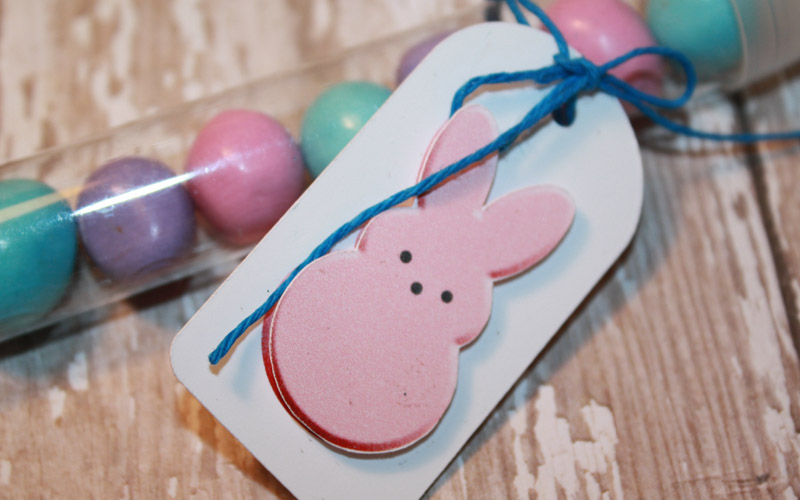
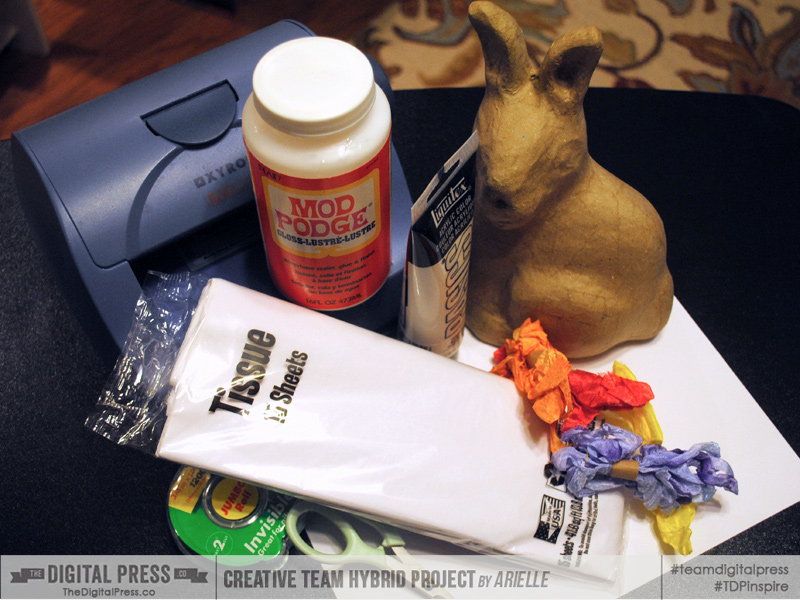
- Tanya shared some adorable mini Easter baskets in her tutorial. I think these would be really cute as party favors, too, decorated with festive paper and embellishments!
With all these amazing ideas and tutorials on the blog, you are sure to find something new to learn!
And to give you an incentive to give one of them a try… I am hosting a challenge over in the The Digital Press Forum, in which you can use one of our fabulous Tutorial Tuesday posts to create your own project. I hope you will come check it out, play along, and earn some TDP challenge points! Happy learning and happy scrapping!
![]()
About the Author Katie is a member of the creative team here at The Digital Press. She lives in central Florida with her husband and their four sweet-but-crazy boys. When she’s not dodging Nerf bullets or trying to dig out from under a never-ending pile of laundry, she enjoys photography, cooking, going to Disney World with her family… and, of course, digital scrapbooking.


 About the author Arielle H Gordon is a wife and mom of two crazy kiddos, ages 6 & 7. She moved around (a lot!) before returning to settle down in her hometown of Enterprise, Alabama, to marry her sweetheart and start her family. She is an avid crafter — digital, hybrid and otherwise! She LOVES Jesus, family time, camping, gardening, reading cozy mysteries, hot tea, popcorn, and anything on the BBC! This time of year, you’ll find her hoarding Cadbury Mini Eggs and Peeps, dying Easter eggs and waiting for Lent to be over so she can resume one or two of her less obnoxious vices…